
DIY Borax Crystals
Let’s be real – this is a child’s science experiment project. ¯\_(ツ)_/¯ That being said, I really enjoyed making these DIY borax crystals, and they came out so cool! You can do this activity with your kids, but it definitely requires adult supervision.

Okay, let’s get to growing the coolest DIY crystals ever.
You’ll need:
Pipe cleaners
Borax
Boiling water
Thread
Skewers
Heat-safe measuring cup
Heat-safe jars or glasses
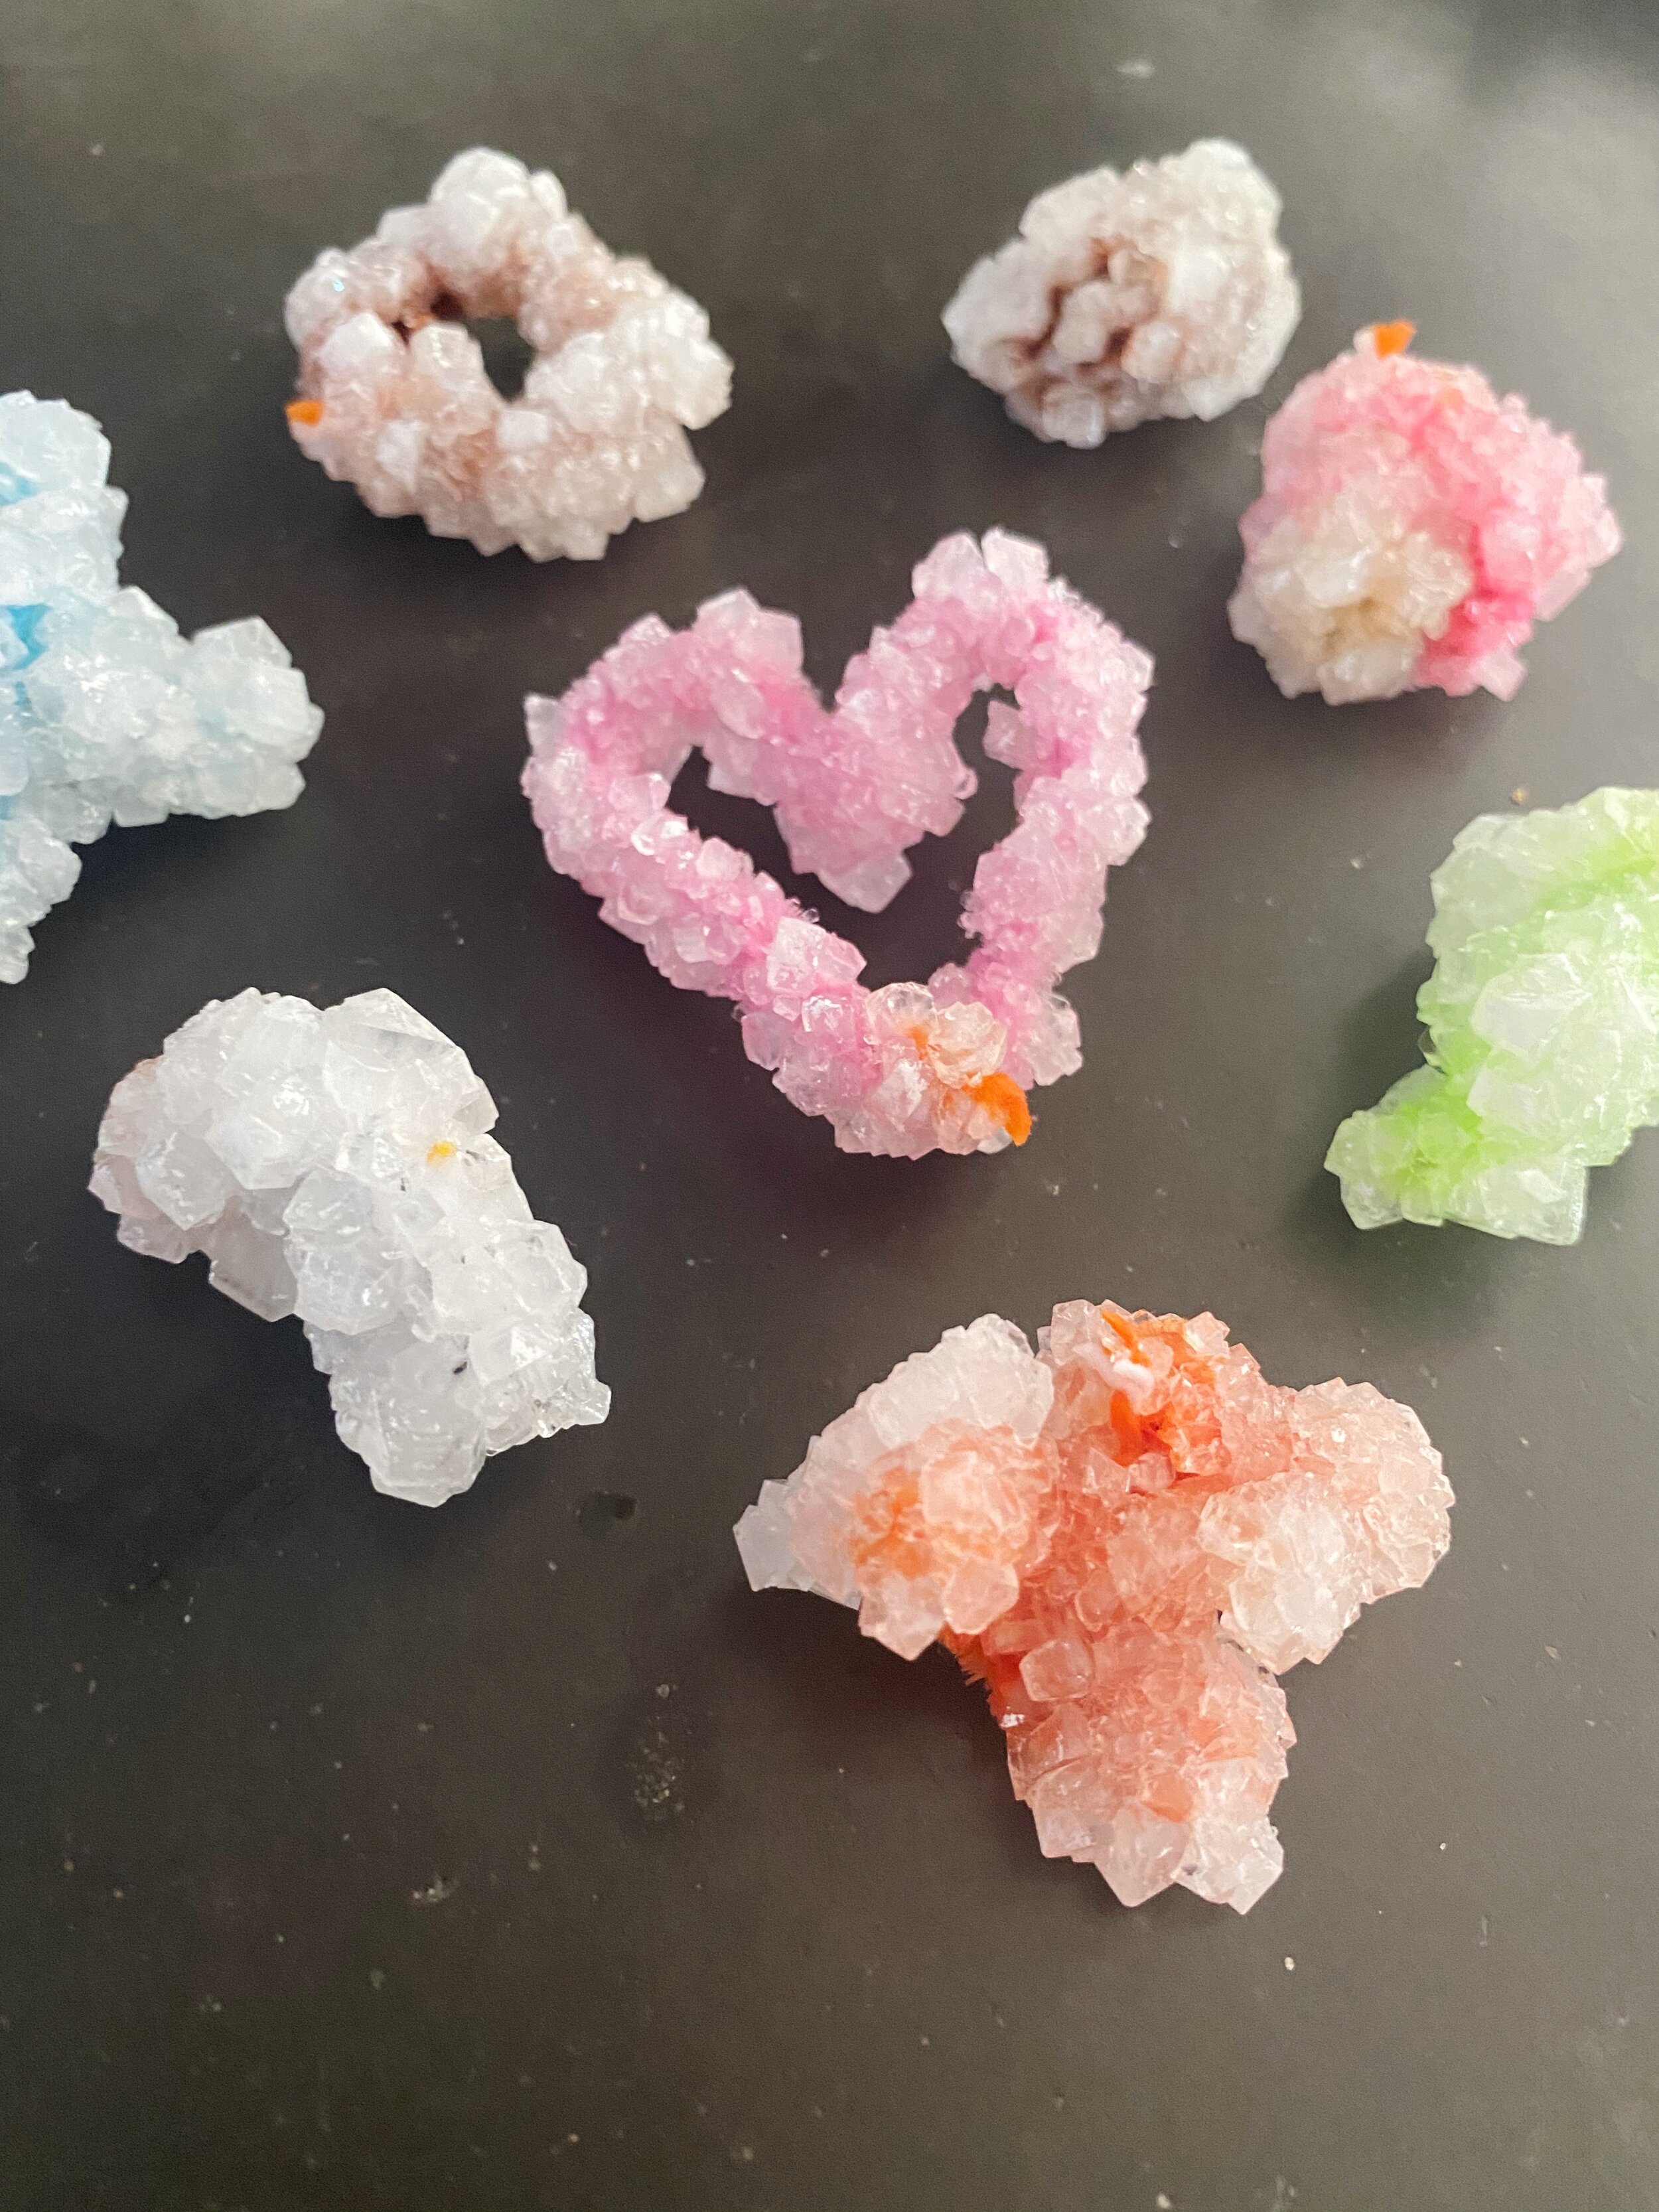
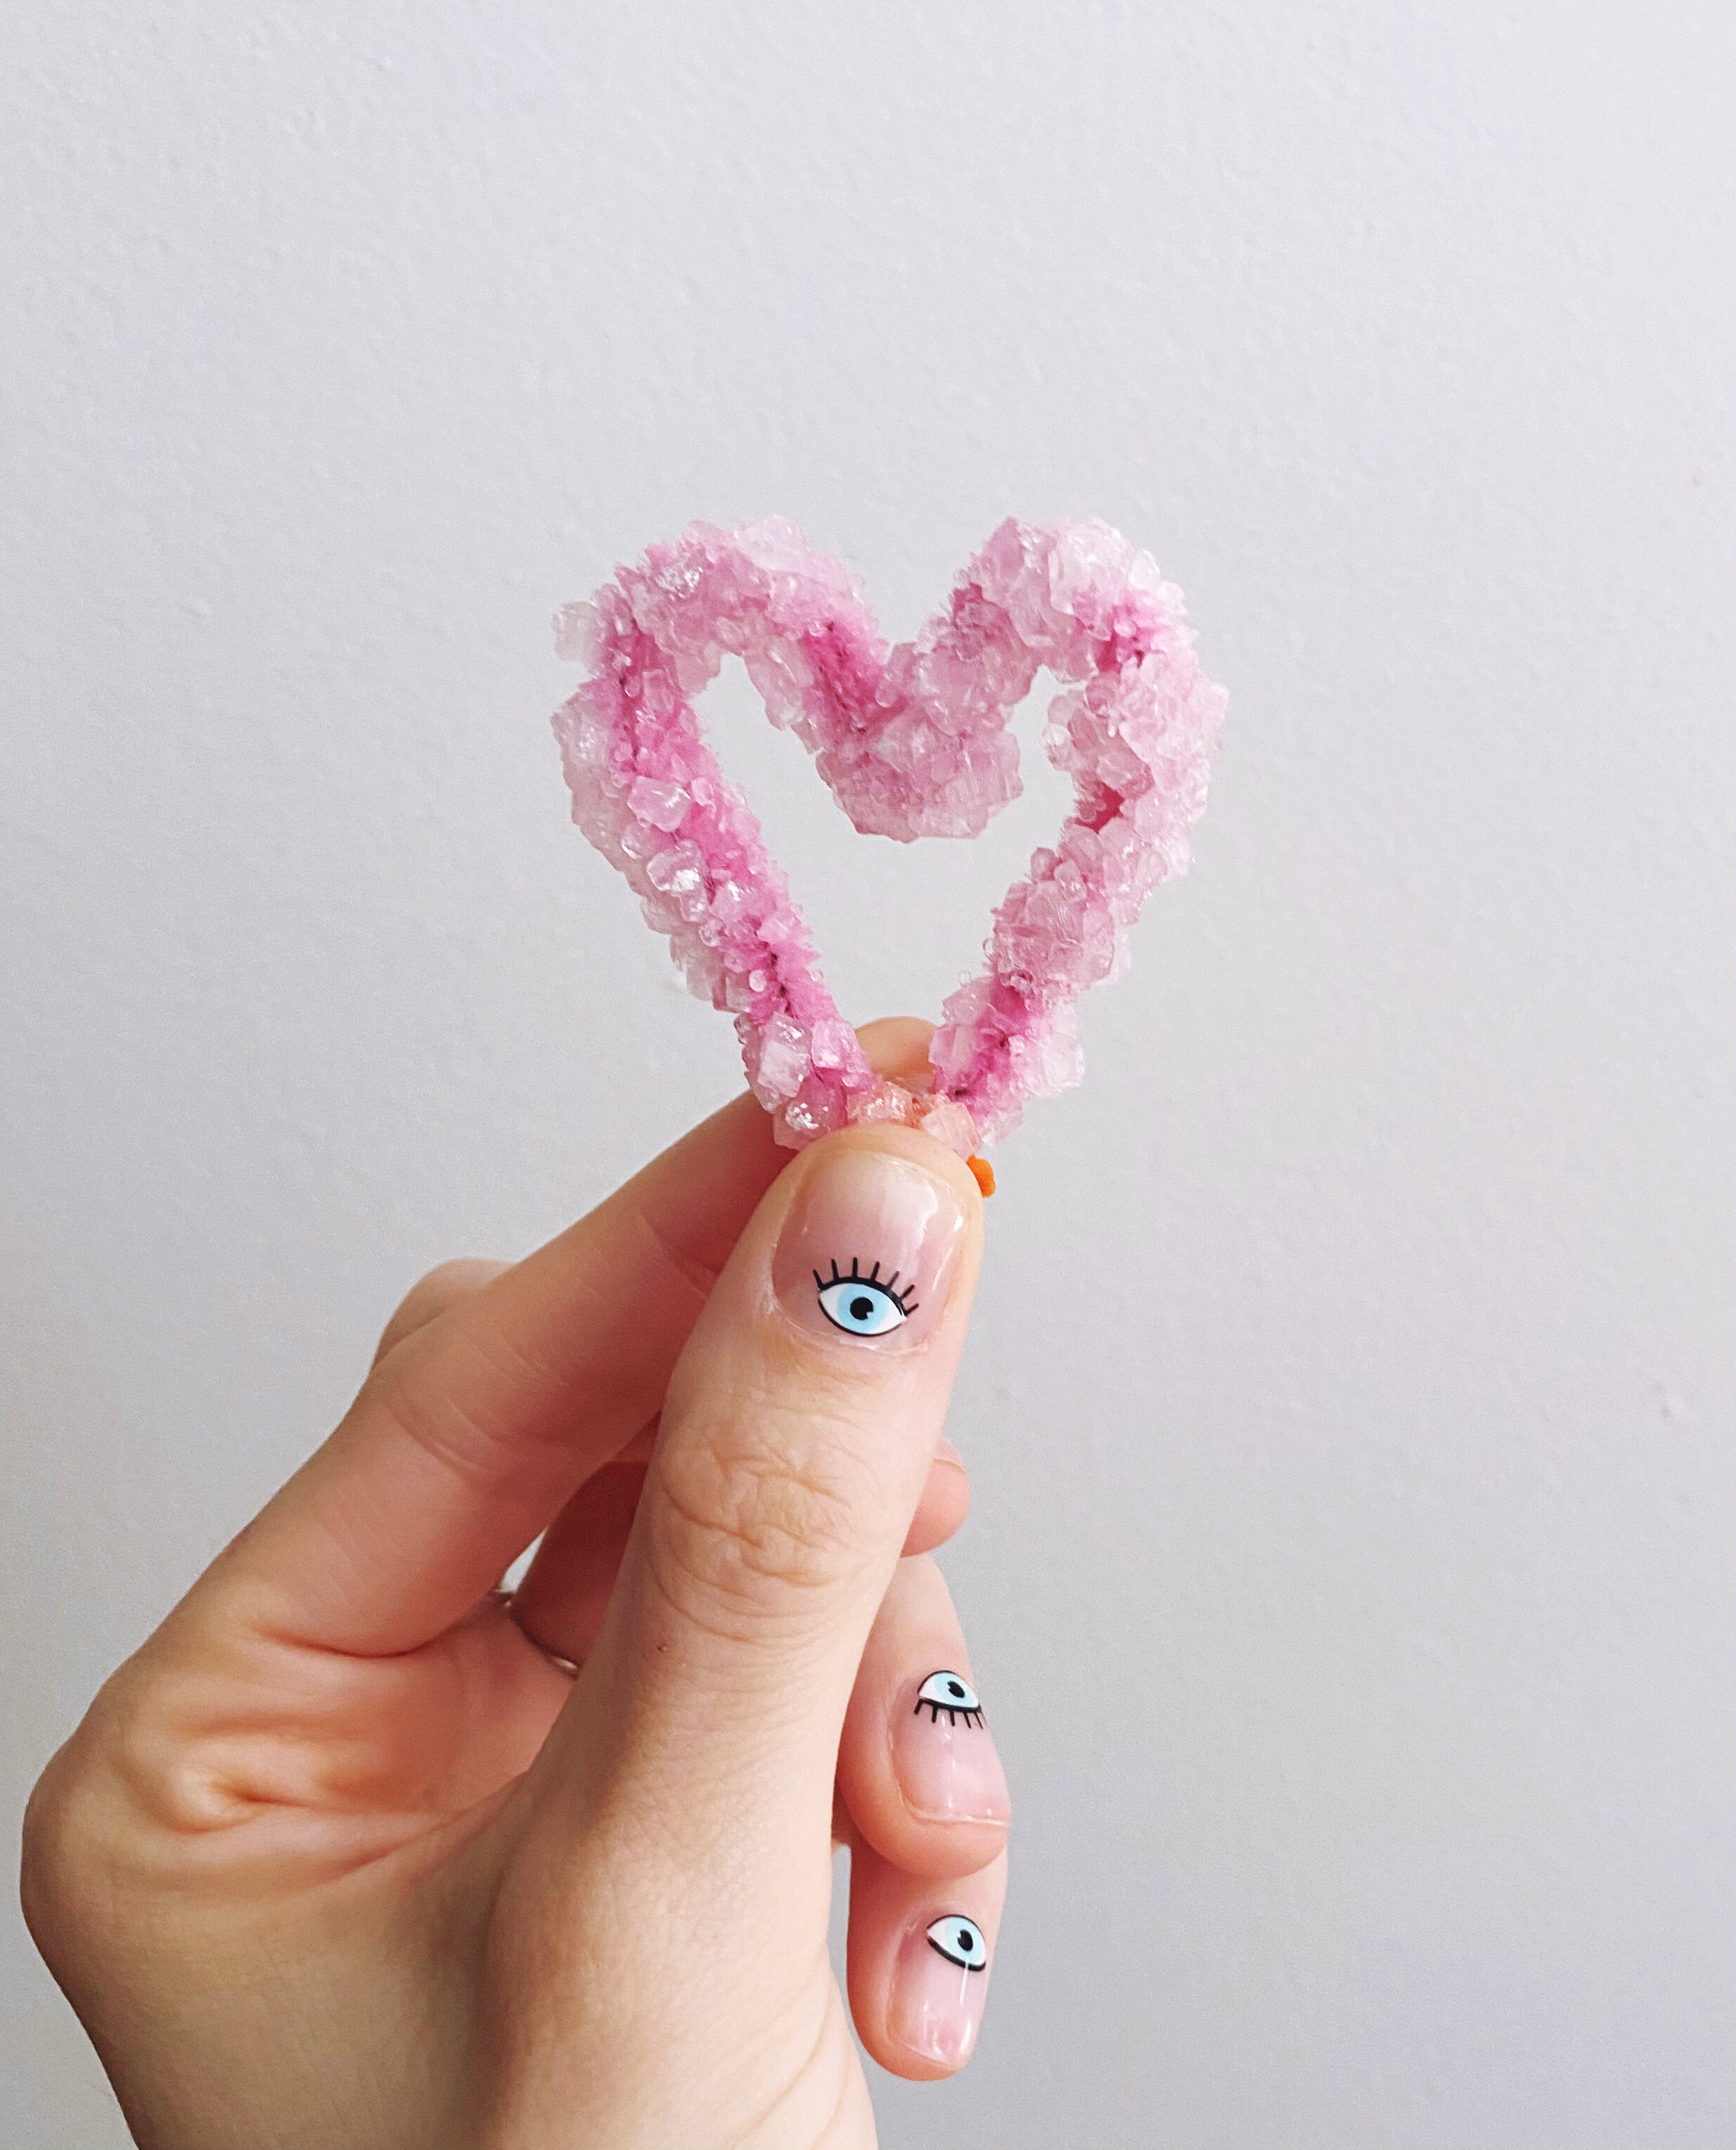
Step 1: Bend pipe cleaners into a compact shape.
The more compact the shape, the more crystals will form on the outside. If you leave big gaps, your crystals will end up with holes in them. If that is the design you’re going for, then FEEL FREE. I made a couple shapes with gaps. The heart is my favorite. <3
Step 2: Add thread.
Once your pipe cleaners are shaped, tie about 8 inches of thread around the pipe cleaner. I used string, and you can see it. Thread would be thinner and less noticeable. The length of the thread will be determined by the glass you grow your crystals in.

Step 3: Tie thread to a skewer.
I cut the skewers in half to use less of them. Hang the pipe cleaners on the skewers so they are suspended entirely in the glass you’re using. Avoid touching the sides or bottom.
Step 4: Make the Borax solution.
For every cup of water, add 3-4 tablespoons of Borax. Stir until the water becomes clear and the majority of the Borax is dissolved. You’ll need to add enough Borax to the boiling water until no more will dissolve in the water. I used 3 cups of water with 6 tablespoons of Borax. If you add too much Borax and the water becomes cloudy, your crystals will be cloudy too. Just add more boiling water for an easy fix.

Step 5: Assemble your growing station.
These crystals will need to grow overnight without being moved around too much. Before pouring the Borax solution into the glasses/jars, pop it in the microwave and bring it back up to boiling temperature. The hotter the solution, the better.
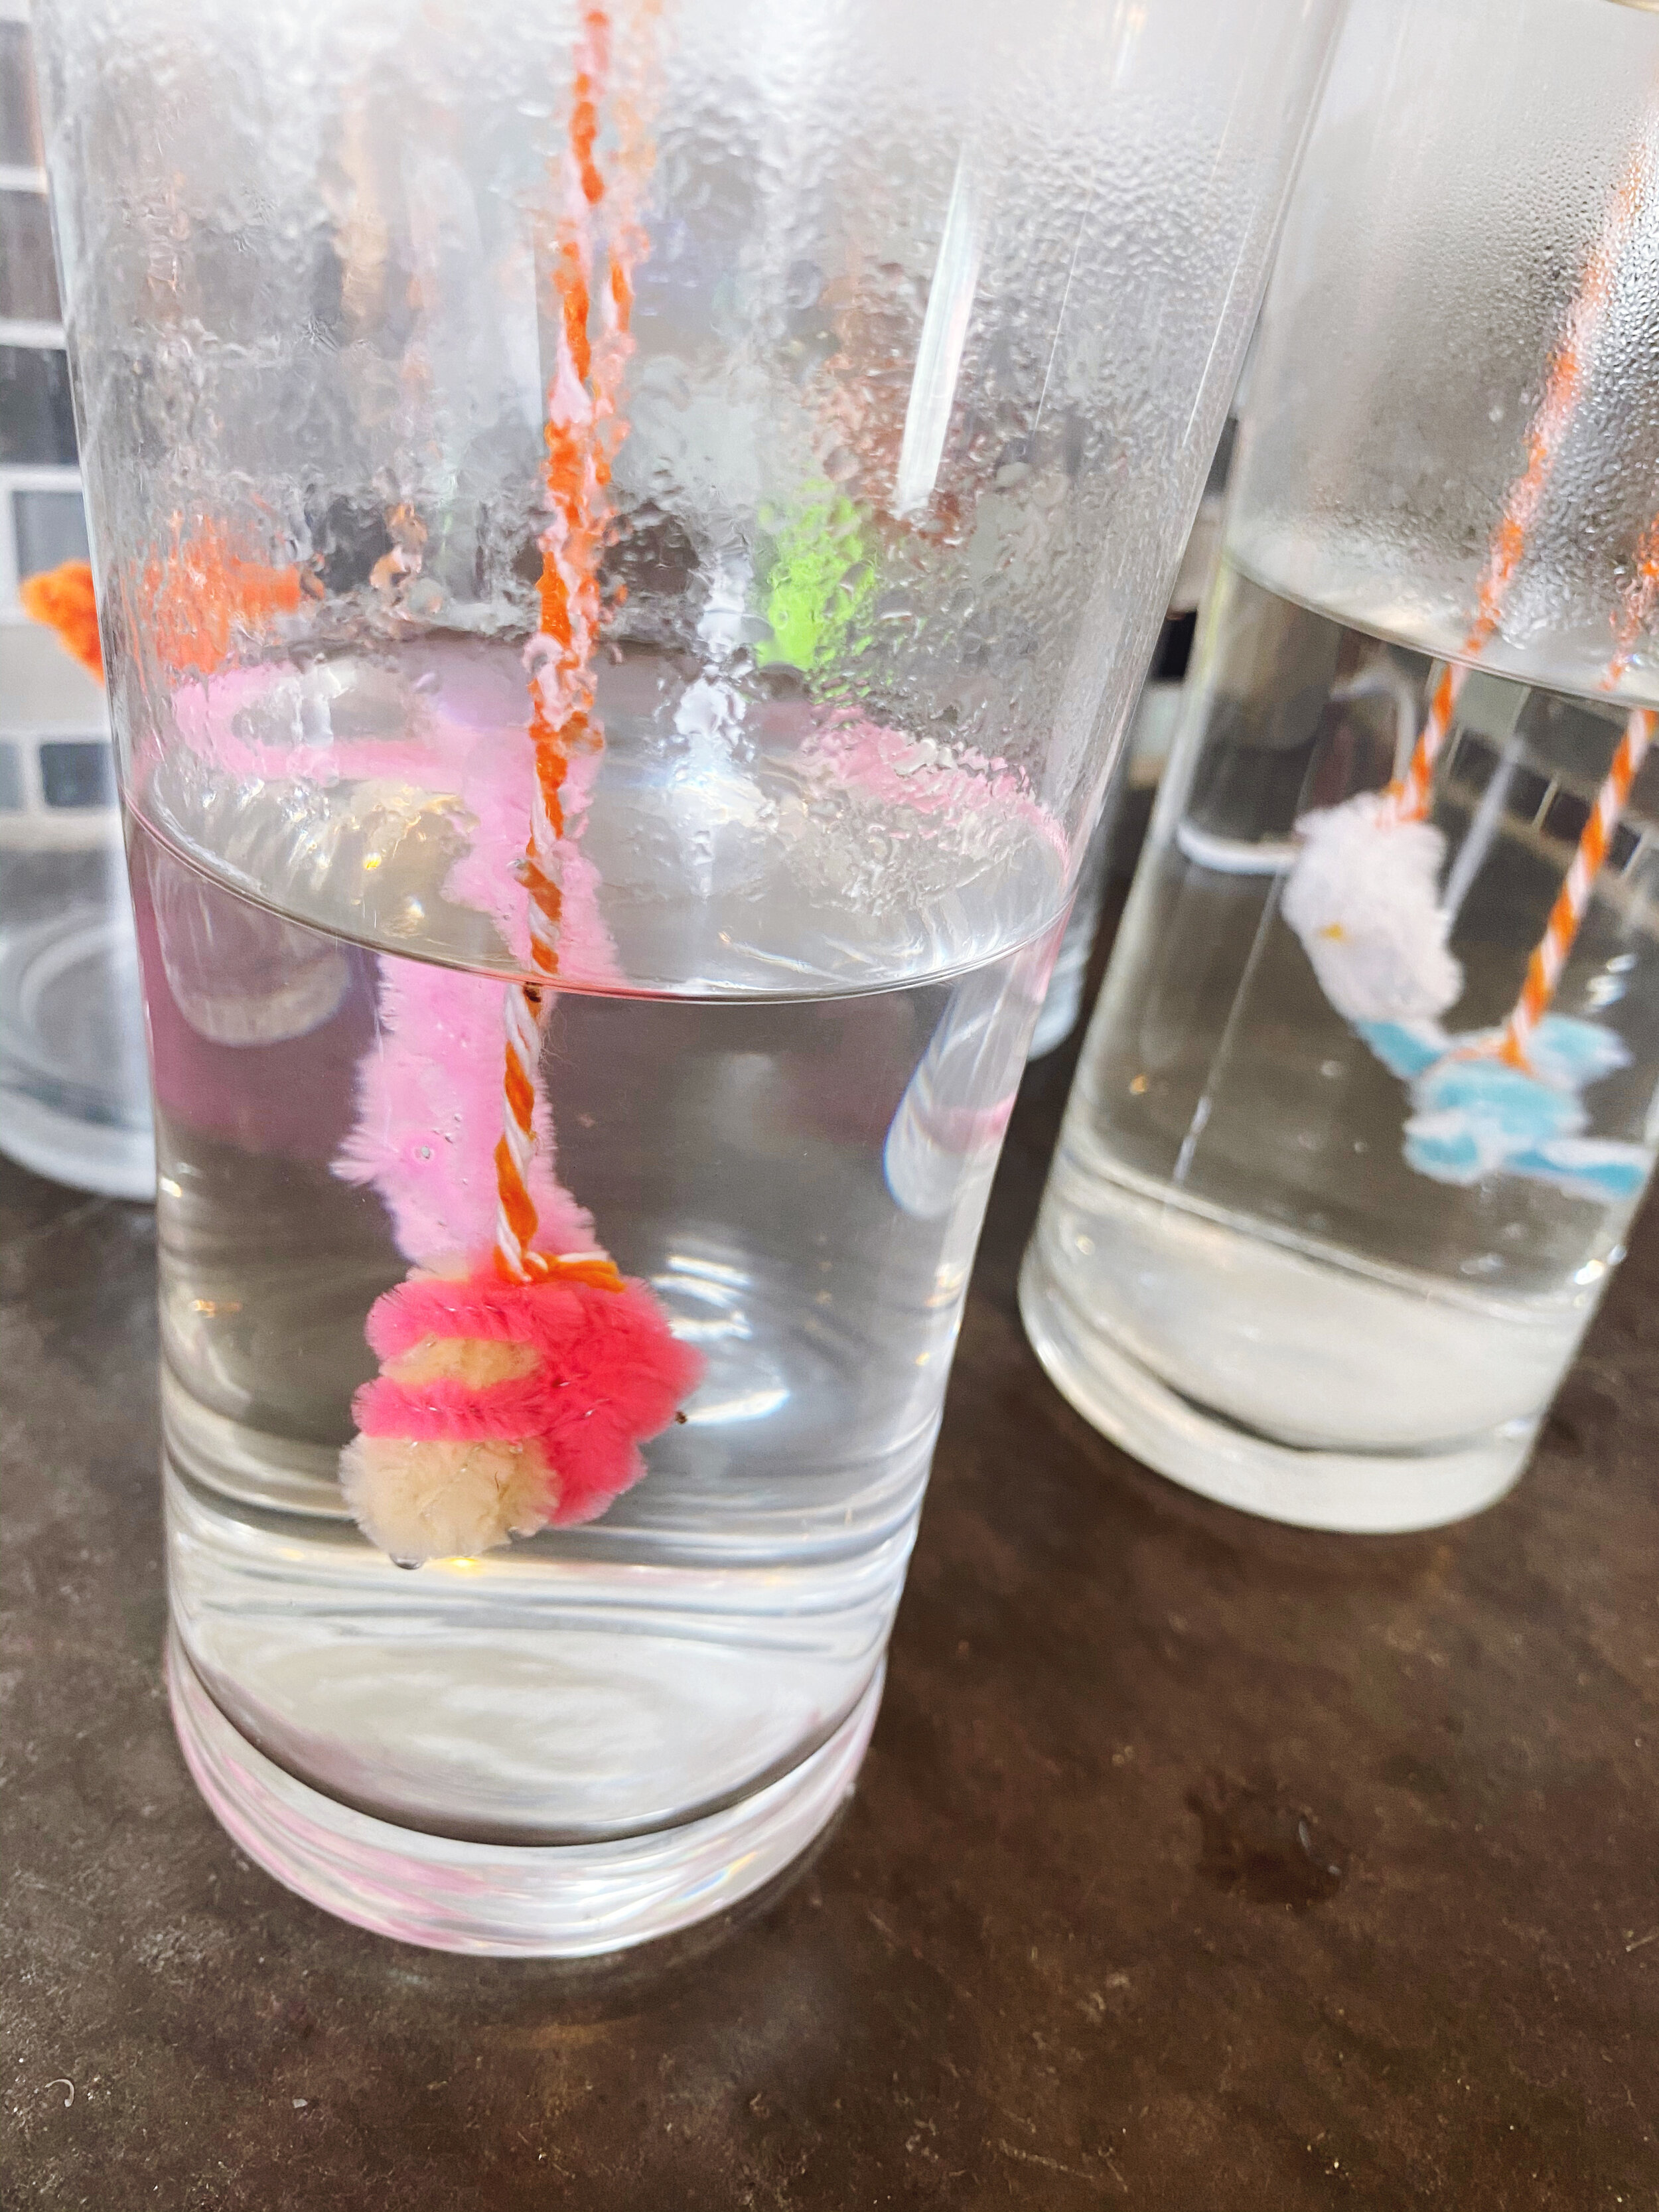
Step 6: Place the skewers.
Place the skewers on top of the container, submerging the pipe cleaner in the solution. Tap to get rid of any air bubbles. Once you are happy with your pipe cleaner placement (not touching sides or bottom), cover the top loosely with anything you can find. I used a towel. Slower cooling means bigger crystals.

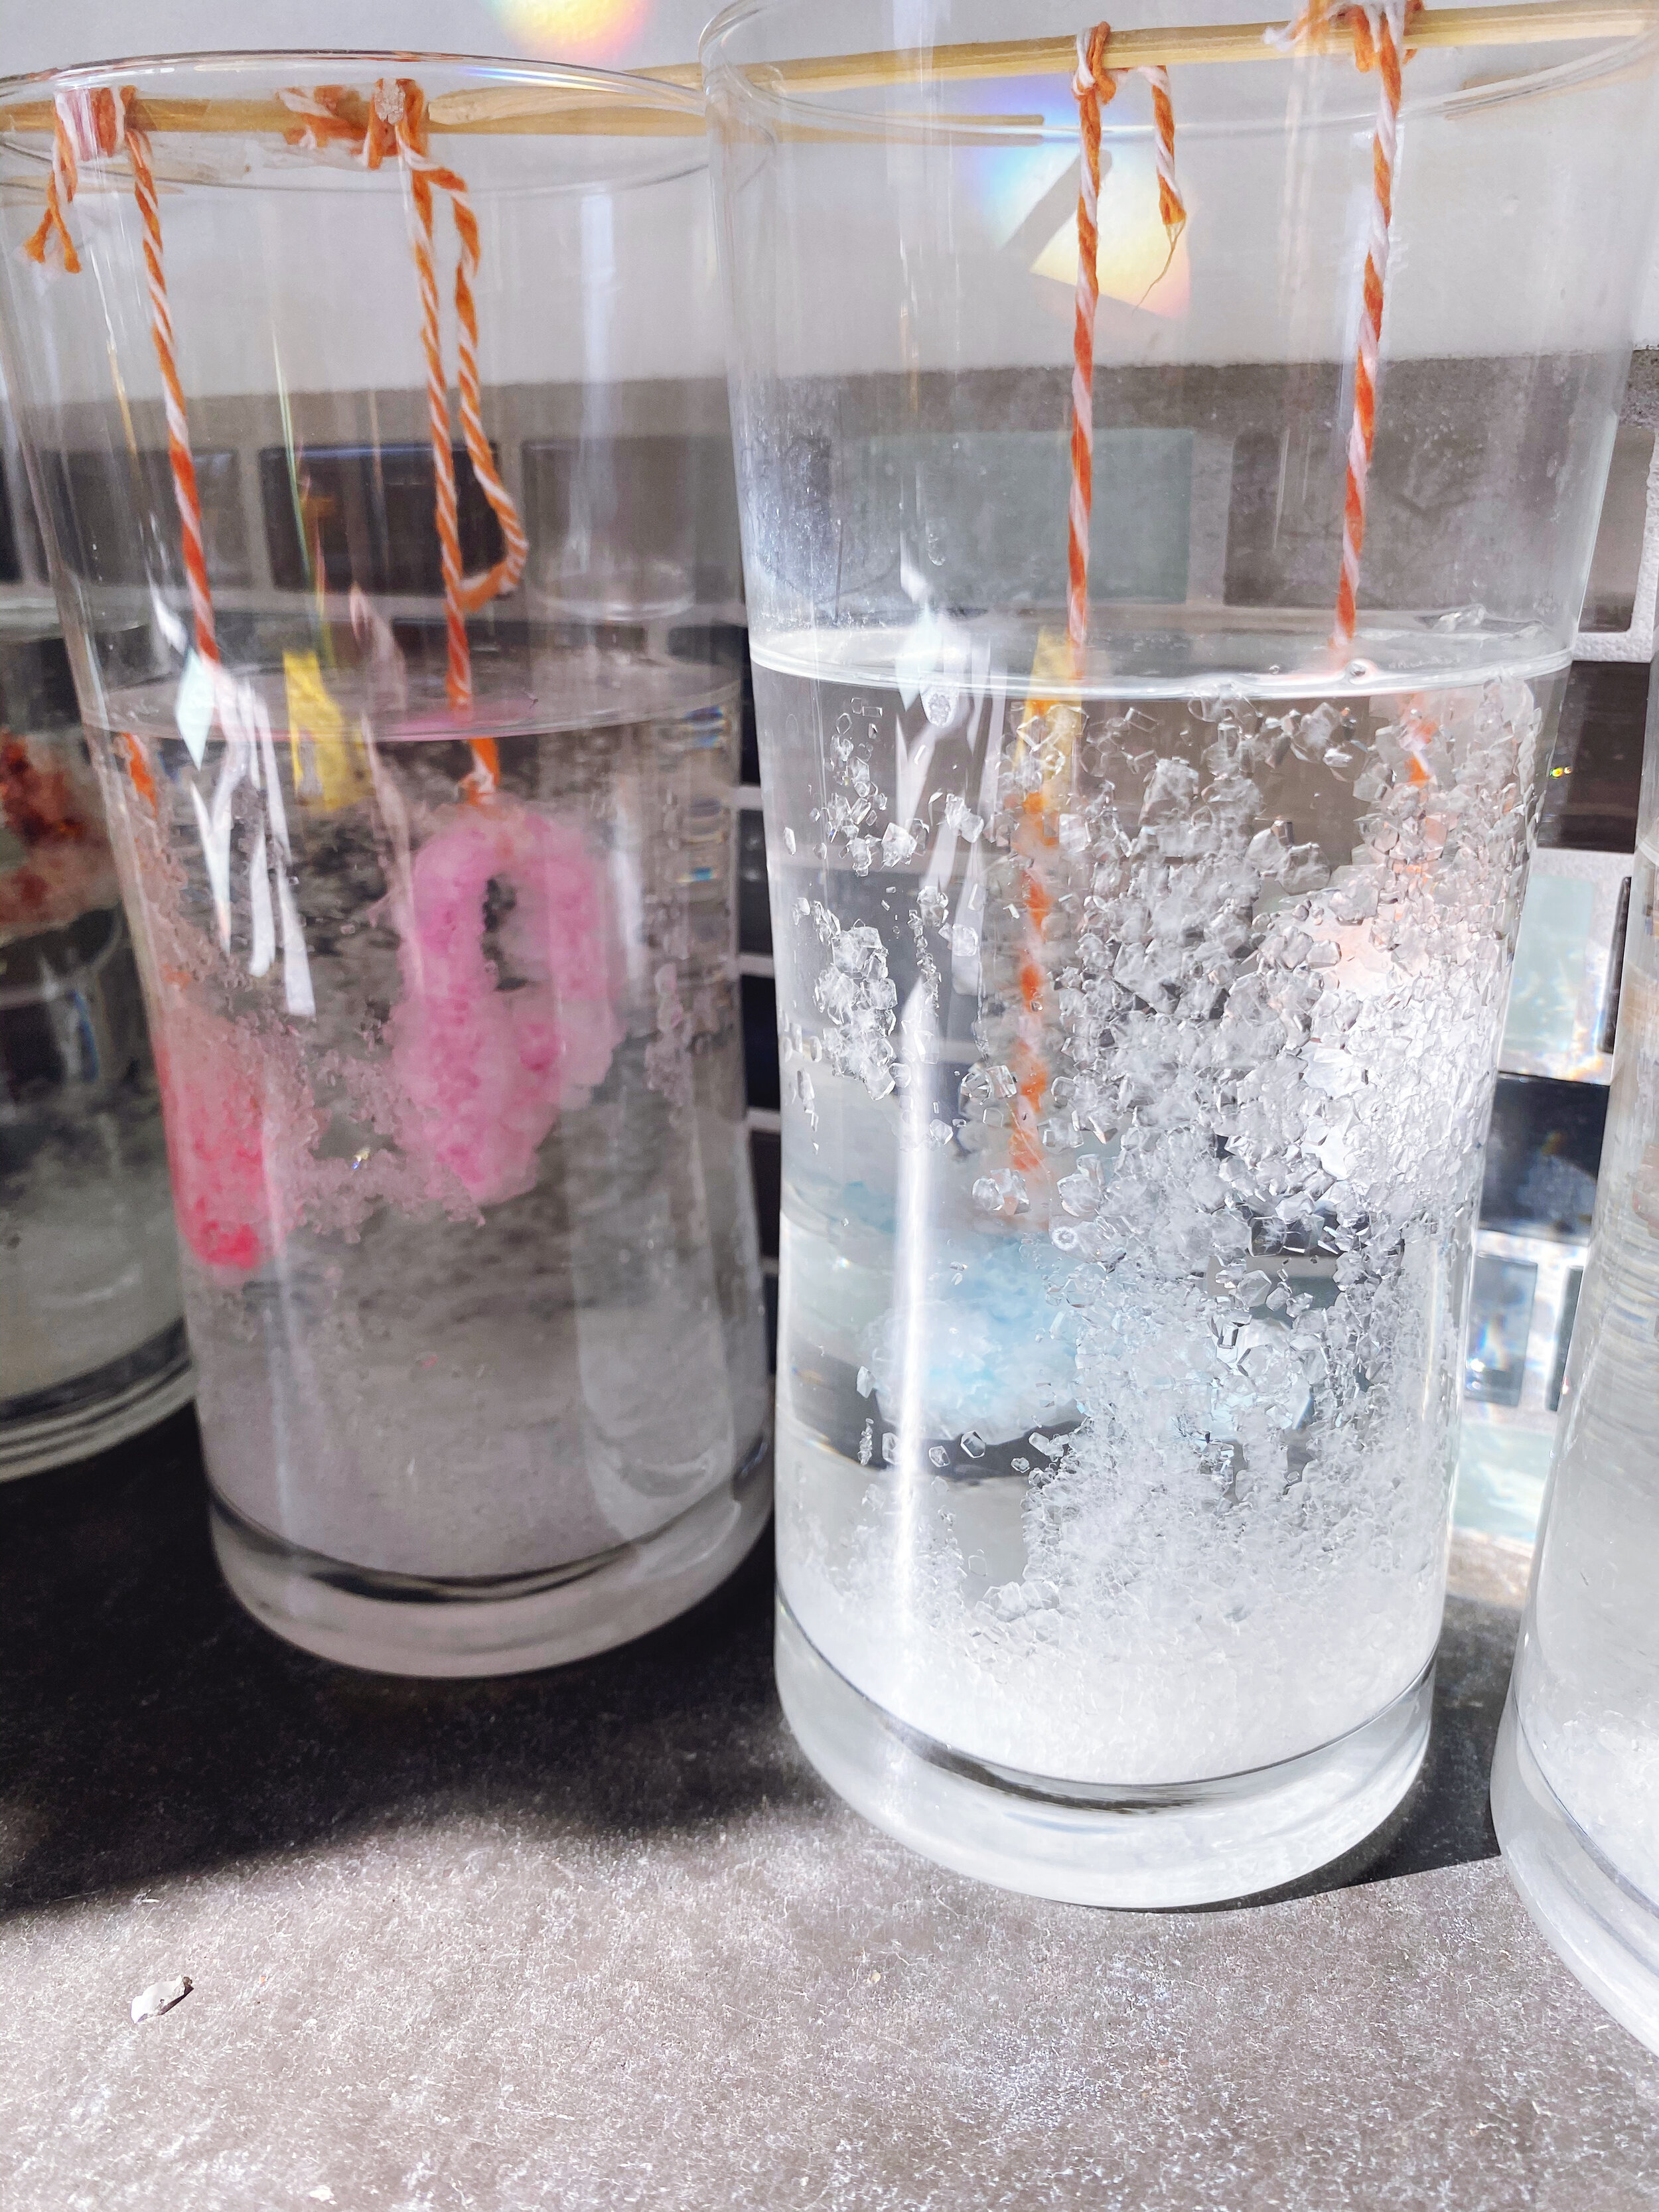
Step 7: Wait and watch the crystals grow.
It is SO COOL and FUN to see them slowly growing.
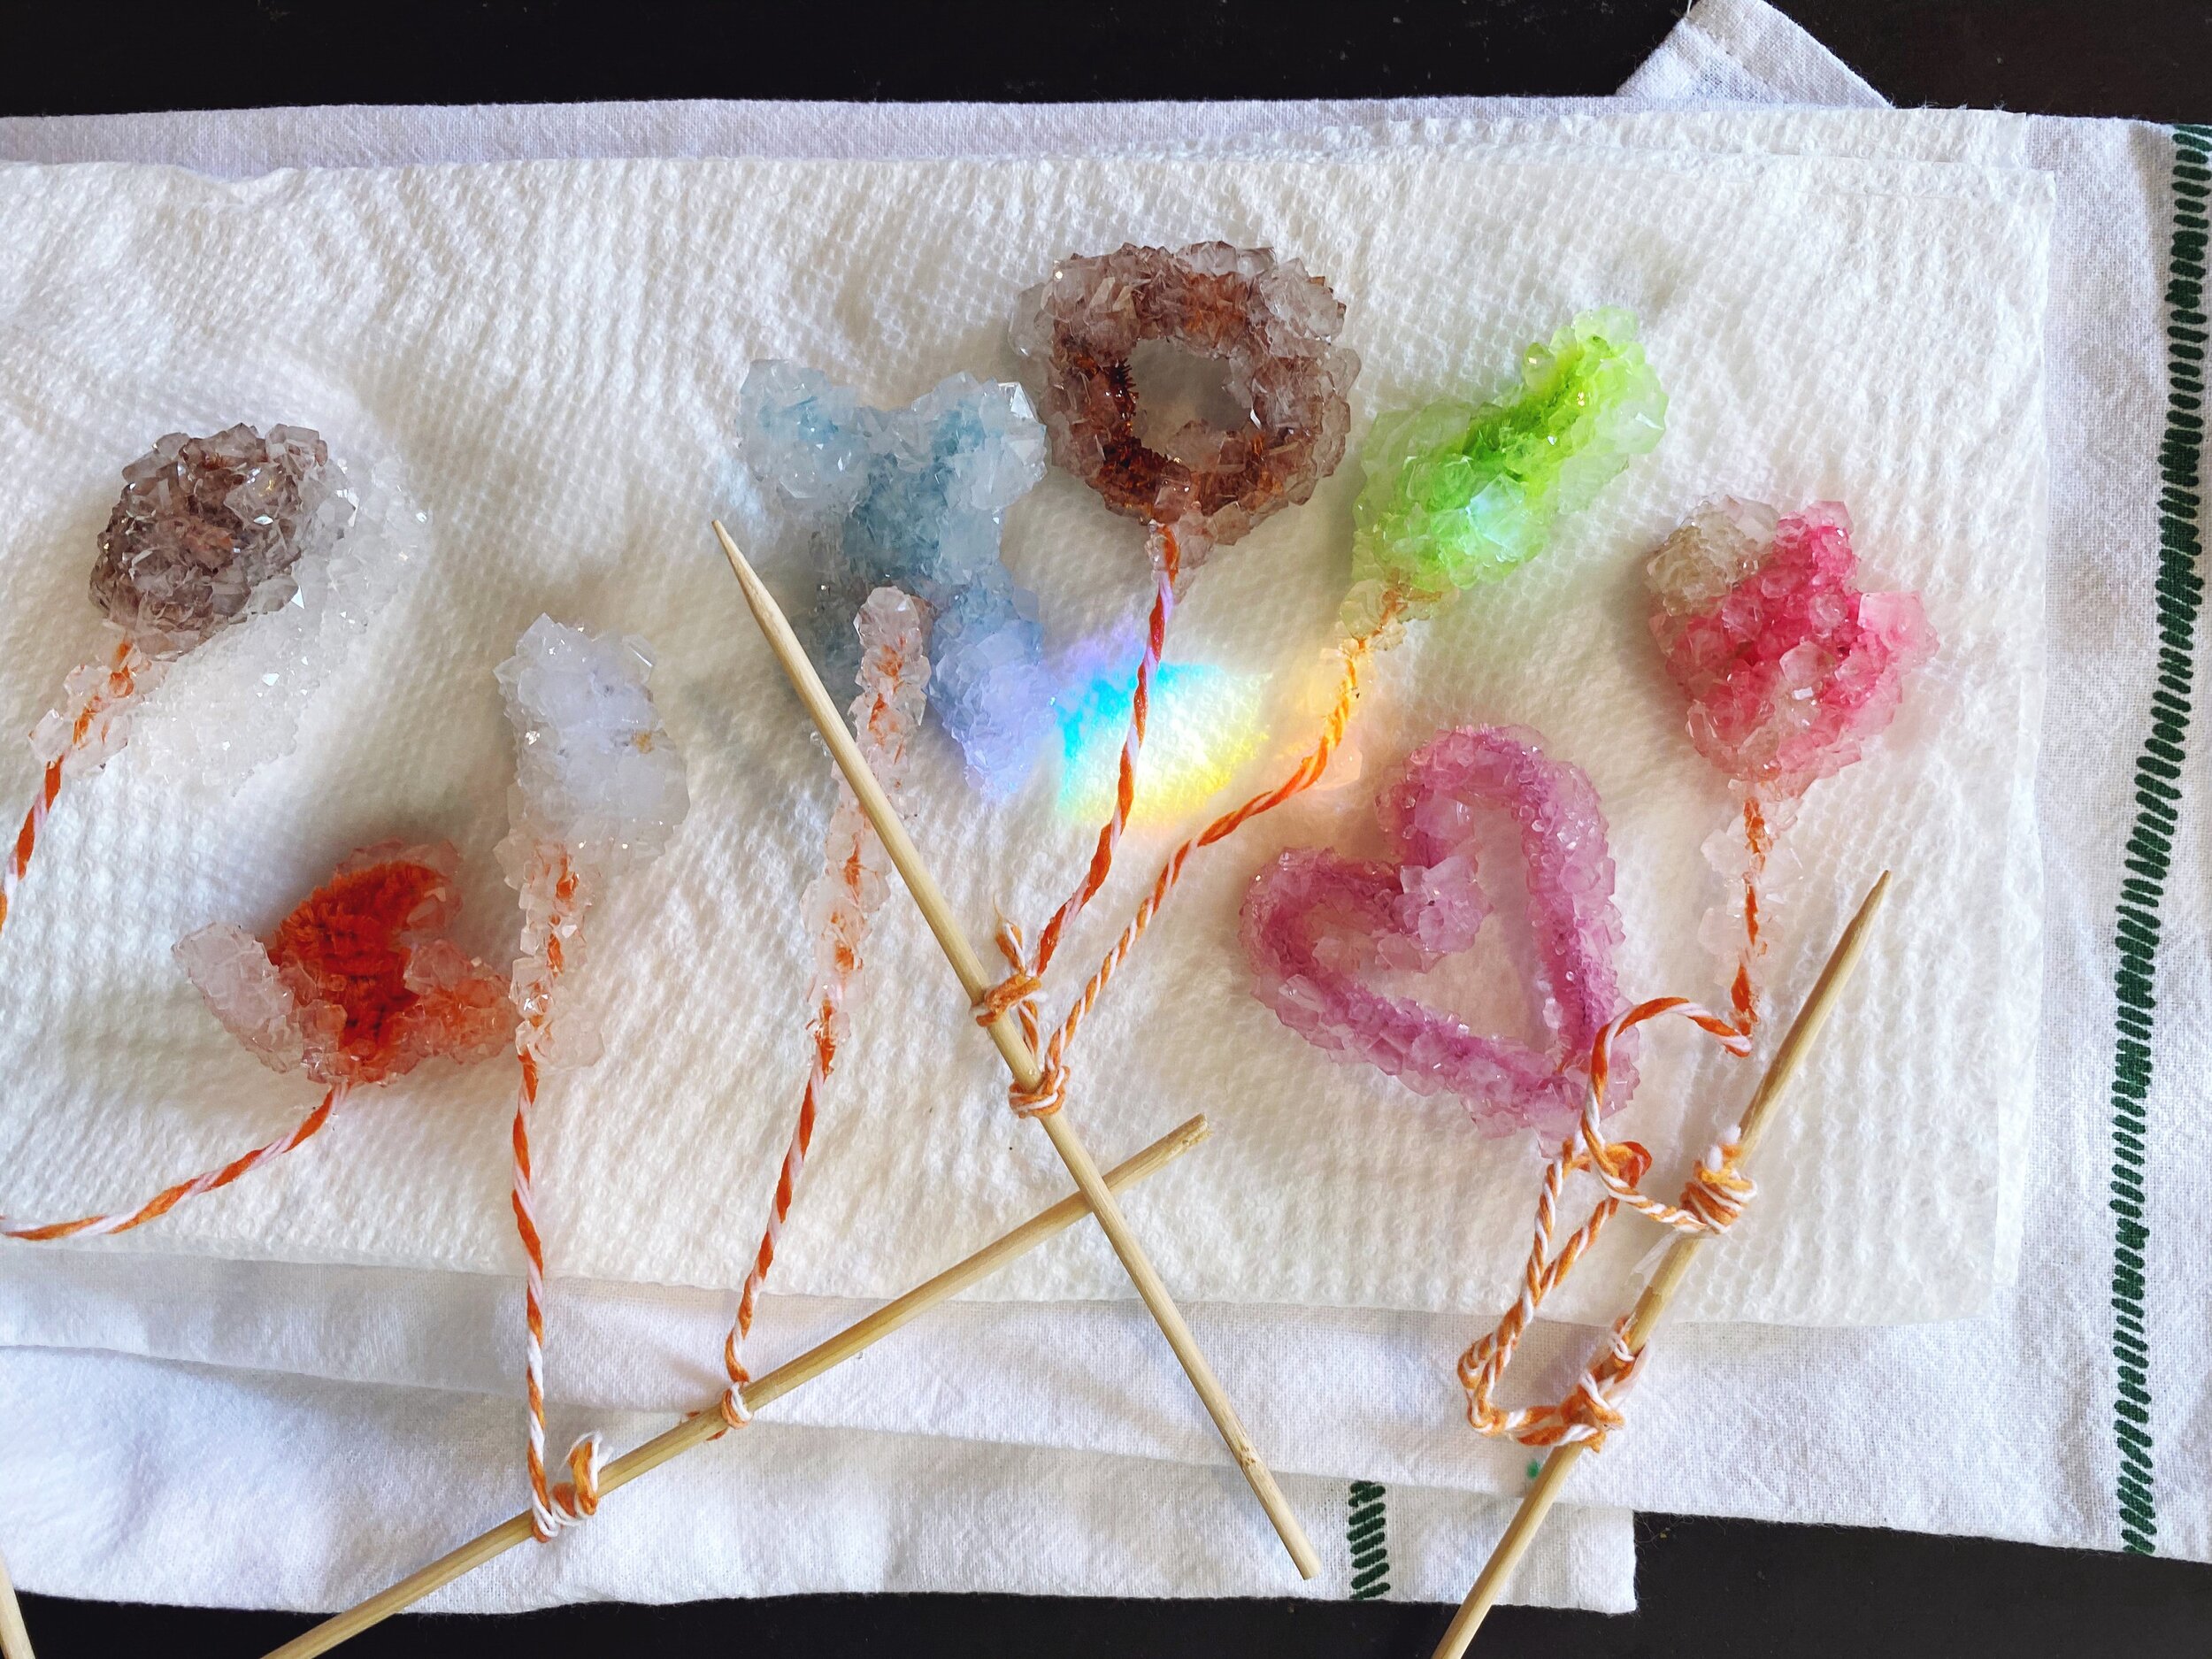
Step 8: Remove and dry crystals.
Once they are done growing (overnight or 24 hours), pull the crystals out of the solution. Lay them on paper towels to dry, swapping if thew towel becomes too saturated. I let mine air dry in a sunny spot for the afternoon. Once the crystals are dry, they are much less likely to break or crack.

Tips:
Don’t put all pipe cleaners in one glass container. They will have a lot less crystals. Add only a few to each container.
Don’t add more borax once the pipe cleaners are submerged in the solution.
The crystals grew bigger when they were closer to the bottom of the glass.
Always START with SUPER hot water.
You can reuse the Borax solution for more crystals. Just warm it back up to boiling temp!
Wow, do you feel like a magician or what? Just creating your own crystals with your vibes and personal meanings. You can get as deep as you want, or just think of it as a fun science experiment! I used to love making the fold out poster boards for the science fair. The only one I can remember doing is making an egg float. Maybe that will be my next magic trick.
Hope you enjoyed this as much as we did. Until next time, friends!
Always and Whatever
XO