Wishing Wand
How in the heck is this year over? It was the fastest, slowest, best and worst all in one. It was also a year of major growth in the Hickman home. I can’t believe all the good, bad and ugly that happened in 2020. So instead of talking about it, LET’S JUST MAKE SOMETHING CUTE. Craft as therapy forever.
Okay, this wishing wand is just ADORABLE, and it’s a great way to connect with your kids. Q is late in the speech department, so she tells me her wishes in her language, and I translate. Atlas’s only wish is PAPA. ANYTHING PAPA. It’s okay, I get it. I’m obsessed with Chris too. If your kid is old enough, you can talk to them about some of their goals for the new year while creating your wand! This is my favorite thing to ask little ones. Their answers are so genuine + cute.
Let’s get started!
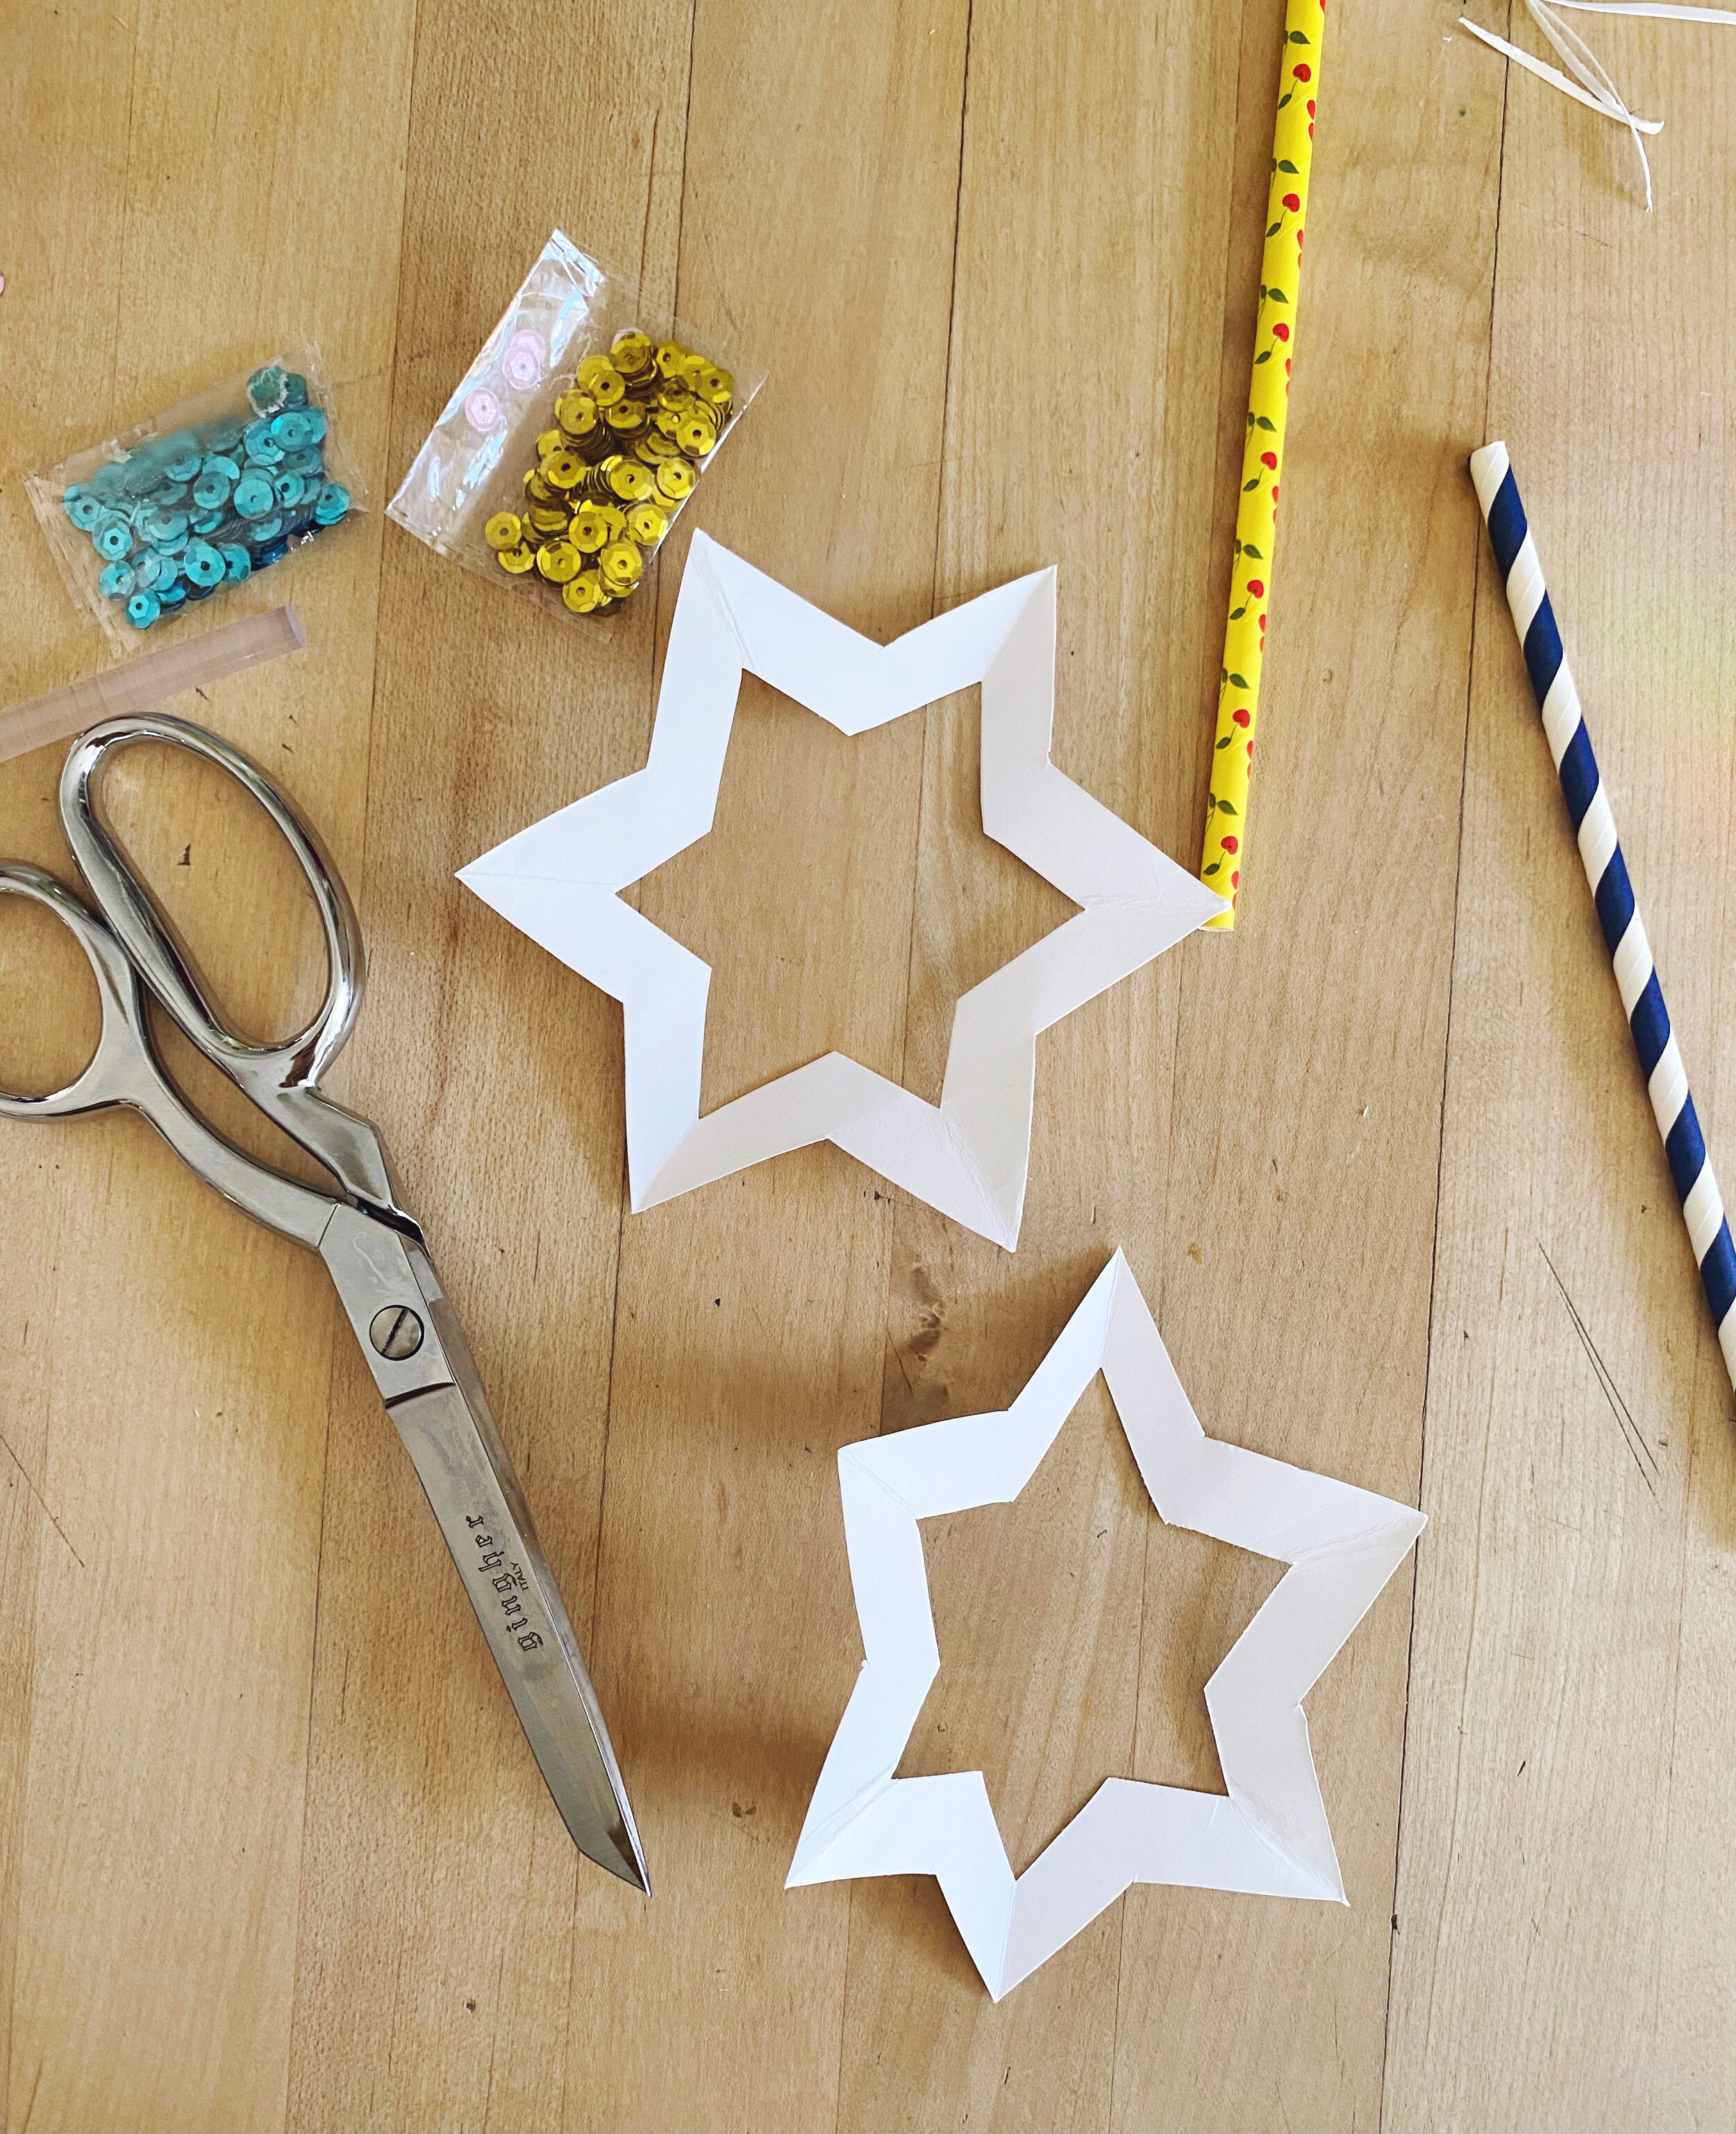
You’ll need:
Cardstock
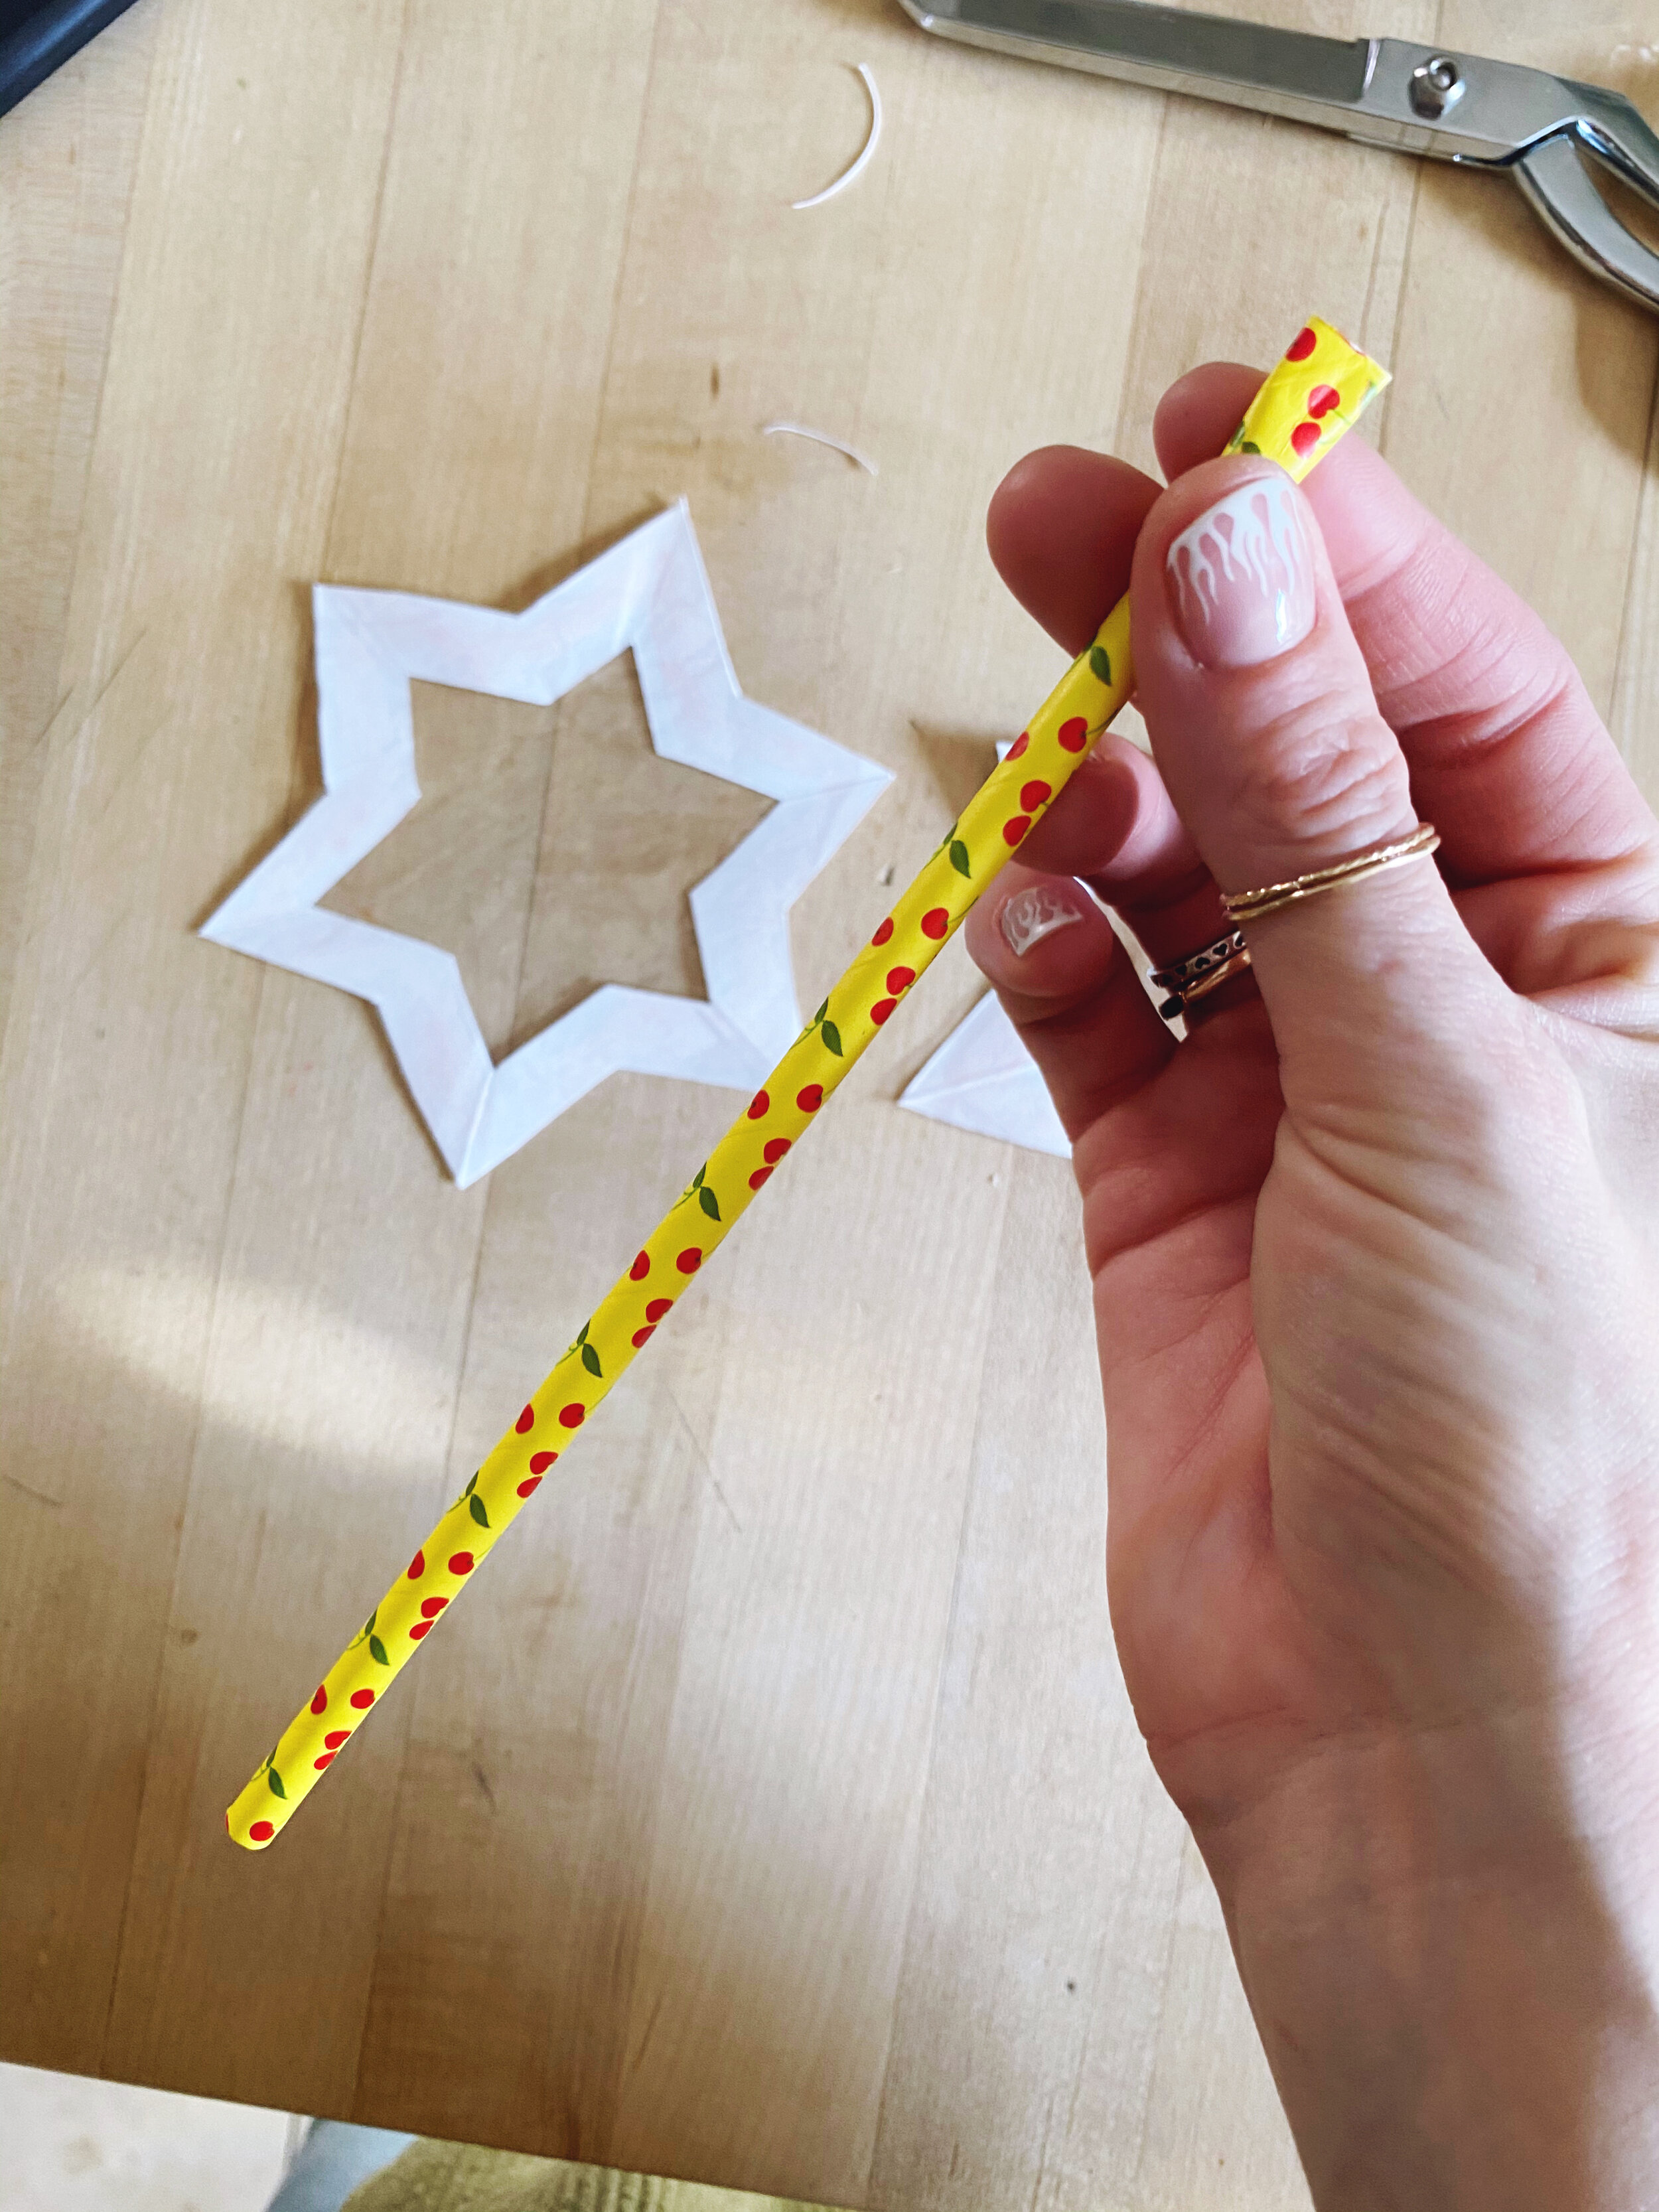
Cardboard straw, stick, or dowel (wand)
Clear contact paper (I am using recycled clear wrap from a present)
Glue stick or glue gun (I prefer hot glue for everything)
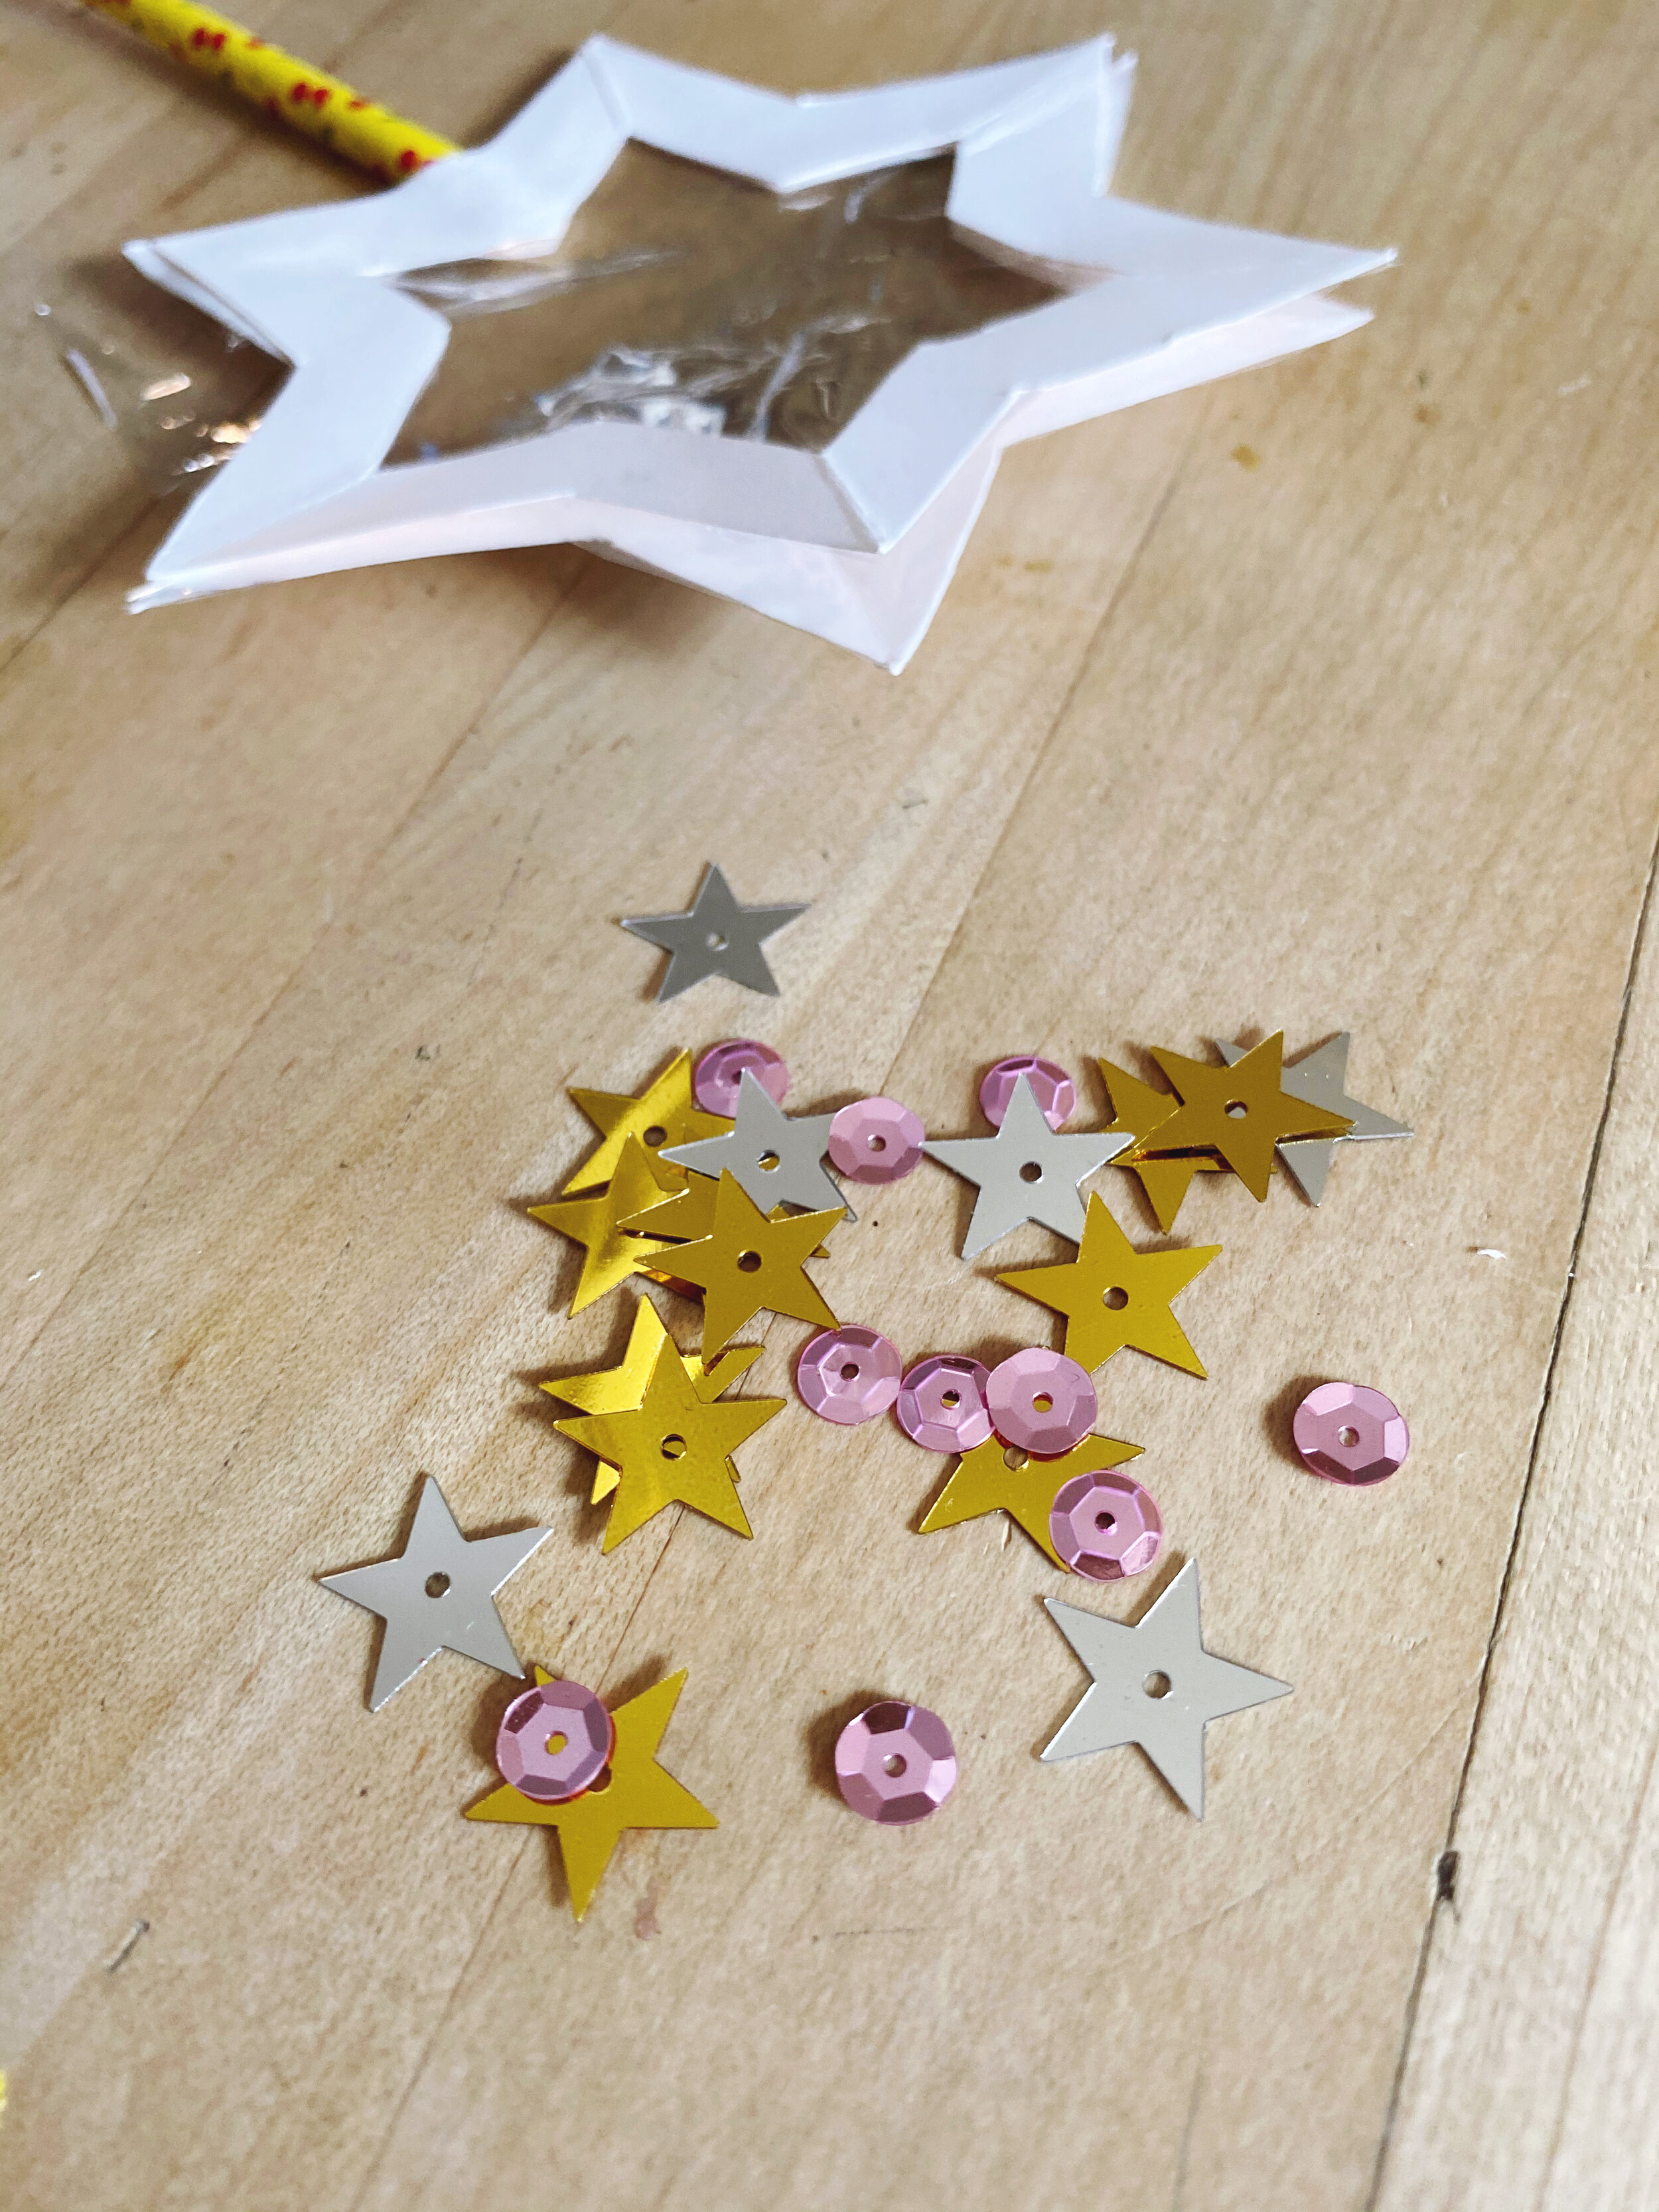
Embellishments such as chunky glitter and sequins
Marker or pen
Step 1:
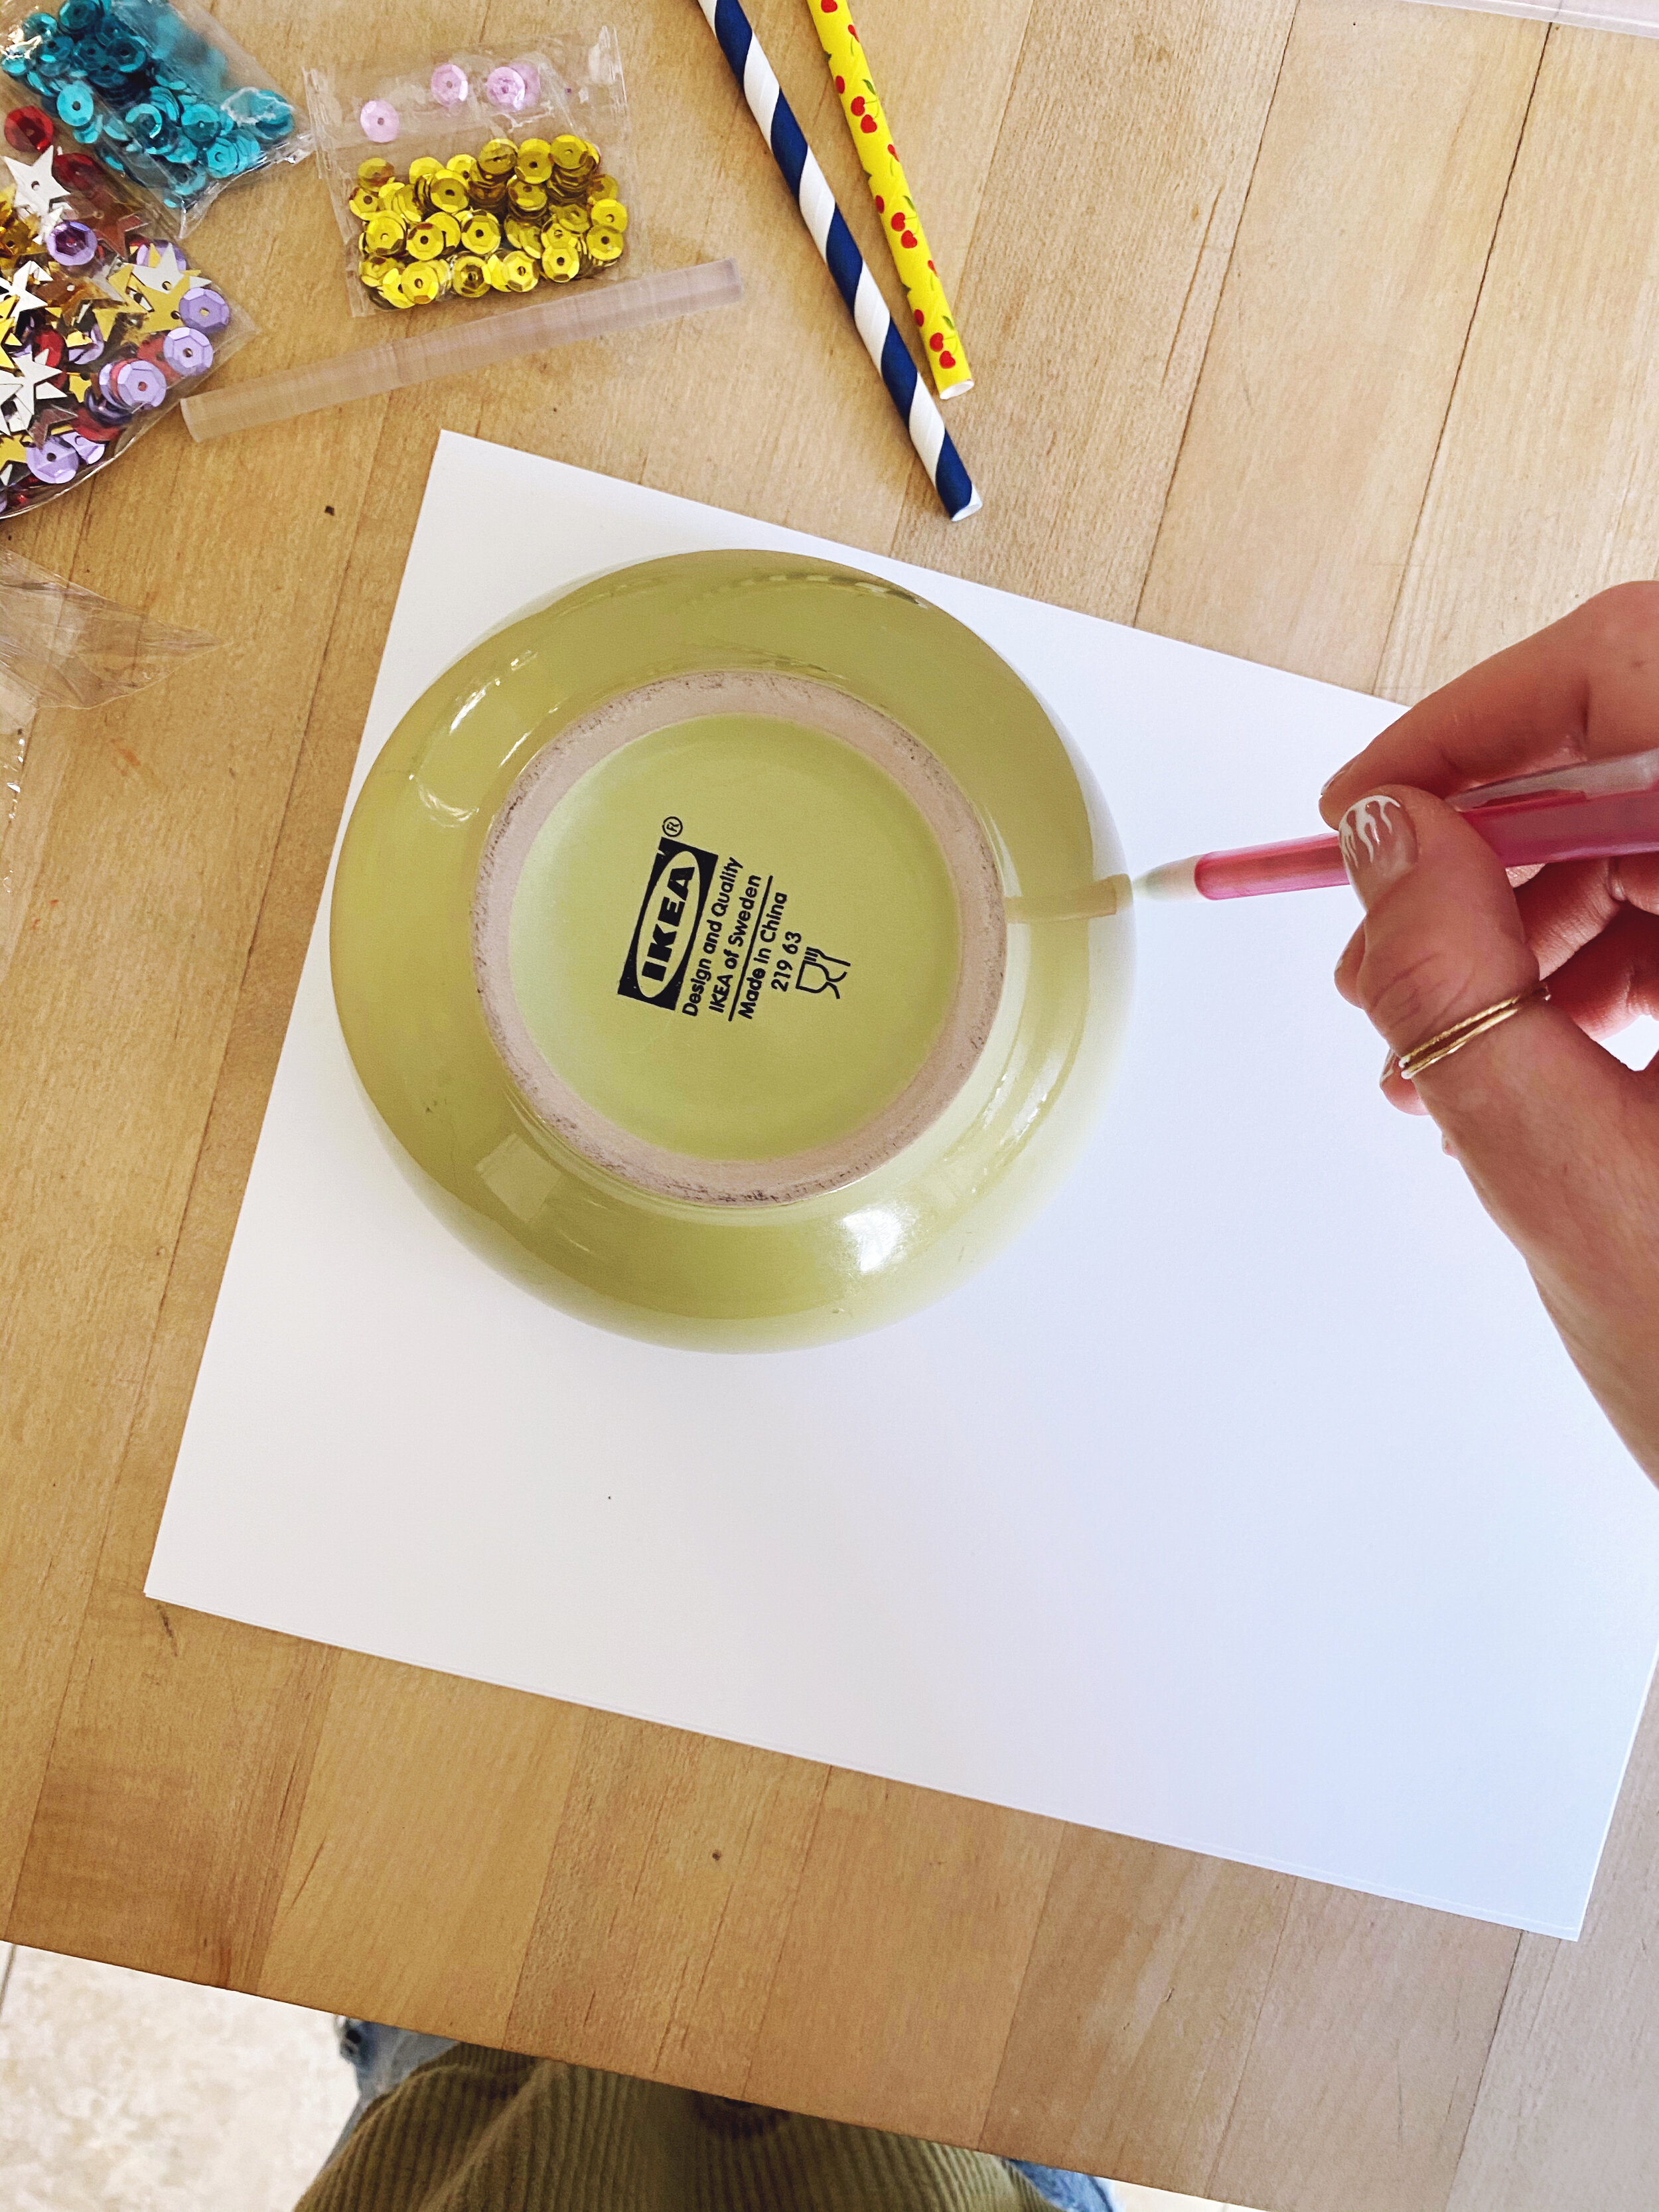
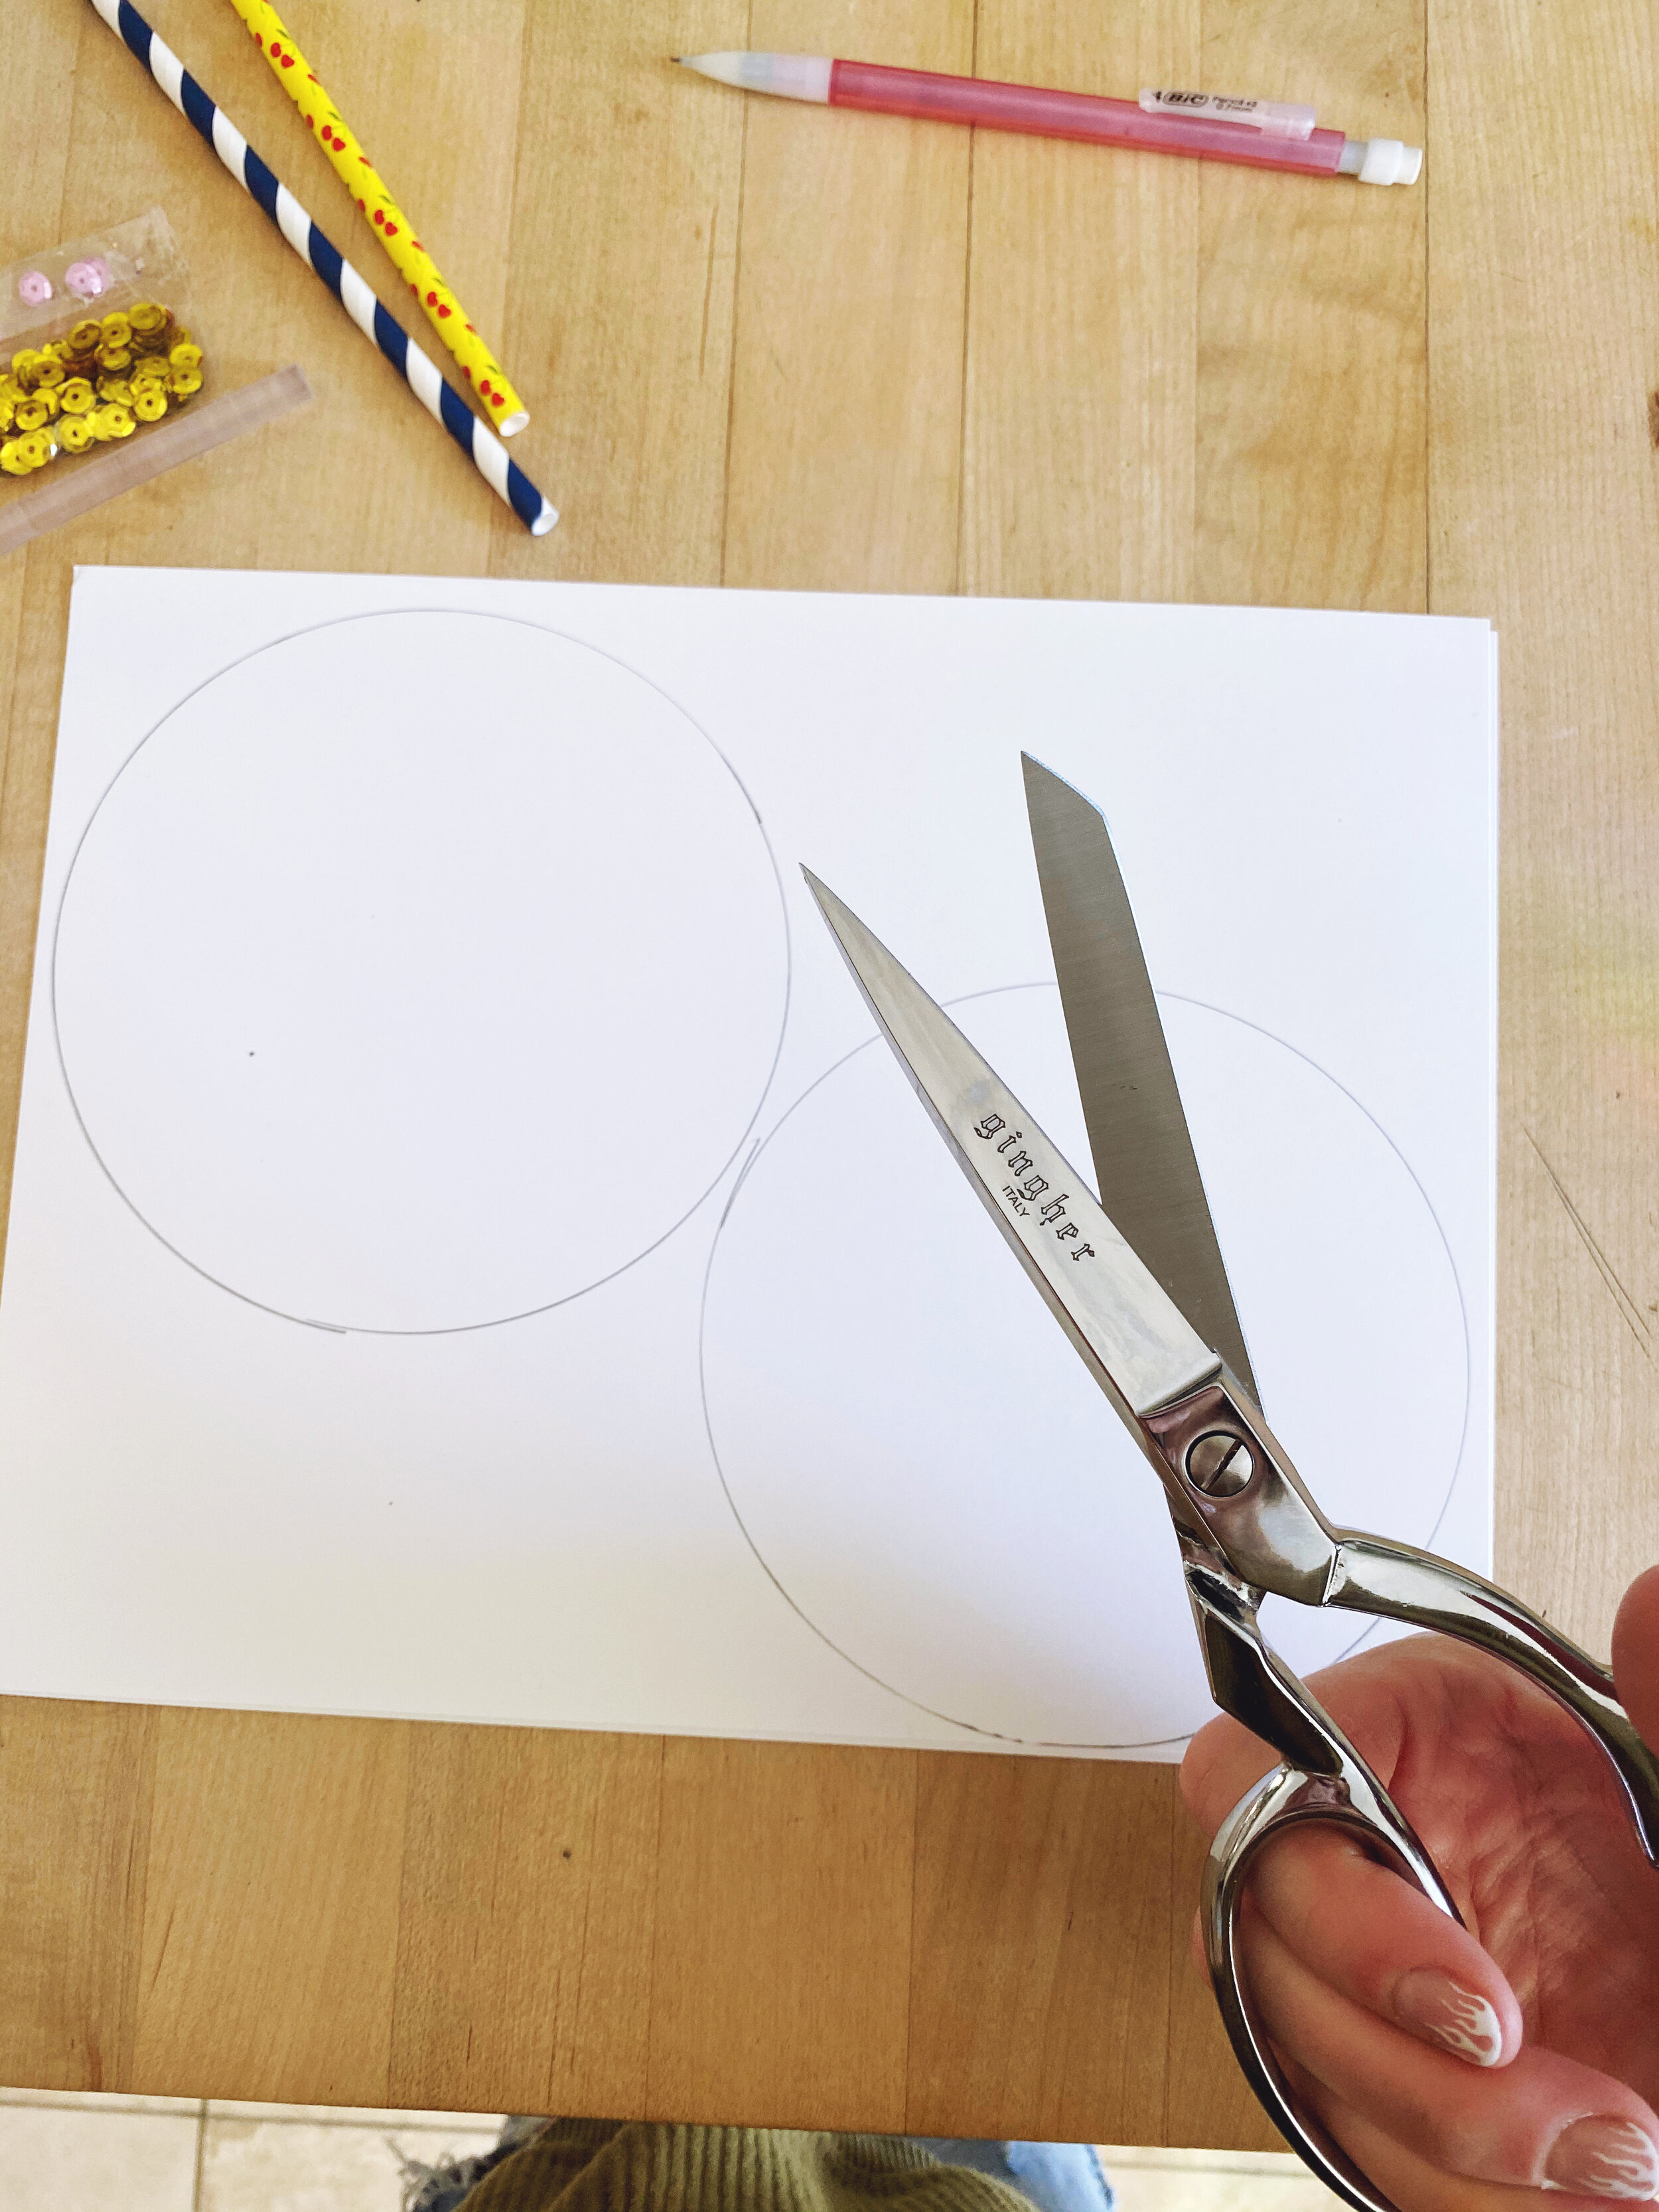
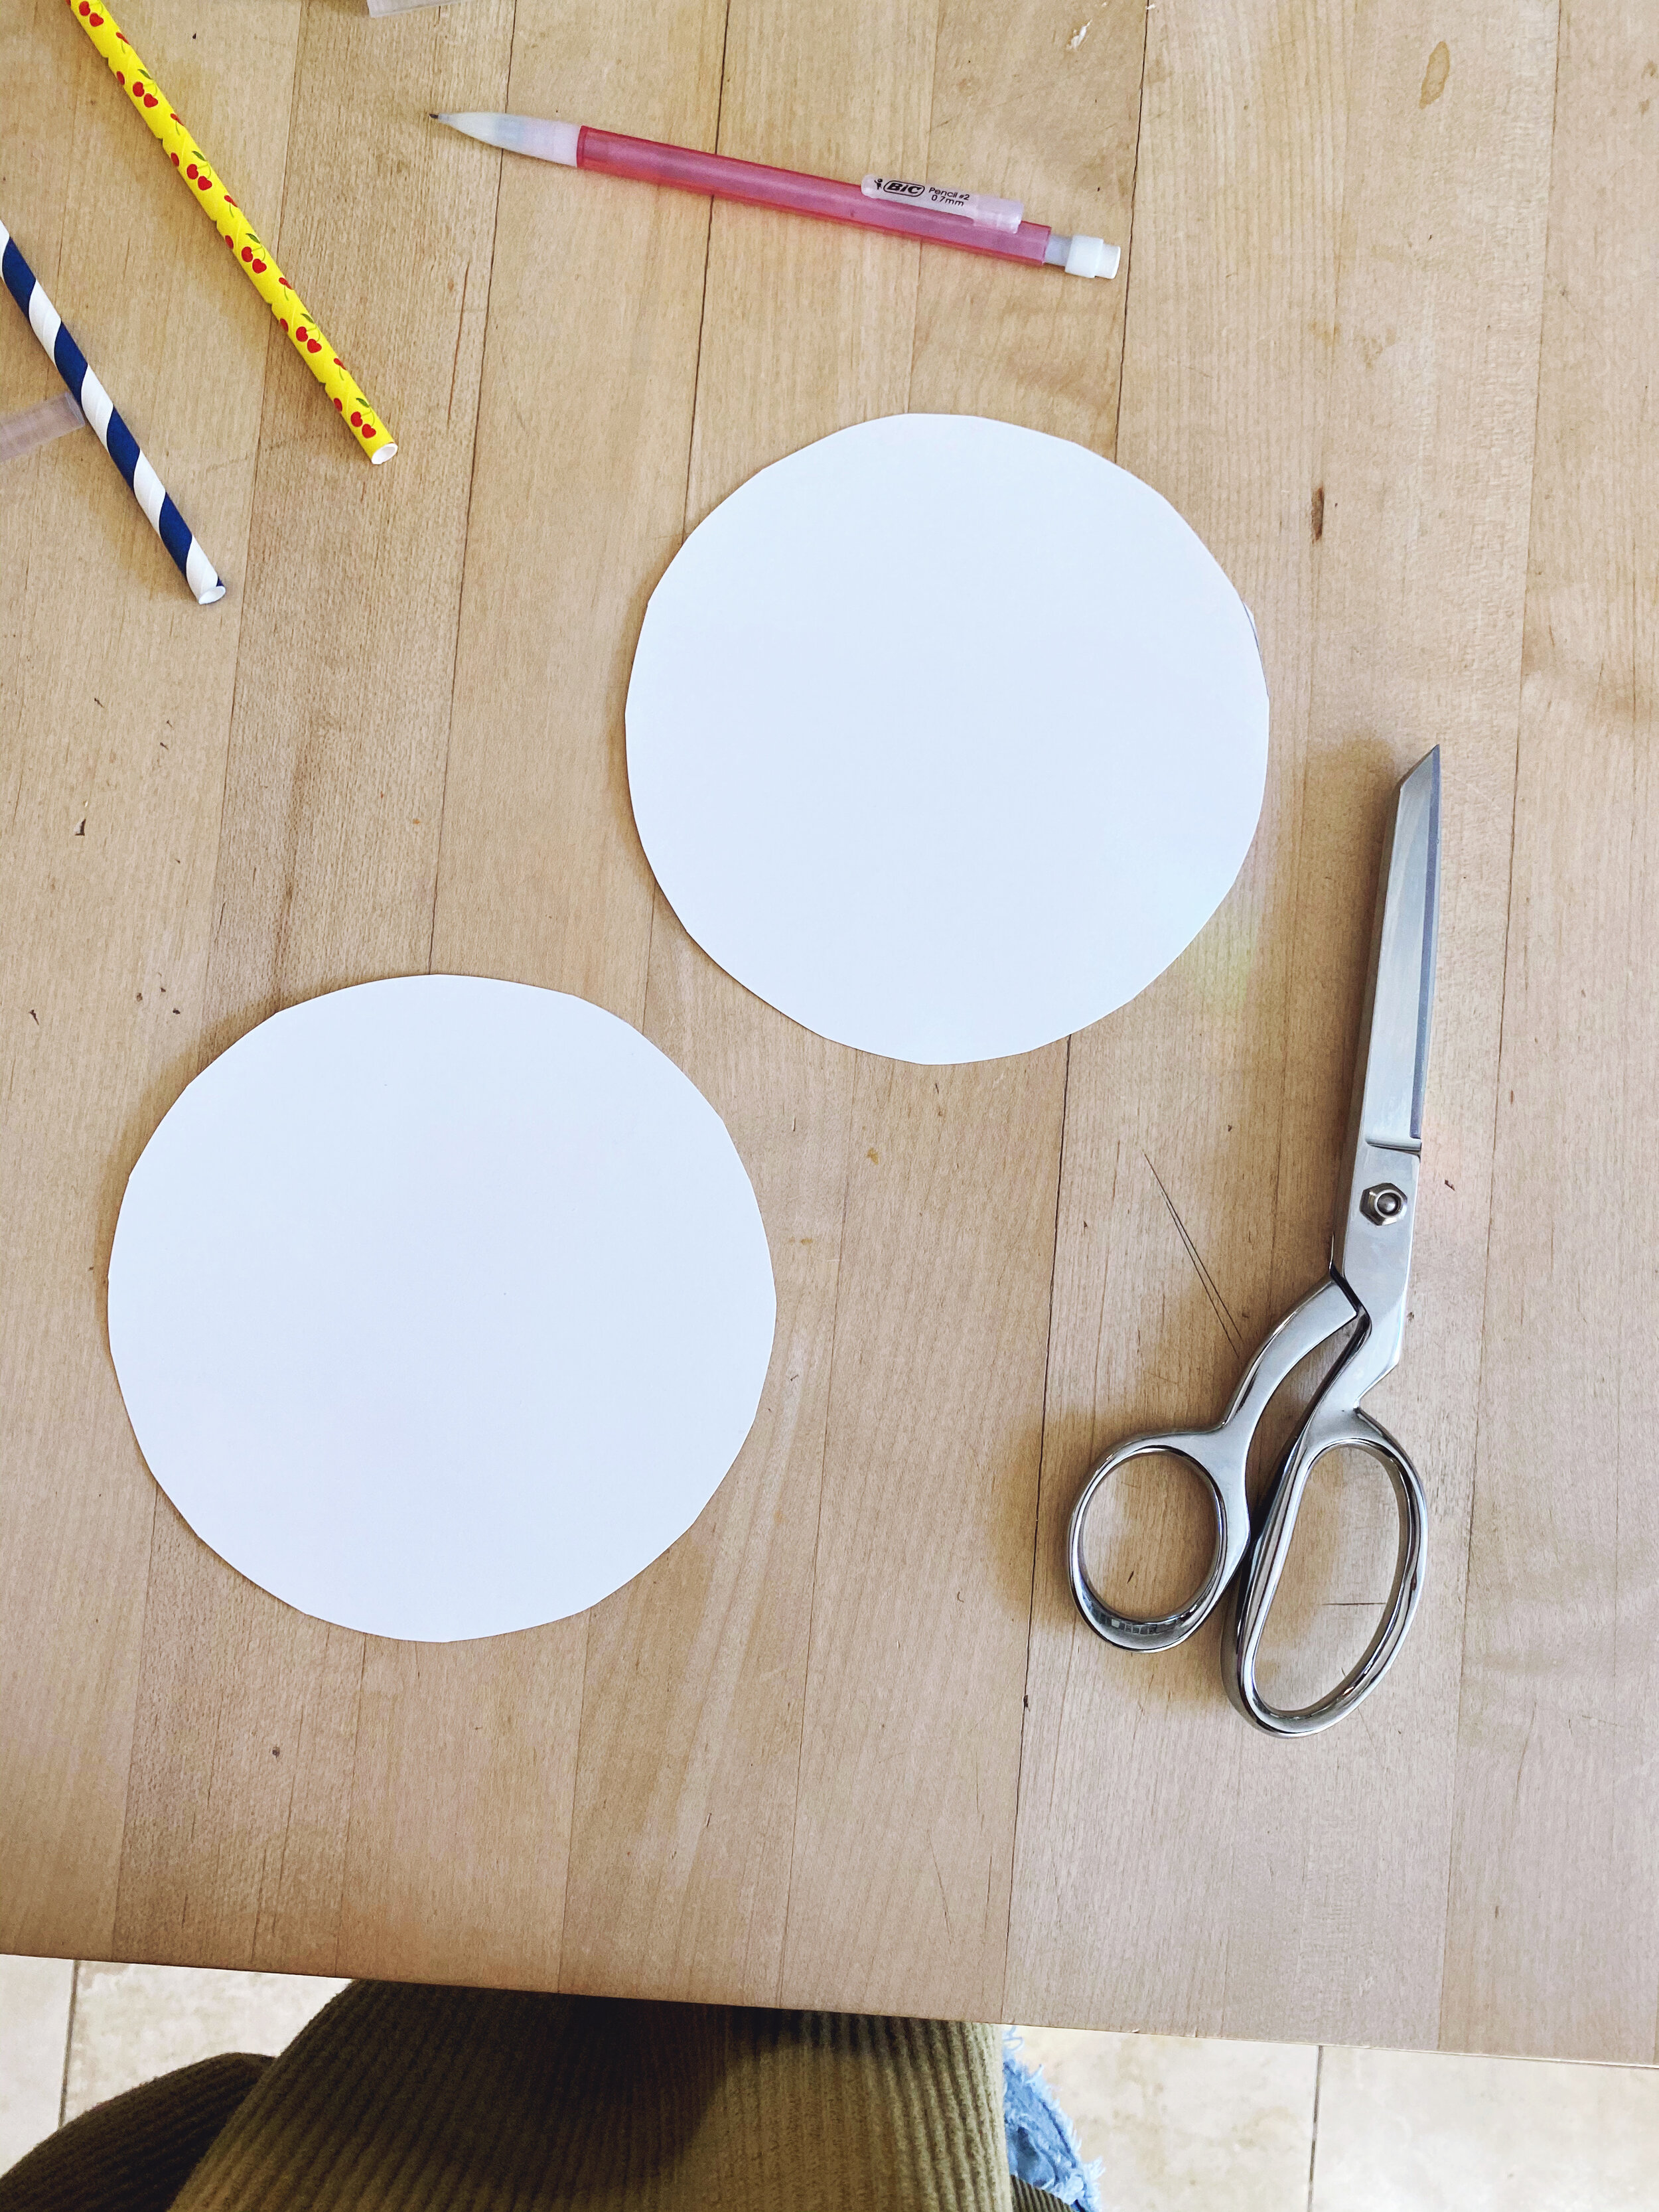
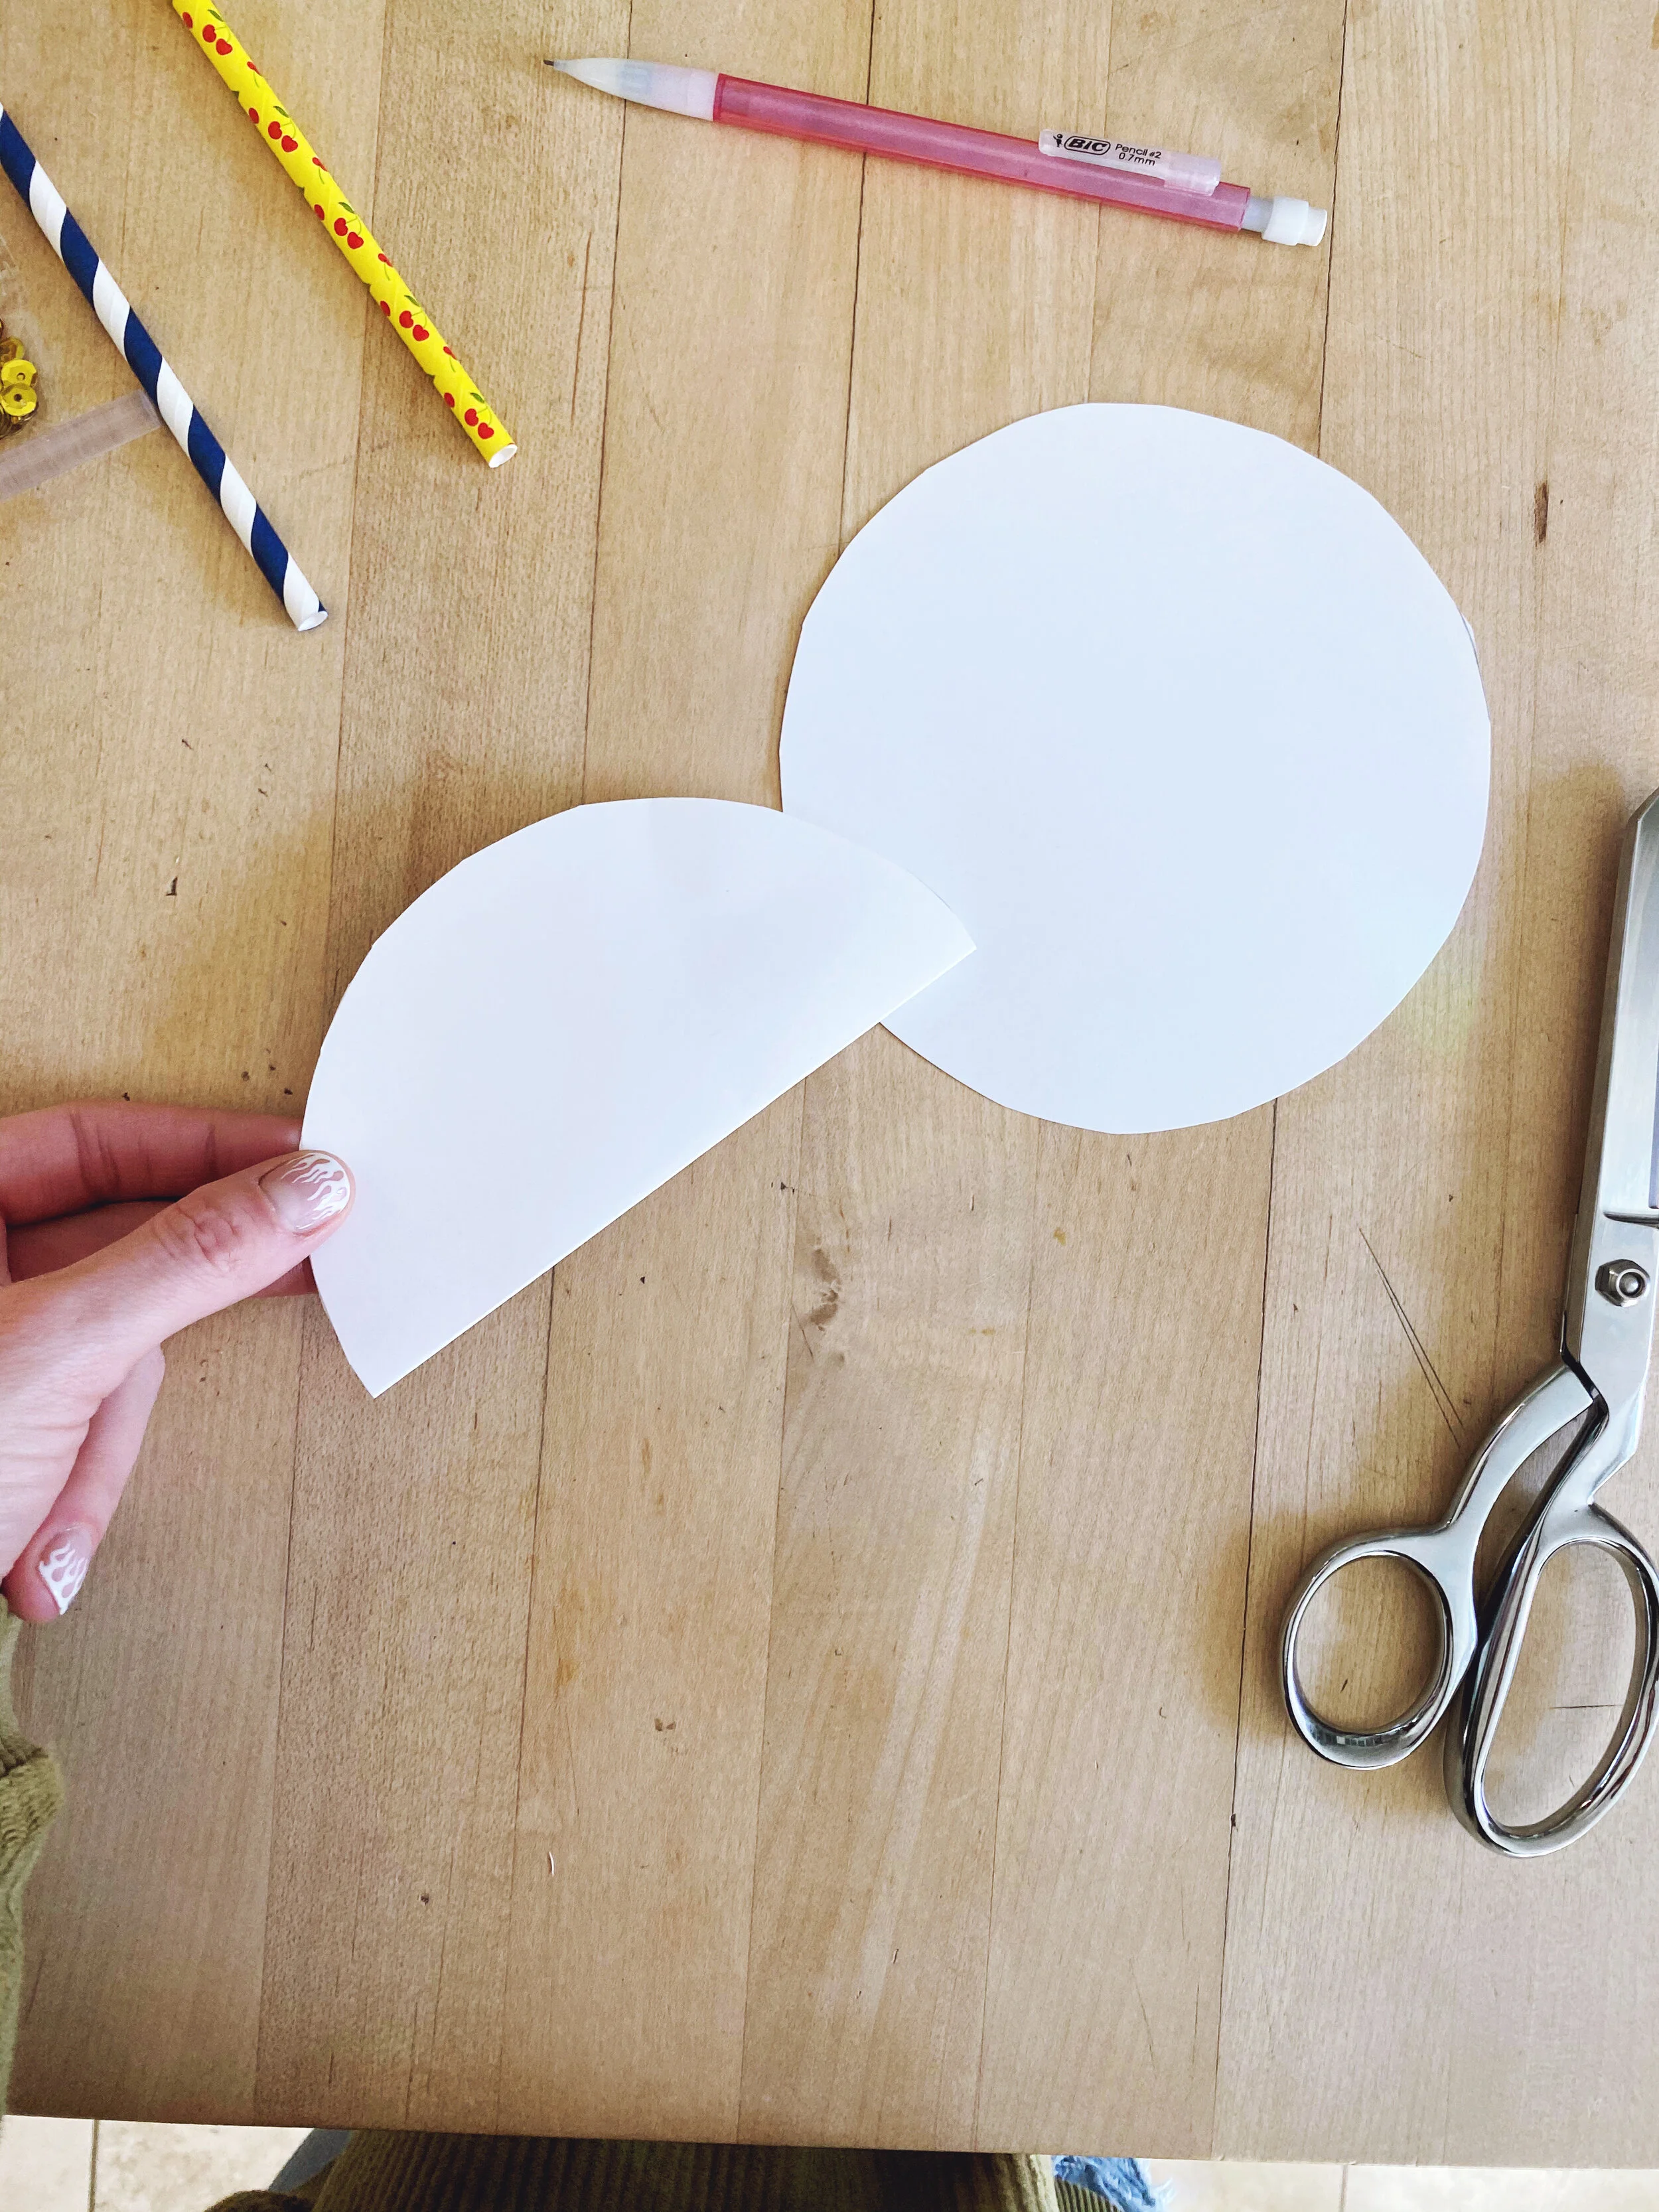
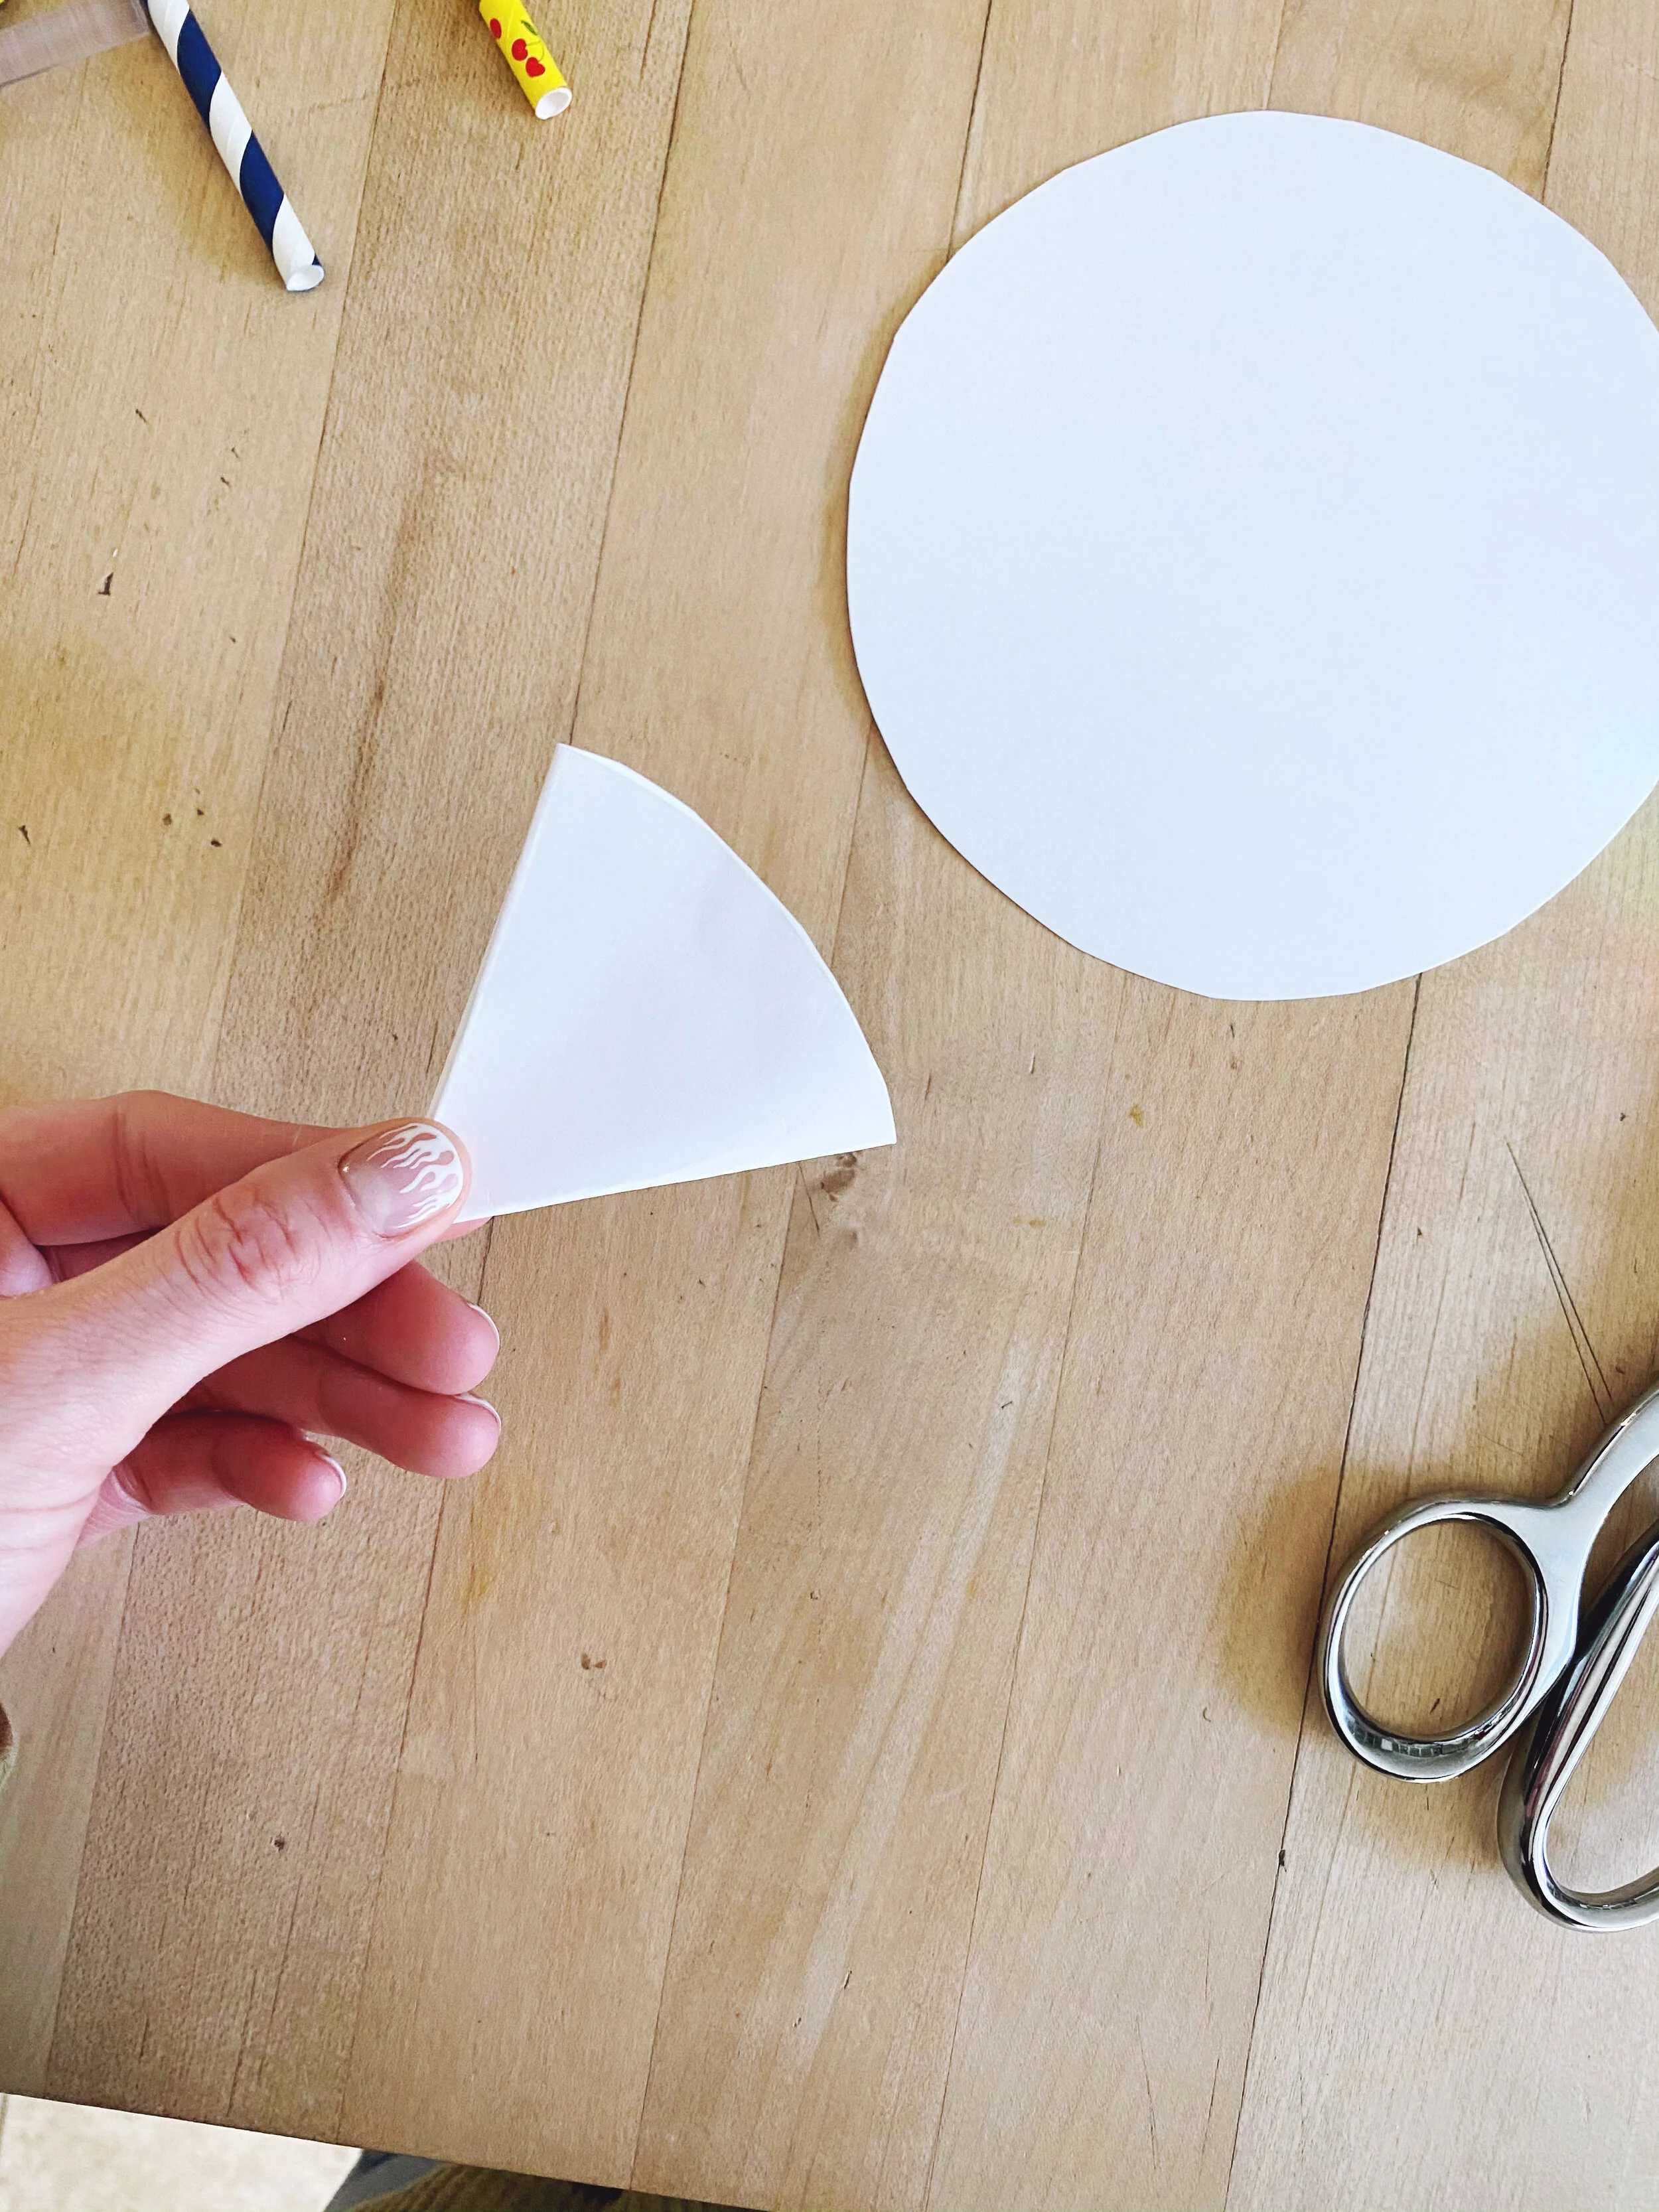
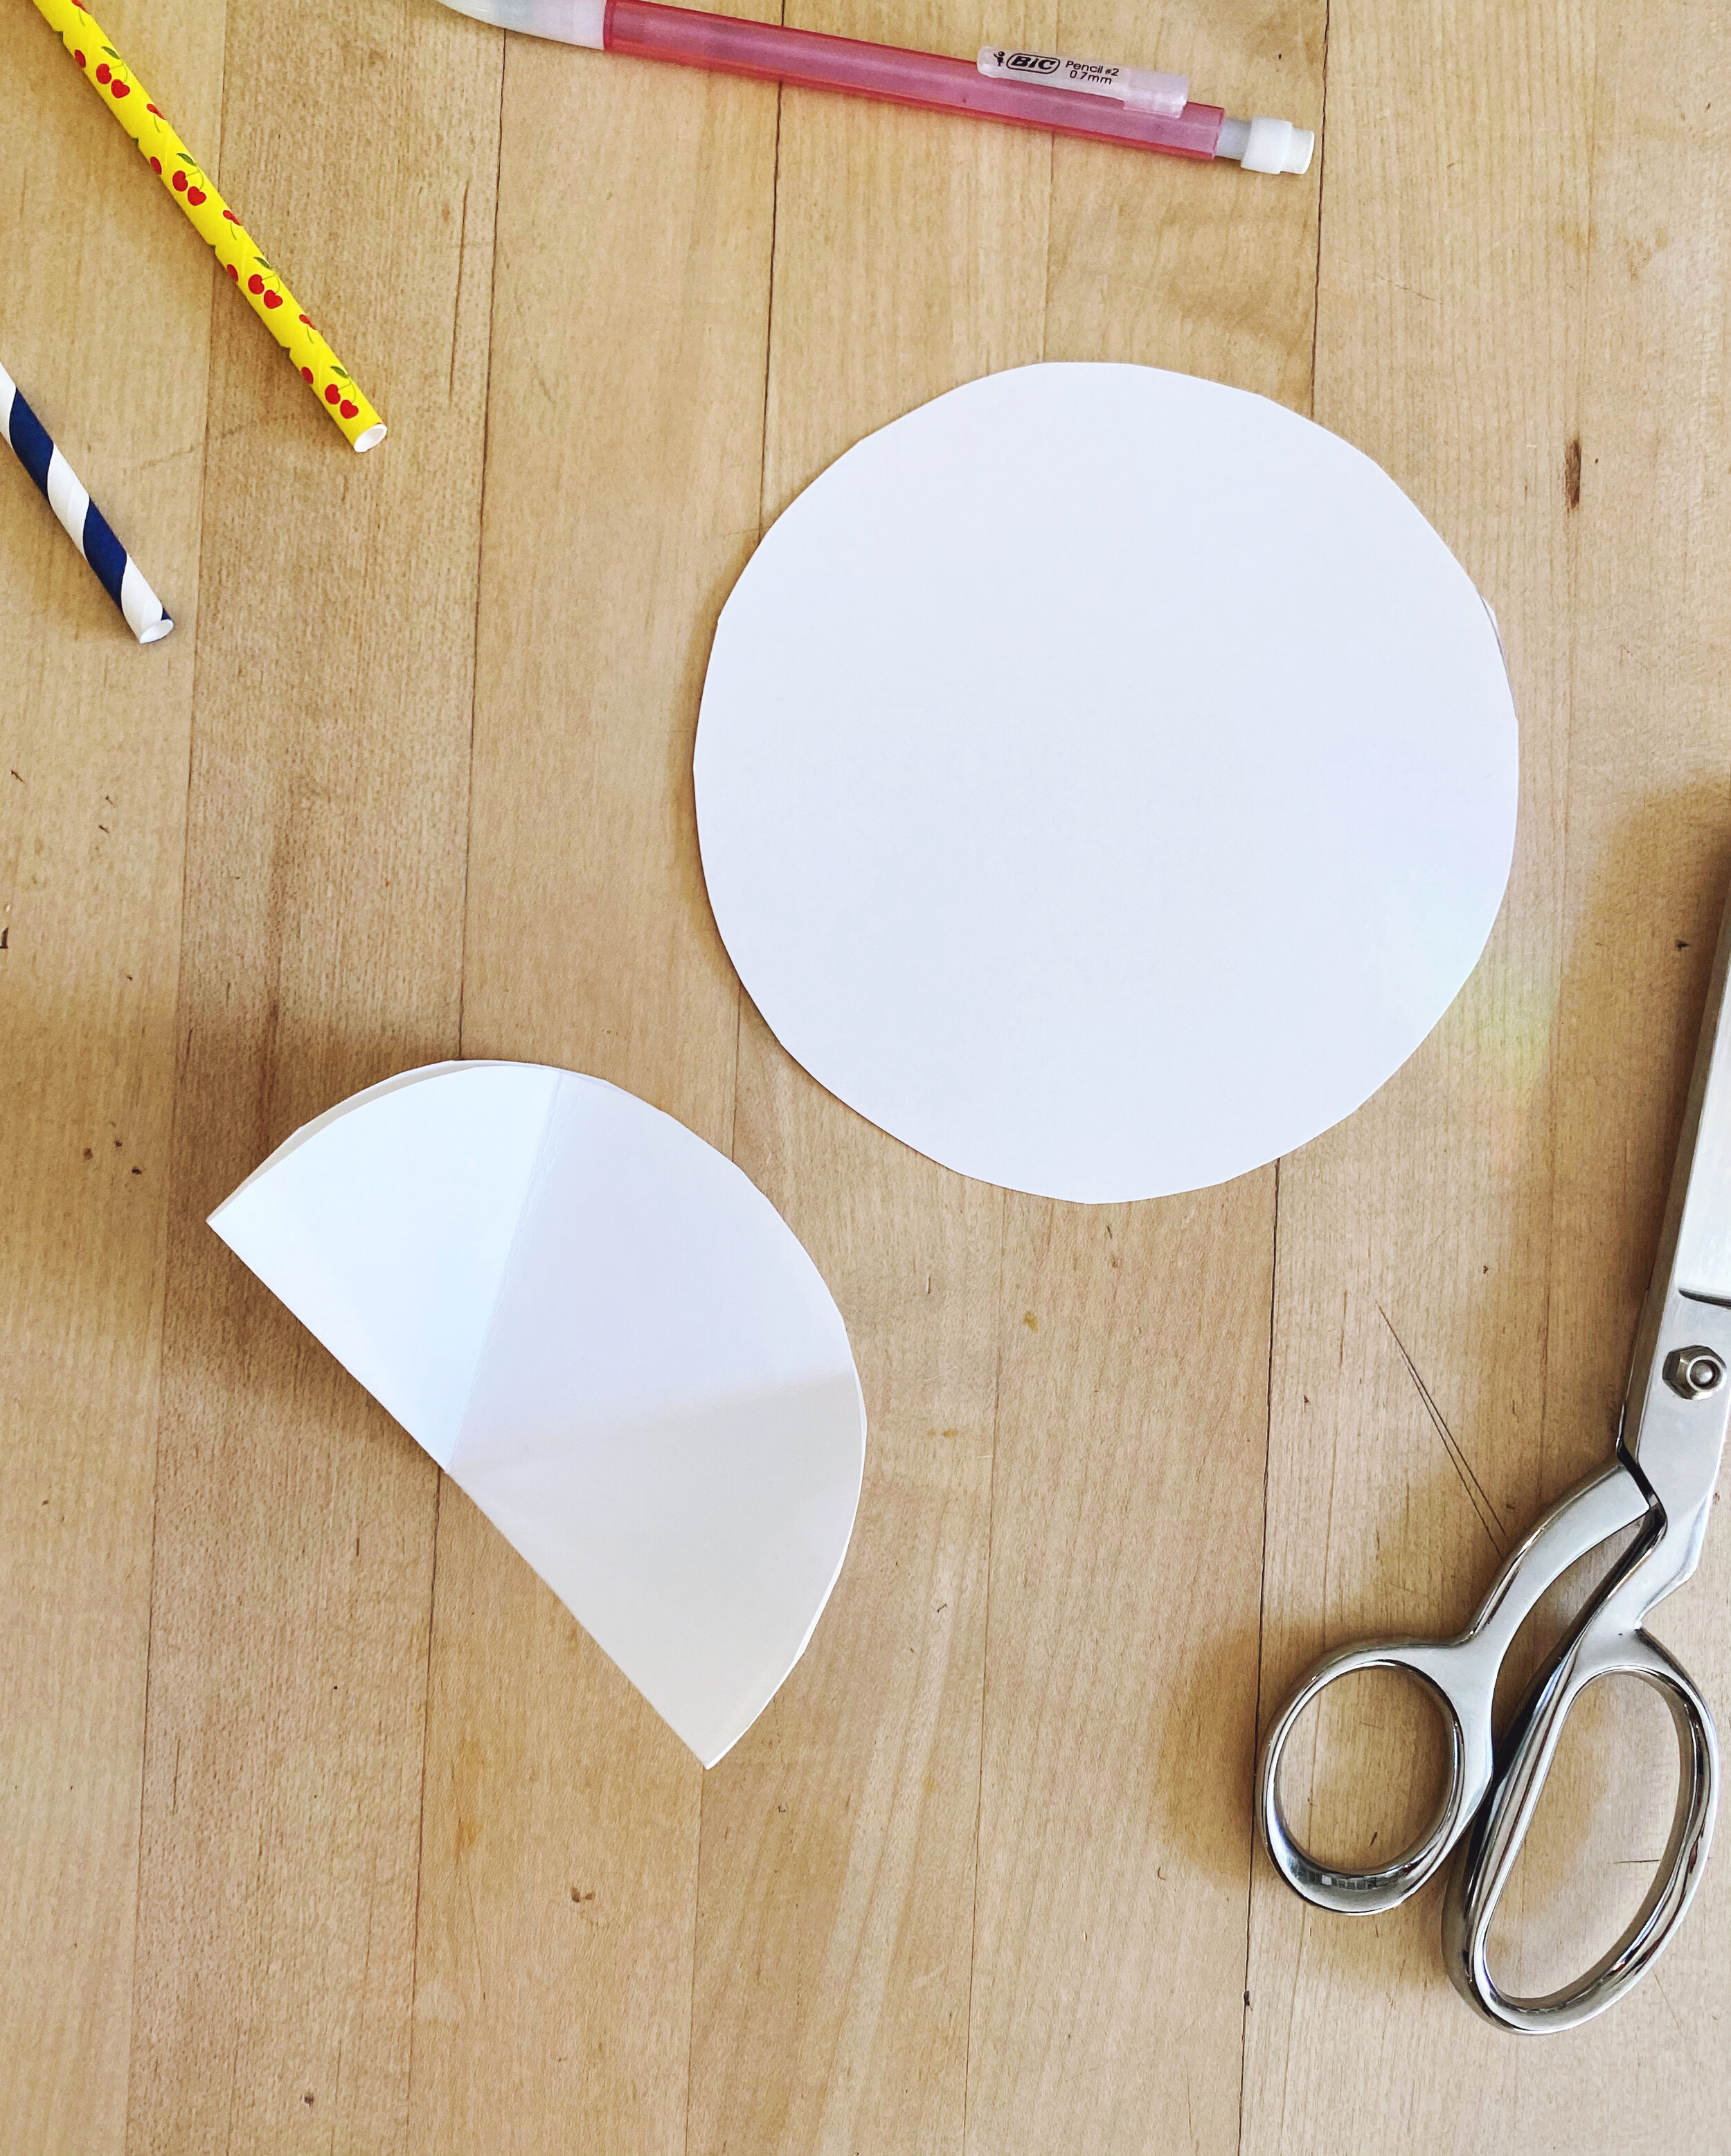
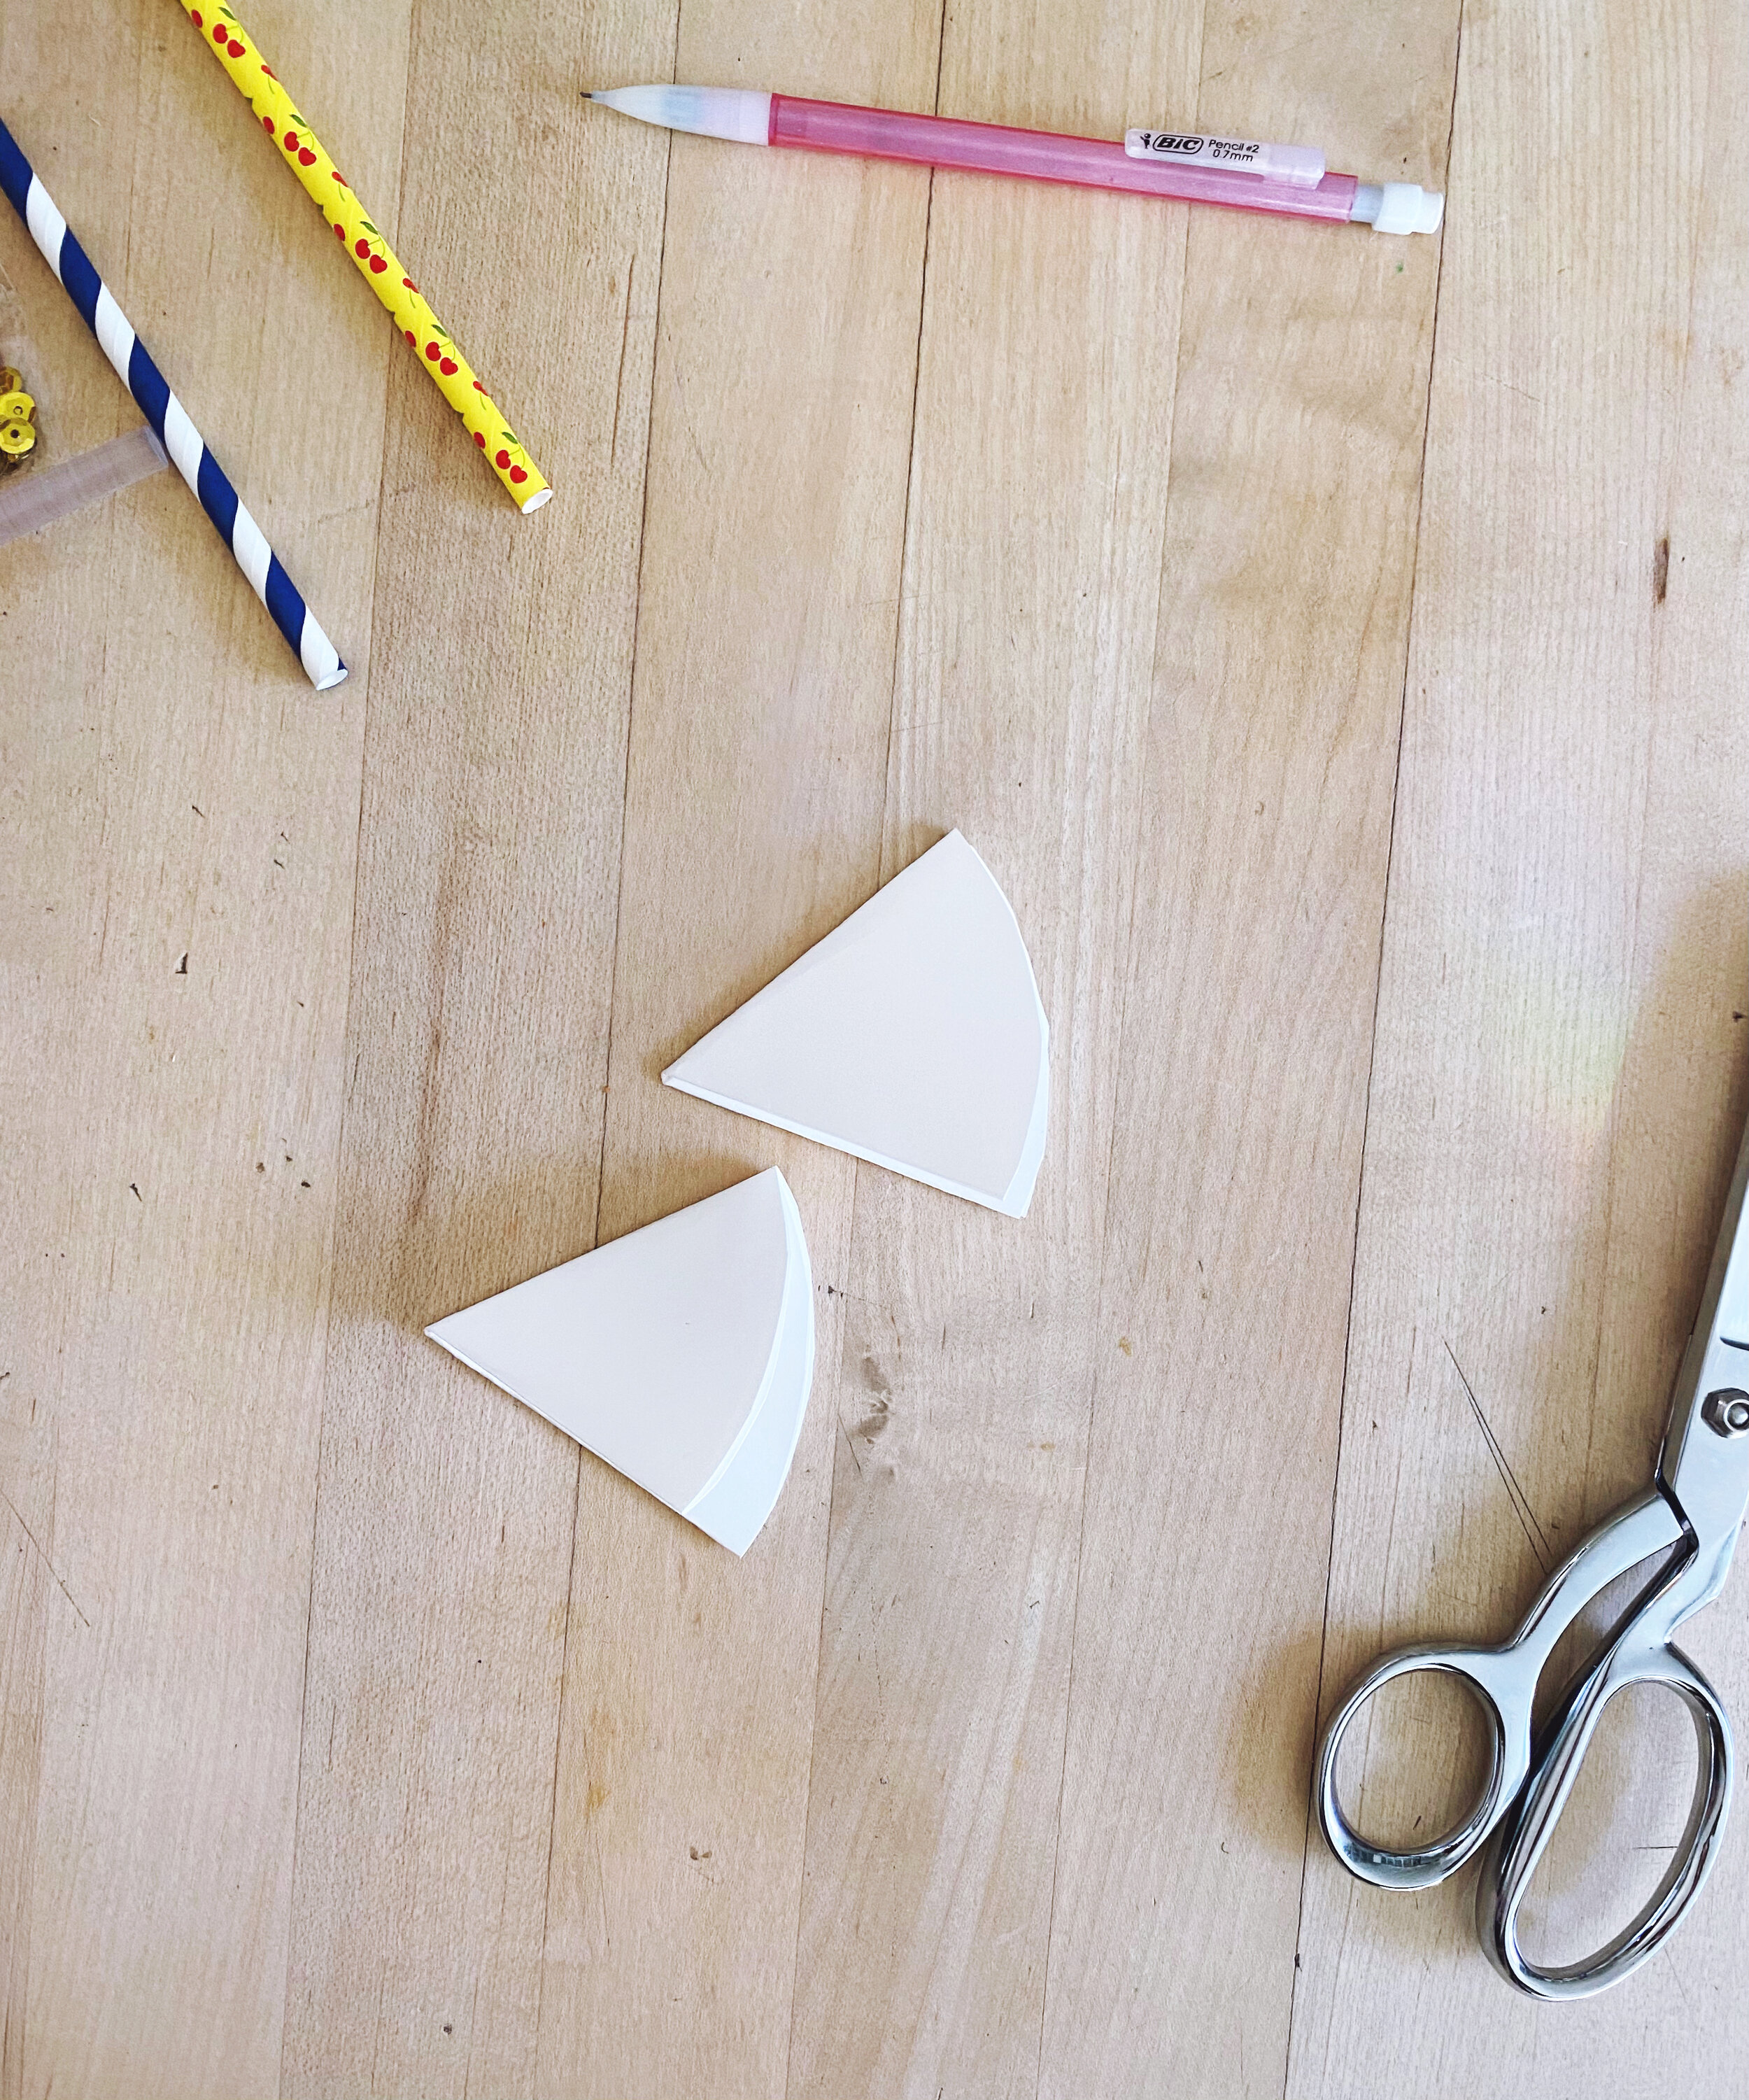
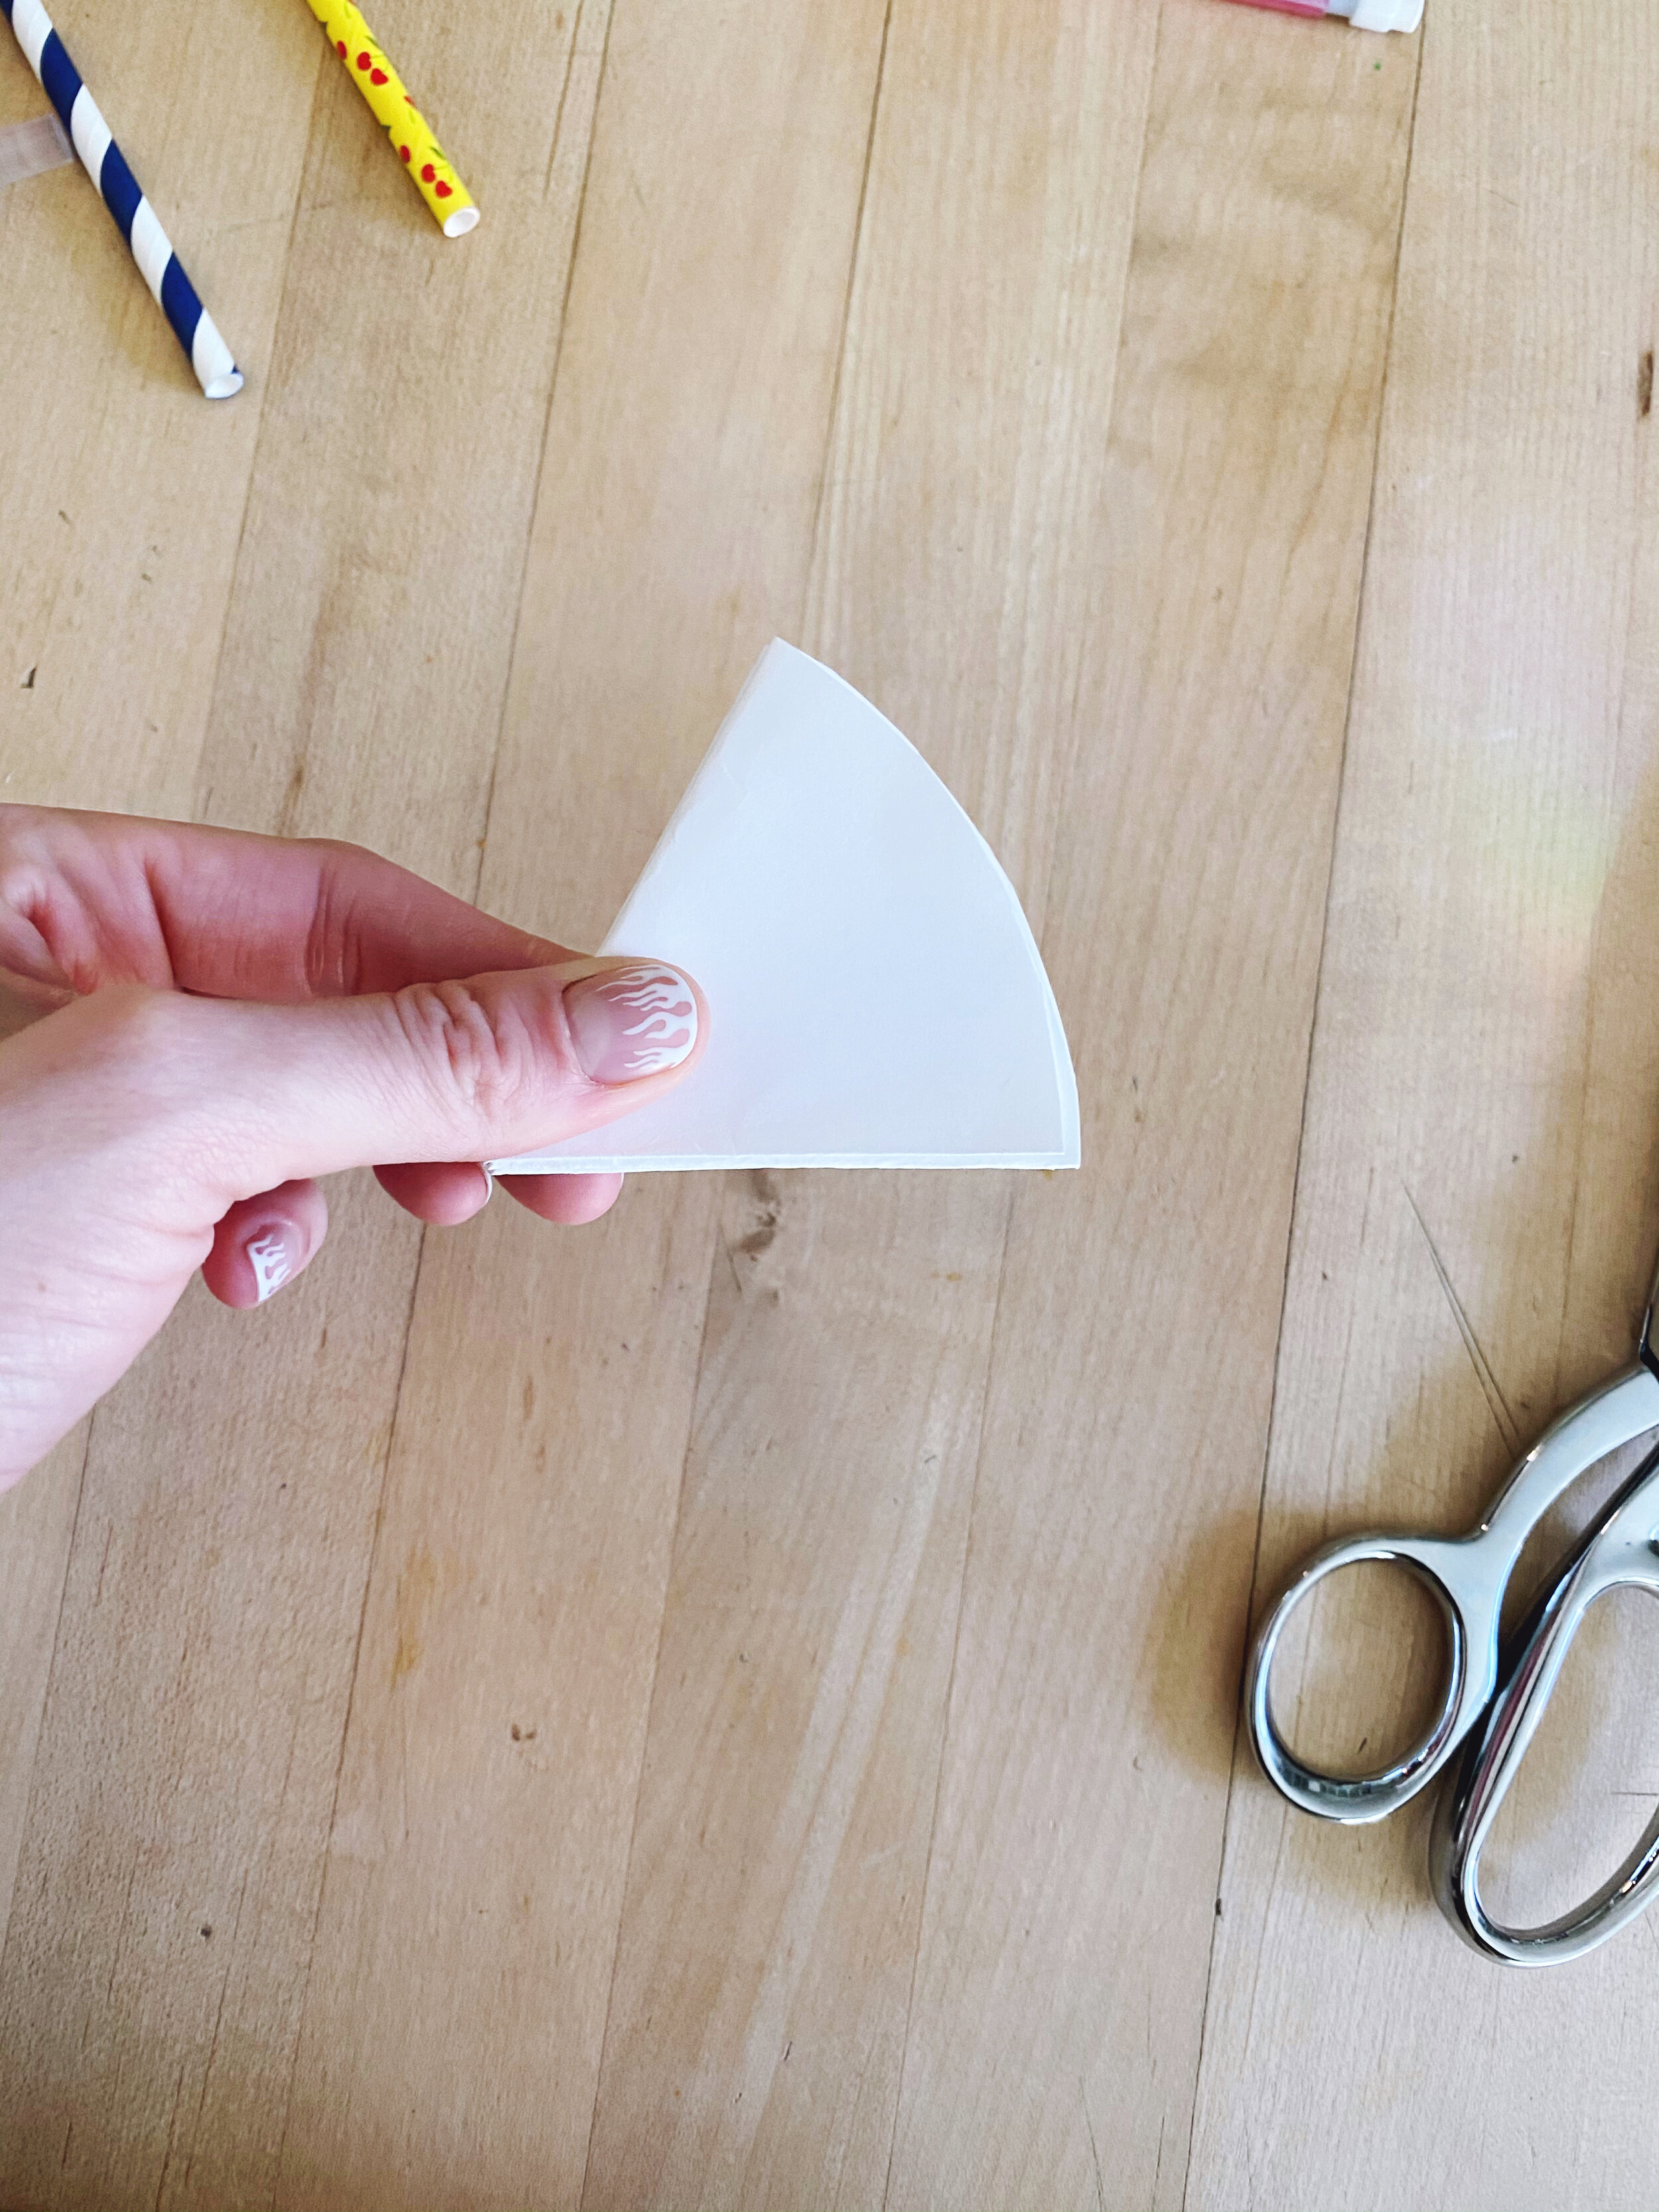
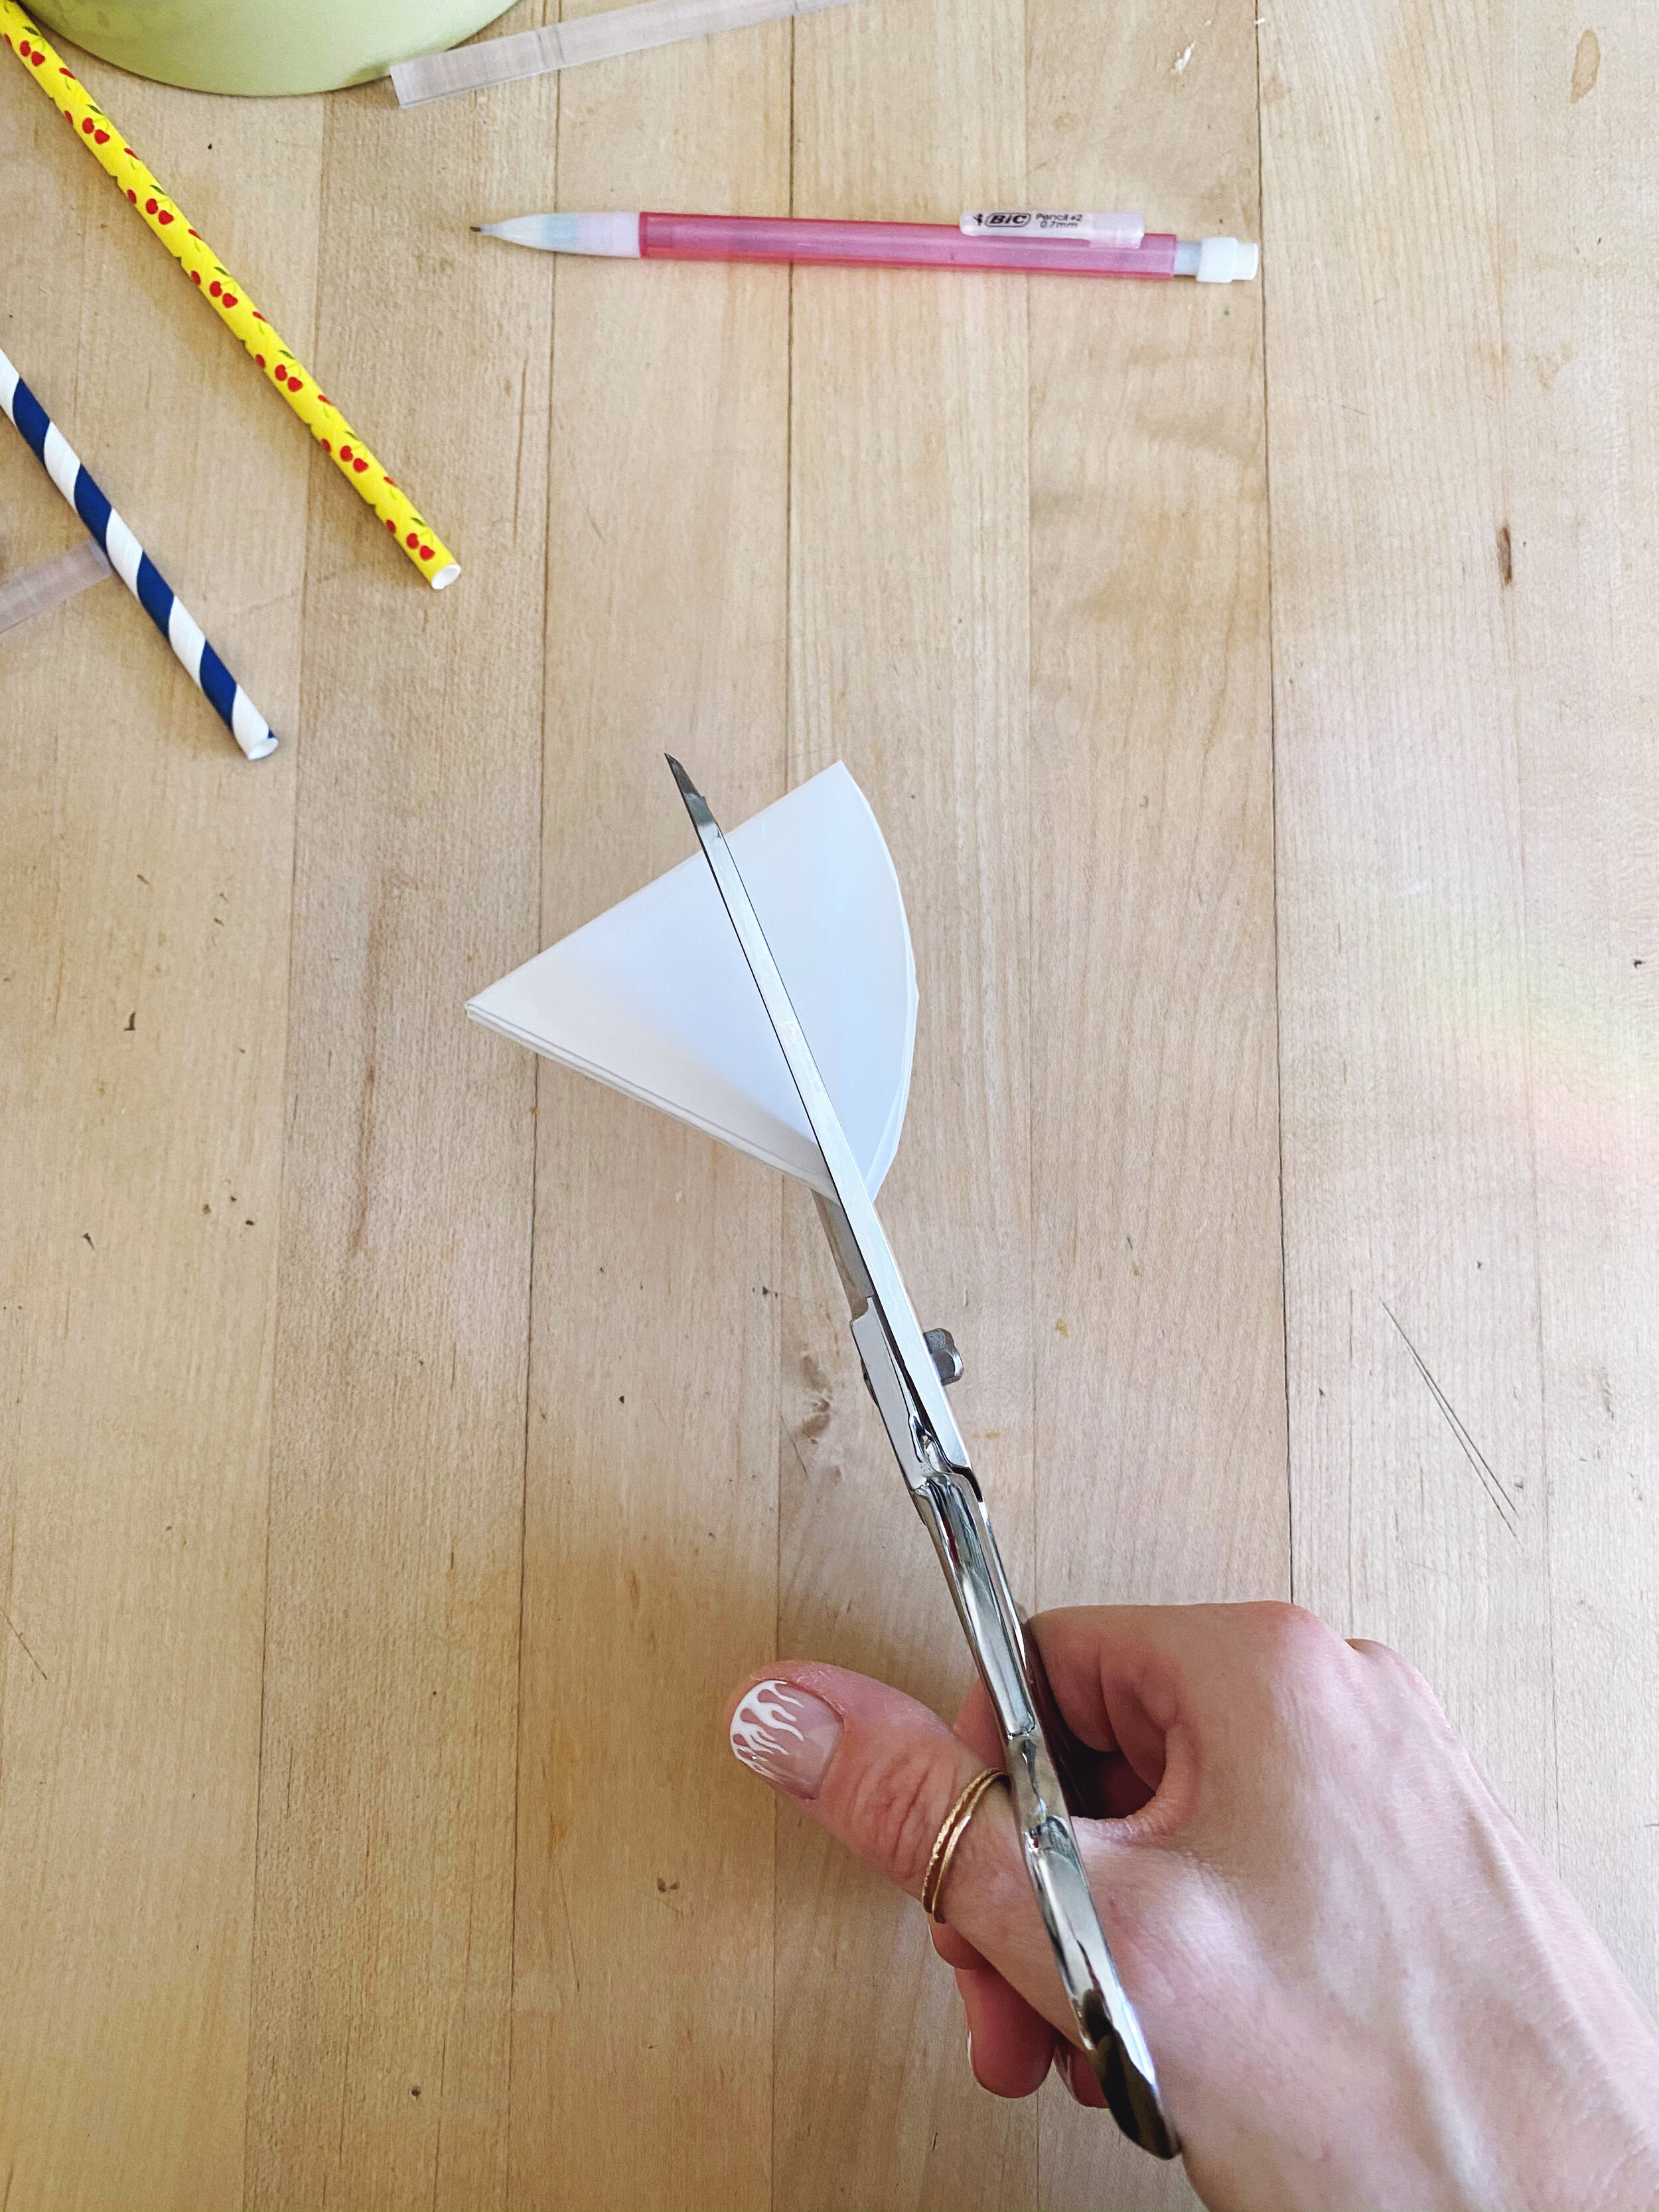
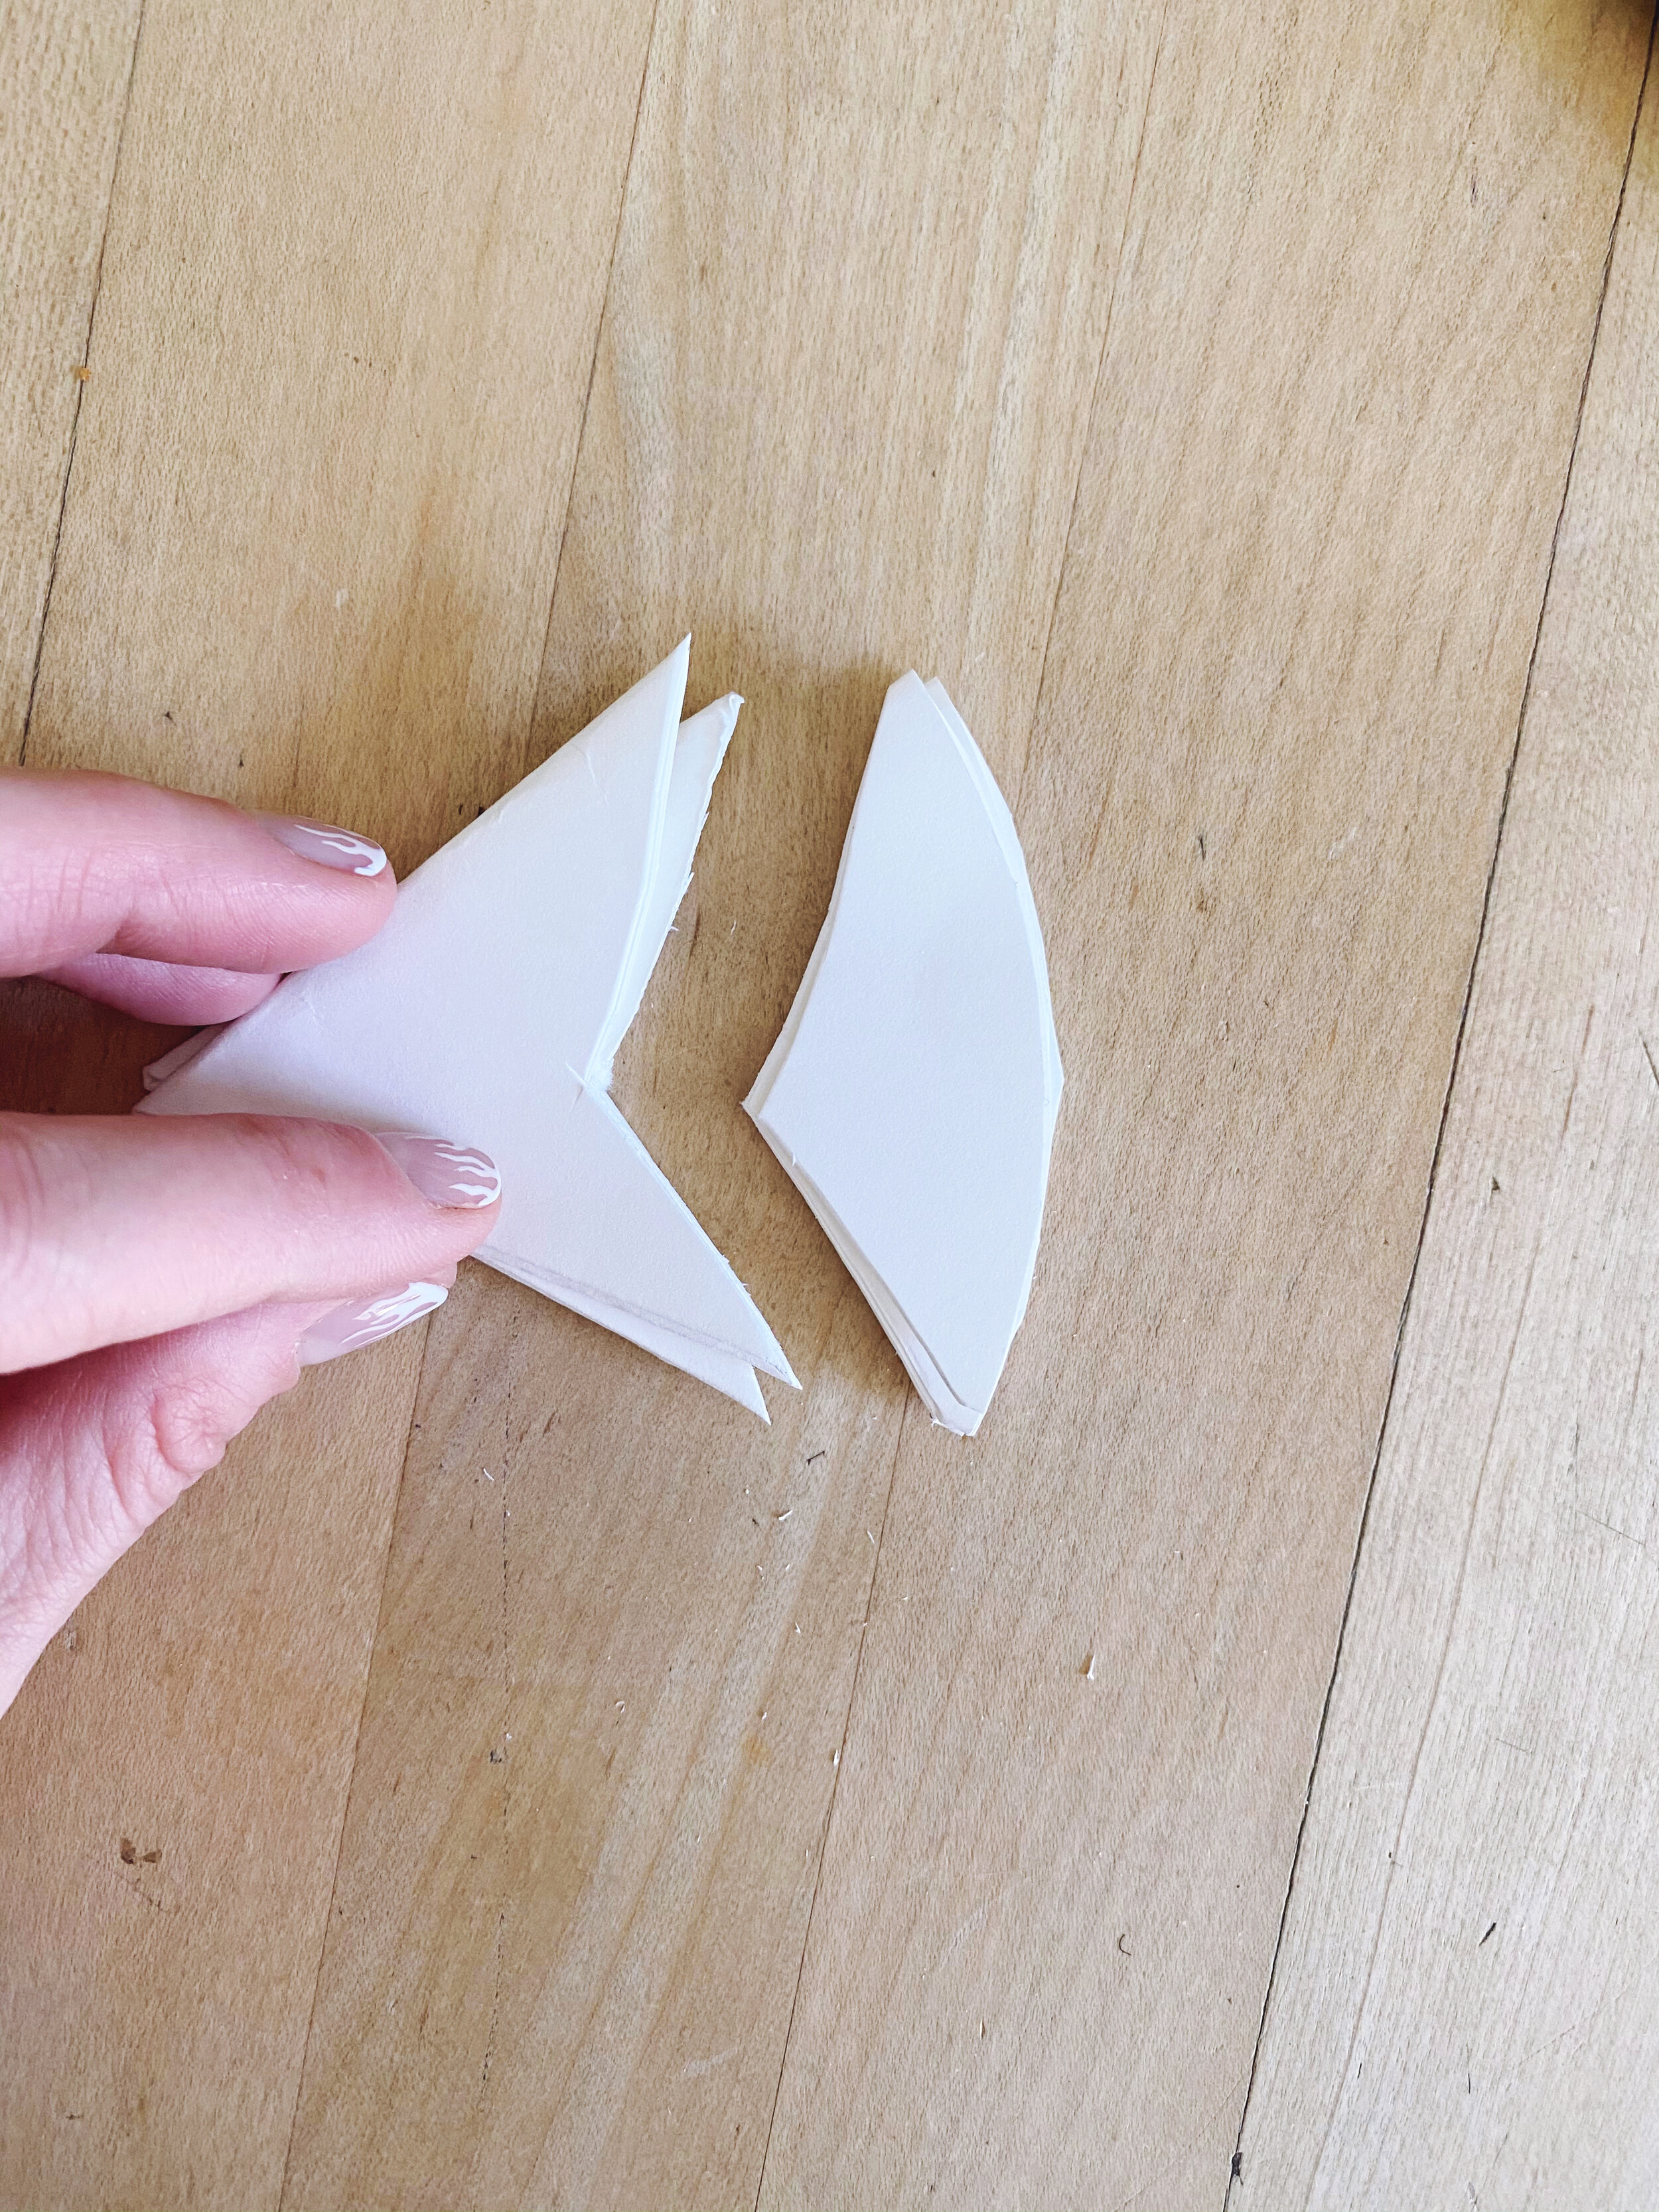
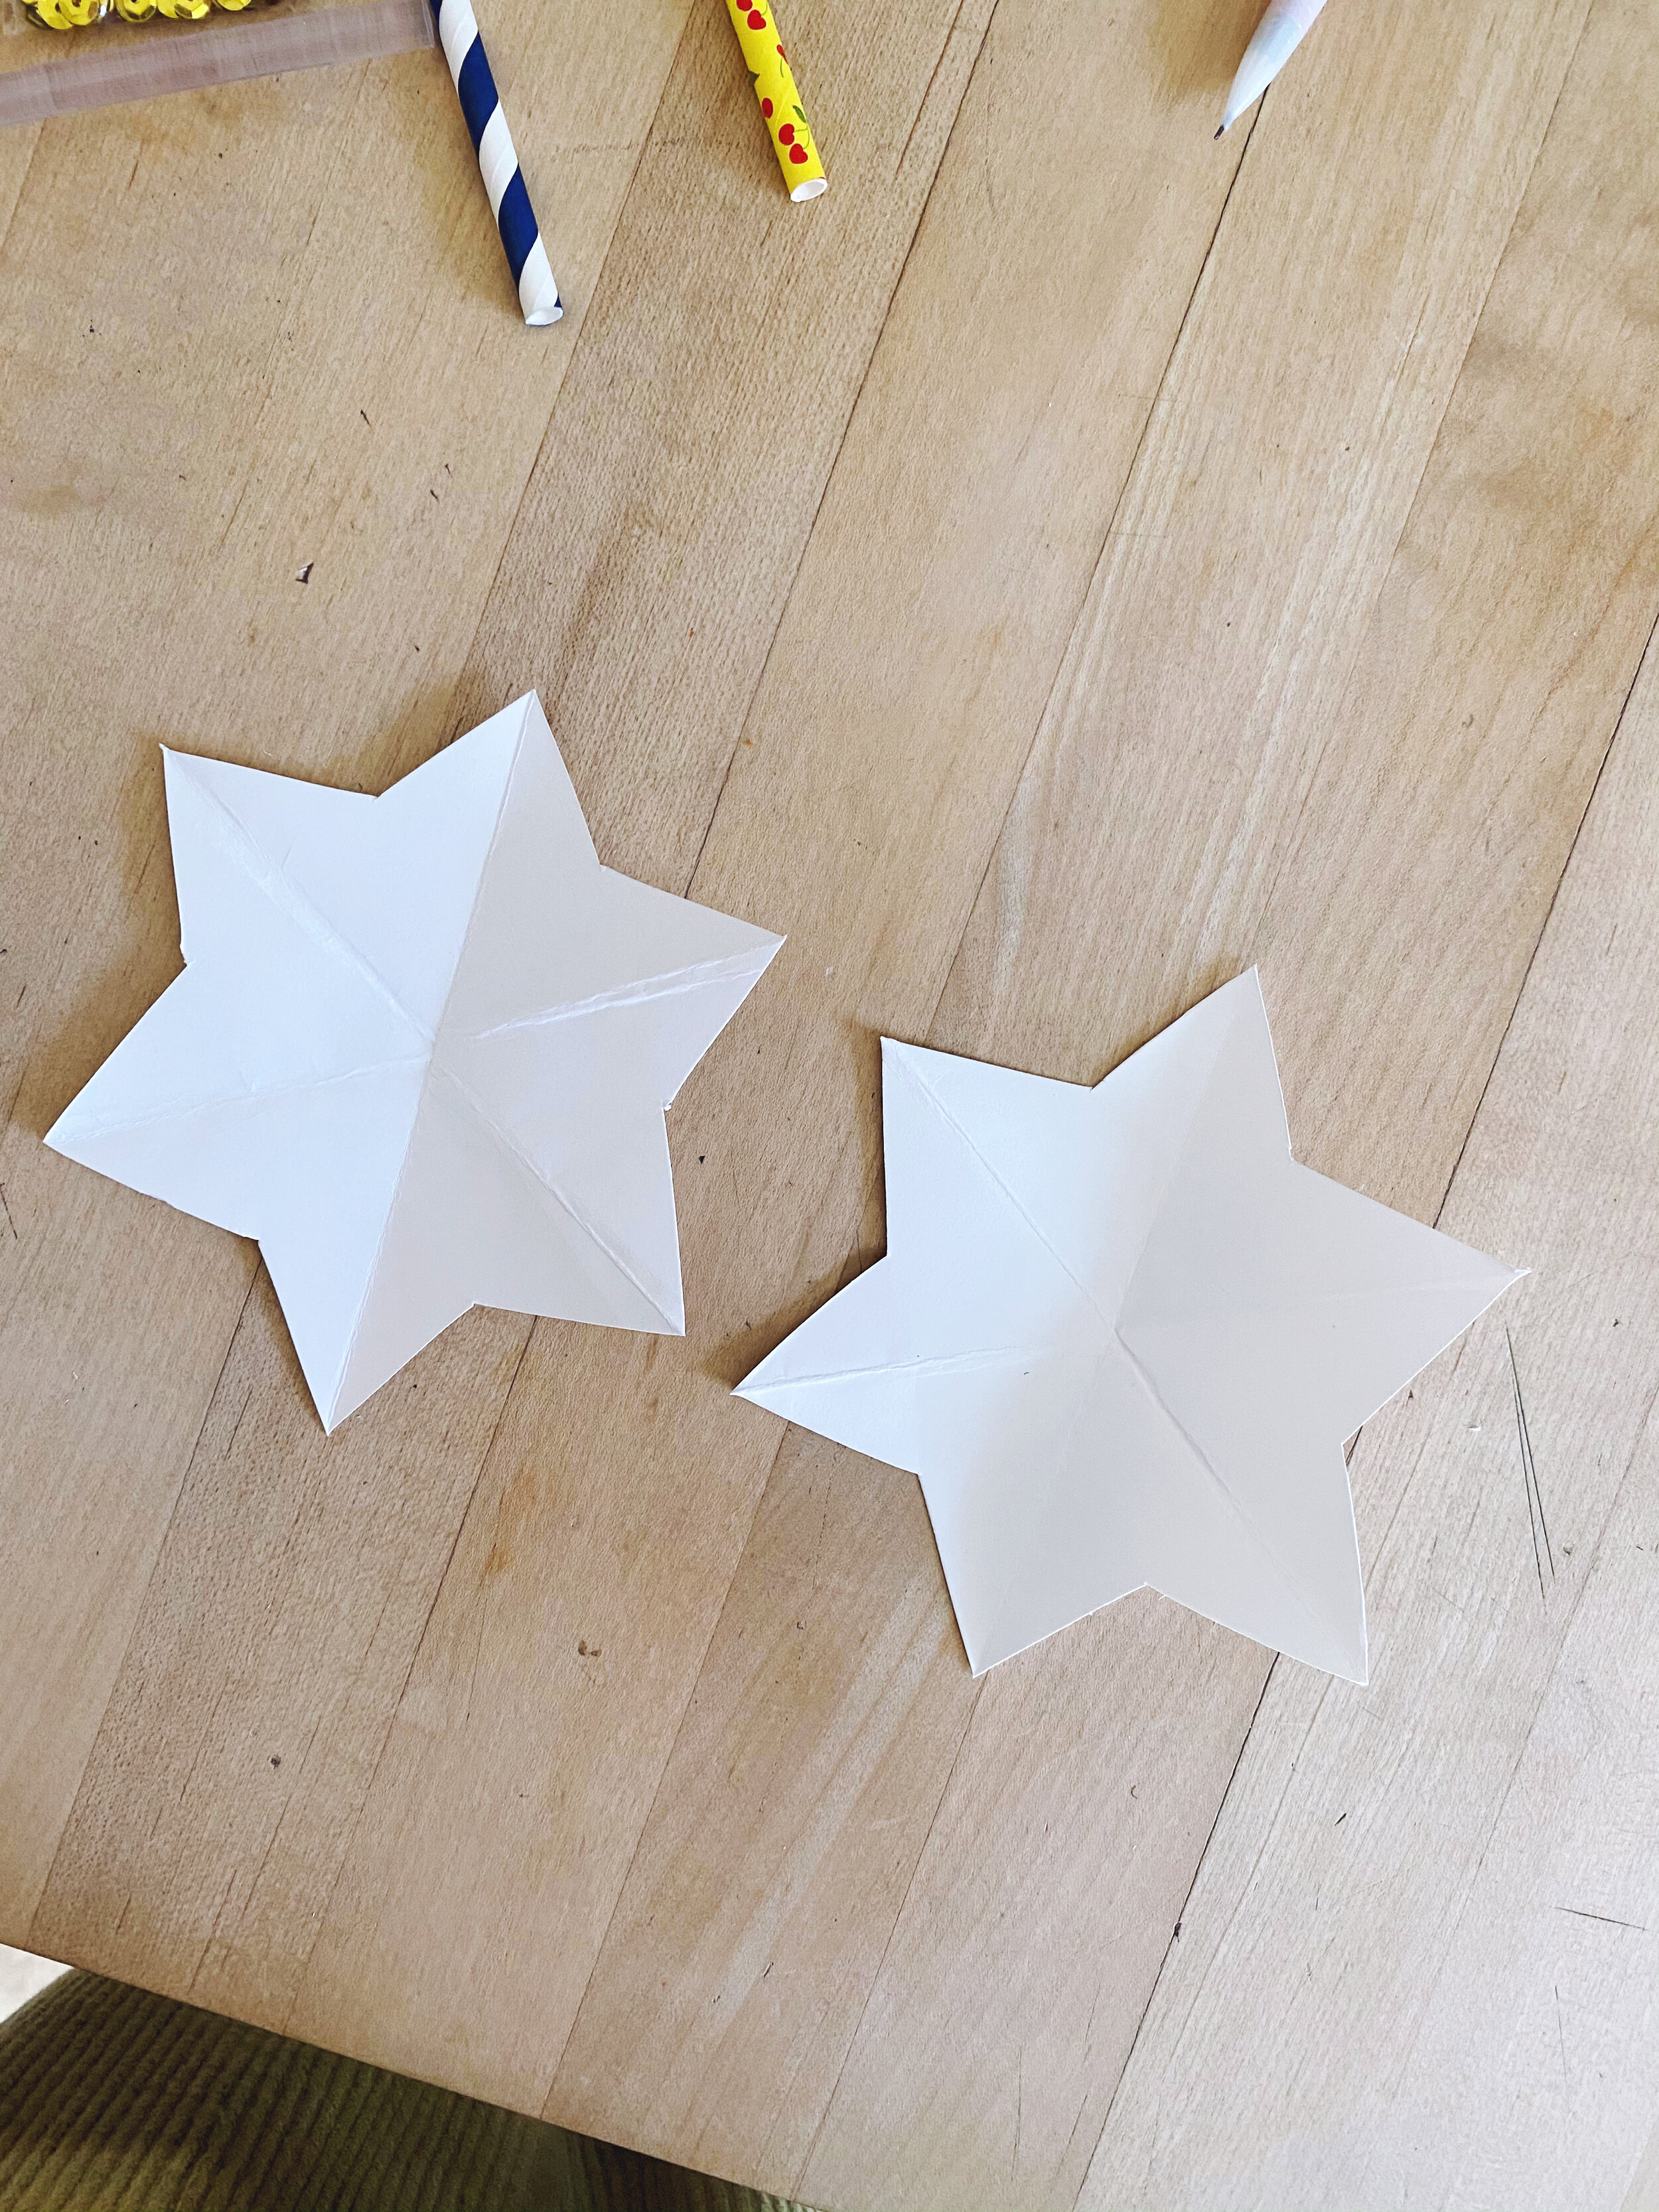
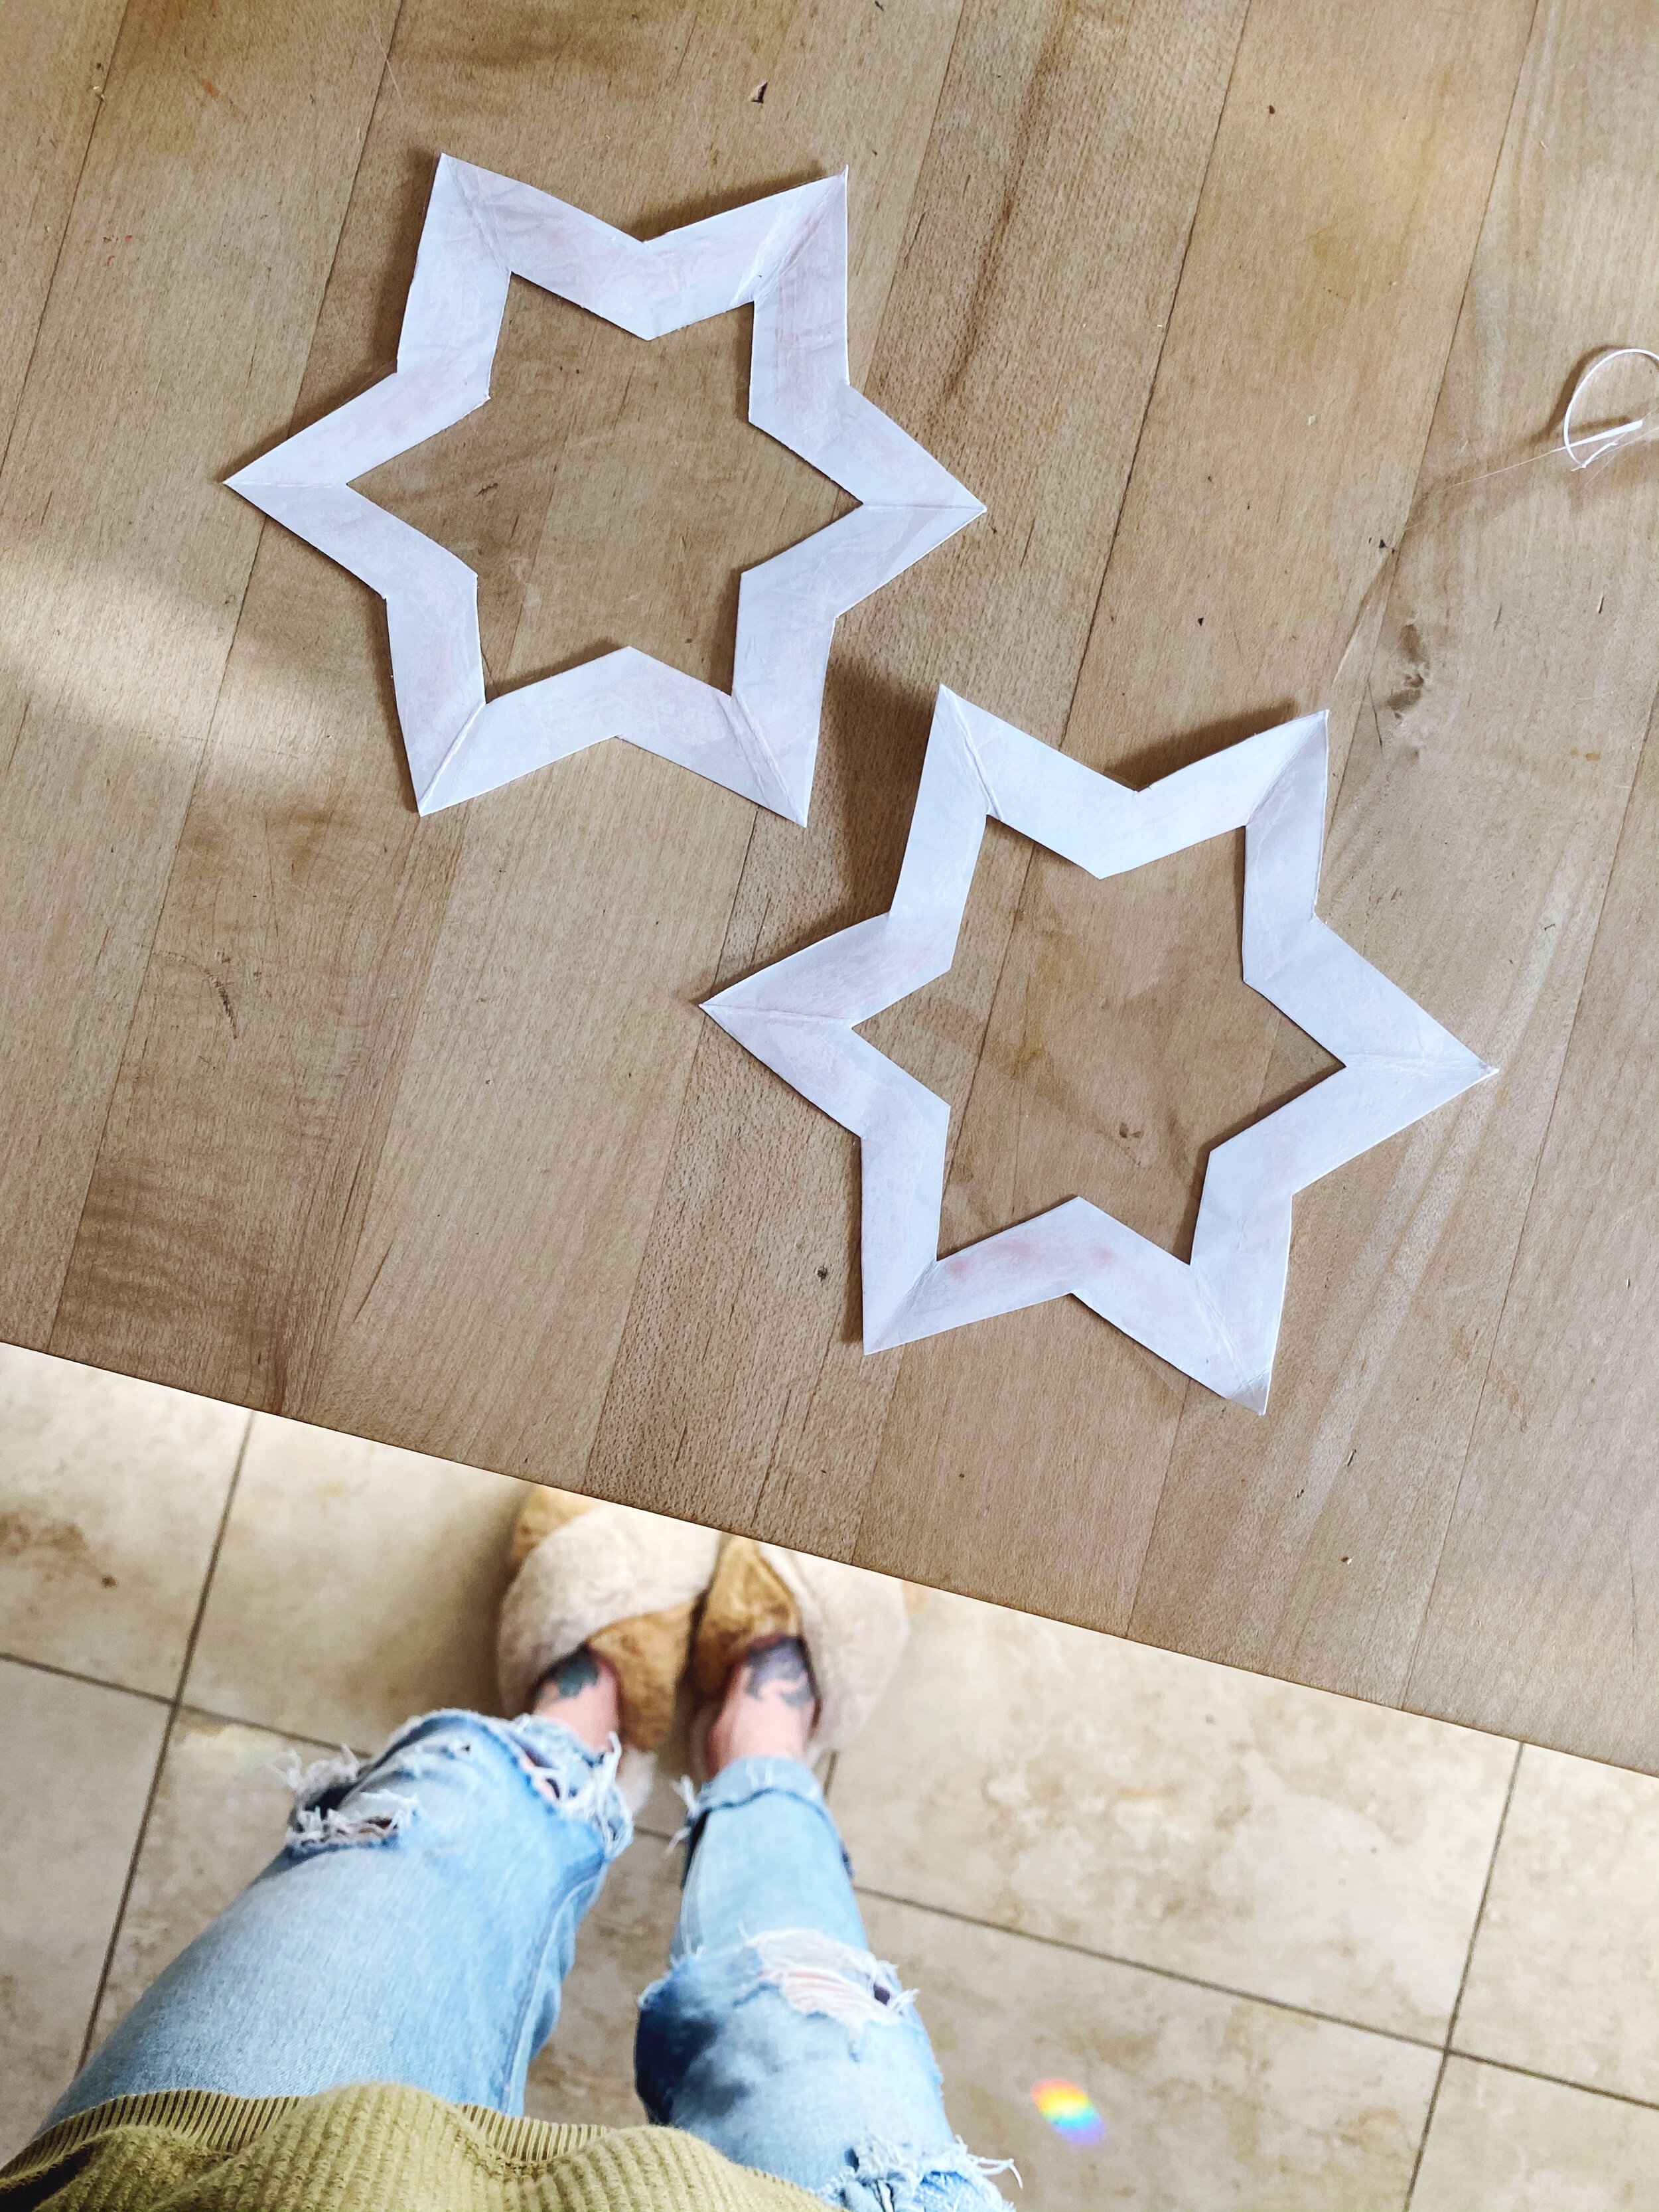
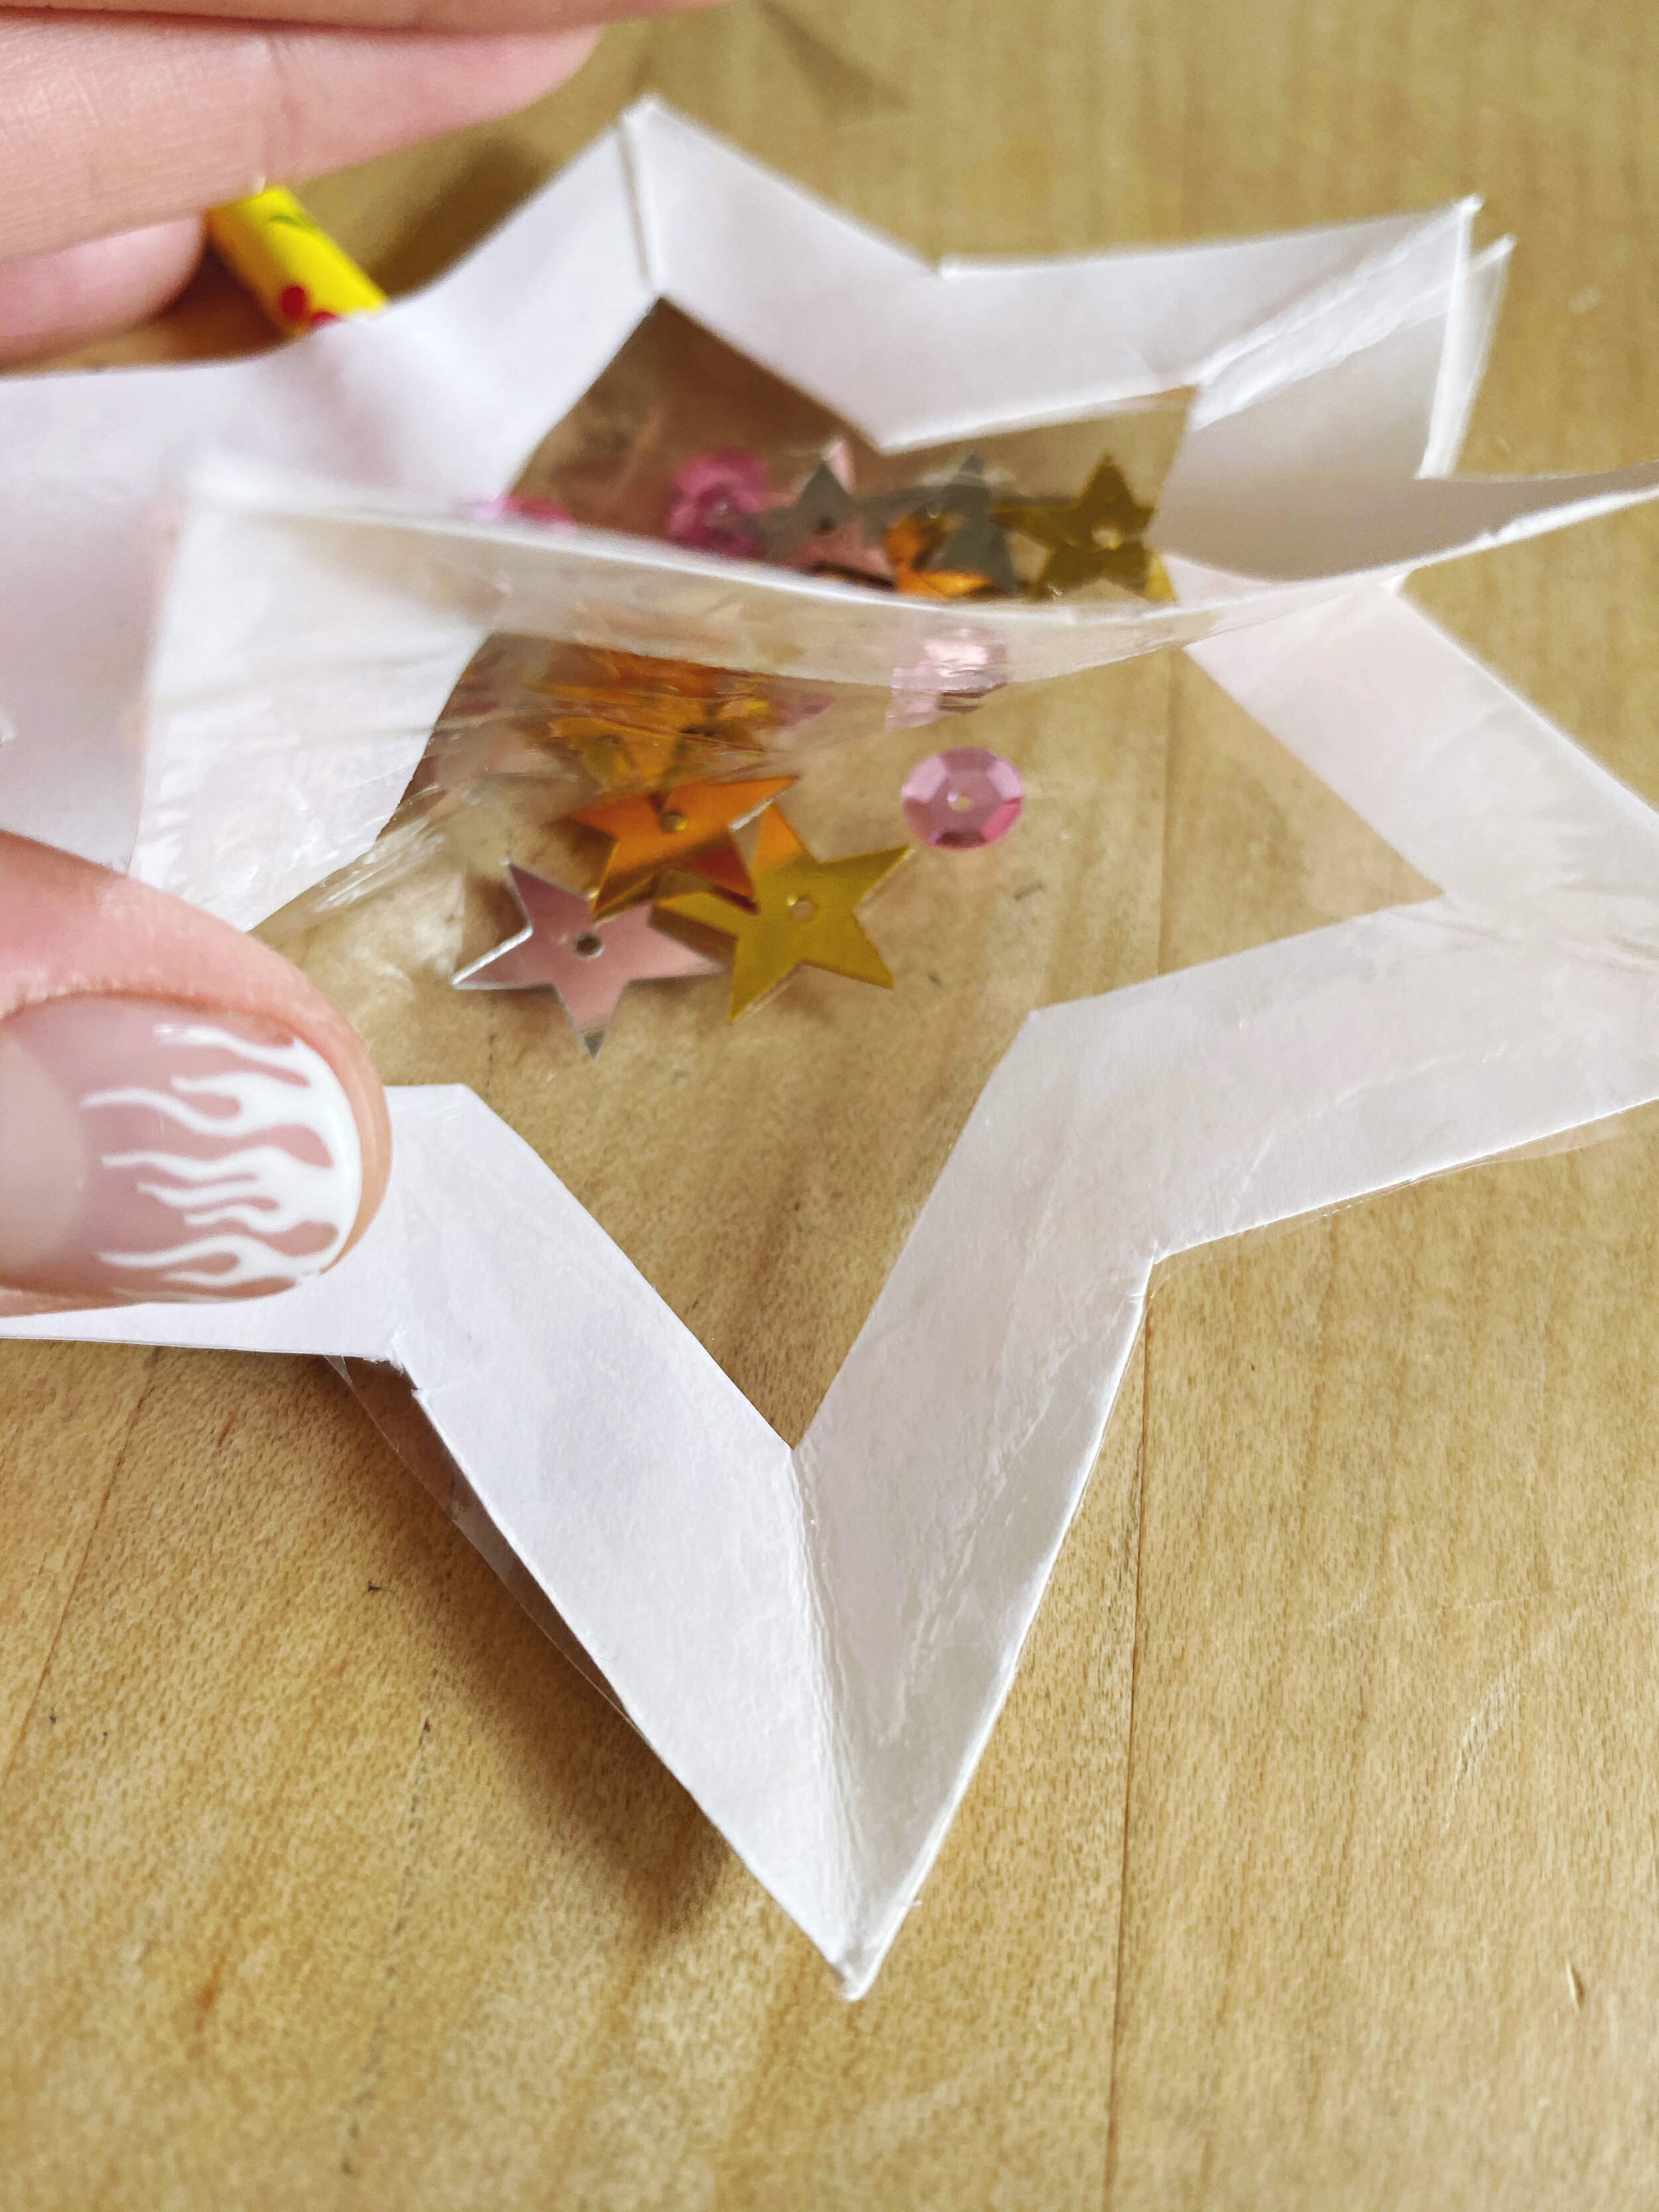
Cut two stars of the same size. Start with a circle (I traced a cereal bowl) and cut it out. Fold your circle in half, then fold your half circle into three sections, so it looks like a slice of pie. Then cut out the segments as shown below. Open your cardstock to reveal the best star you’ve ever cut. Next, cut the center out of your star, leaving you with a frame! BOOM, now you have a mini star and its frame.
You could also just draw the star and cut it out if that’s easier for you!
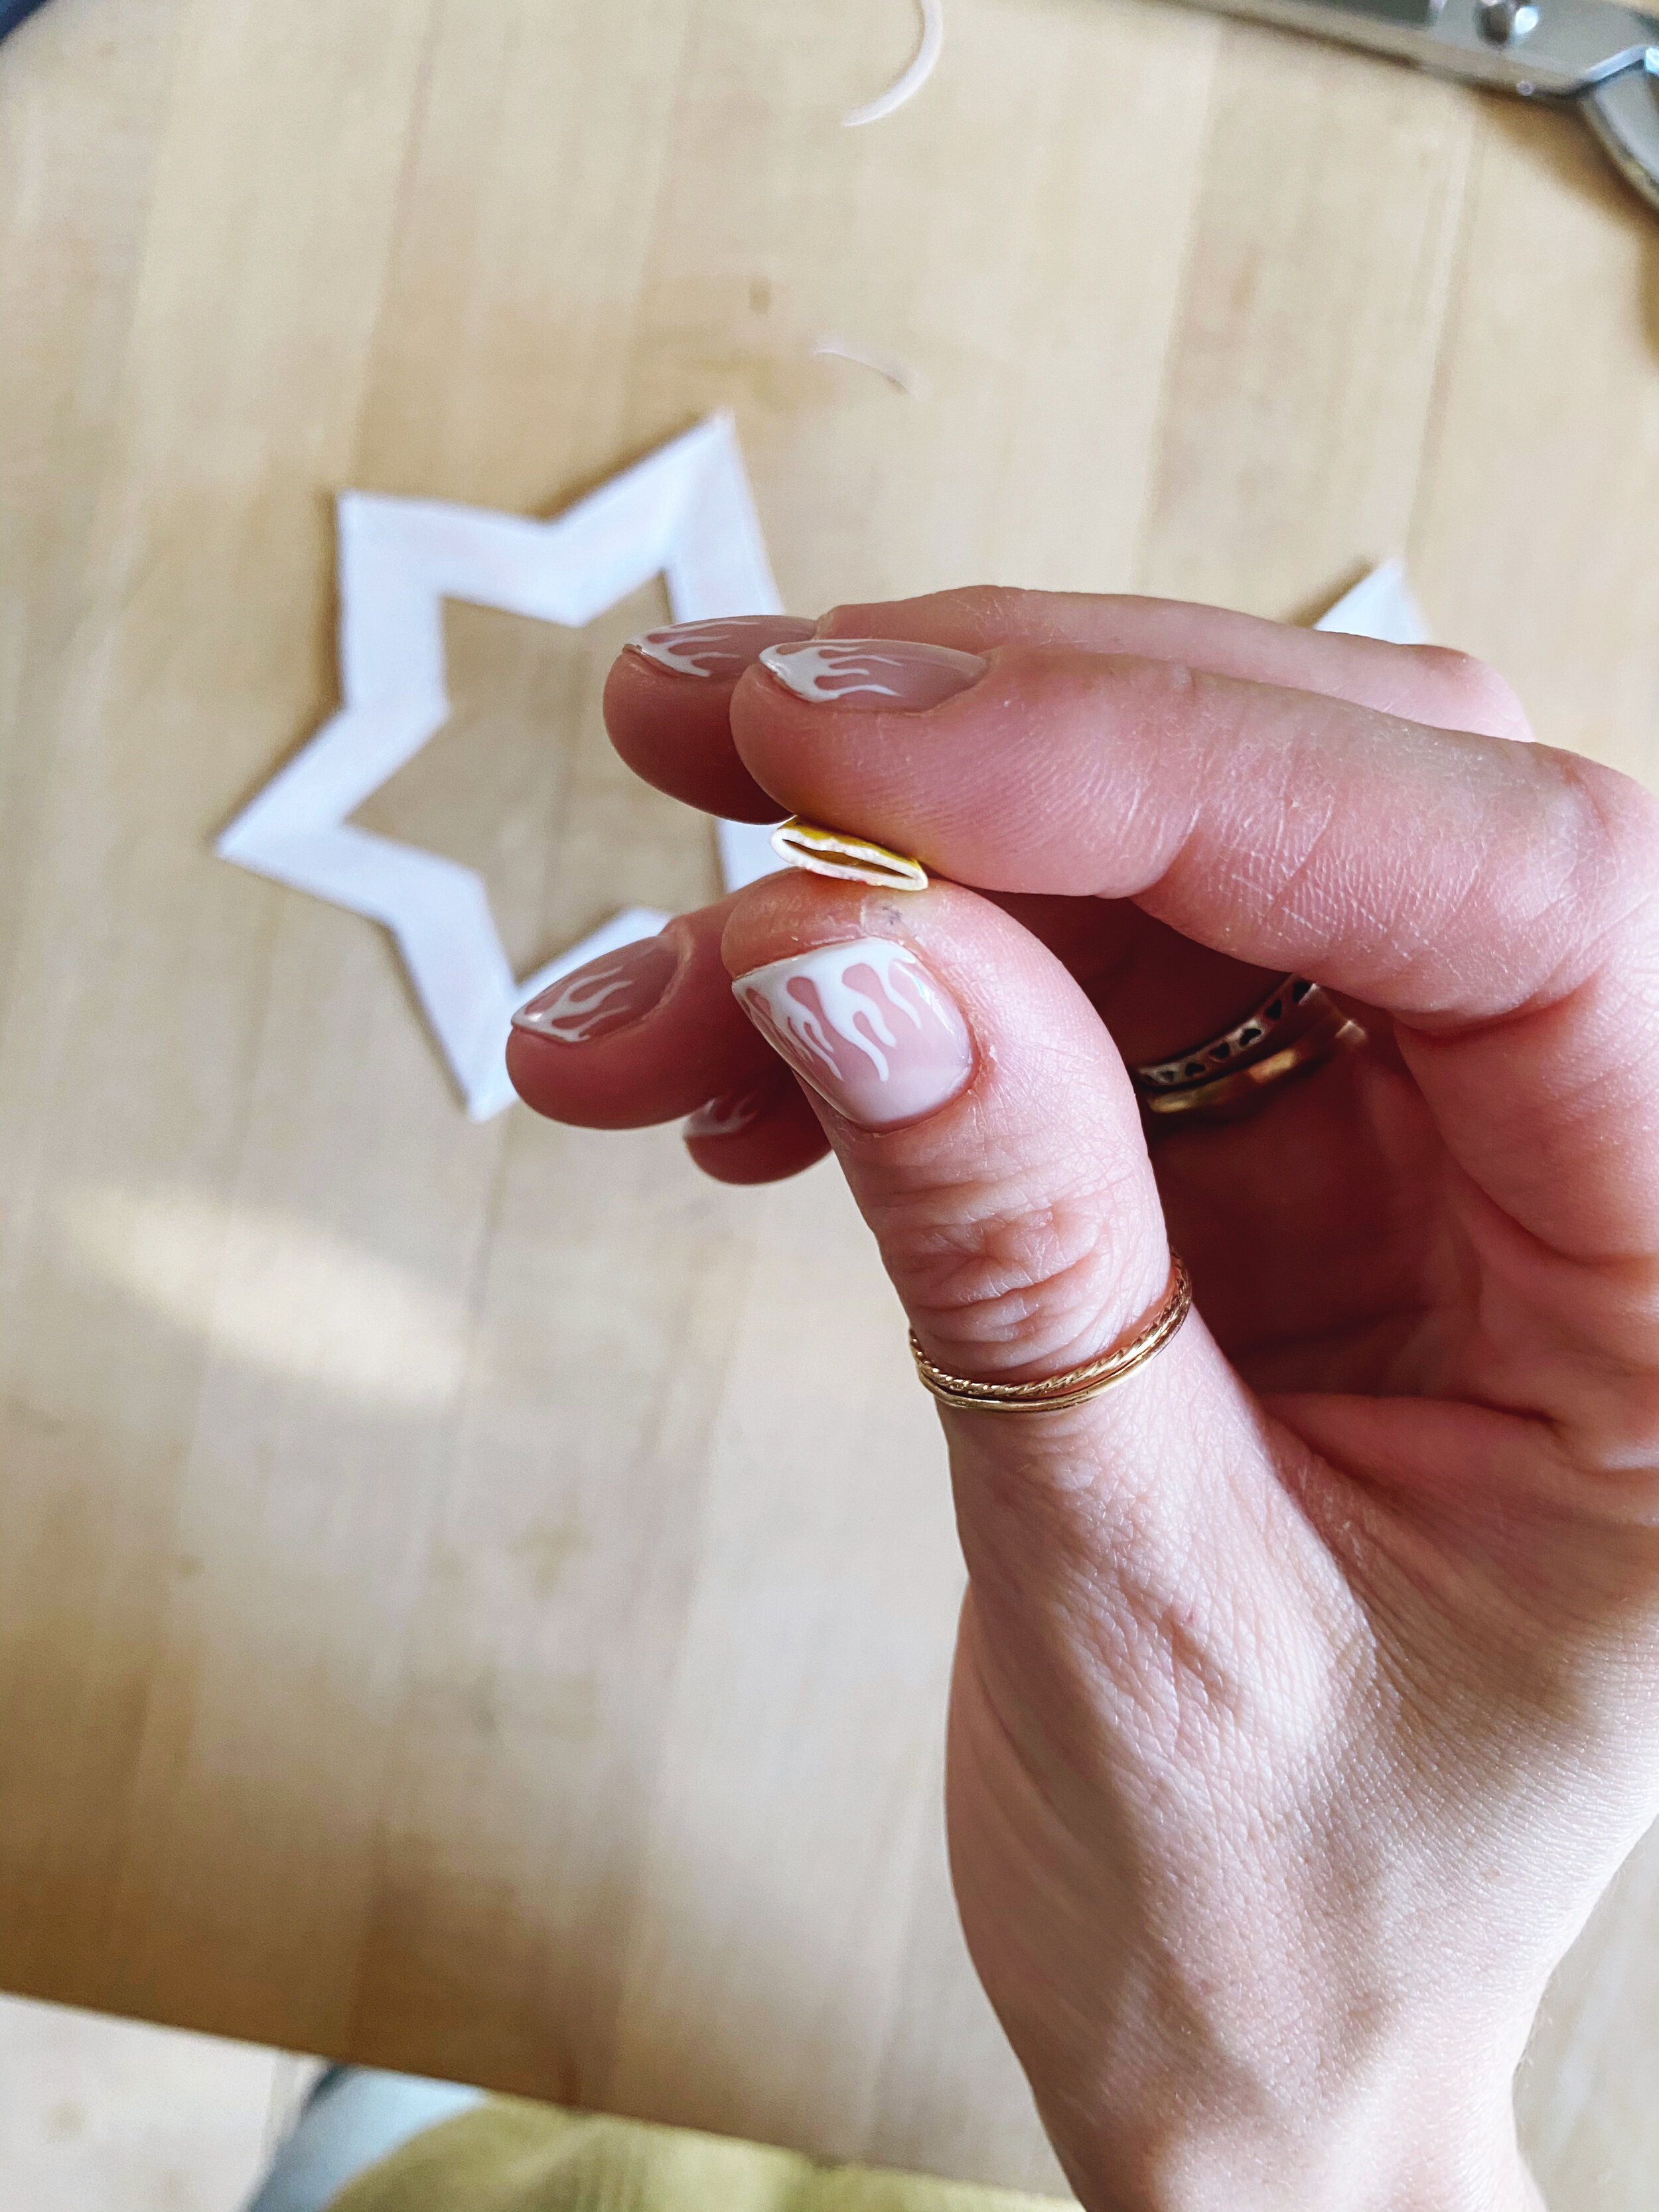
Step 2:
Now glue your stars to your clear material. Cutting the clear material is easiest once the star is glued and dry.
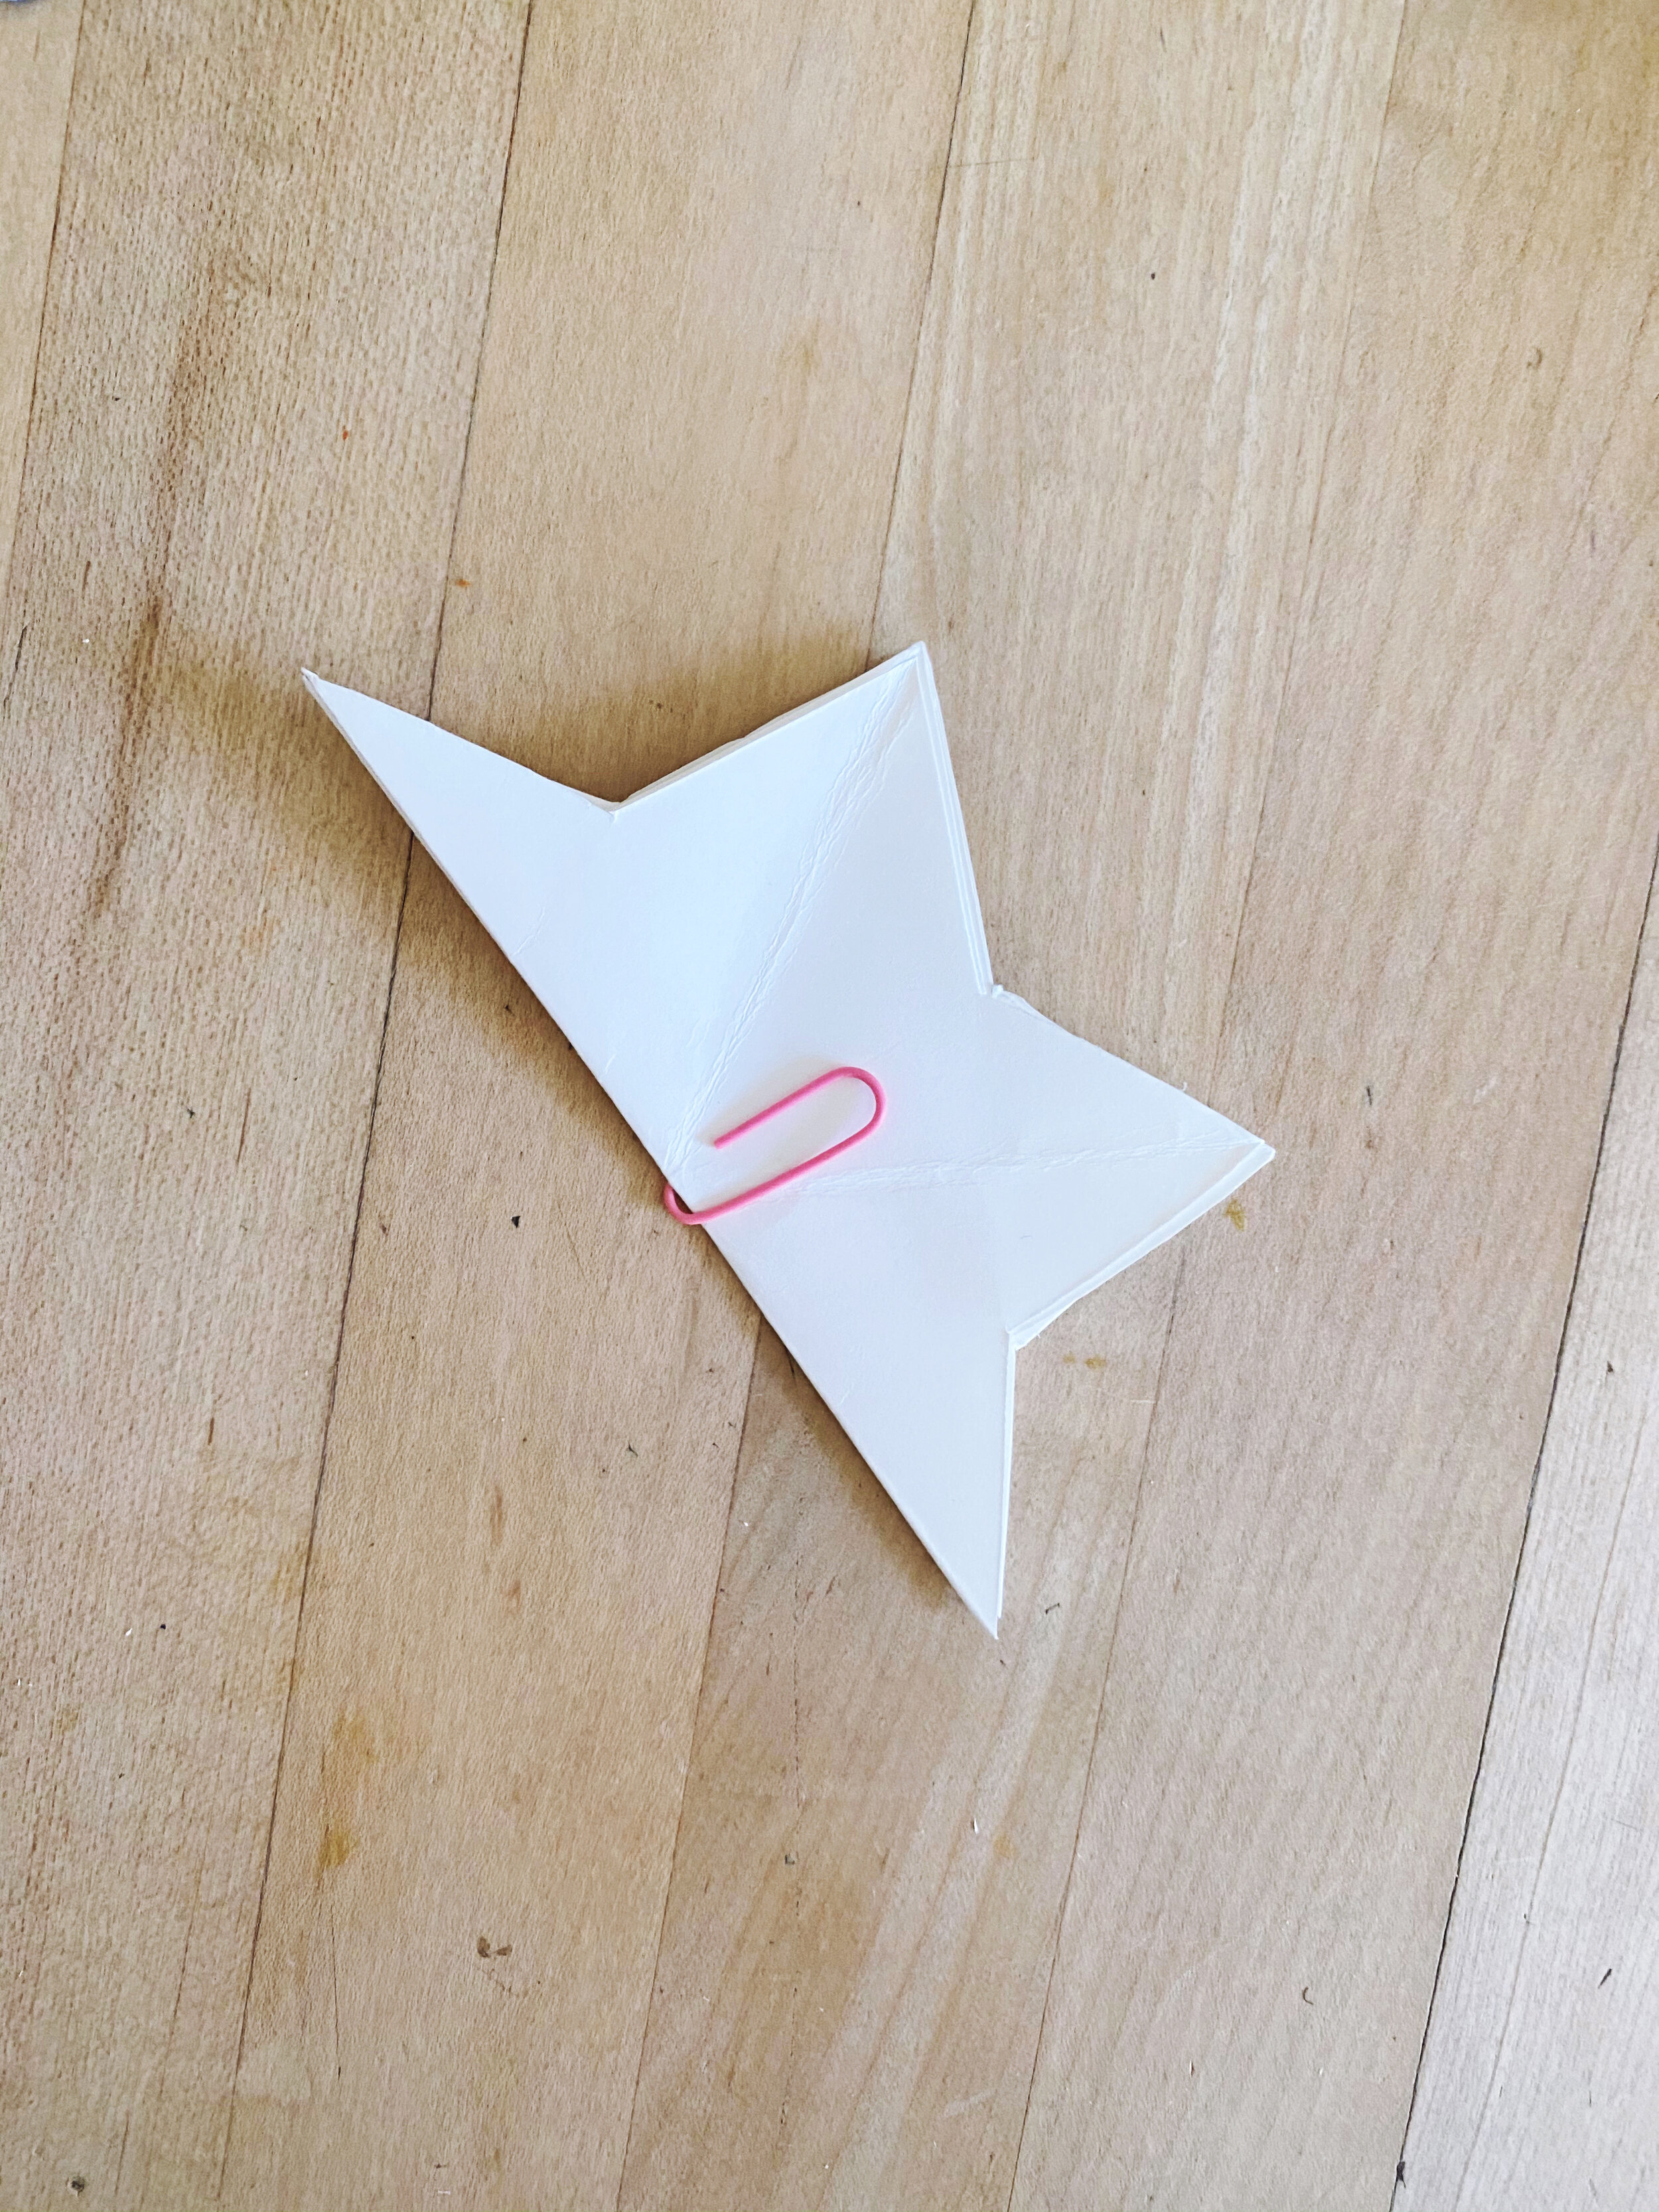
Step 3:
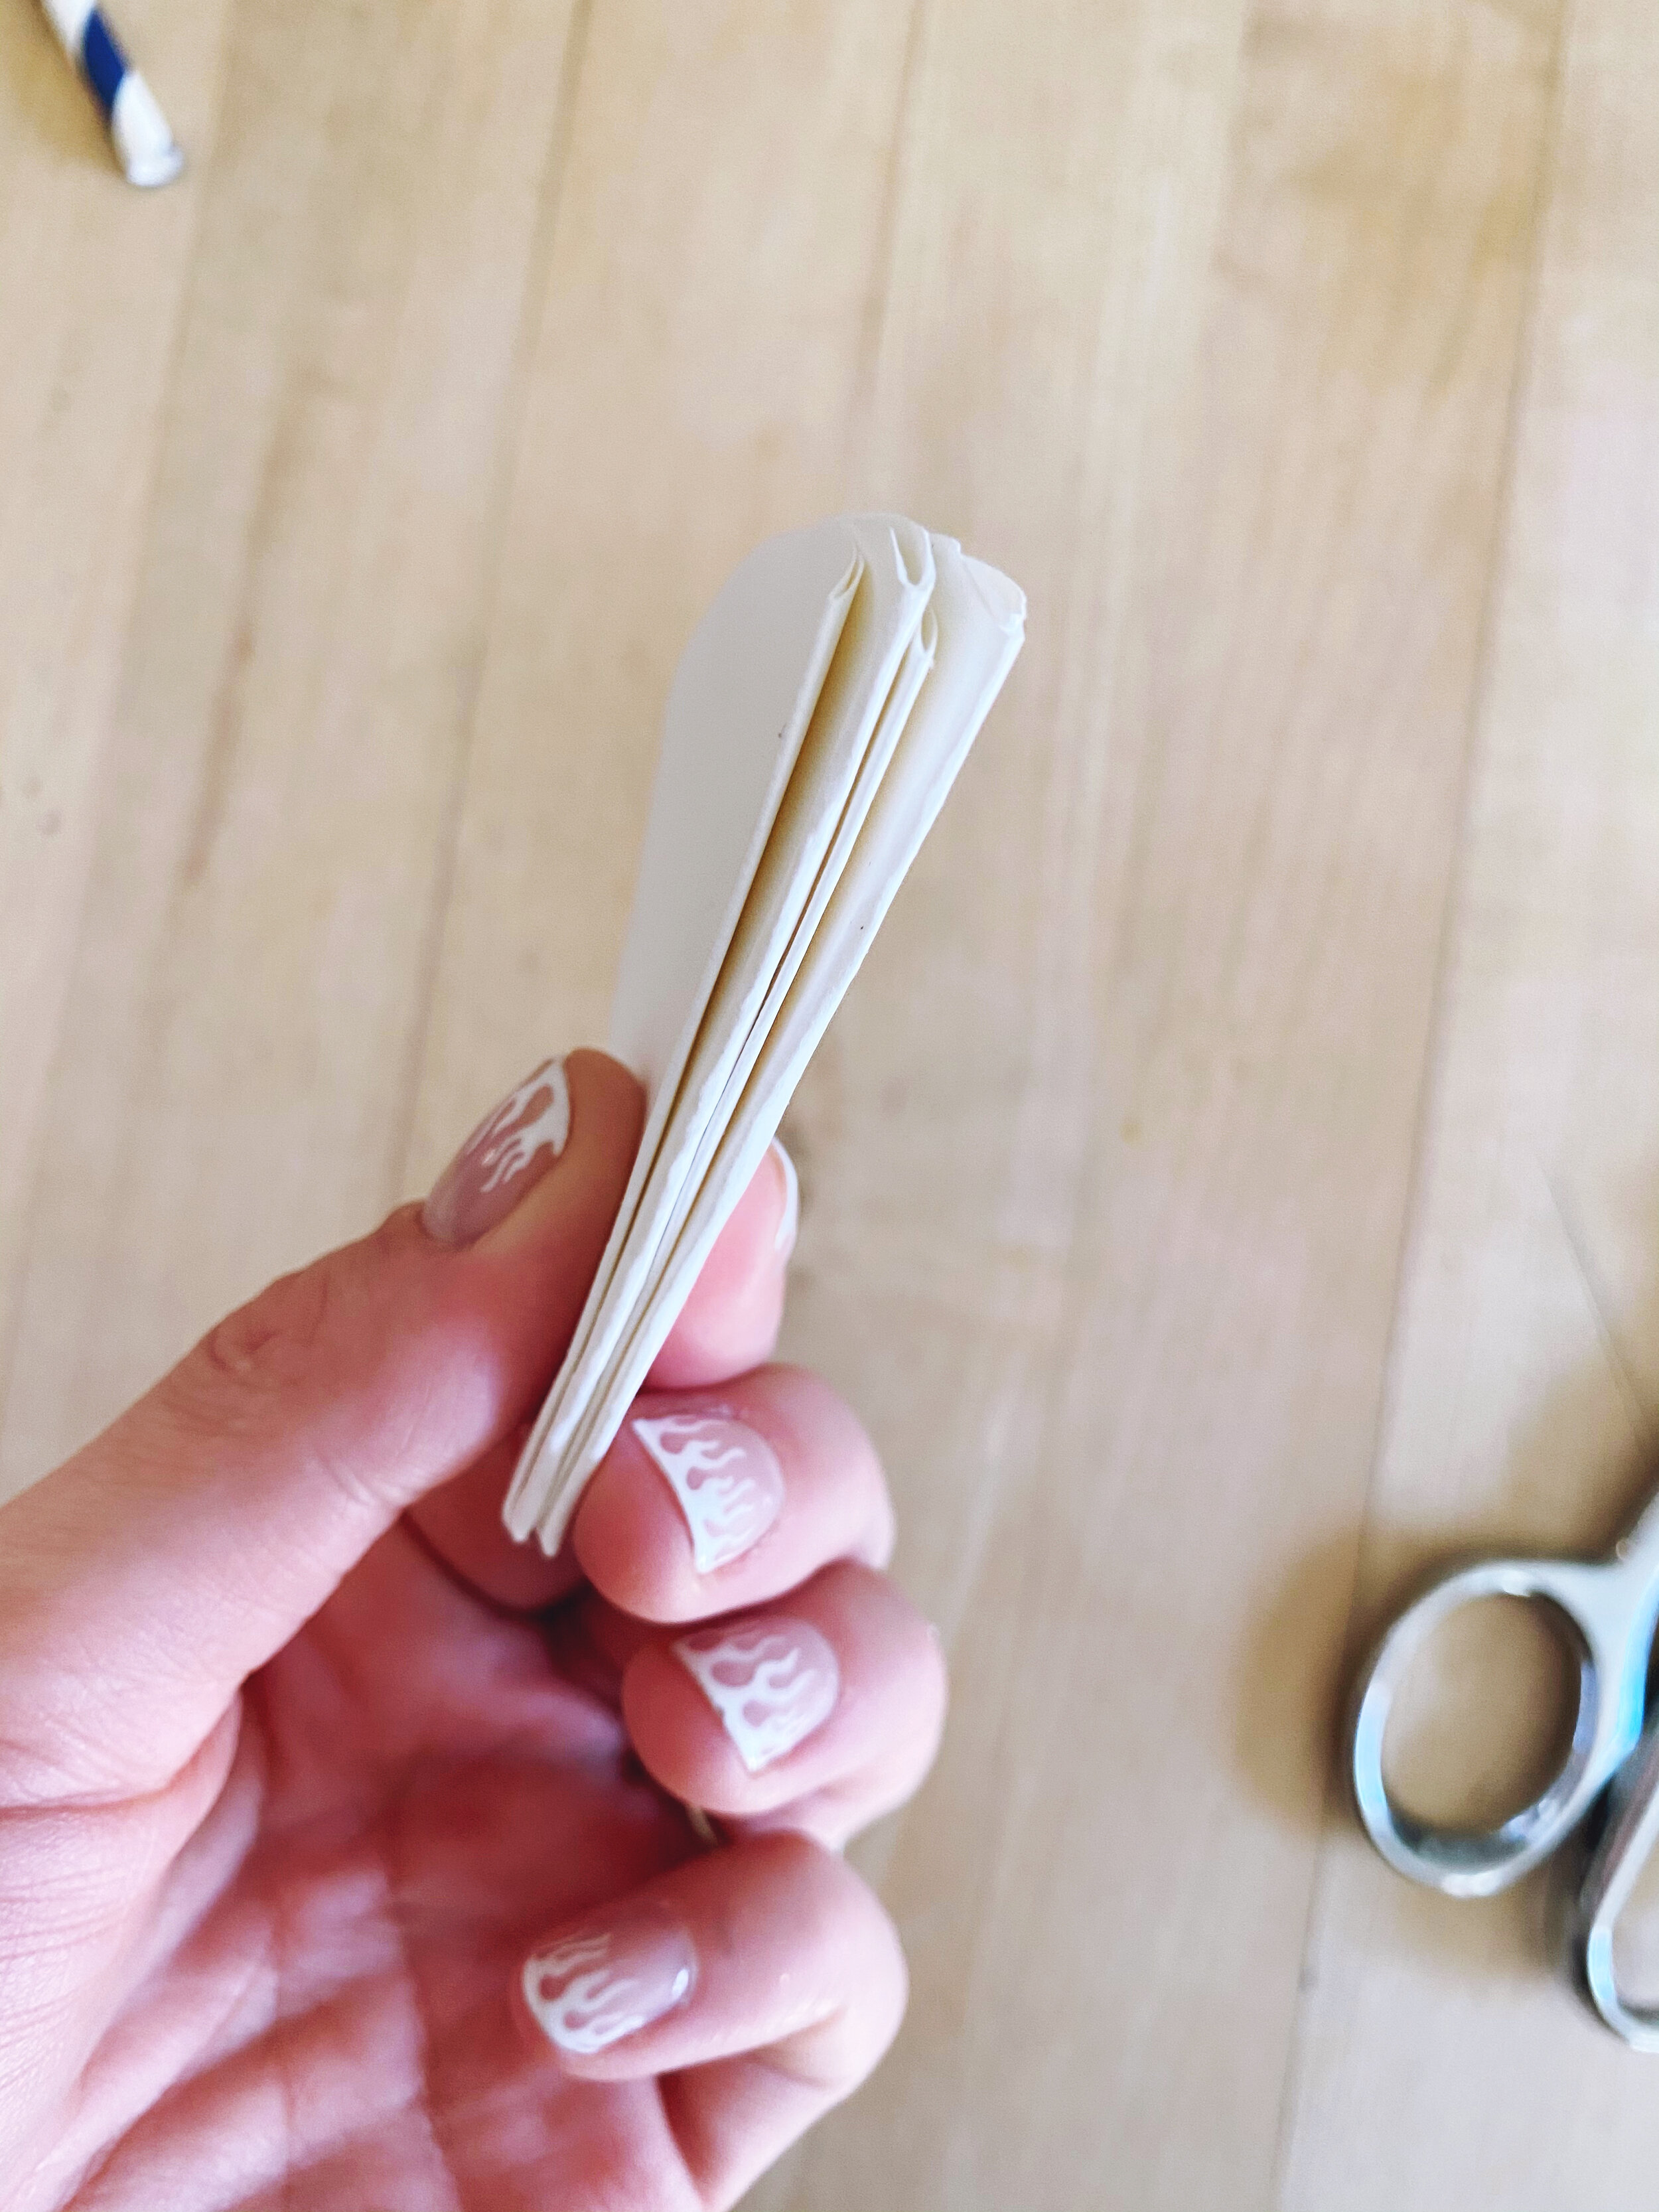
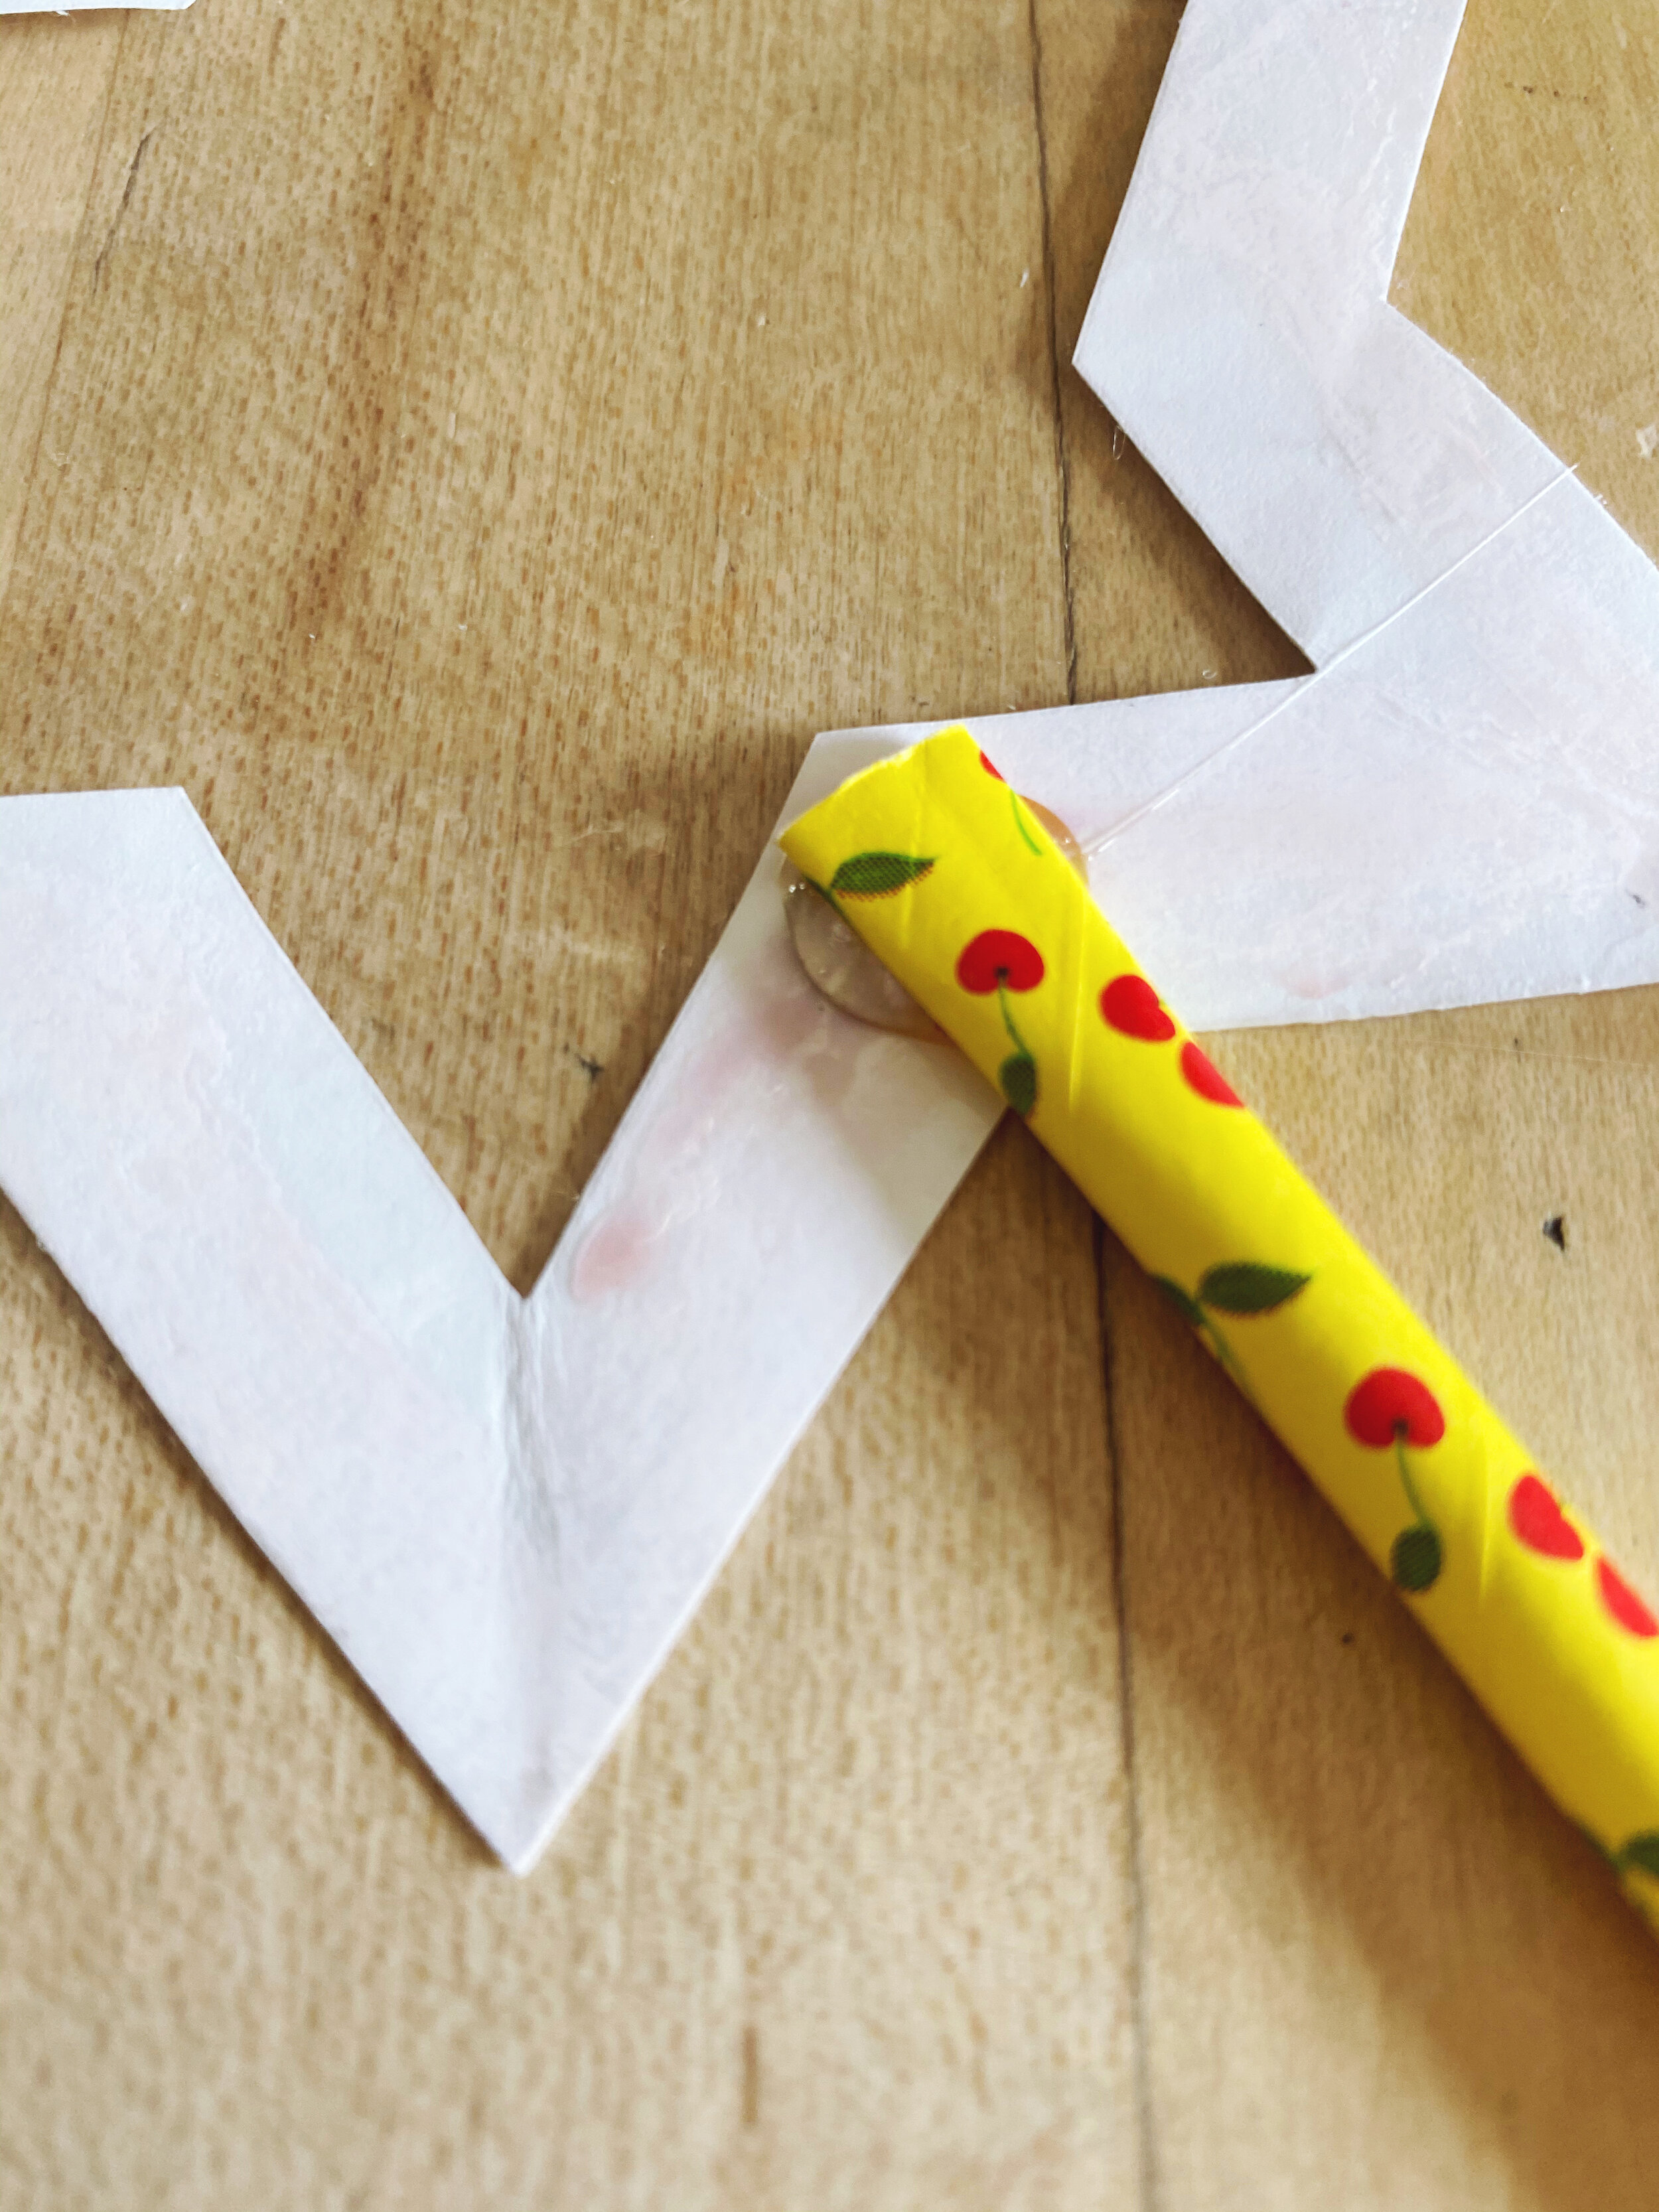
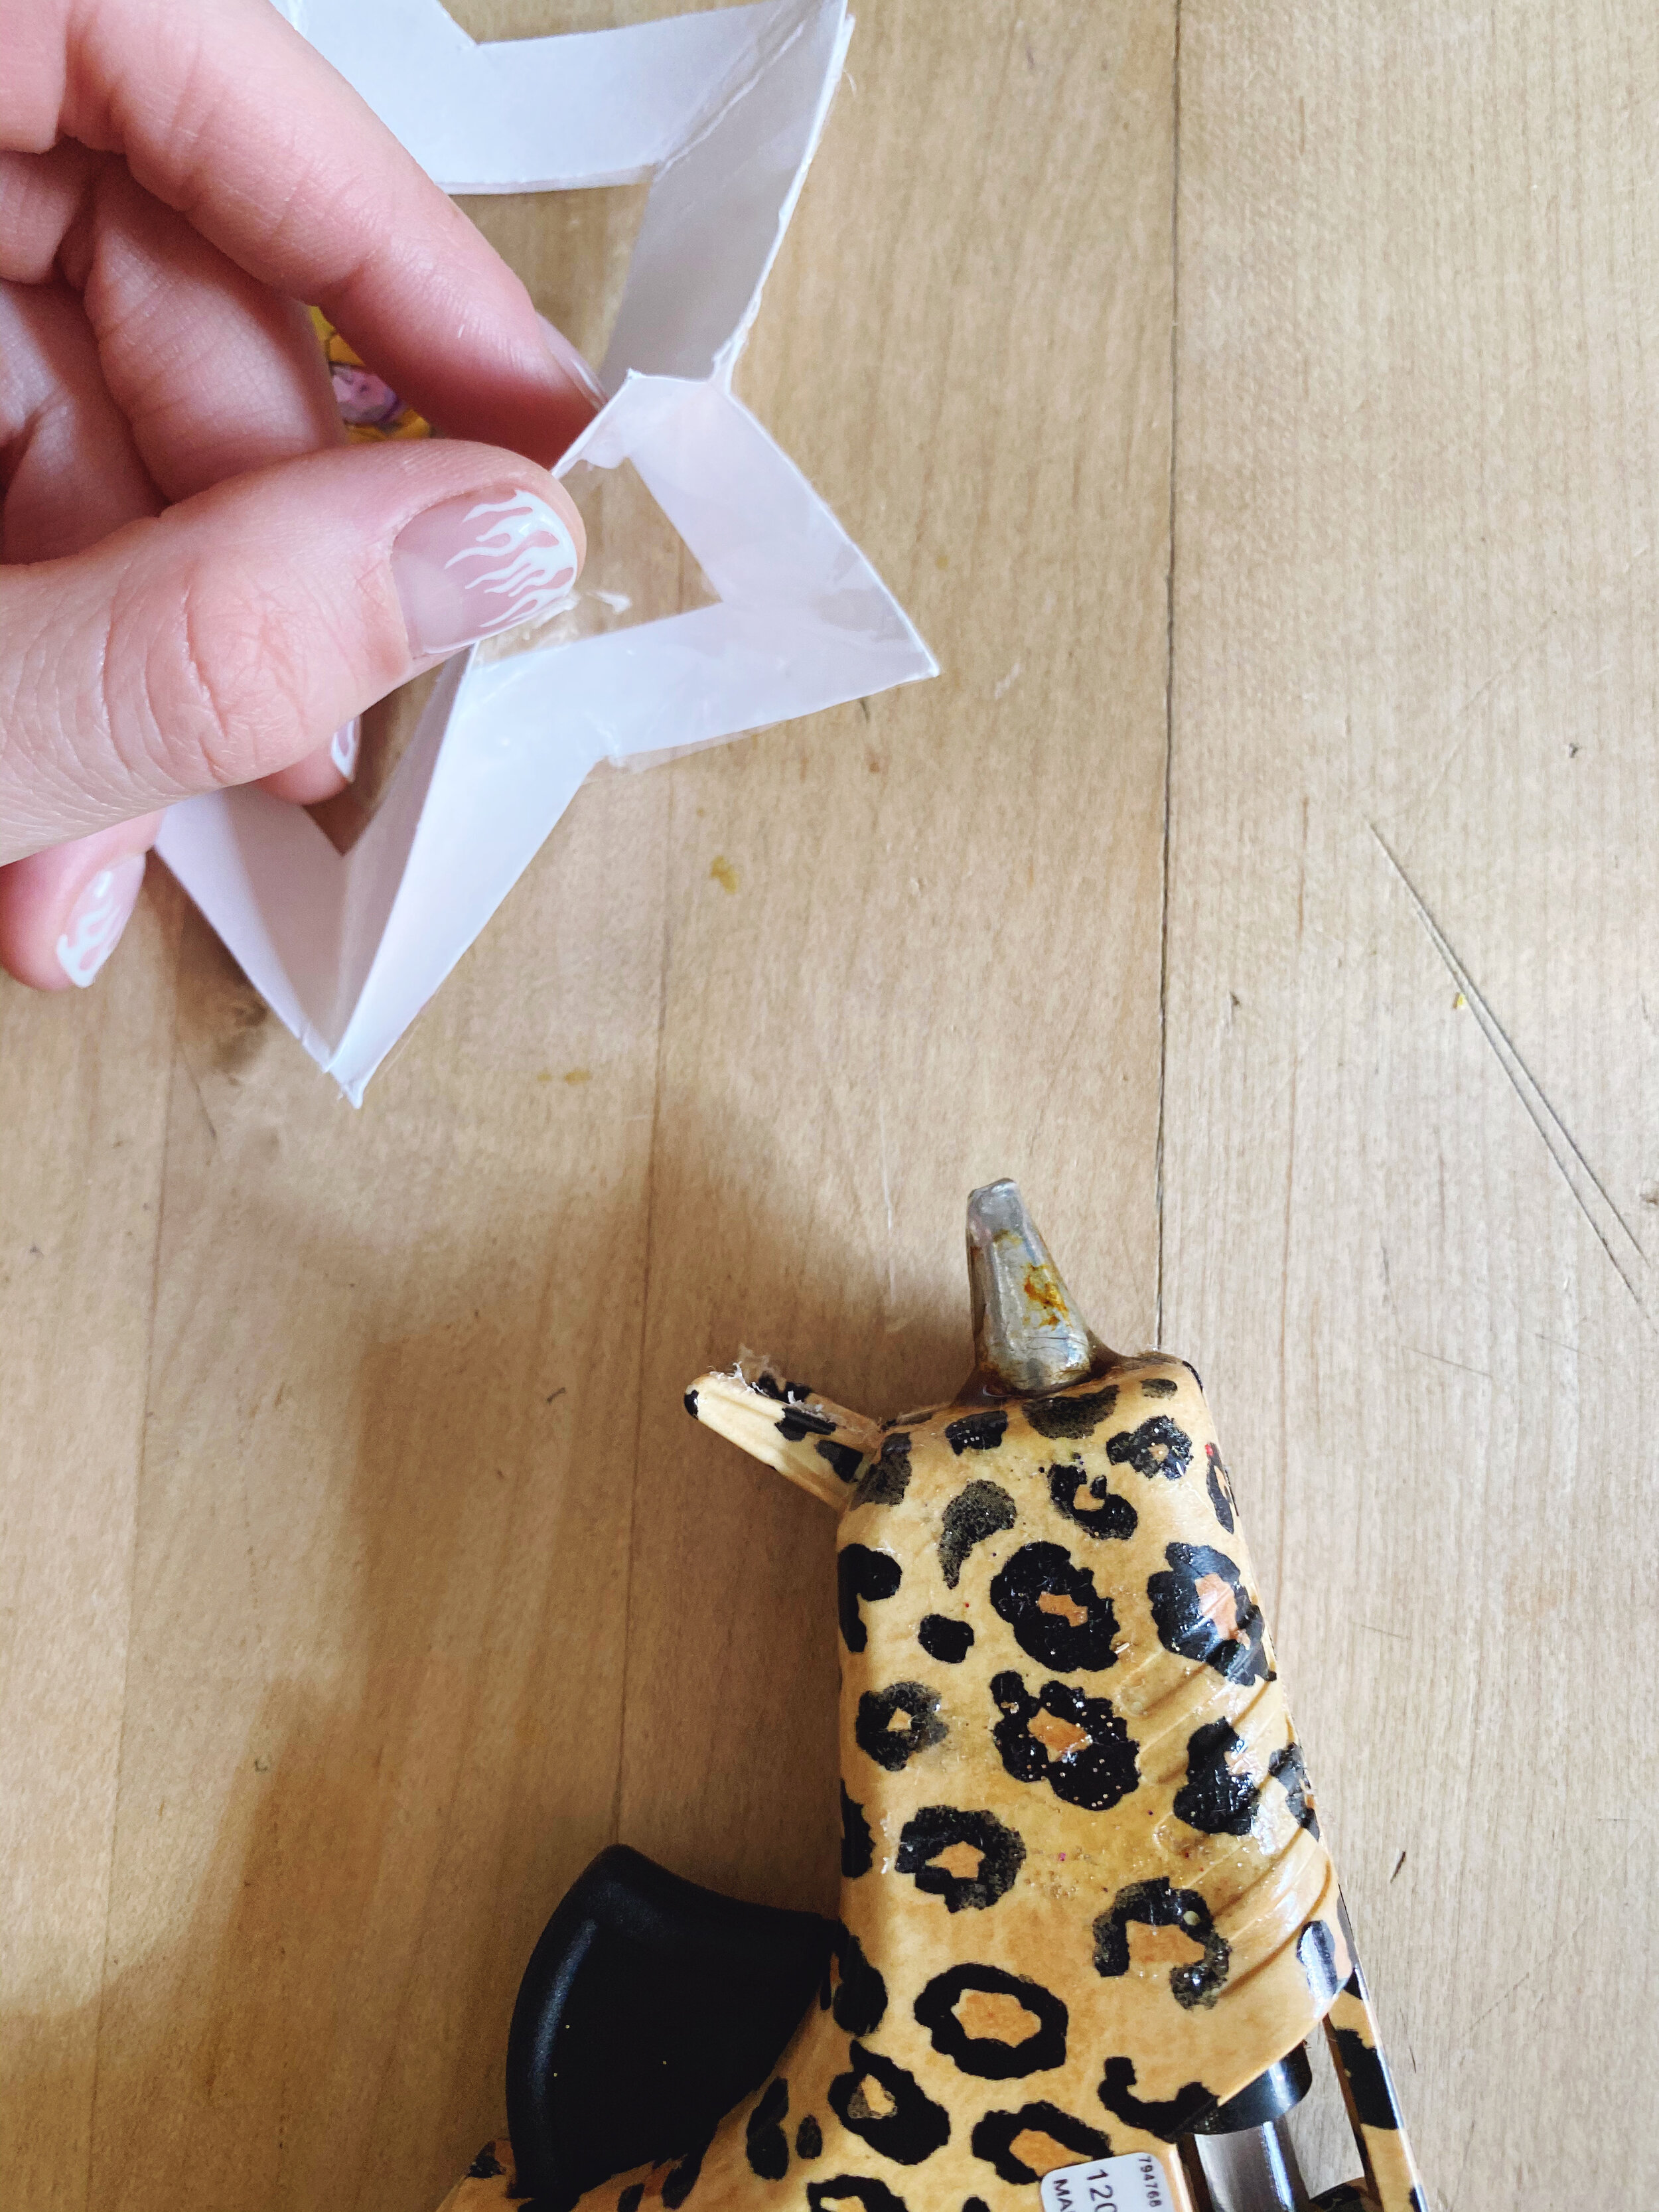
You should have two stars with clear plastic ready to go. Next, you’ll want to add the wand. If you are using a cardboard straw, pinch the top to flatten the tip for a more seamless wand. Glue in place. Avoid using too much glue – you don’t want hot glue running over the edges.
Step 4:
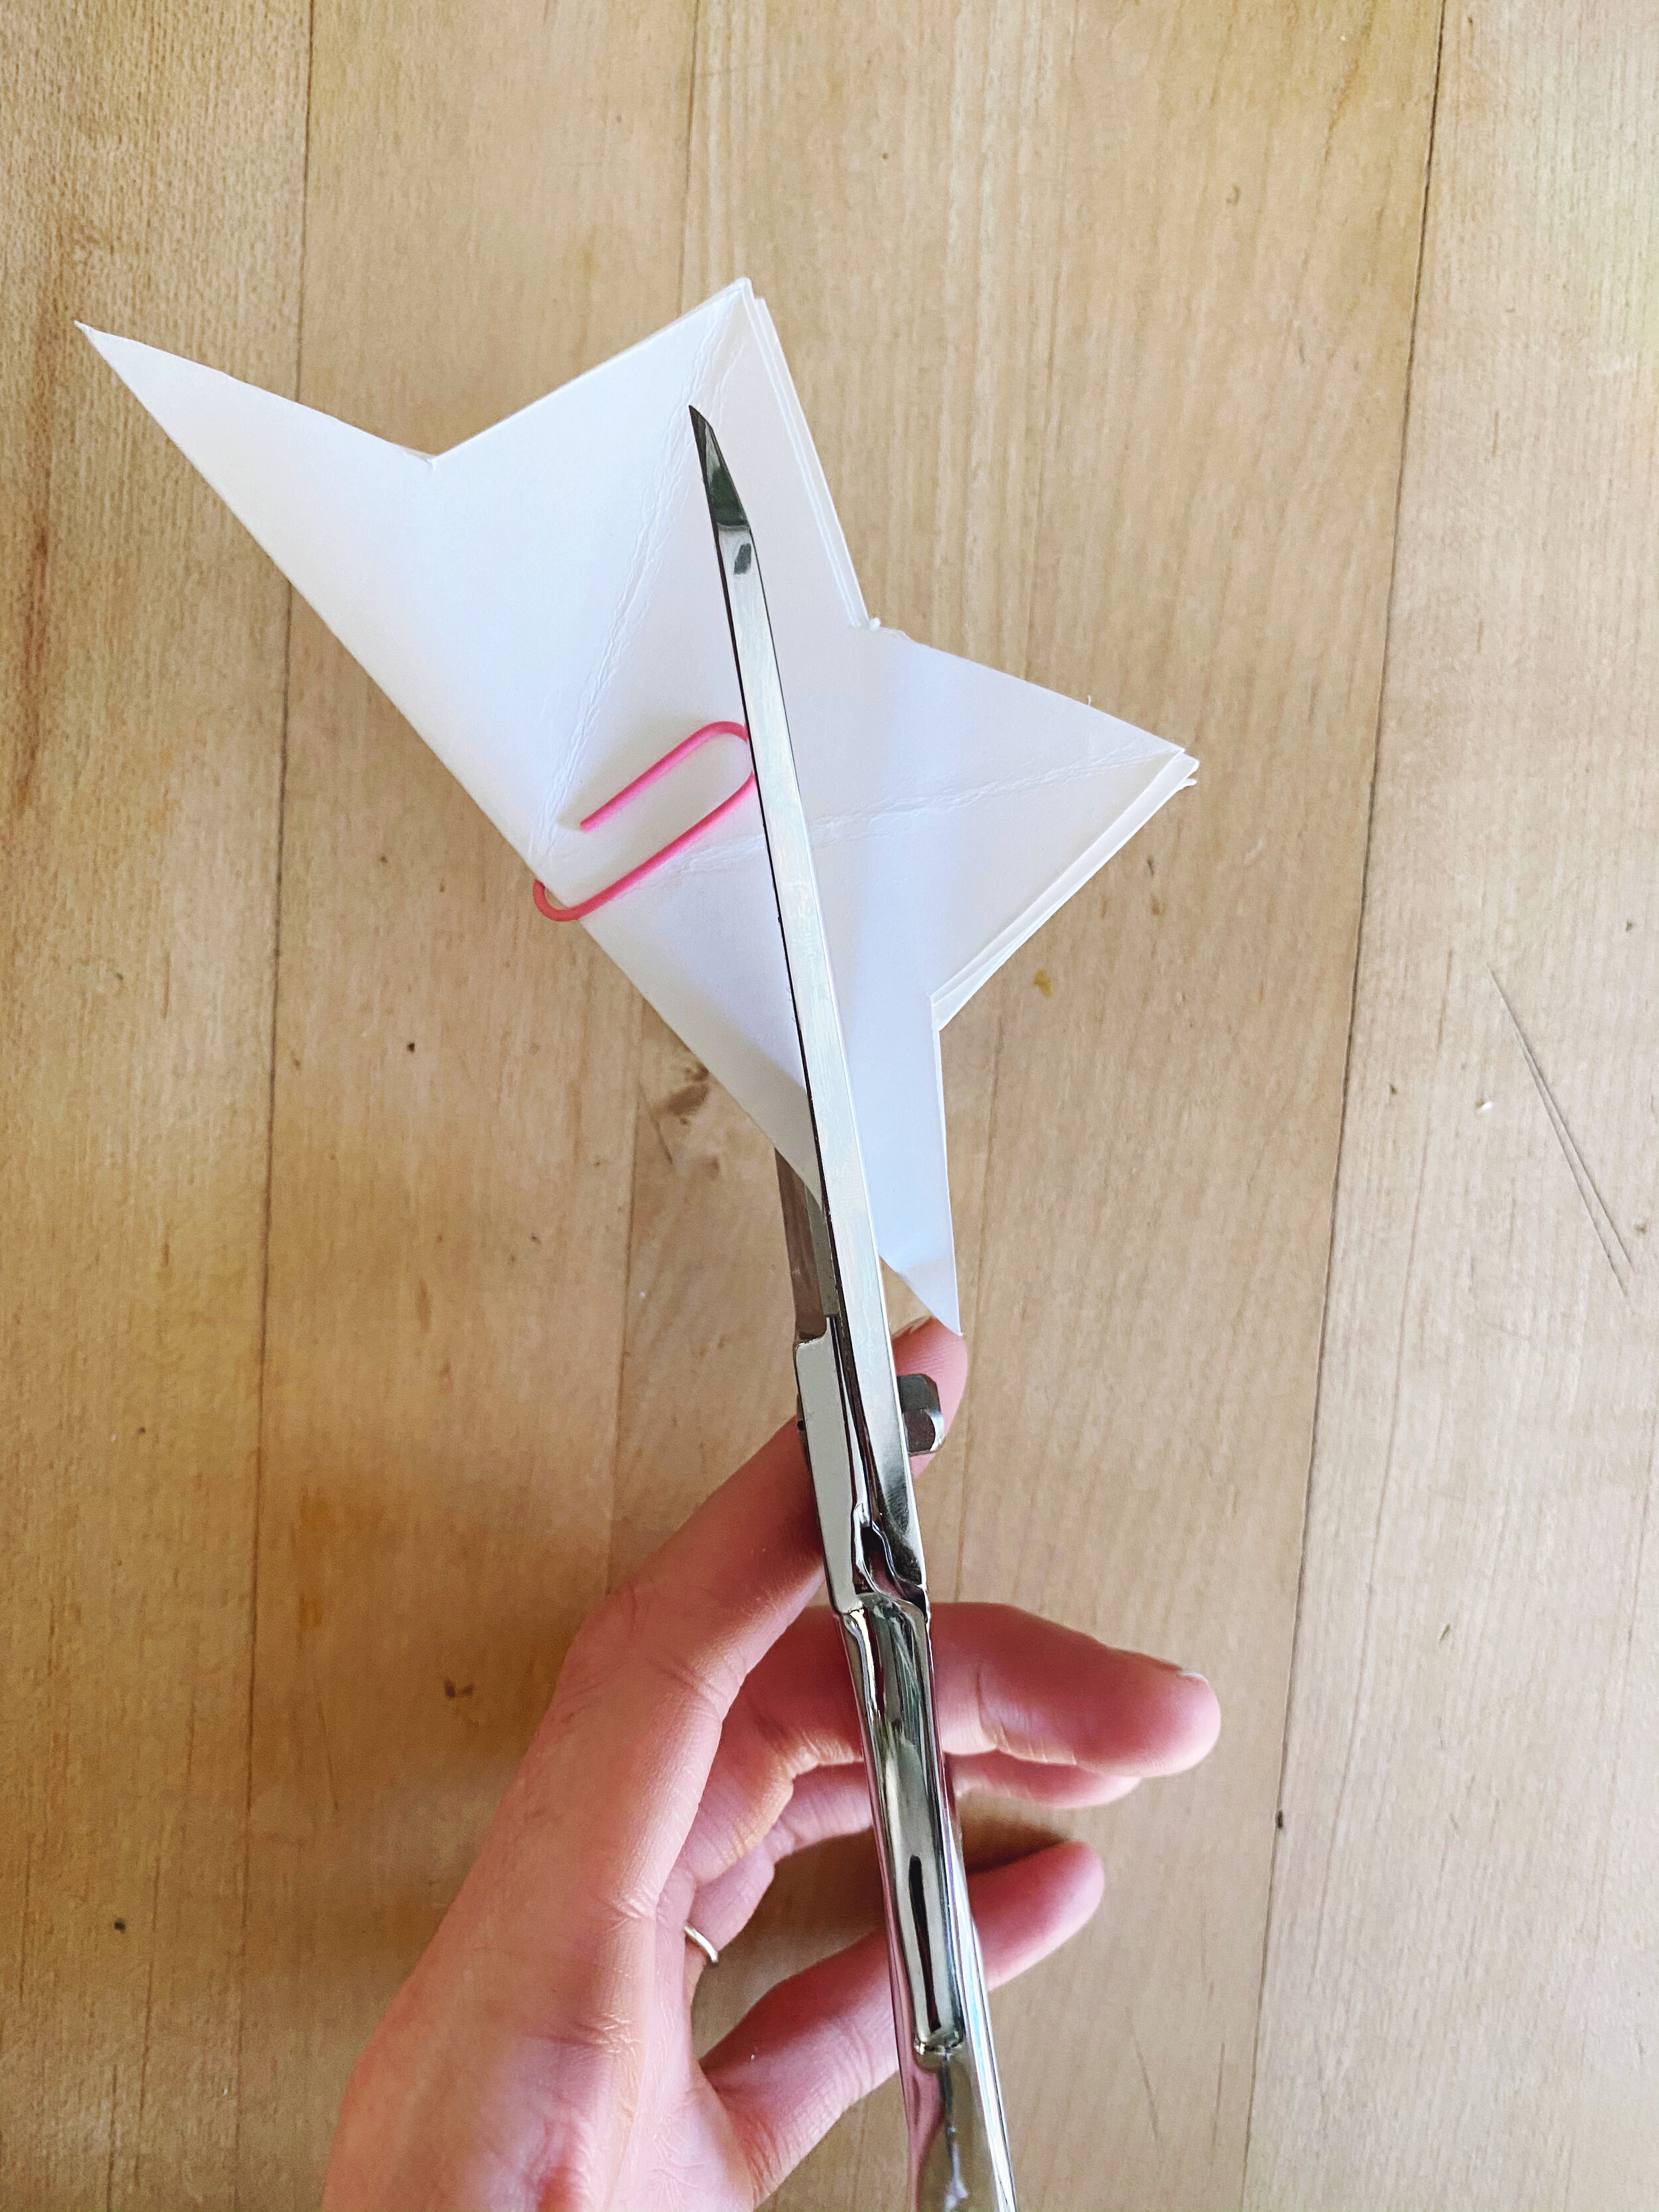
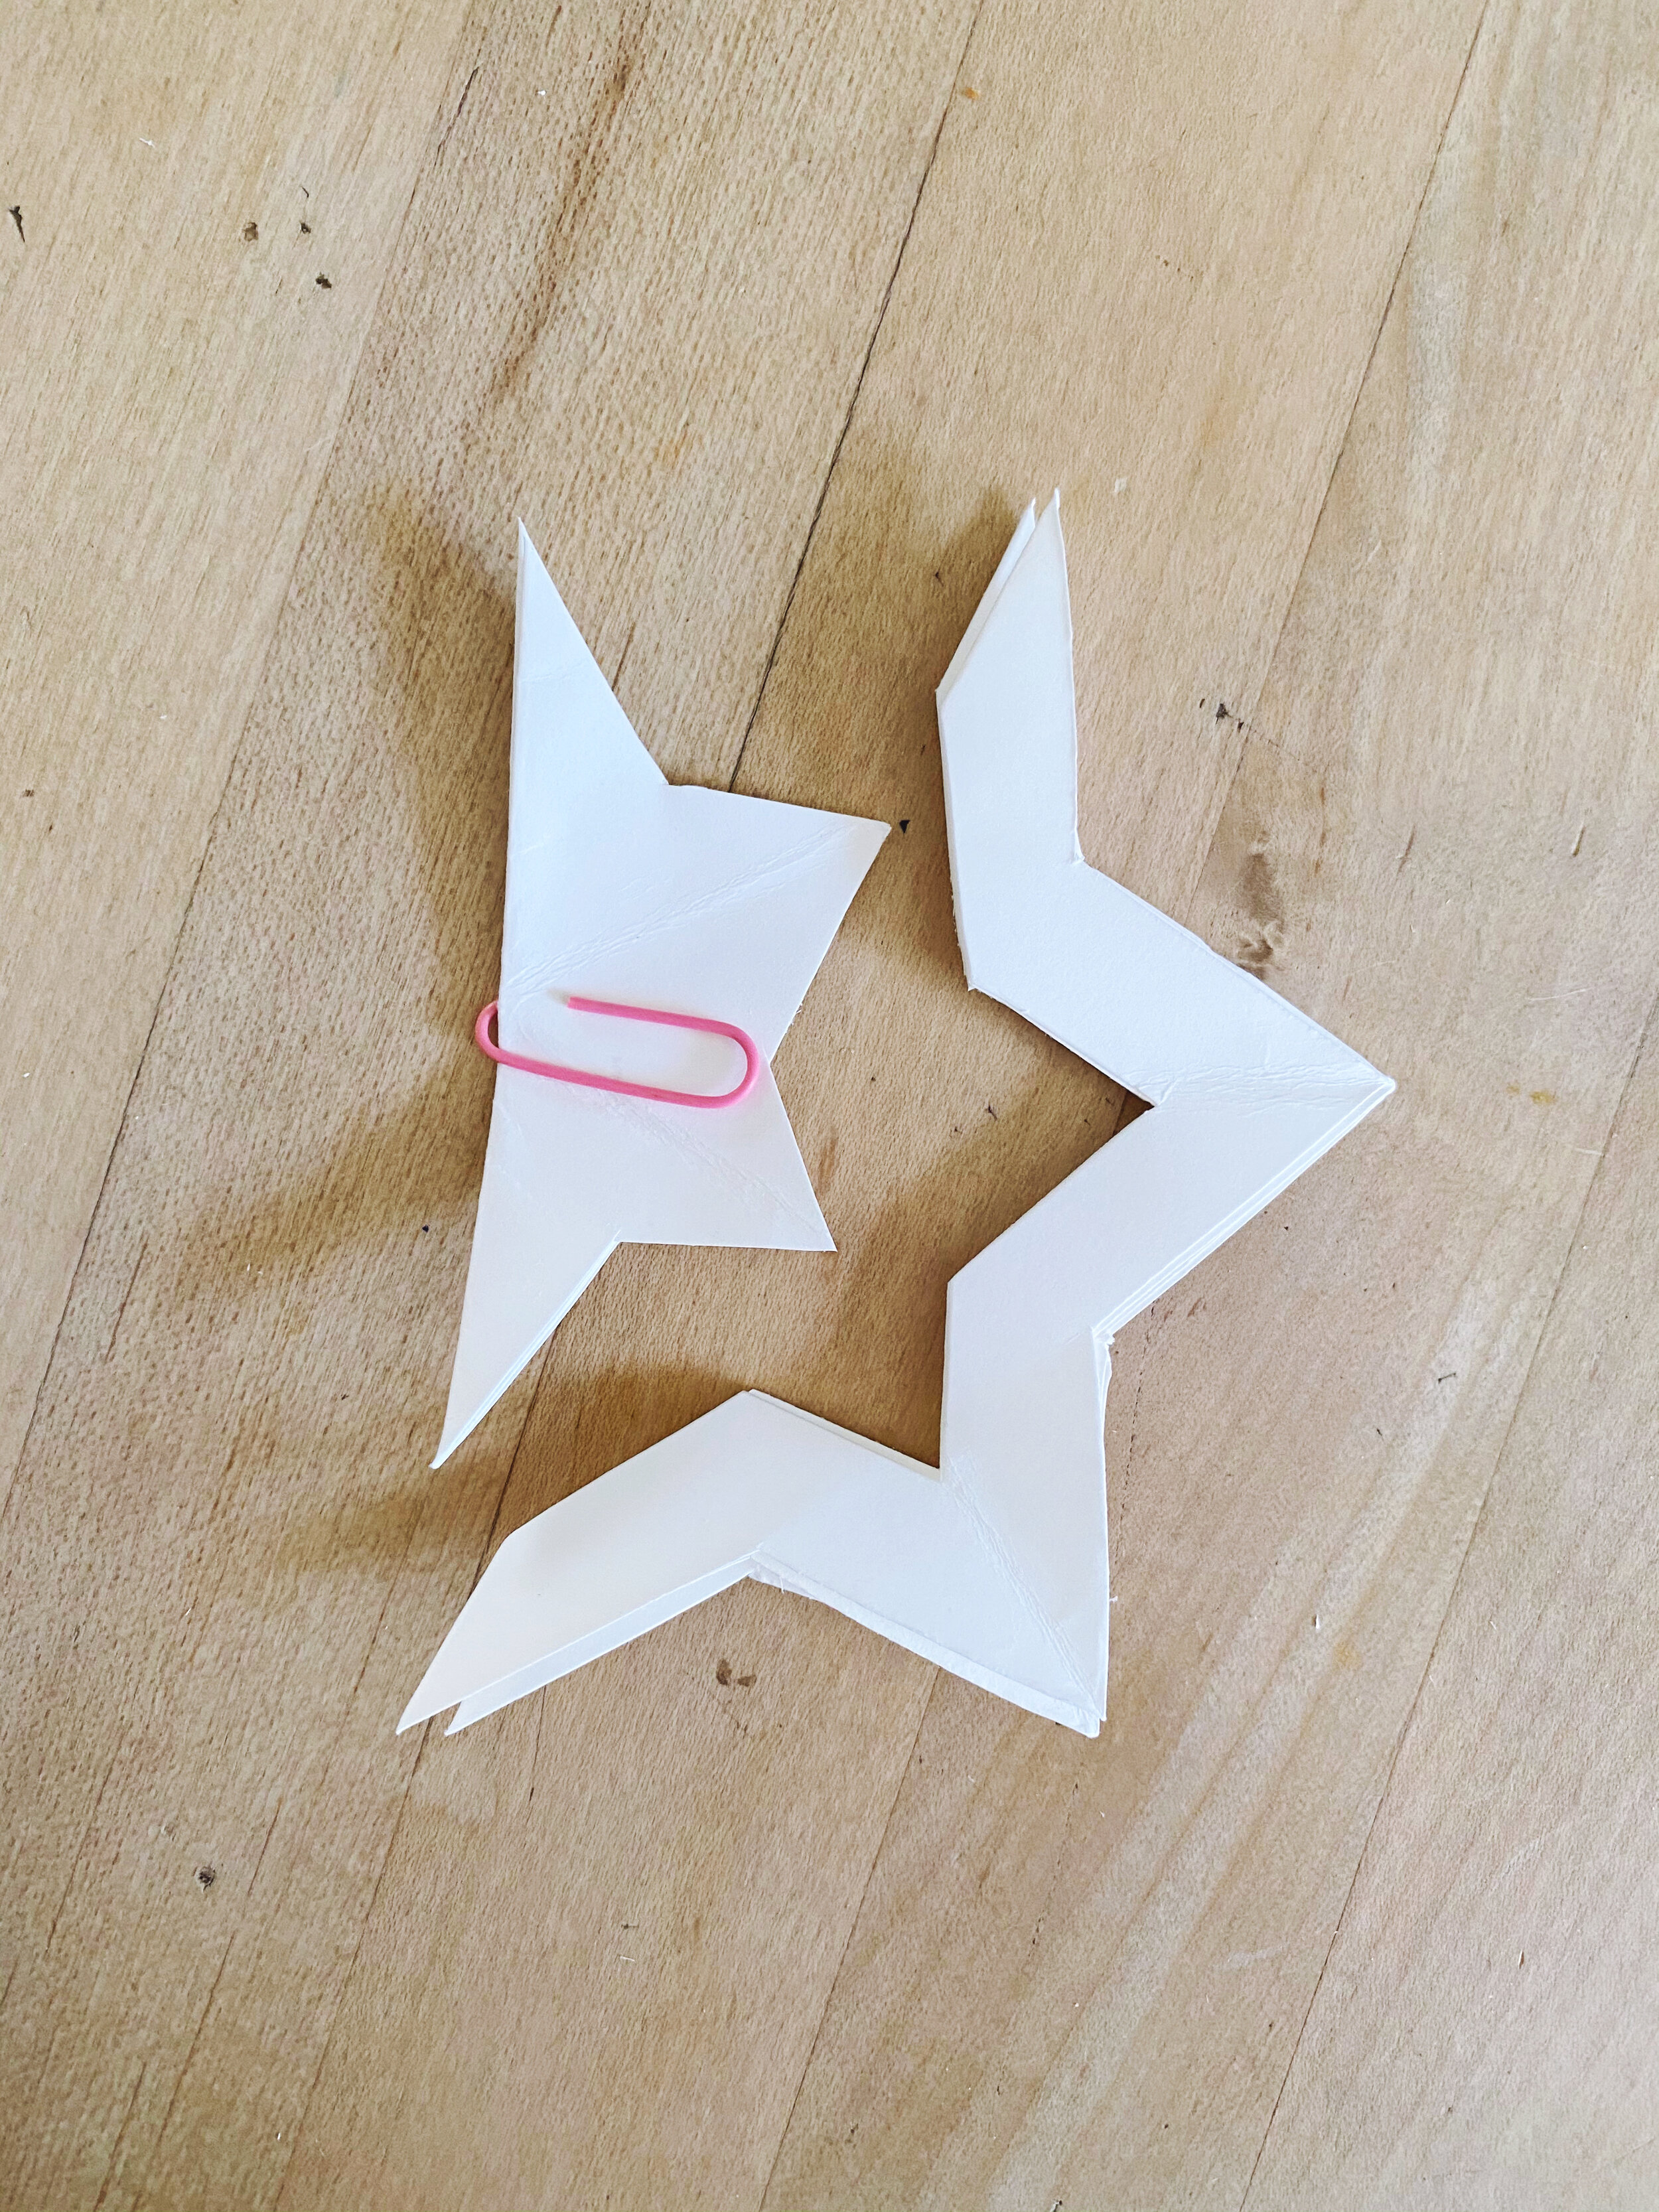
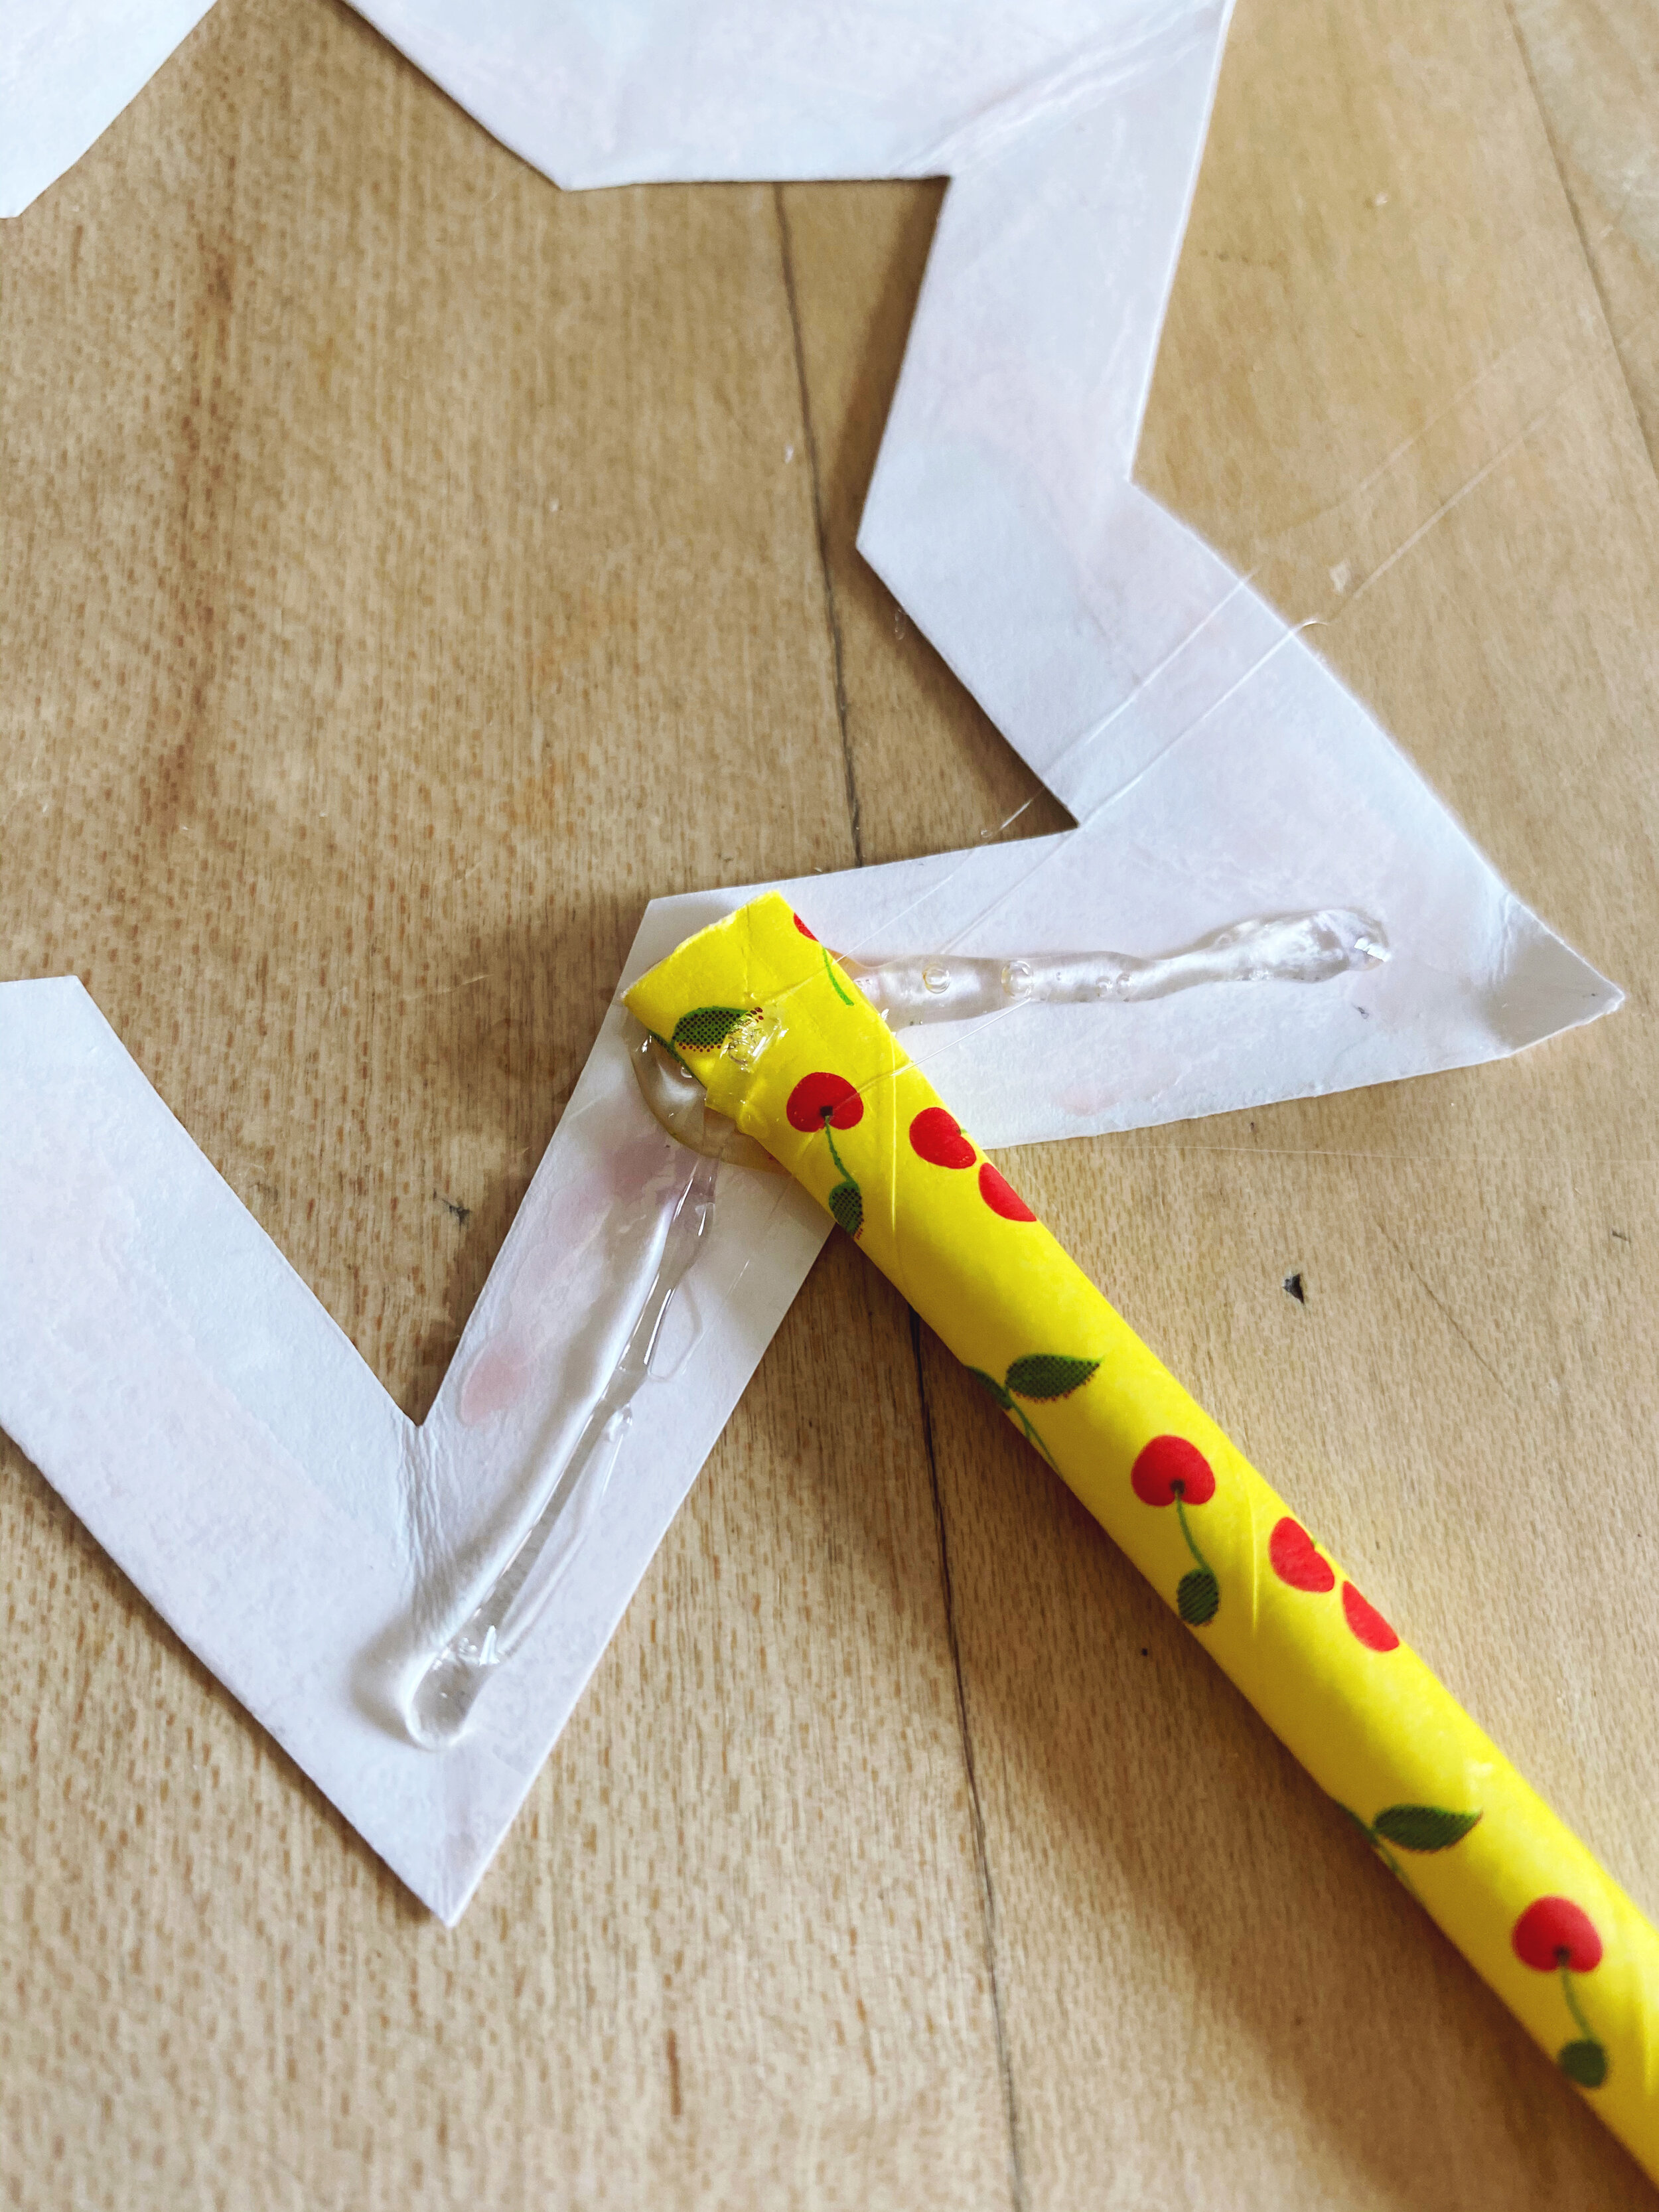
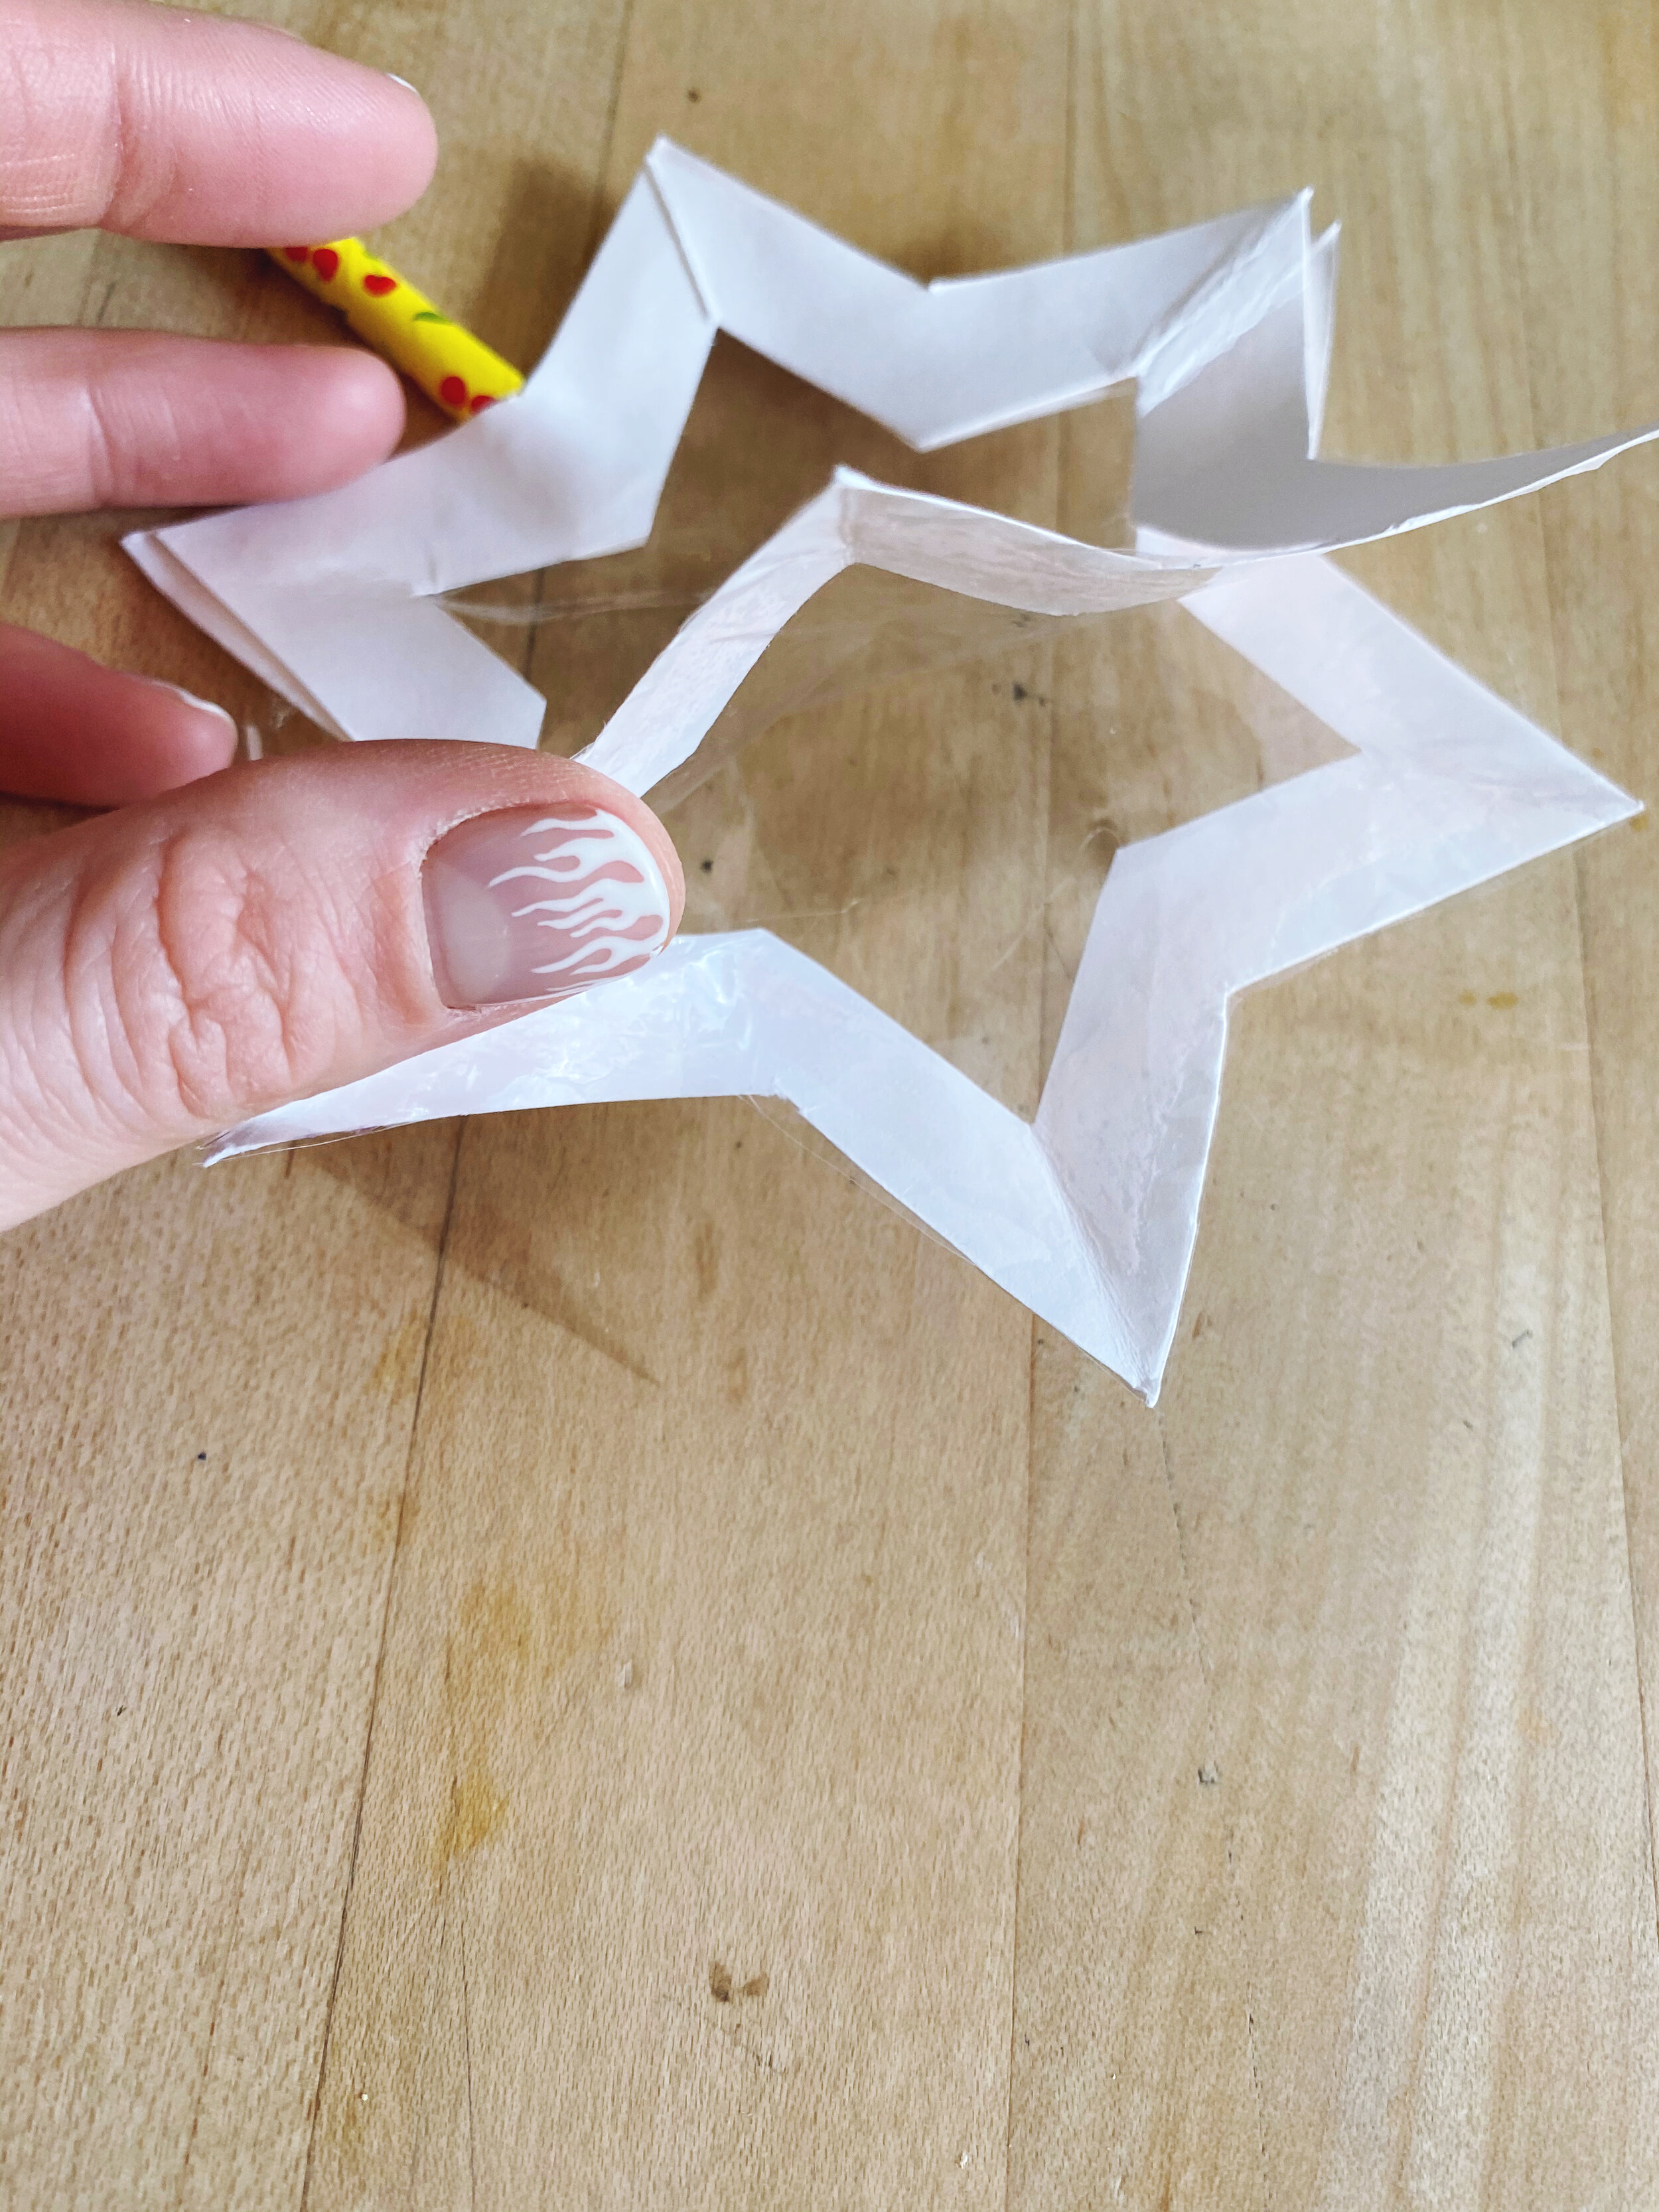
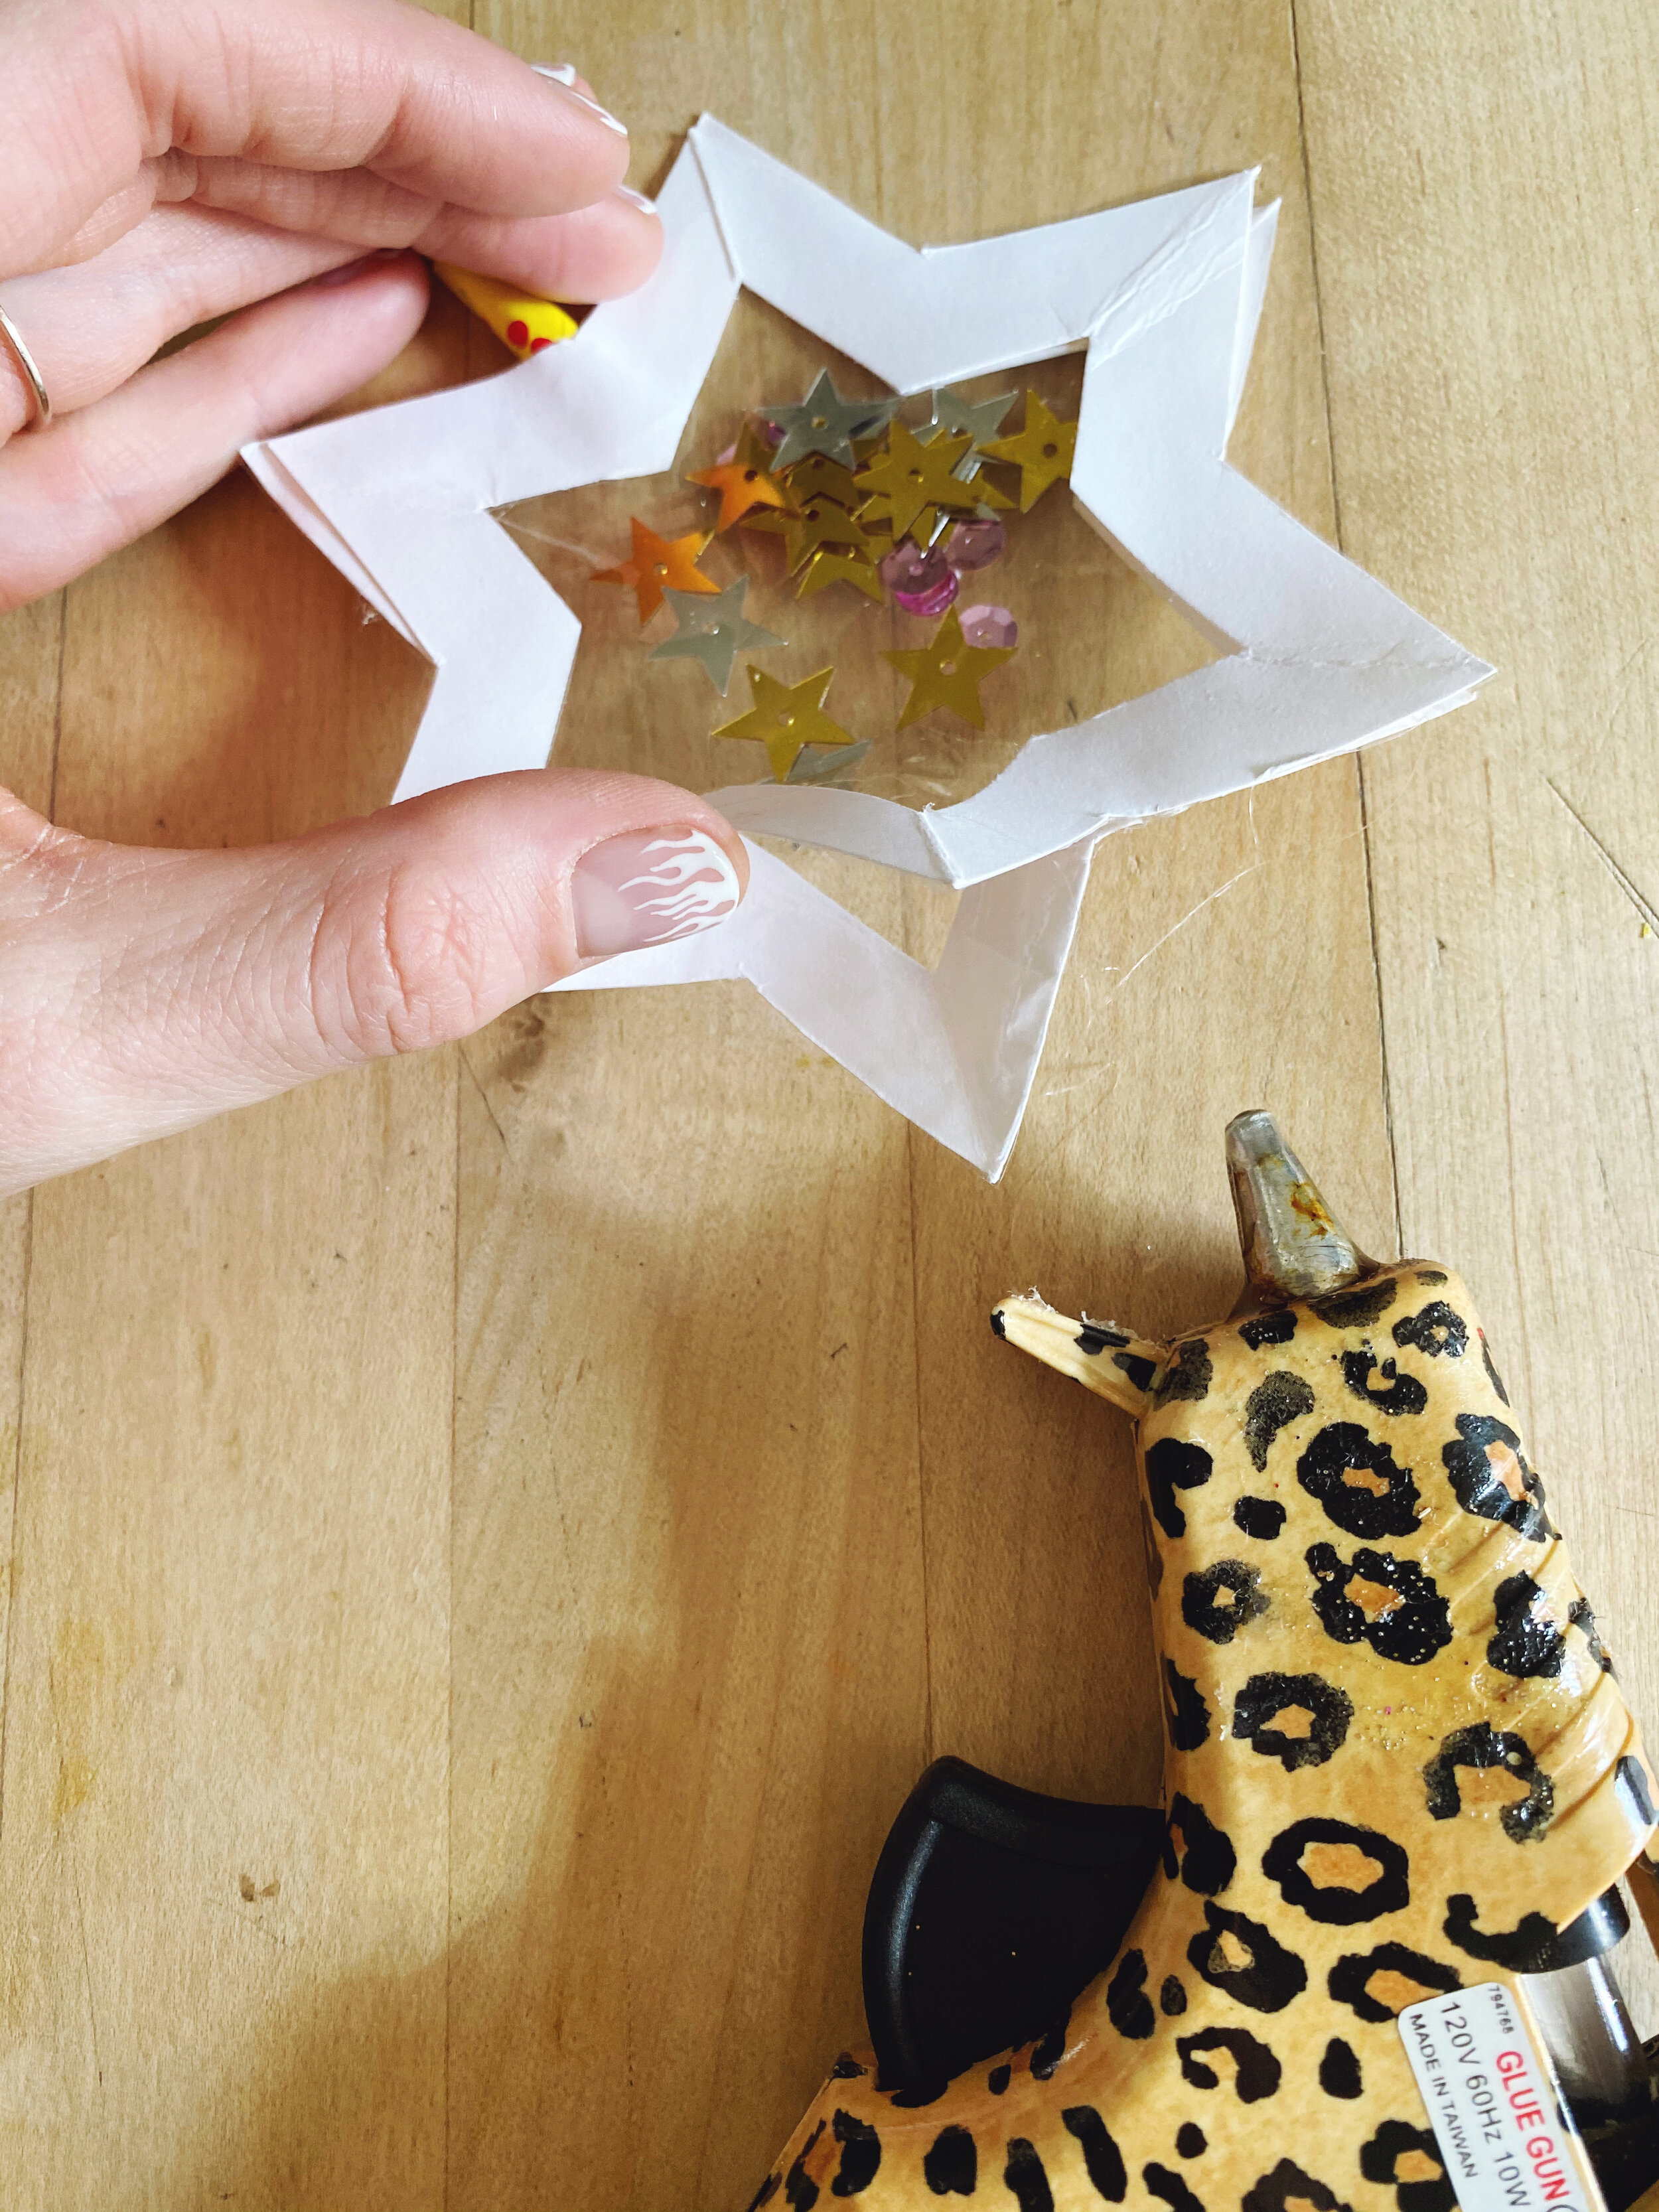
Now we are going to glue the edges of the stars together, starting at the bottom. Leave an opening at the top to pour in your sequins and flair! Once you have filled the star with magic, glue it closed. Give it a test shake to double check that there are no openings. If there is even a tiny gap, your flair will fall out with all the wild wishing your kid will be doing.
Step 5:
If you are going to write any wishes on your wand, now is the time.
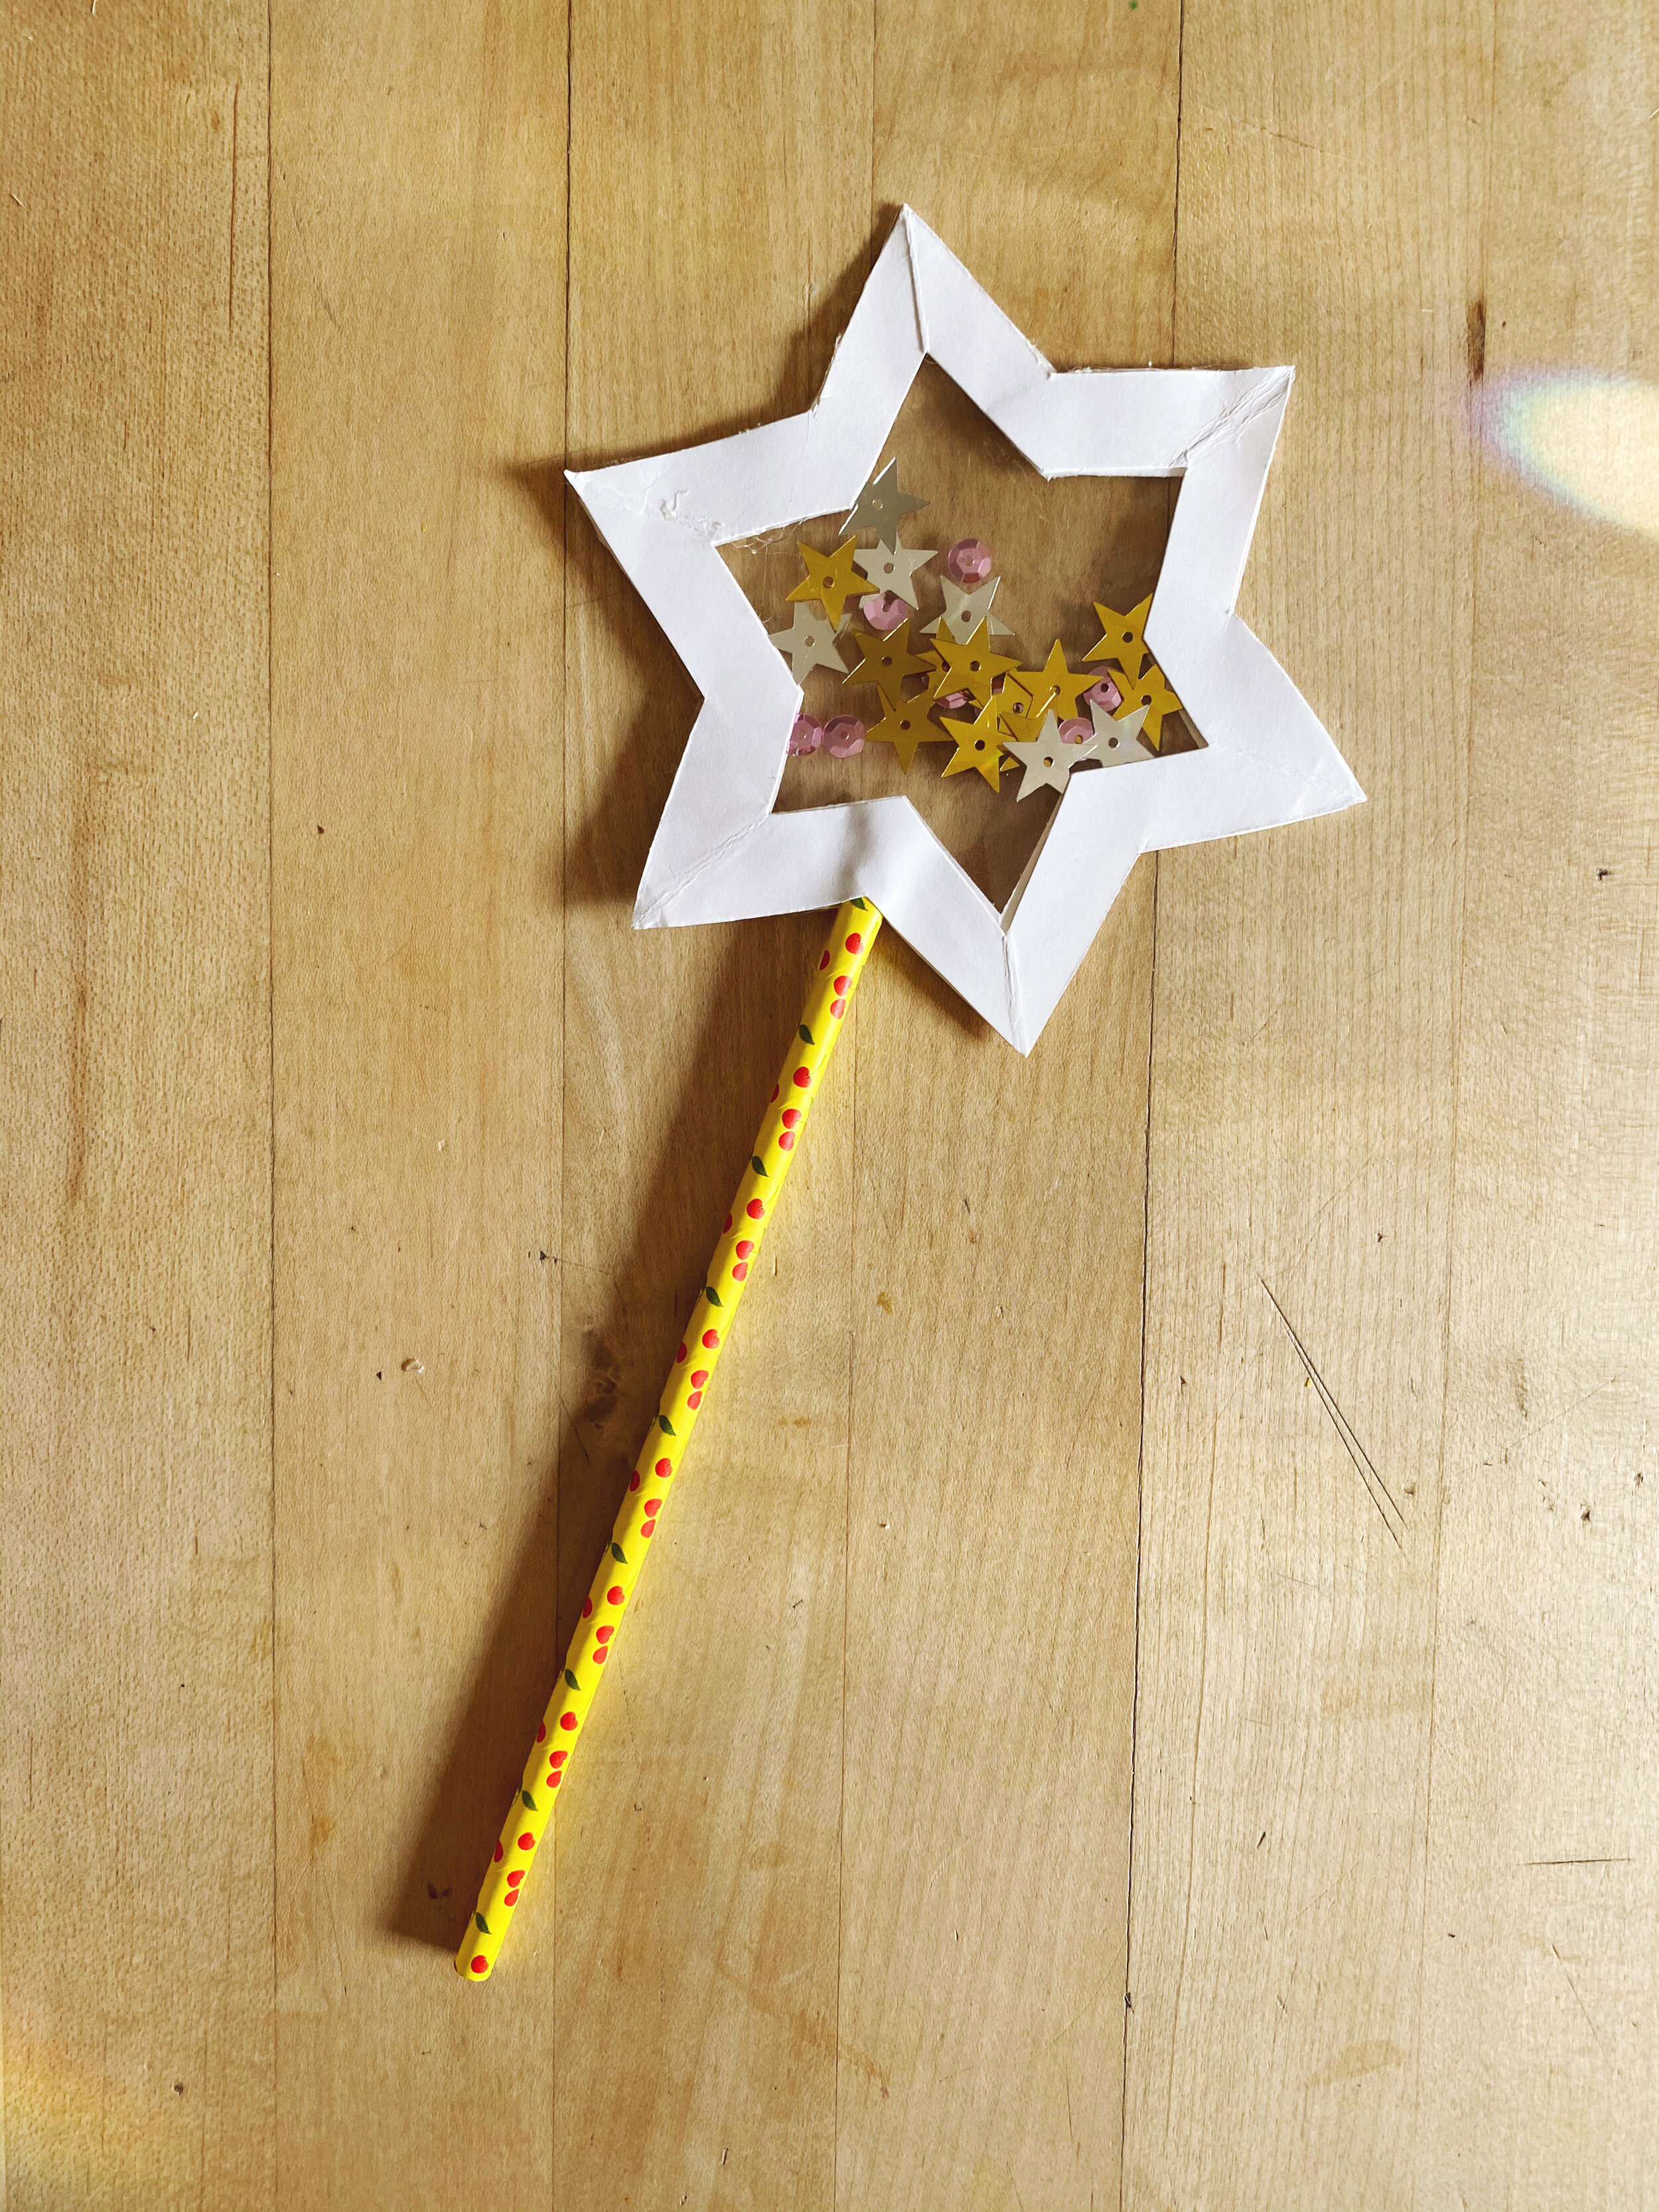

YAY! I love these, and so do the kids. As you can tell, these are NOT perfect. Don’t let perfection stop you from making fun things. KIDS DO NOT CARE.
WISHING YOU A HAPPY NEW YEAR.
BYE 2020
Always and Whatever
Xo
P.S. You can almost always improvise the supplies for the crafts I blog. I think crafting should be easy and bring joy! If you don’t have a wooden dowel, grab a stick. If you don’t have contact paper, jump in that recycle bin and find some clear material from packaging. If your hand-cut star comes out with 8 points, roll with it, or change it to whatever shape makes YOU happy.
I guess what I am trying to say is...JUST CRAFT! Forget the rules and have fun. Sometimes I can get caught up in the step-by-step instructions and lose the joy of the craft. Find joy in the process! If you hate making it, you probably won’t love the finished product… just sayin… :)