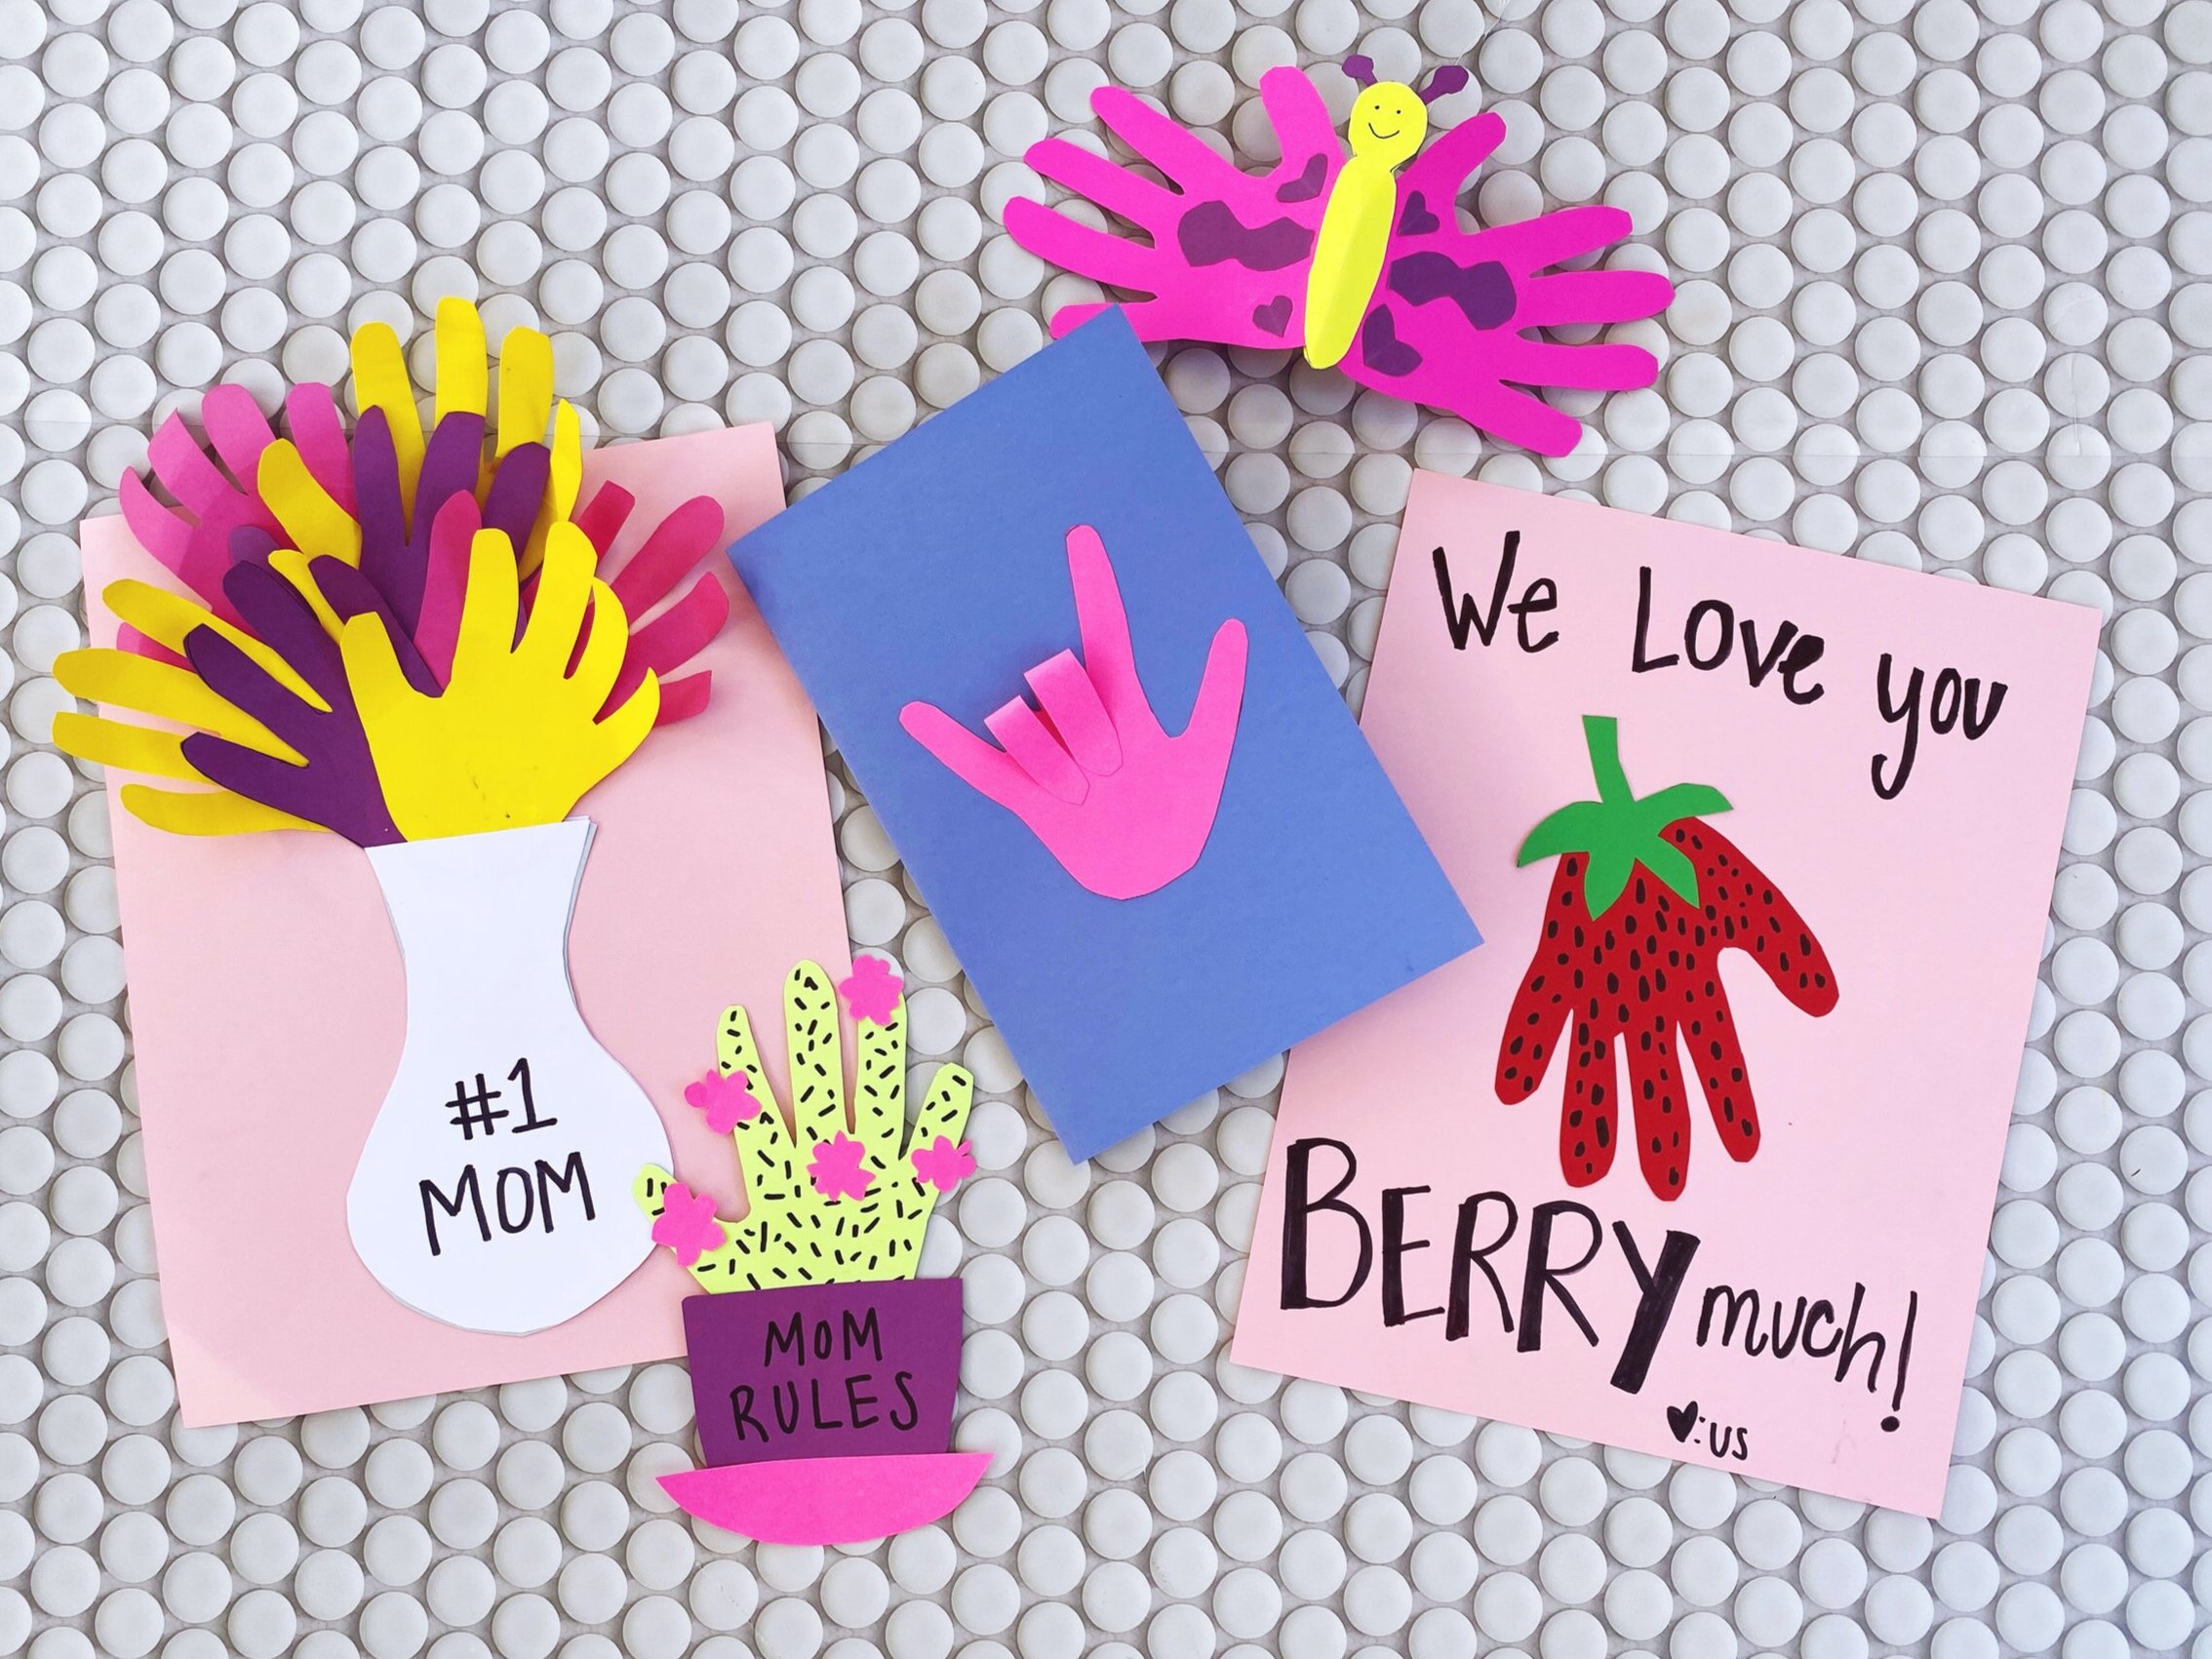
5 Easy Handcrafts for Mother's Day
Calling all dads + grandparents + anyone who is not a mom!
This year, the moms in our life are not going to get the cute Mother’s Day gifts from school that make them cry tears of joy. That means it’s up to you to make them a very special something from you and your little ones. And honestly, the fact that you helped will give you more points than anything!
Here are 5 easy (and mess-free) paper hand crafts. At first I was thinking paint, but painting with kids takes A LOT of patience. I have a feeling Chris would lose his mind if he saw what went down during a paint sesh!
First things first, look at all the crafts I’ve made below and decide which one you are going to make.
Materials:
Card stock/paper (If it’s just white paper, let the kids scribble on it to add some jazz)
Your child’s hand
Glue
Pen
Scissors
If your kids can write, let them write everything. It will be a lot cuter! If you have stickers, let them sticker these up. The more the merrier.
Now, trace one hand when your kid is chill, if you’re doing most of the work. I usually do it when Q is watching TV. Me tracing her hand doesn’t even phase her. Then leave your kid alone and go start cutting out handprints according to which craft you have chosen.
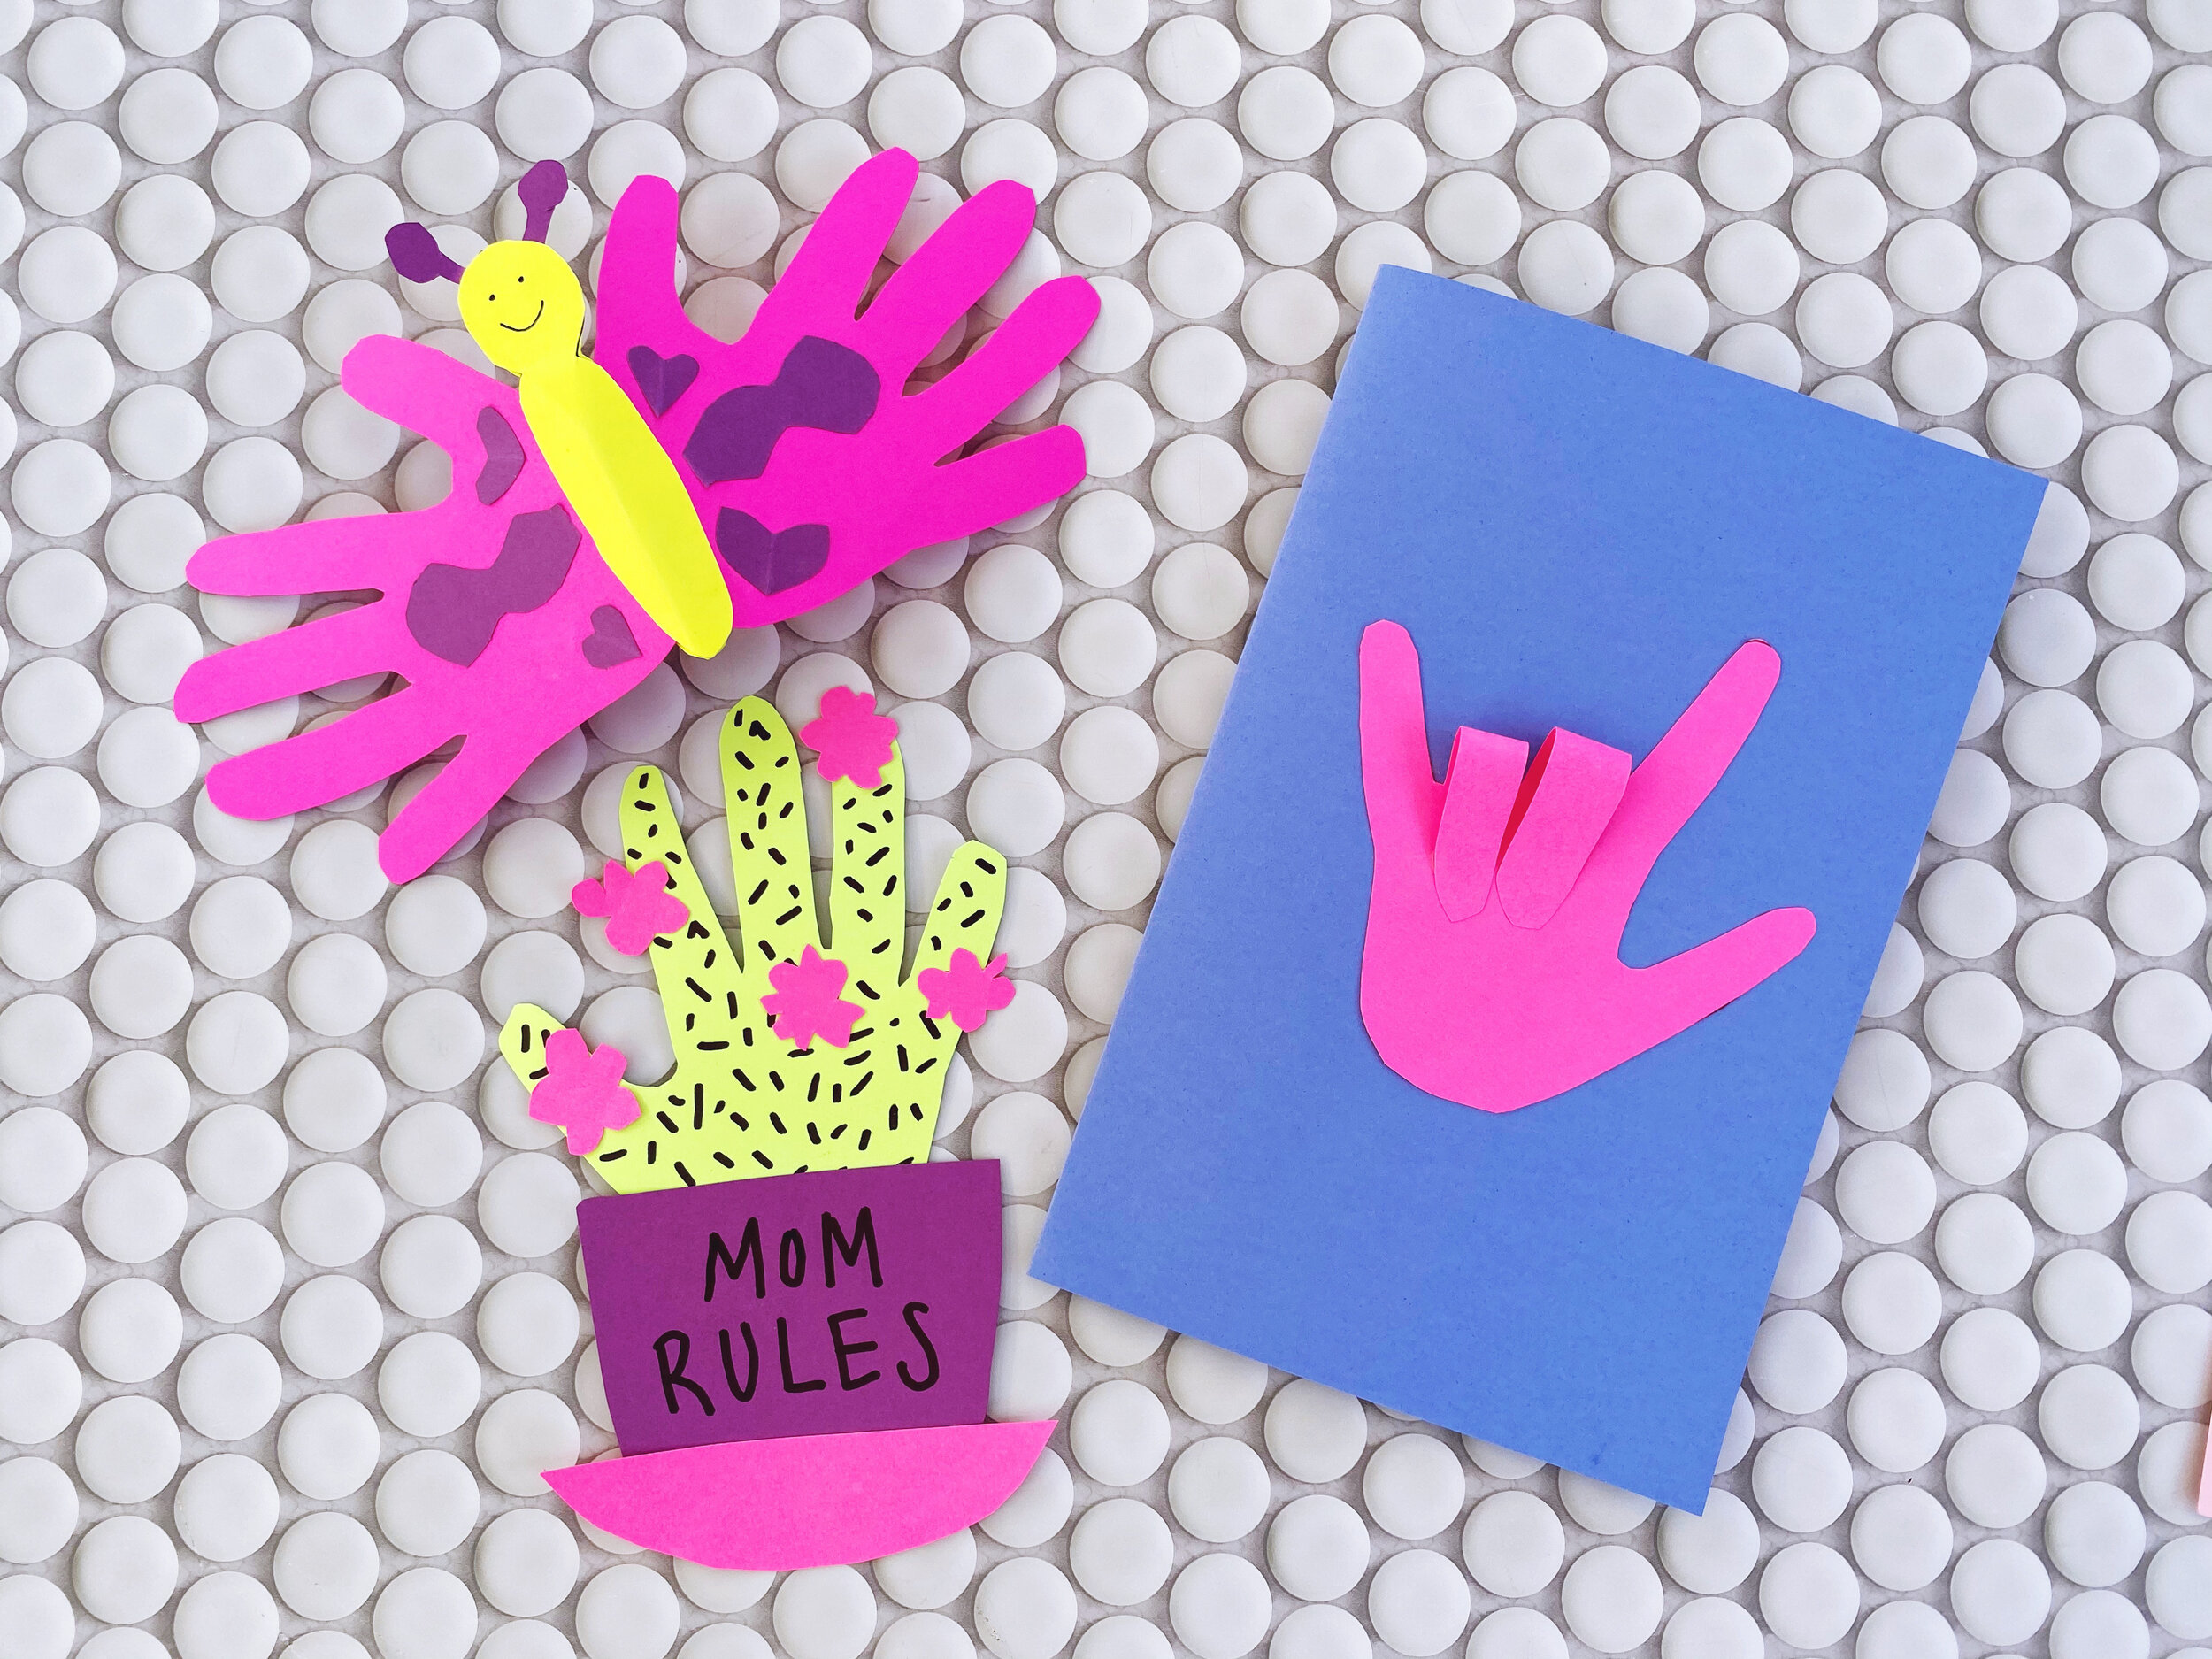
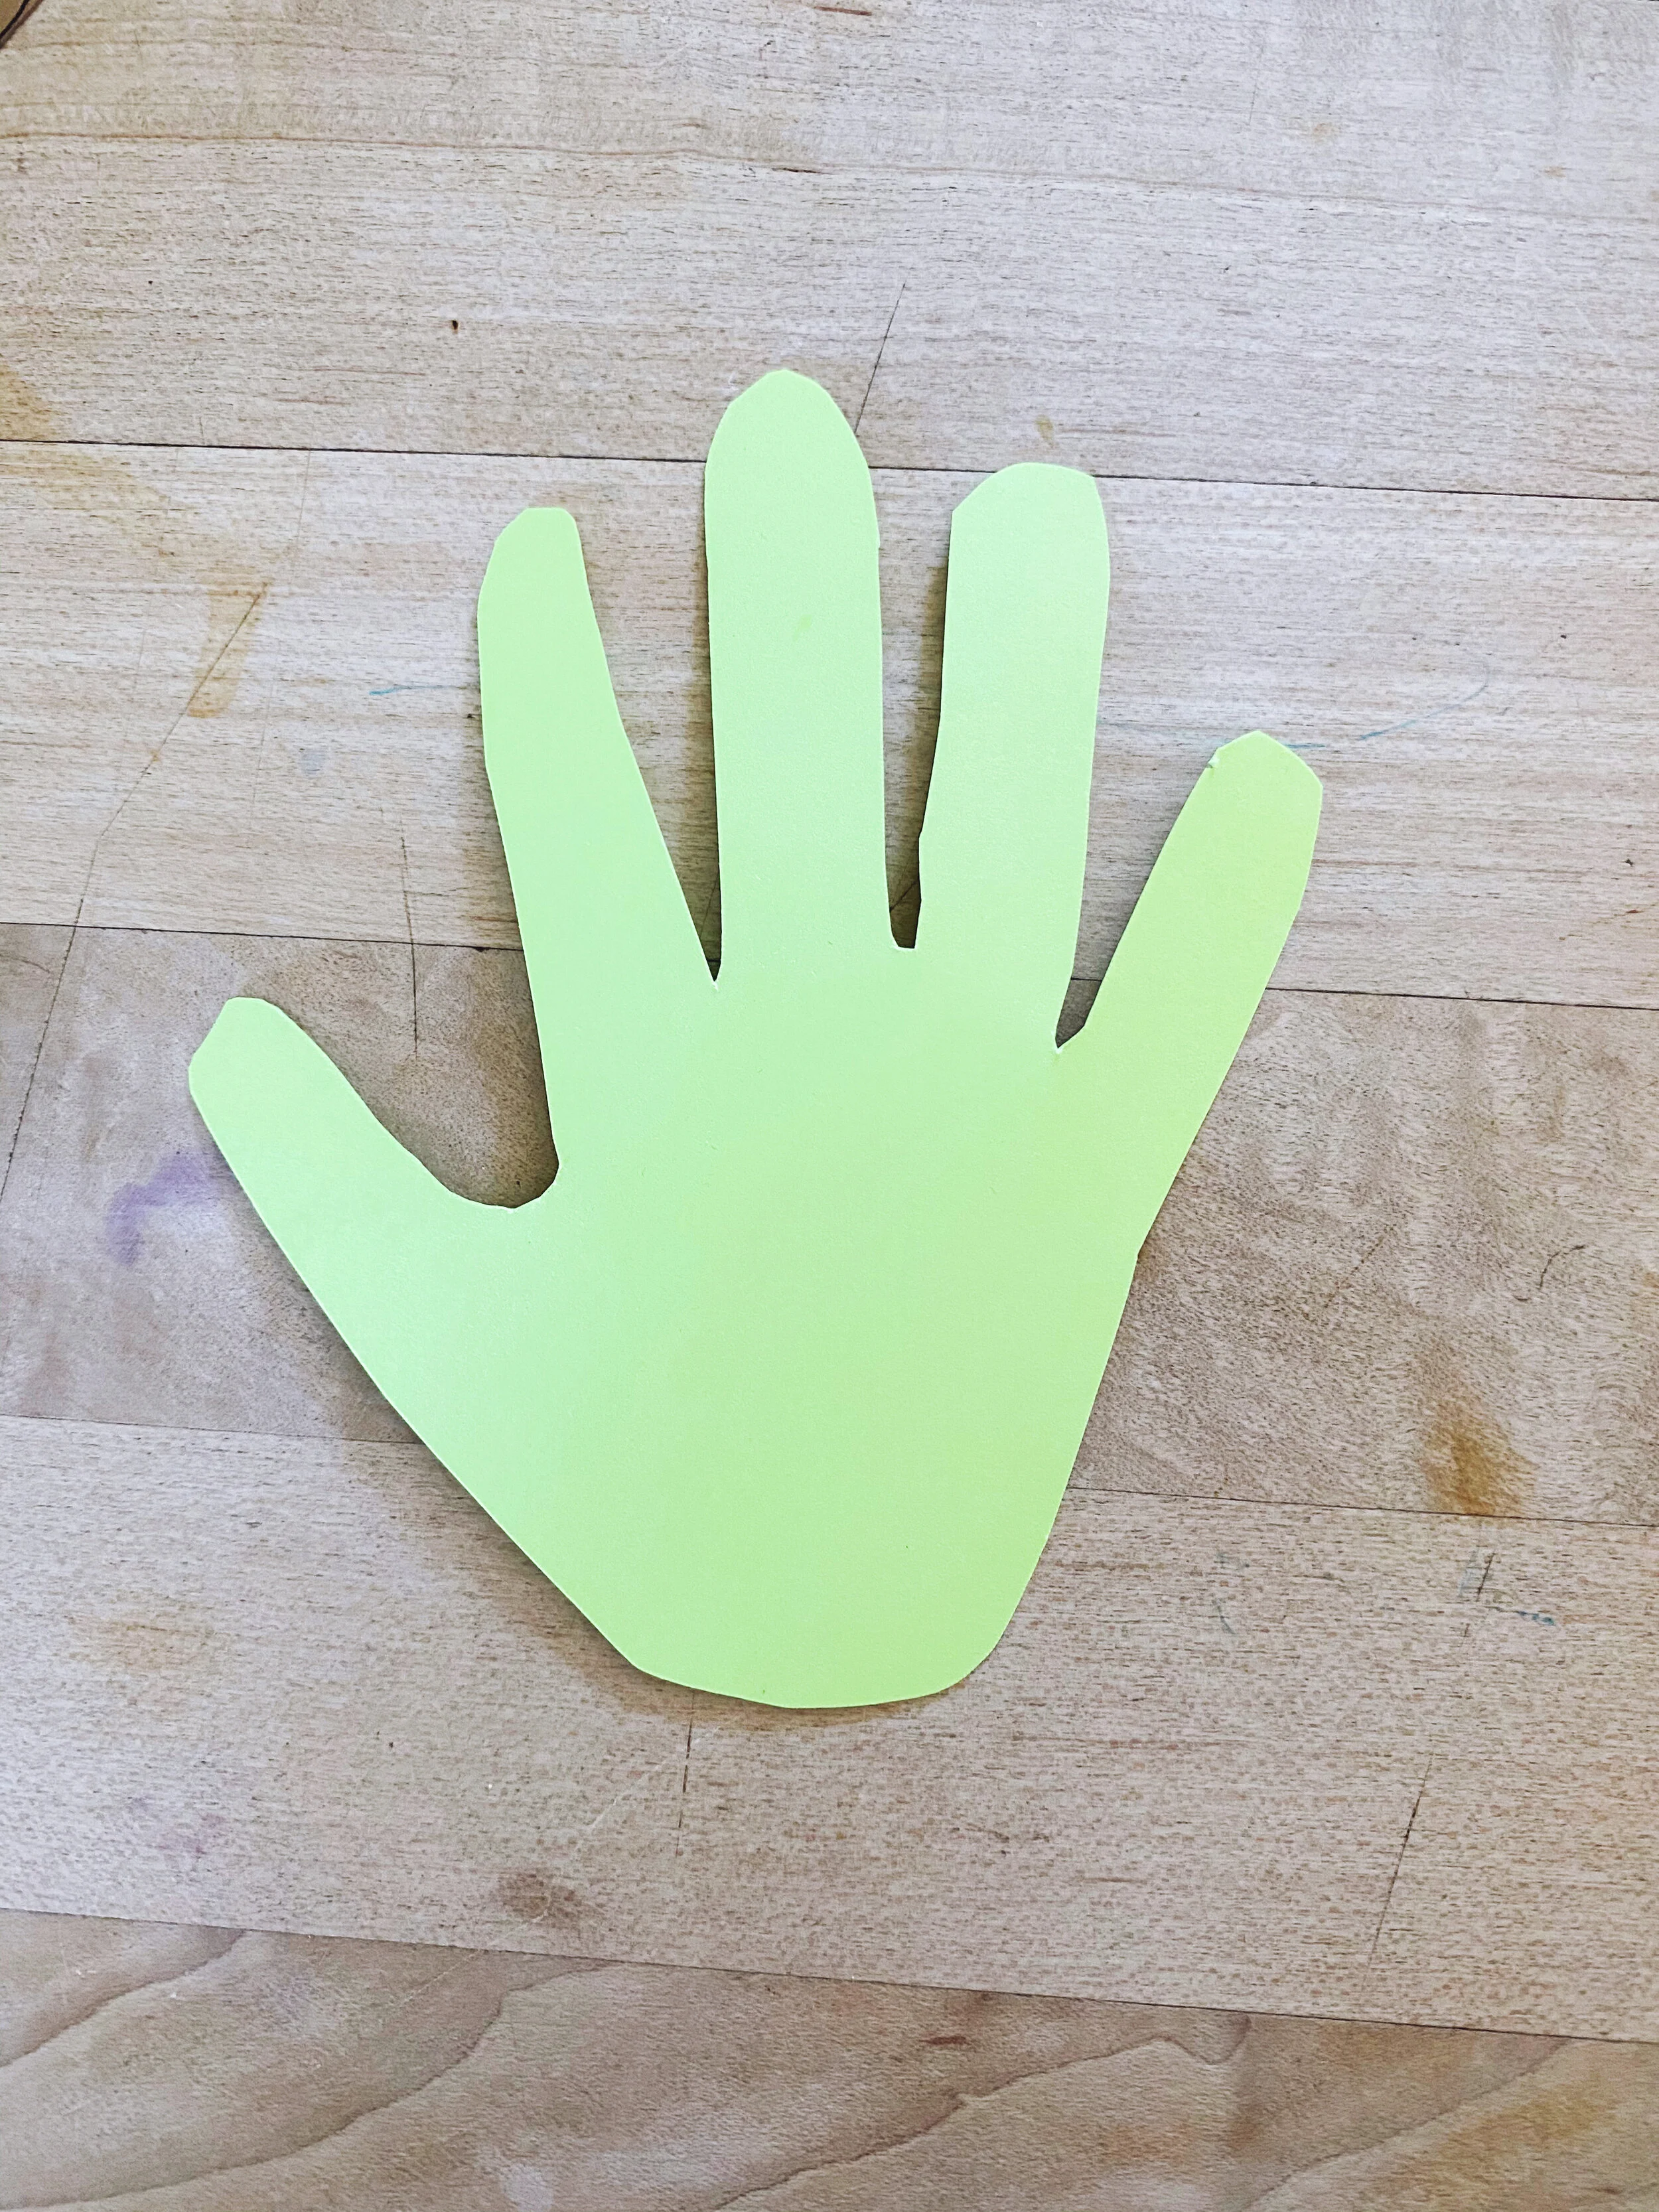
Cactus Hand in Pot
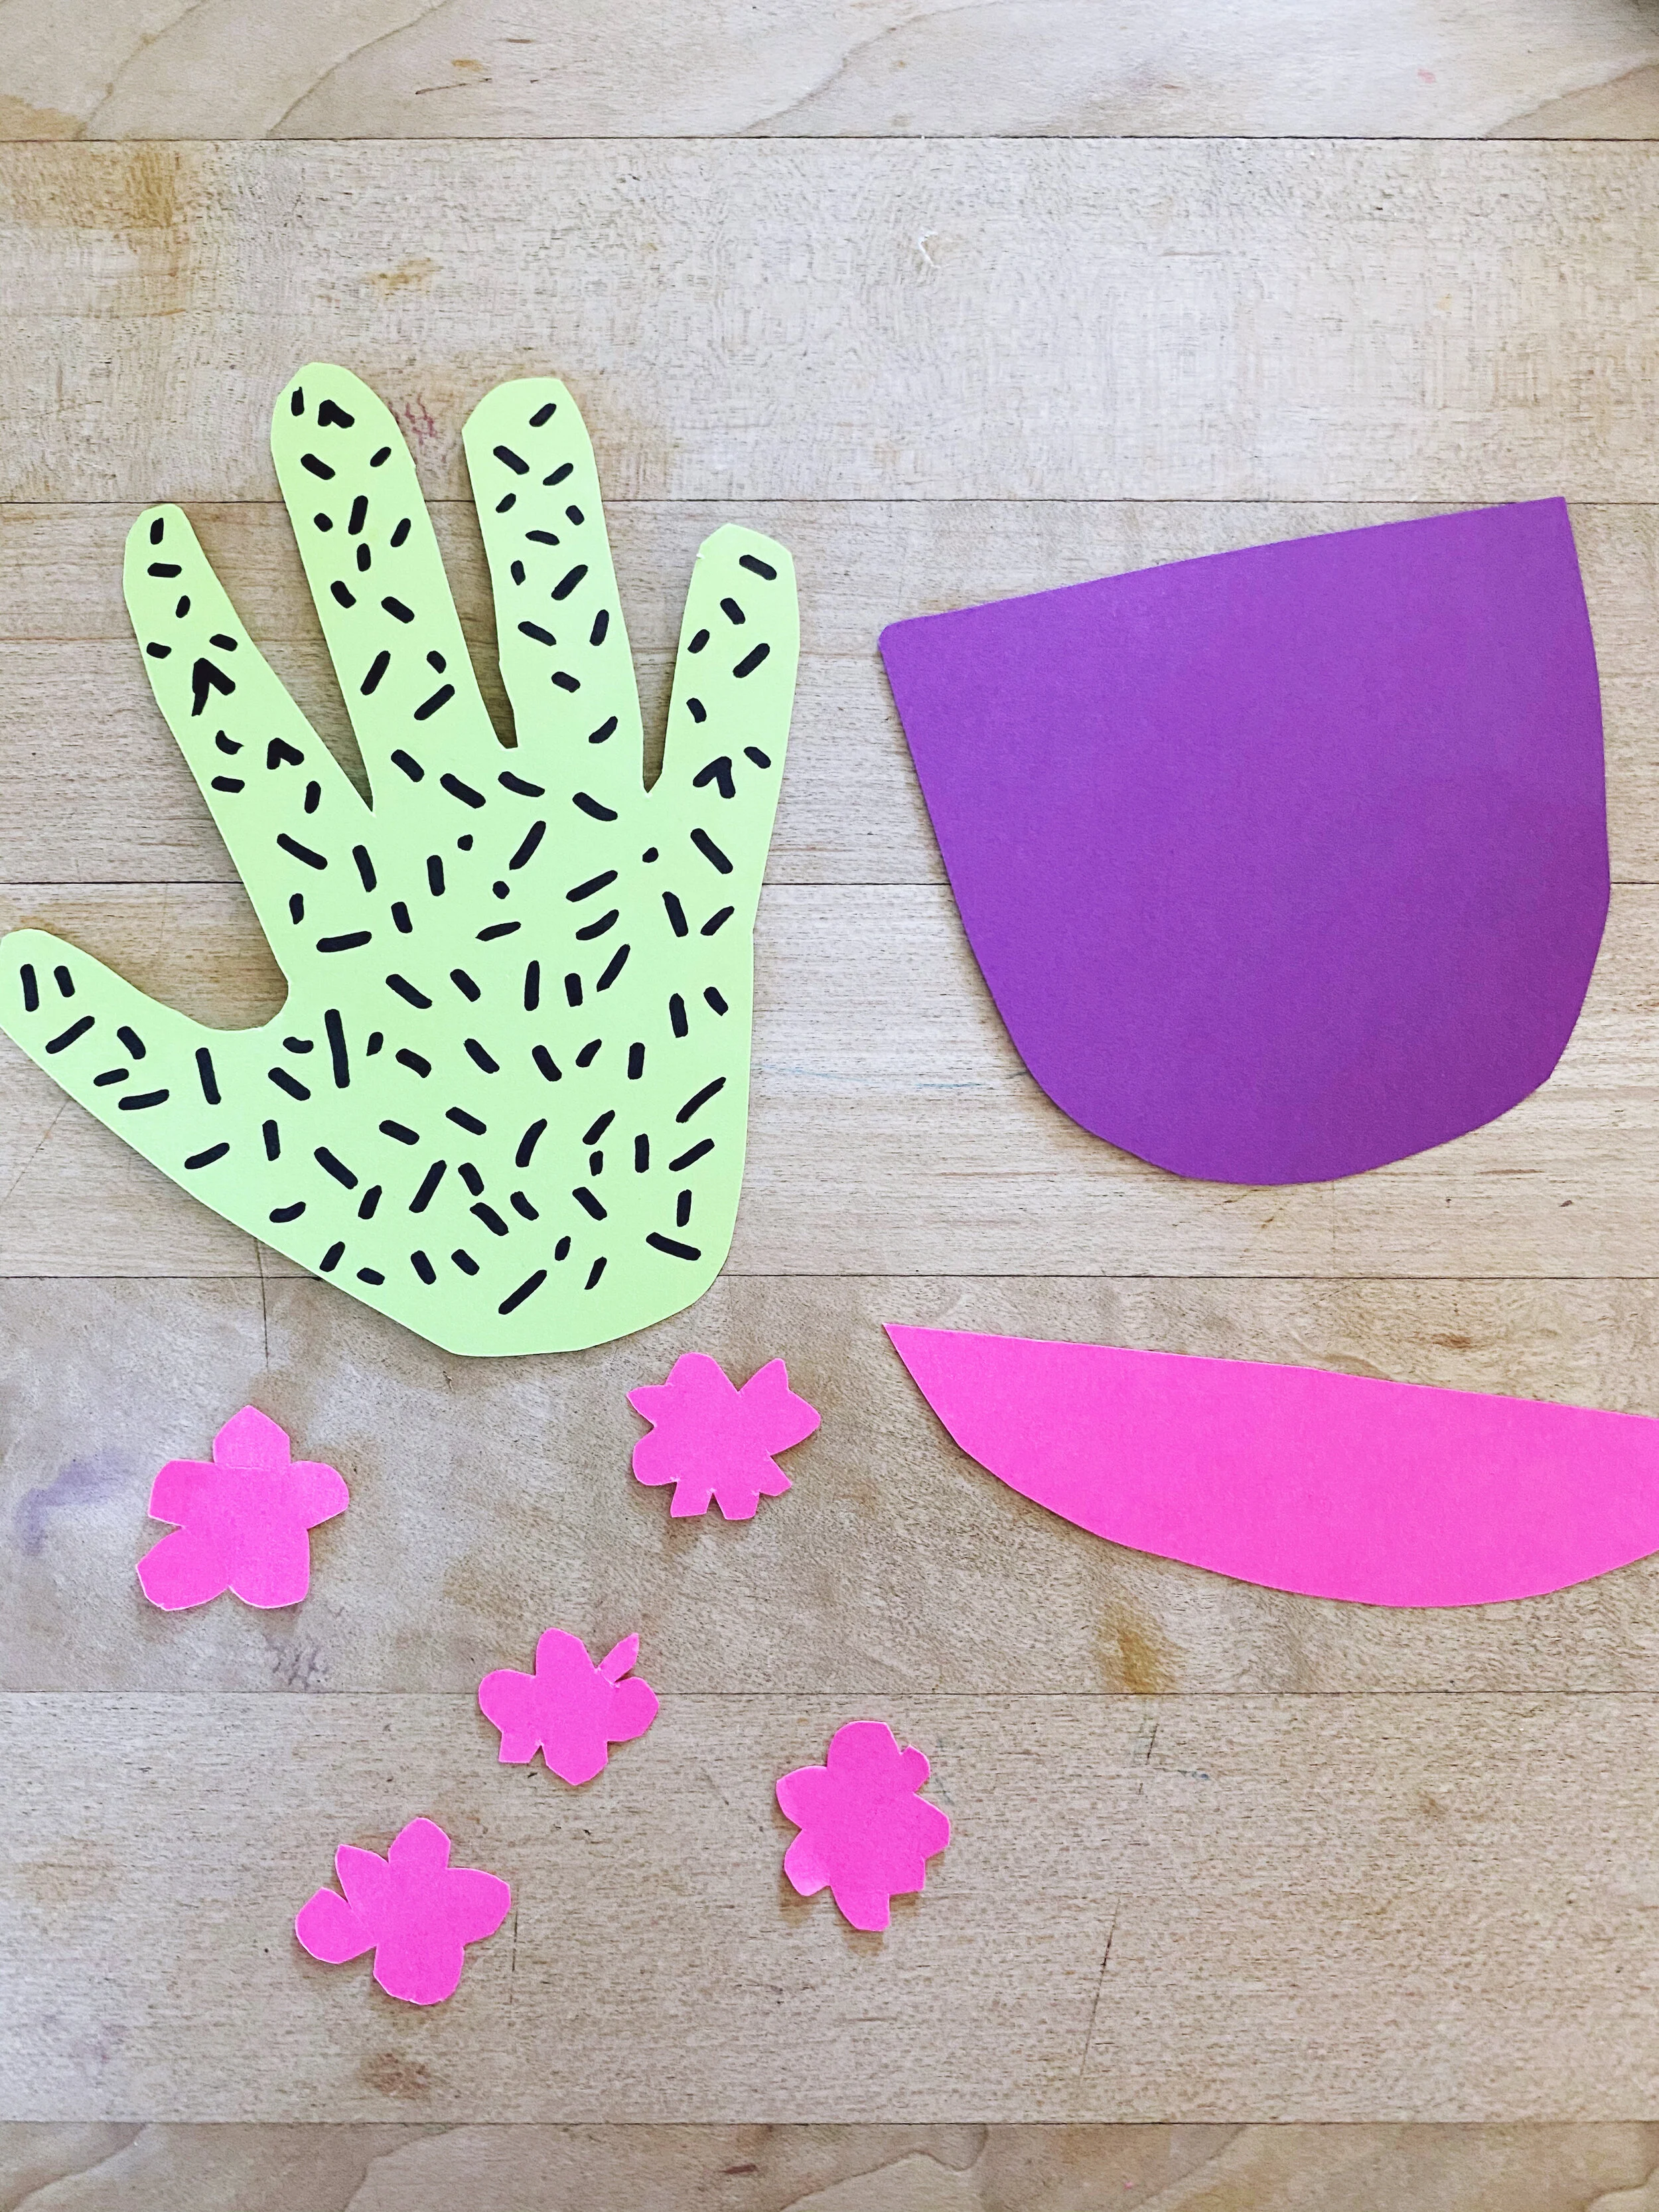
1. Trace your child’s hand on green paper.
2. Cut out the hand.
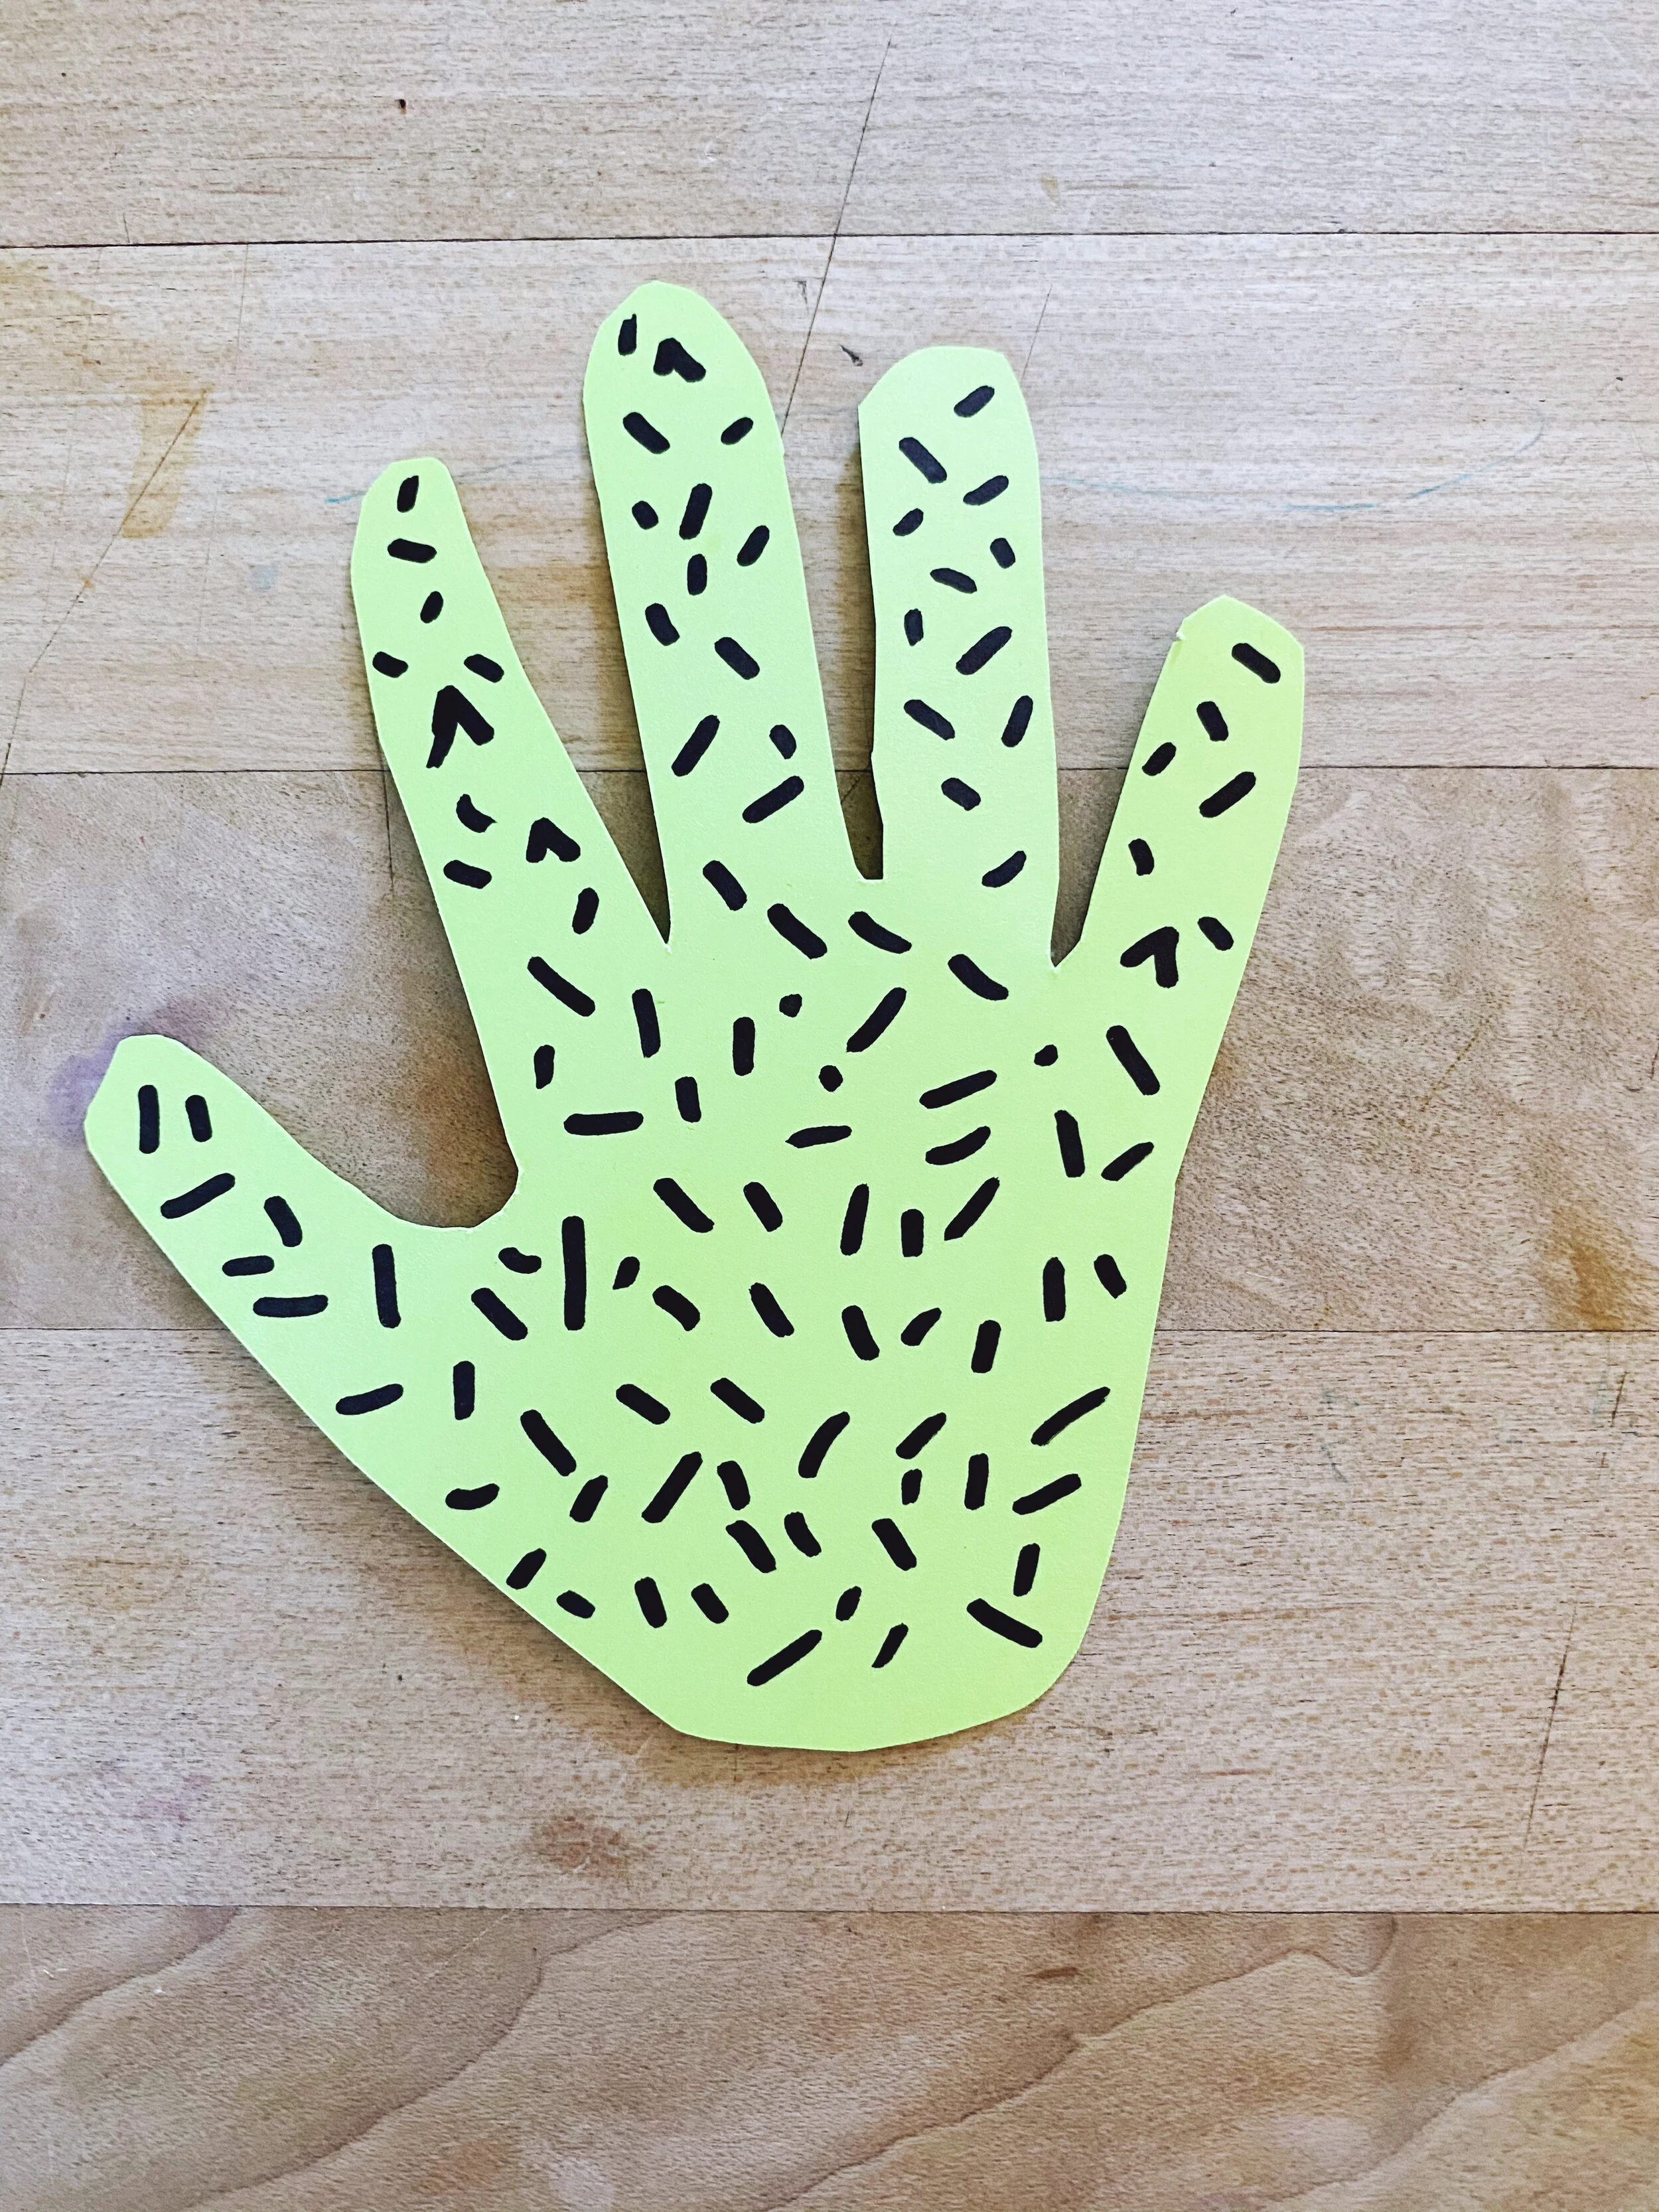
3. Grab a black marker and draw small dashes all over for the prickly cactus effect.
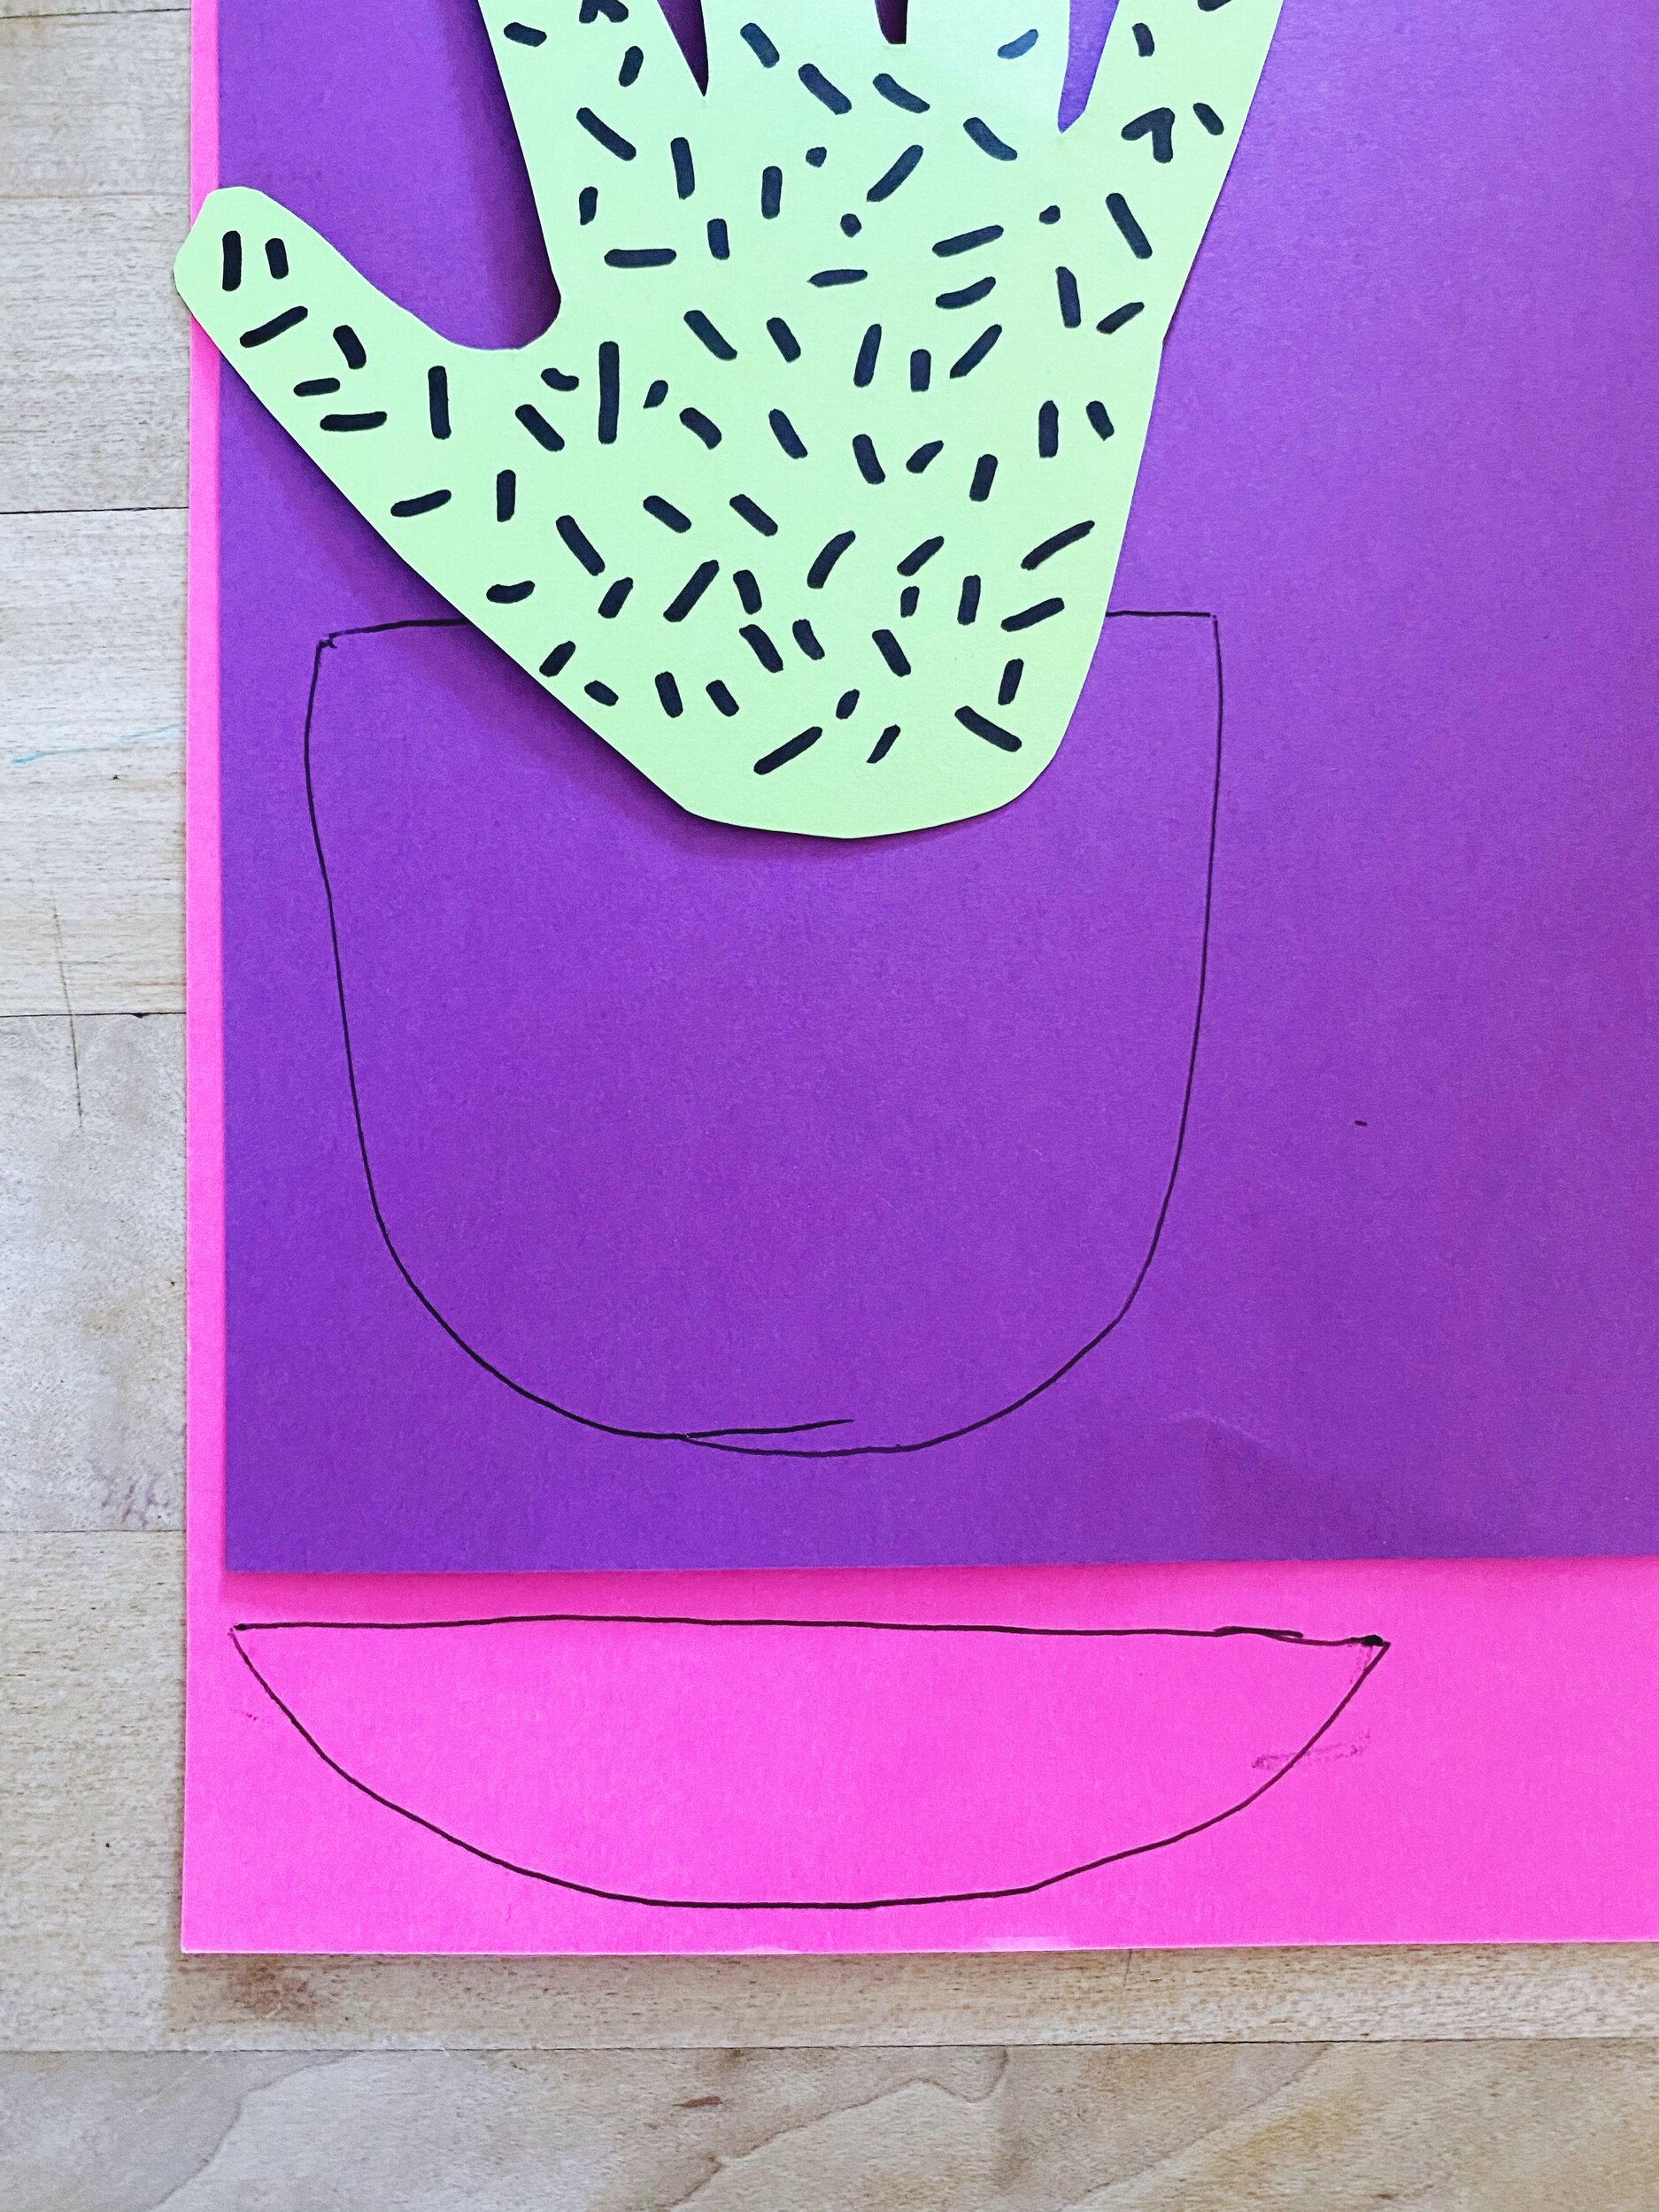
4. Now draw and cut out the pot. You can use any color.
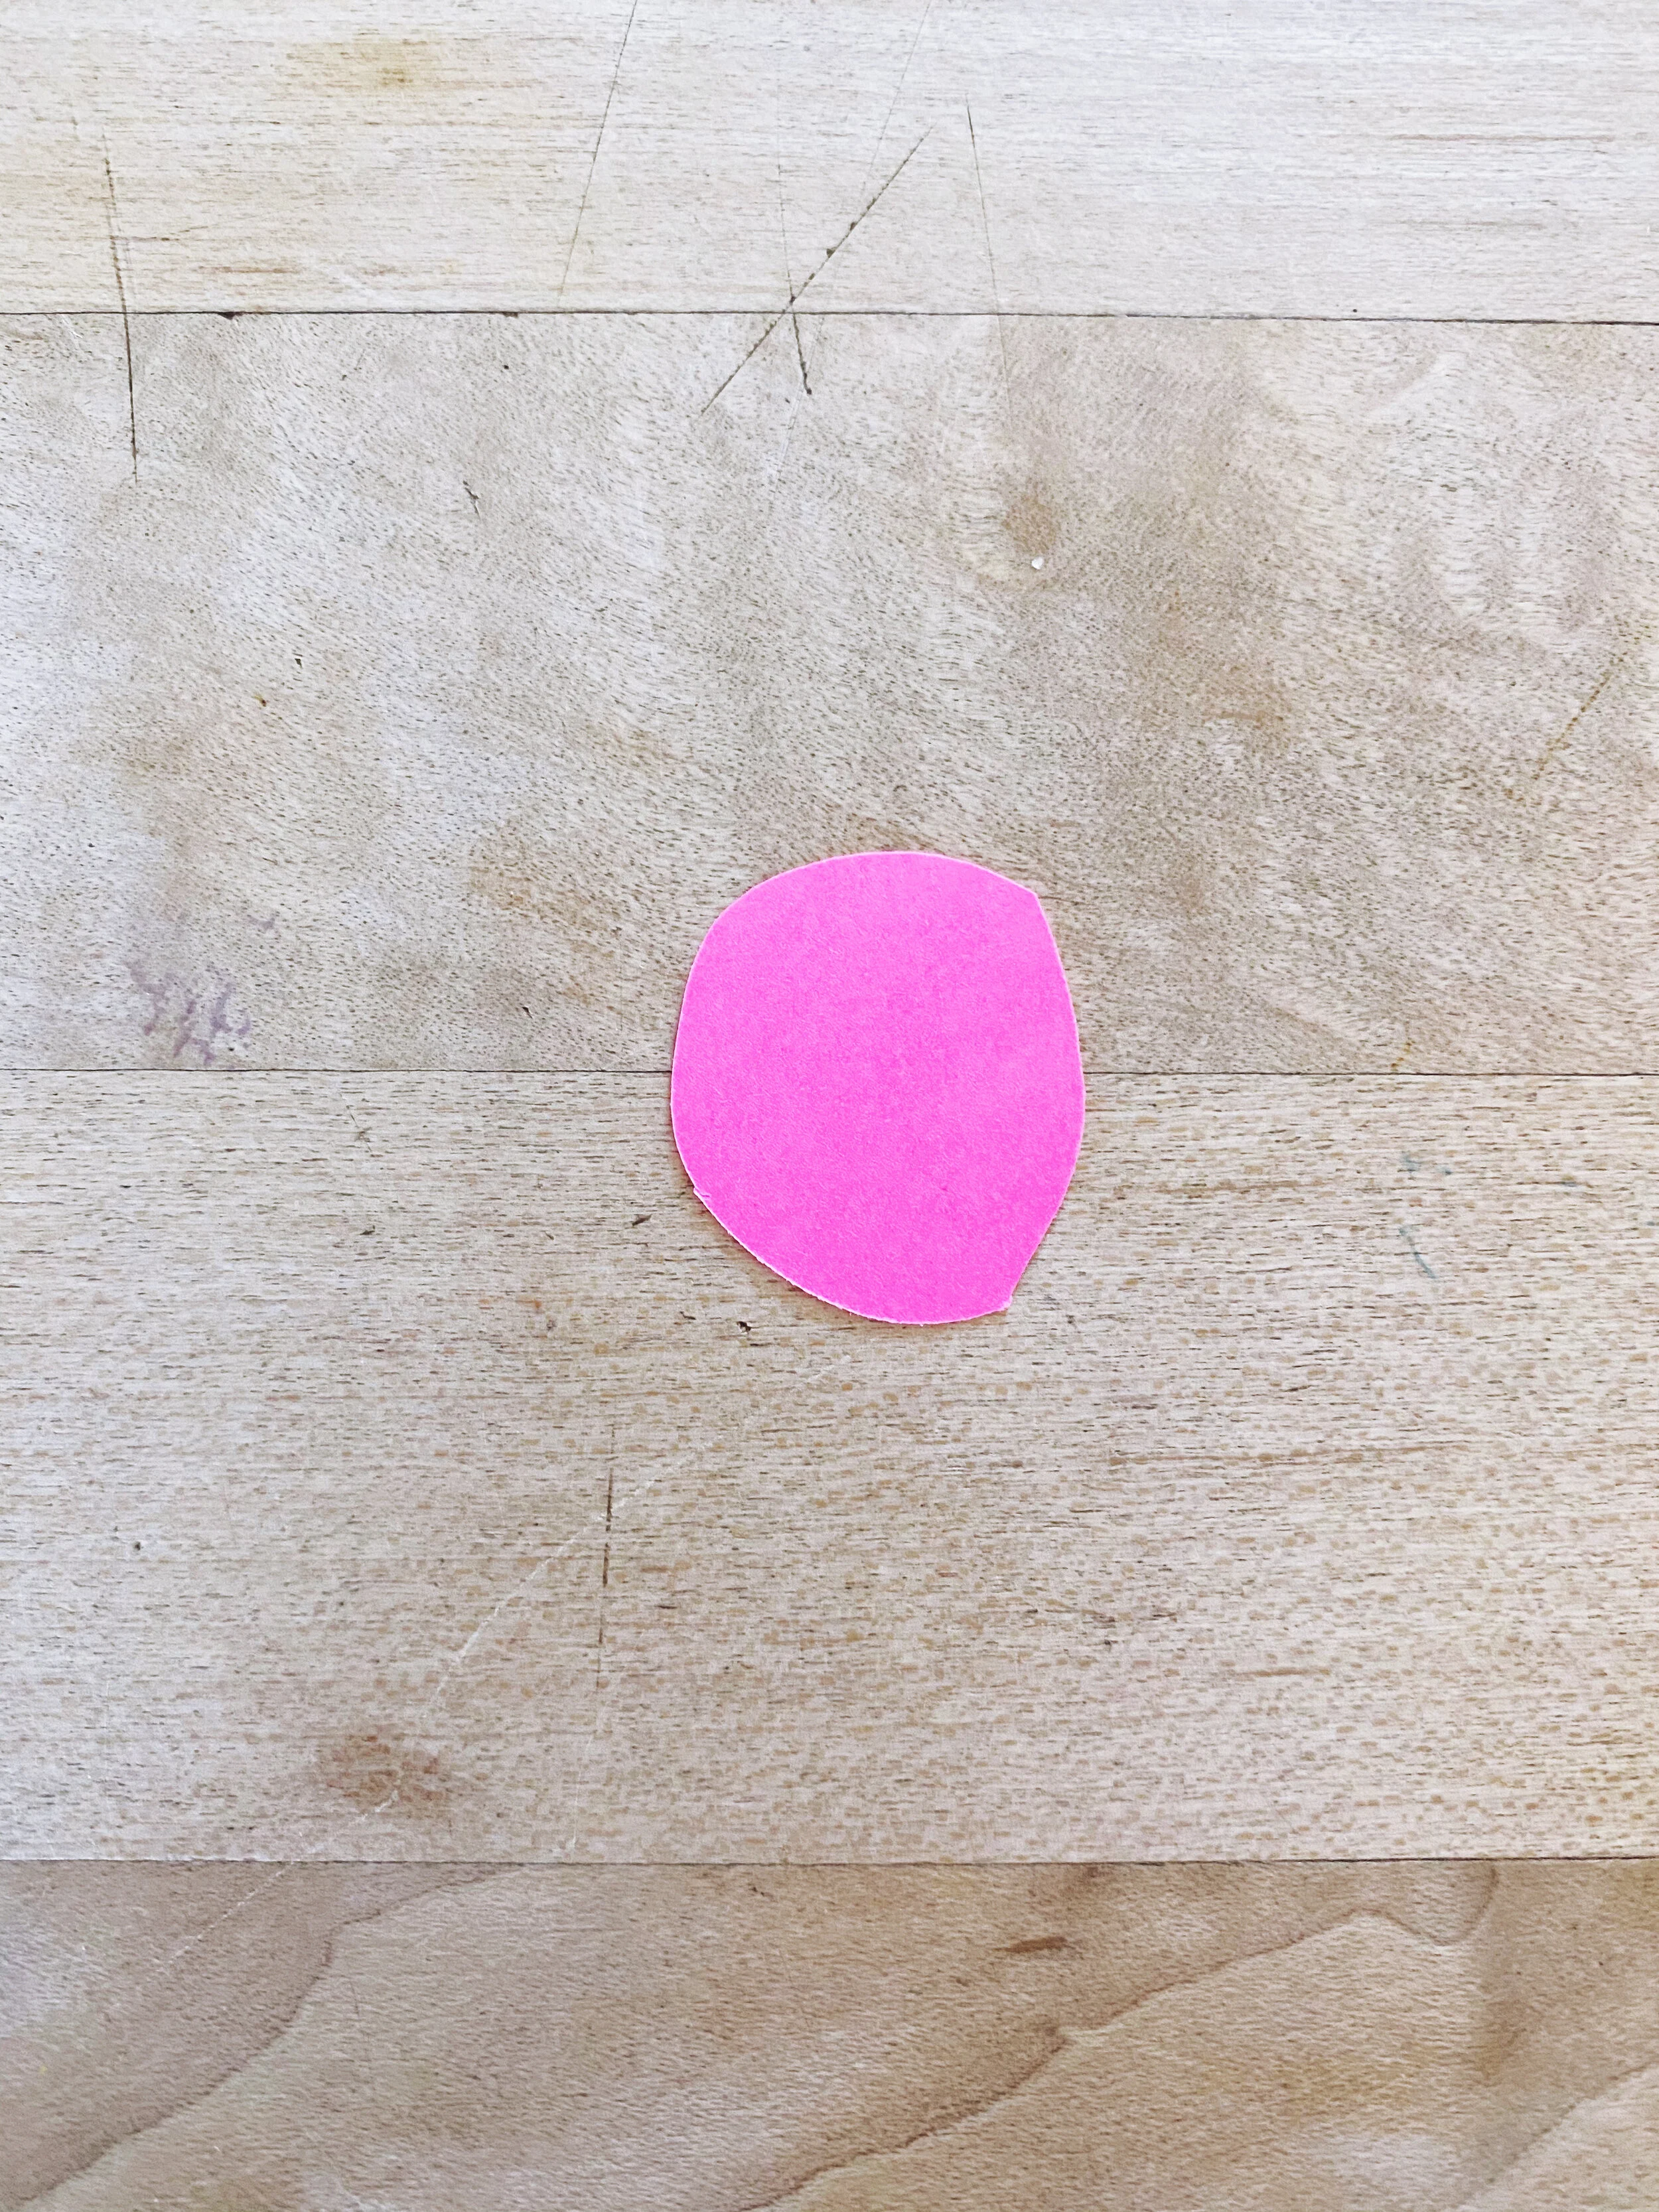
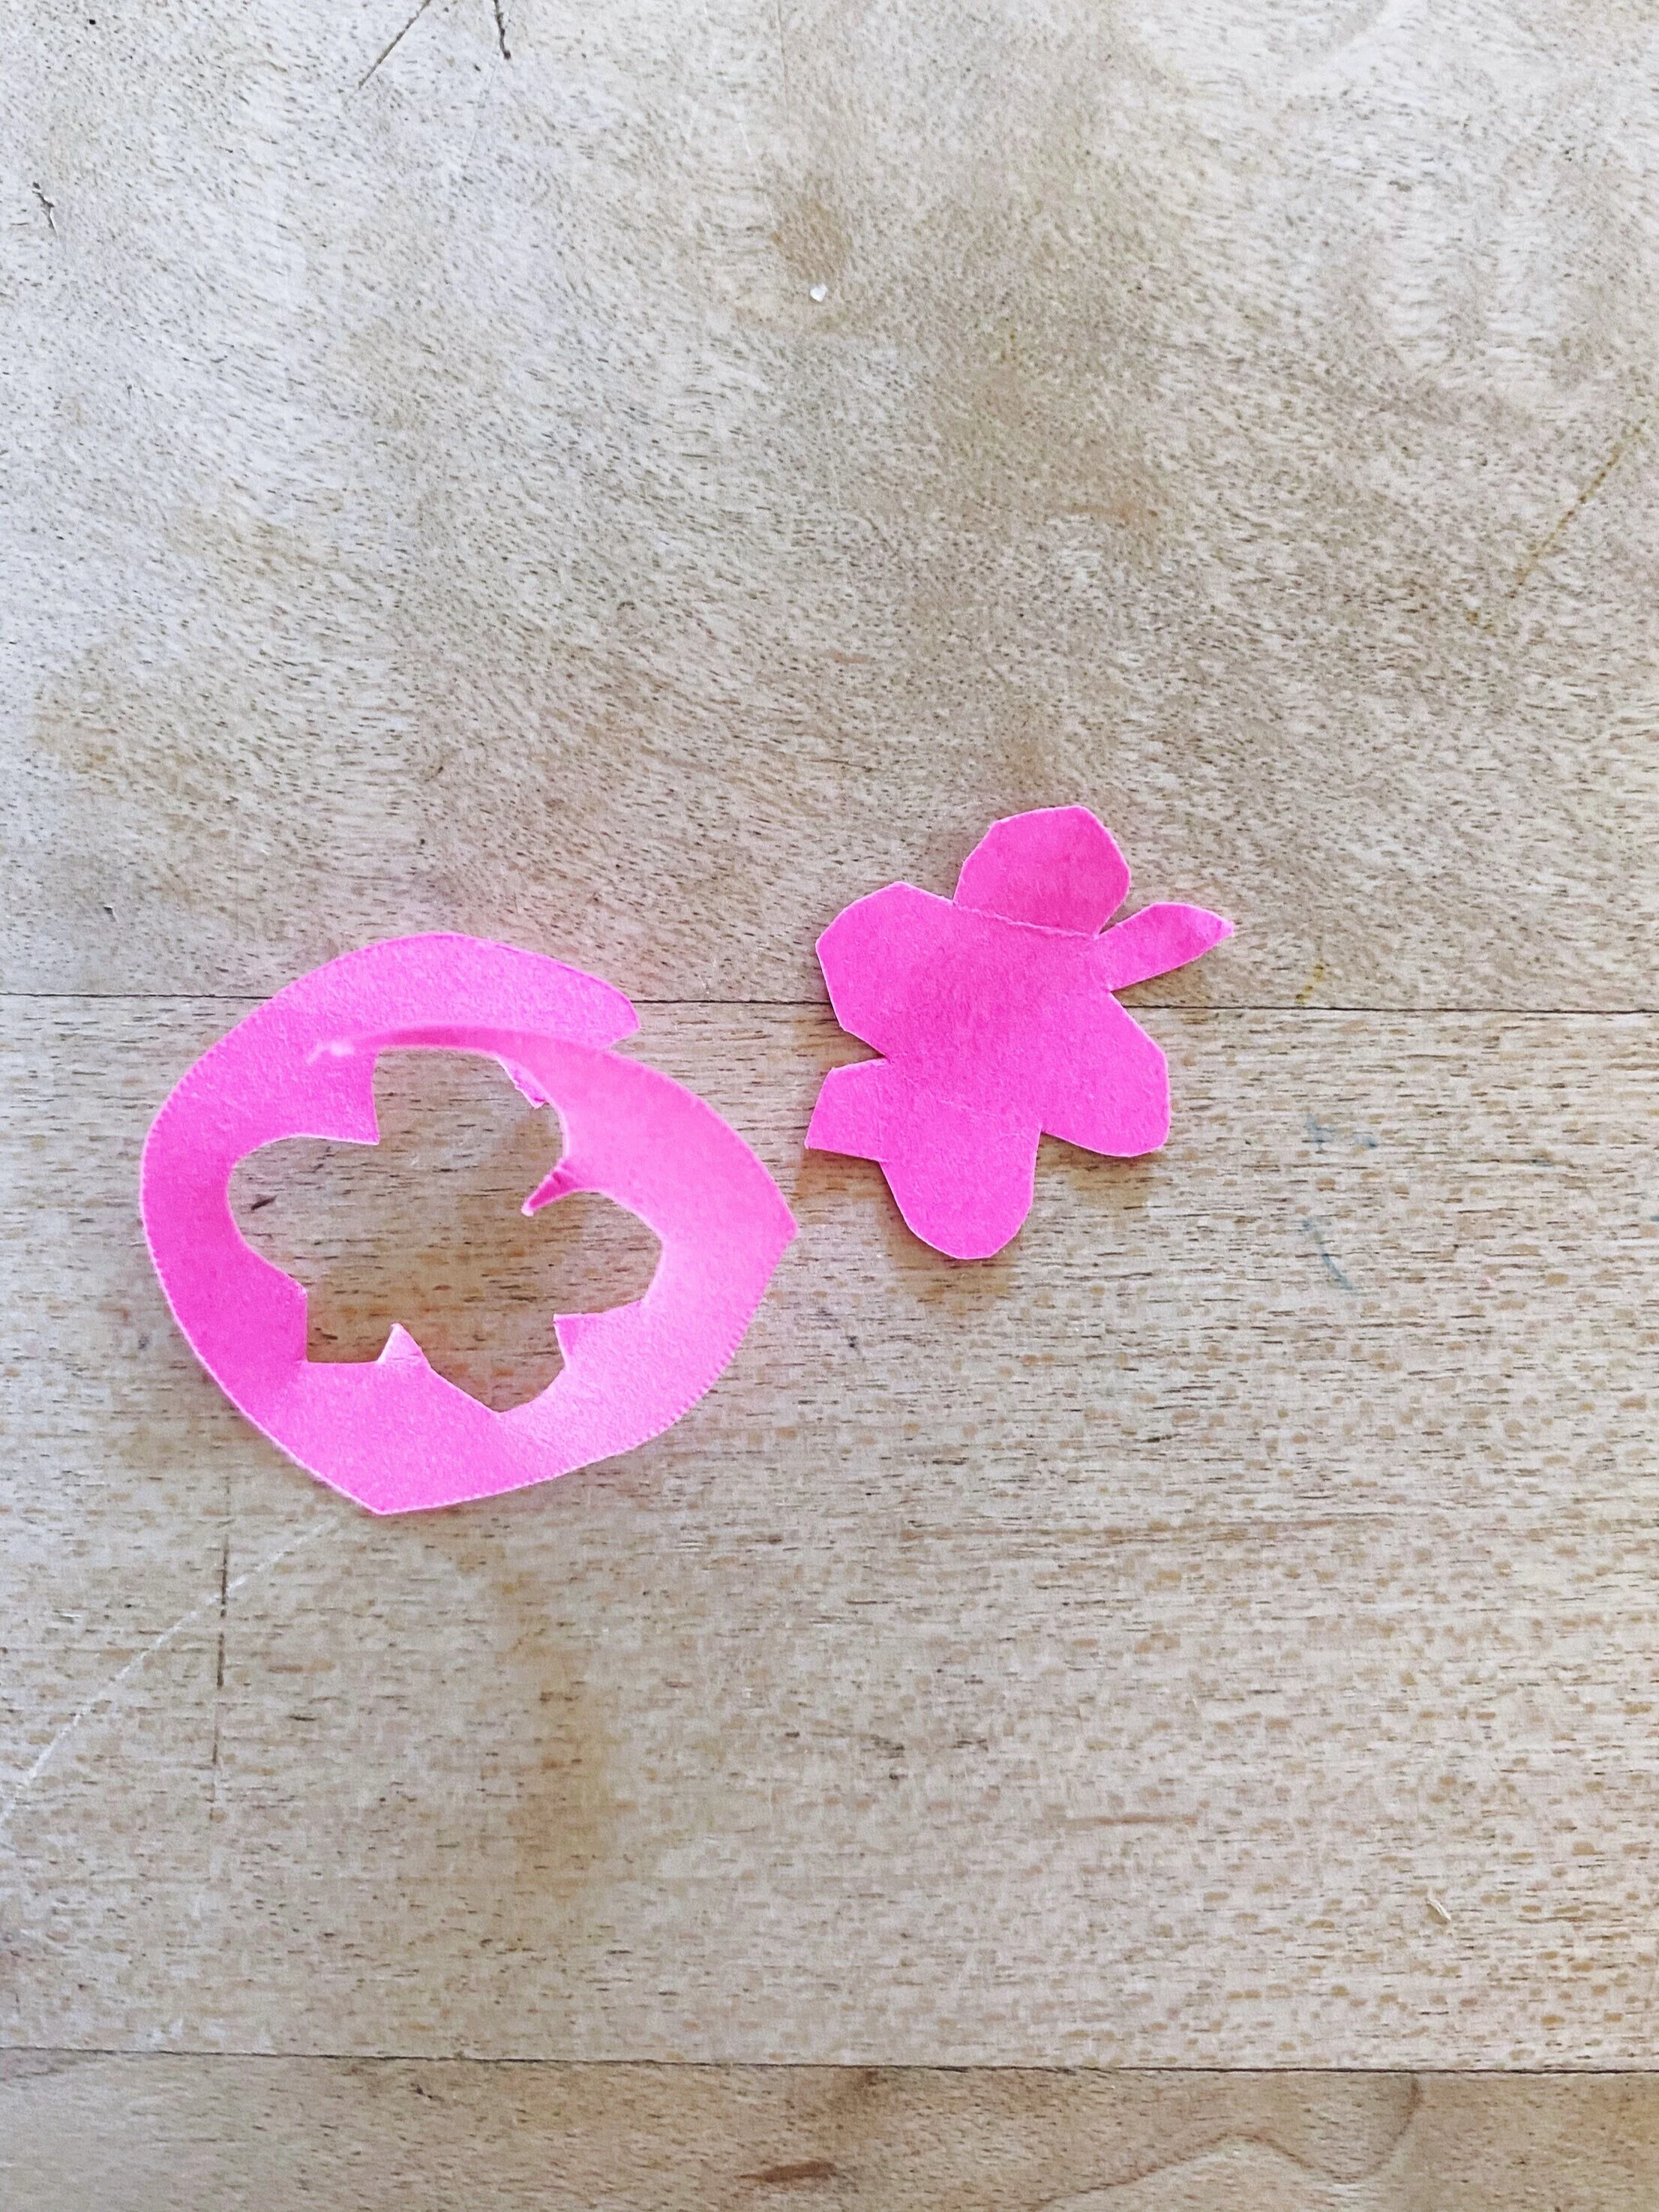
5. If you want to take an extra step, you can add some mini flowers, but it’s cute without them too.
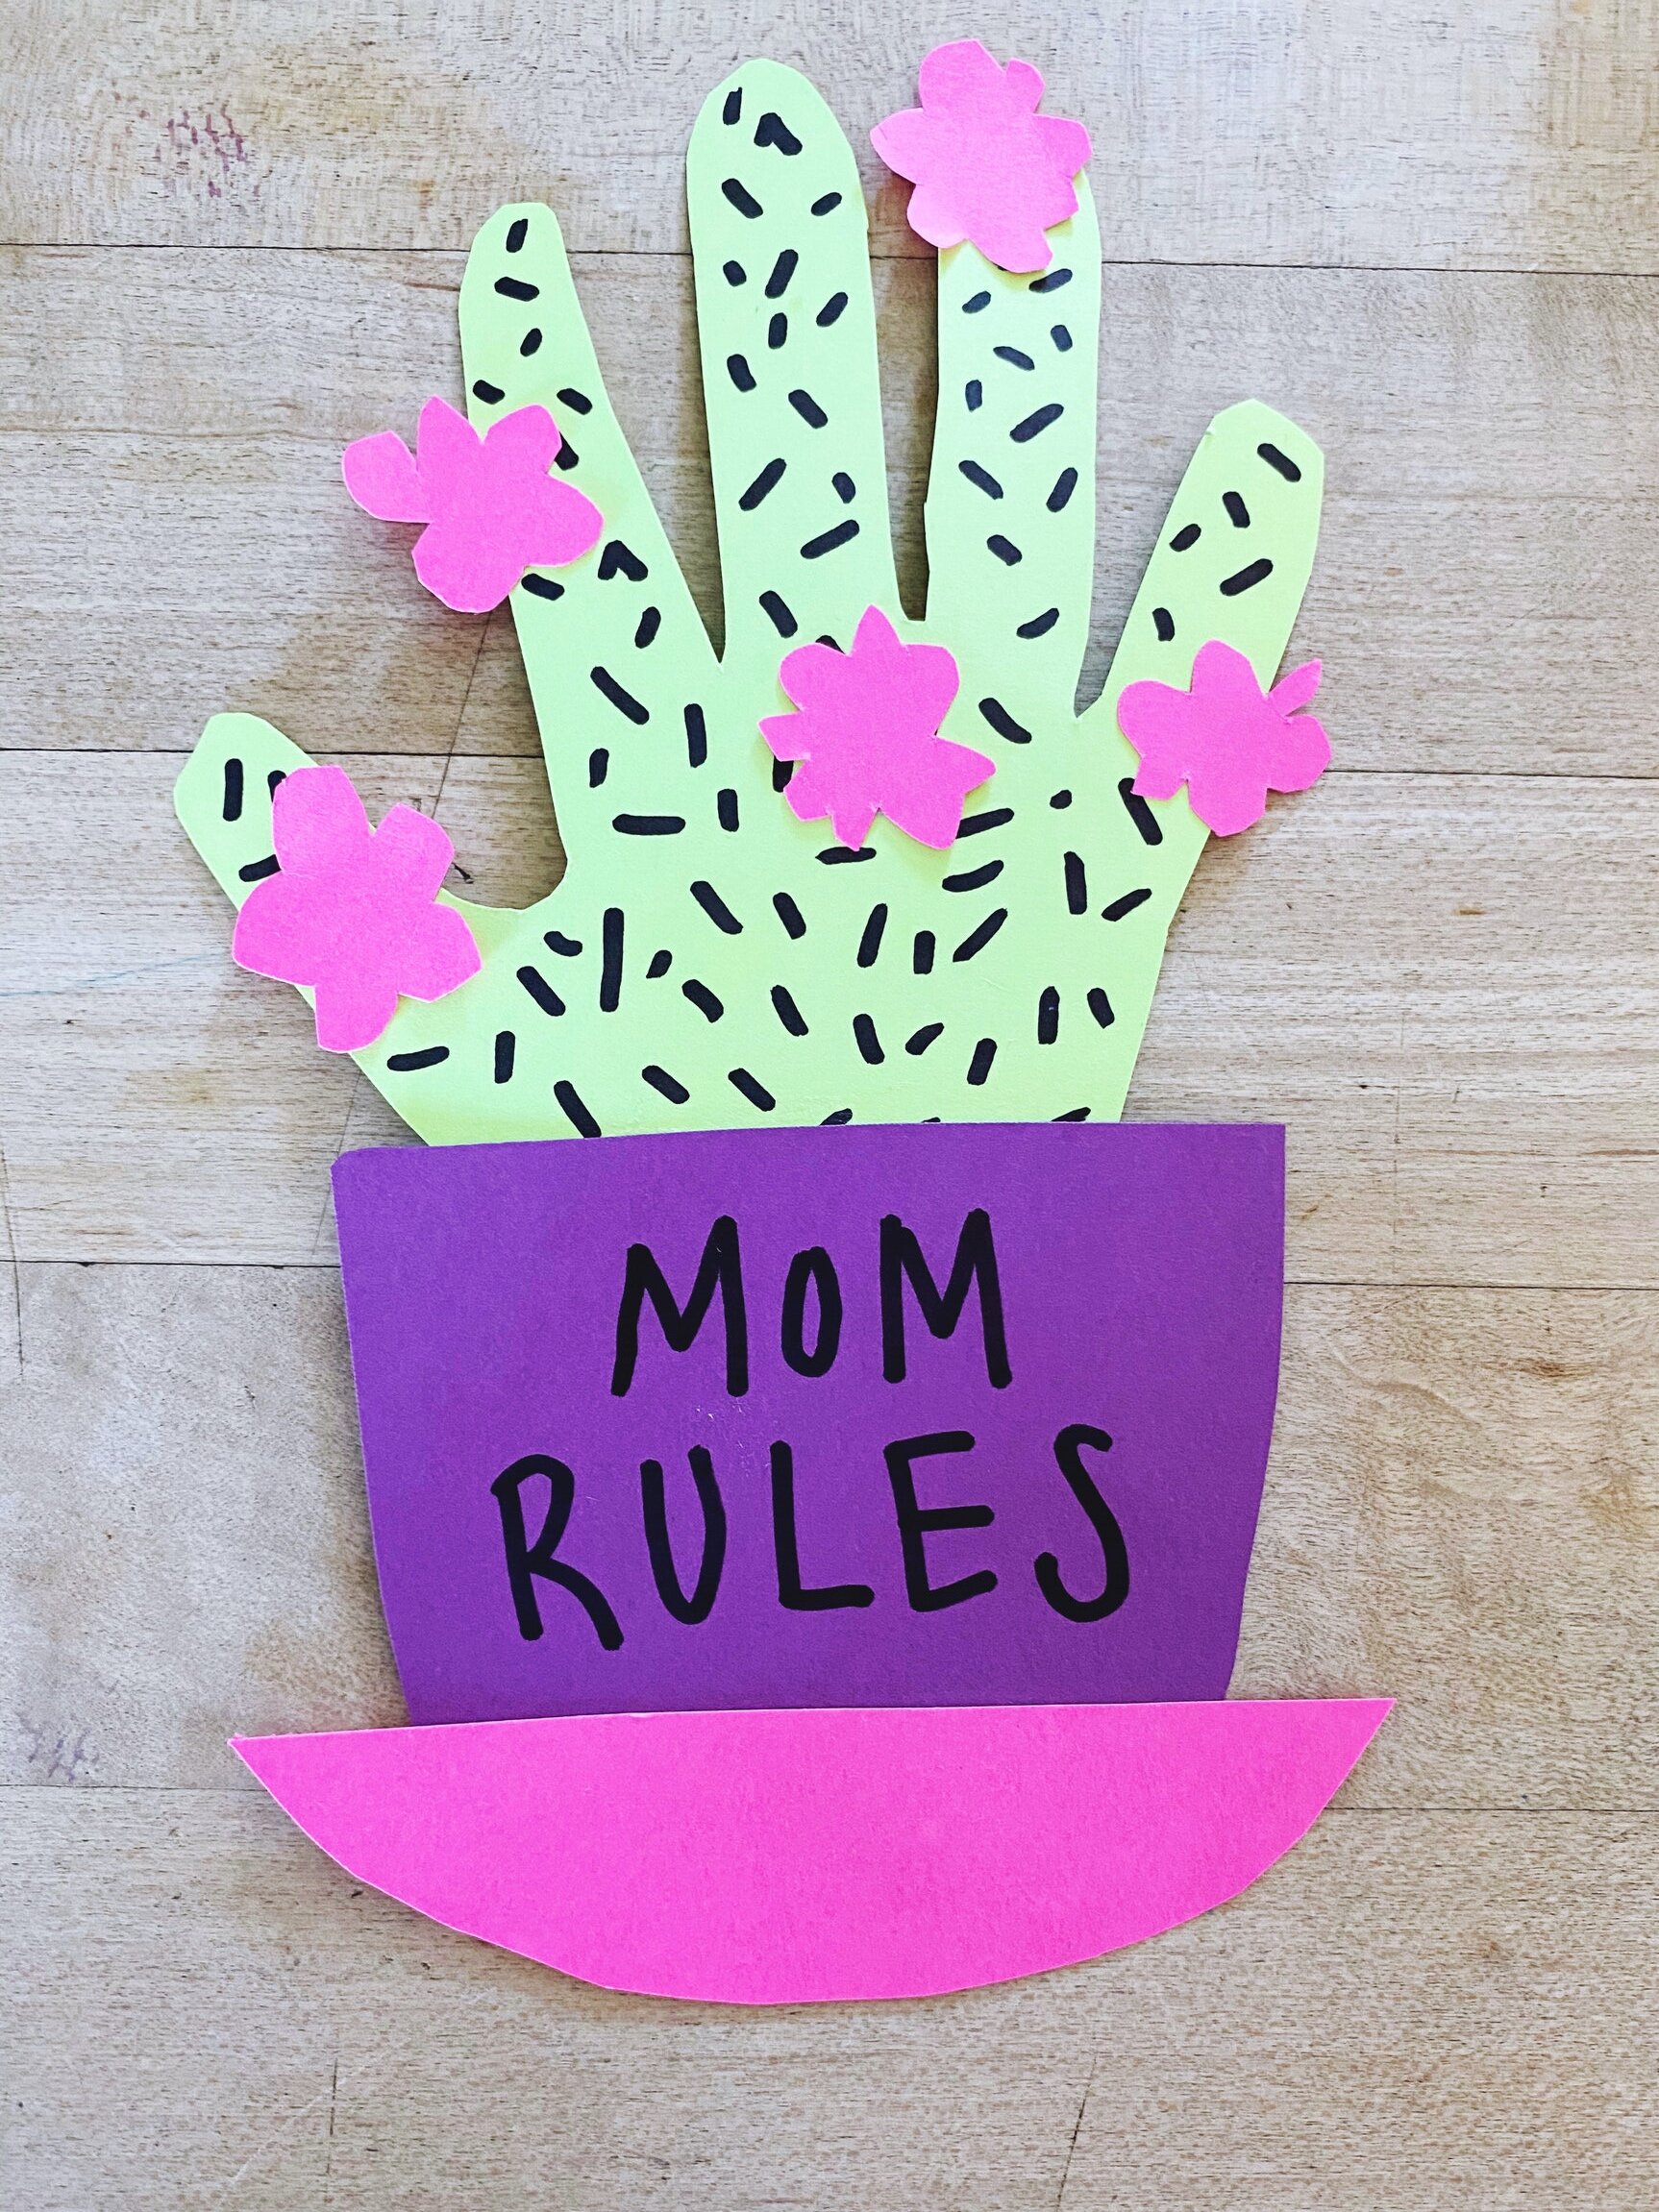
6. Now flip the cactus and pot over to glue or tape them together.
7. Then flip it back over, right side up. Glue/tape the saucer onto the front.
8. Add your flowers, if you made them!
9. You can write a cute message on the pot, or leave it blank if it’s already looking great and you don’t want to mess it up. ☺

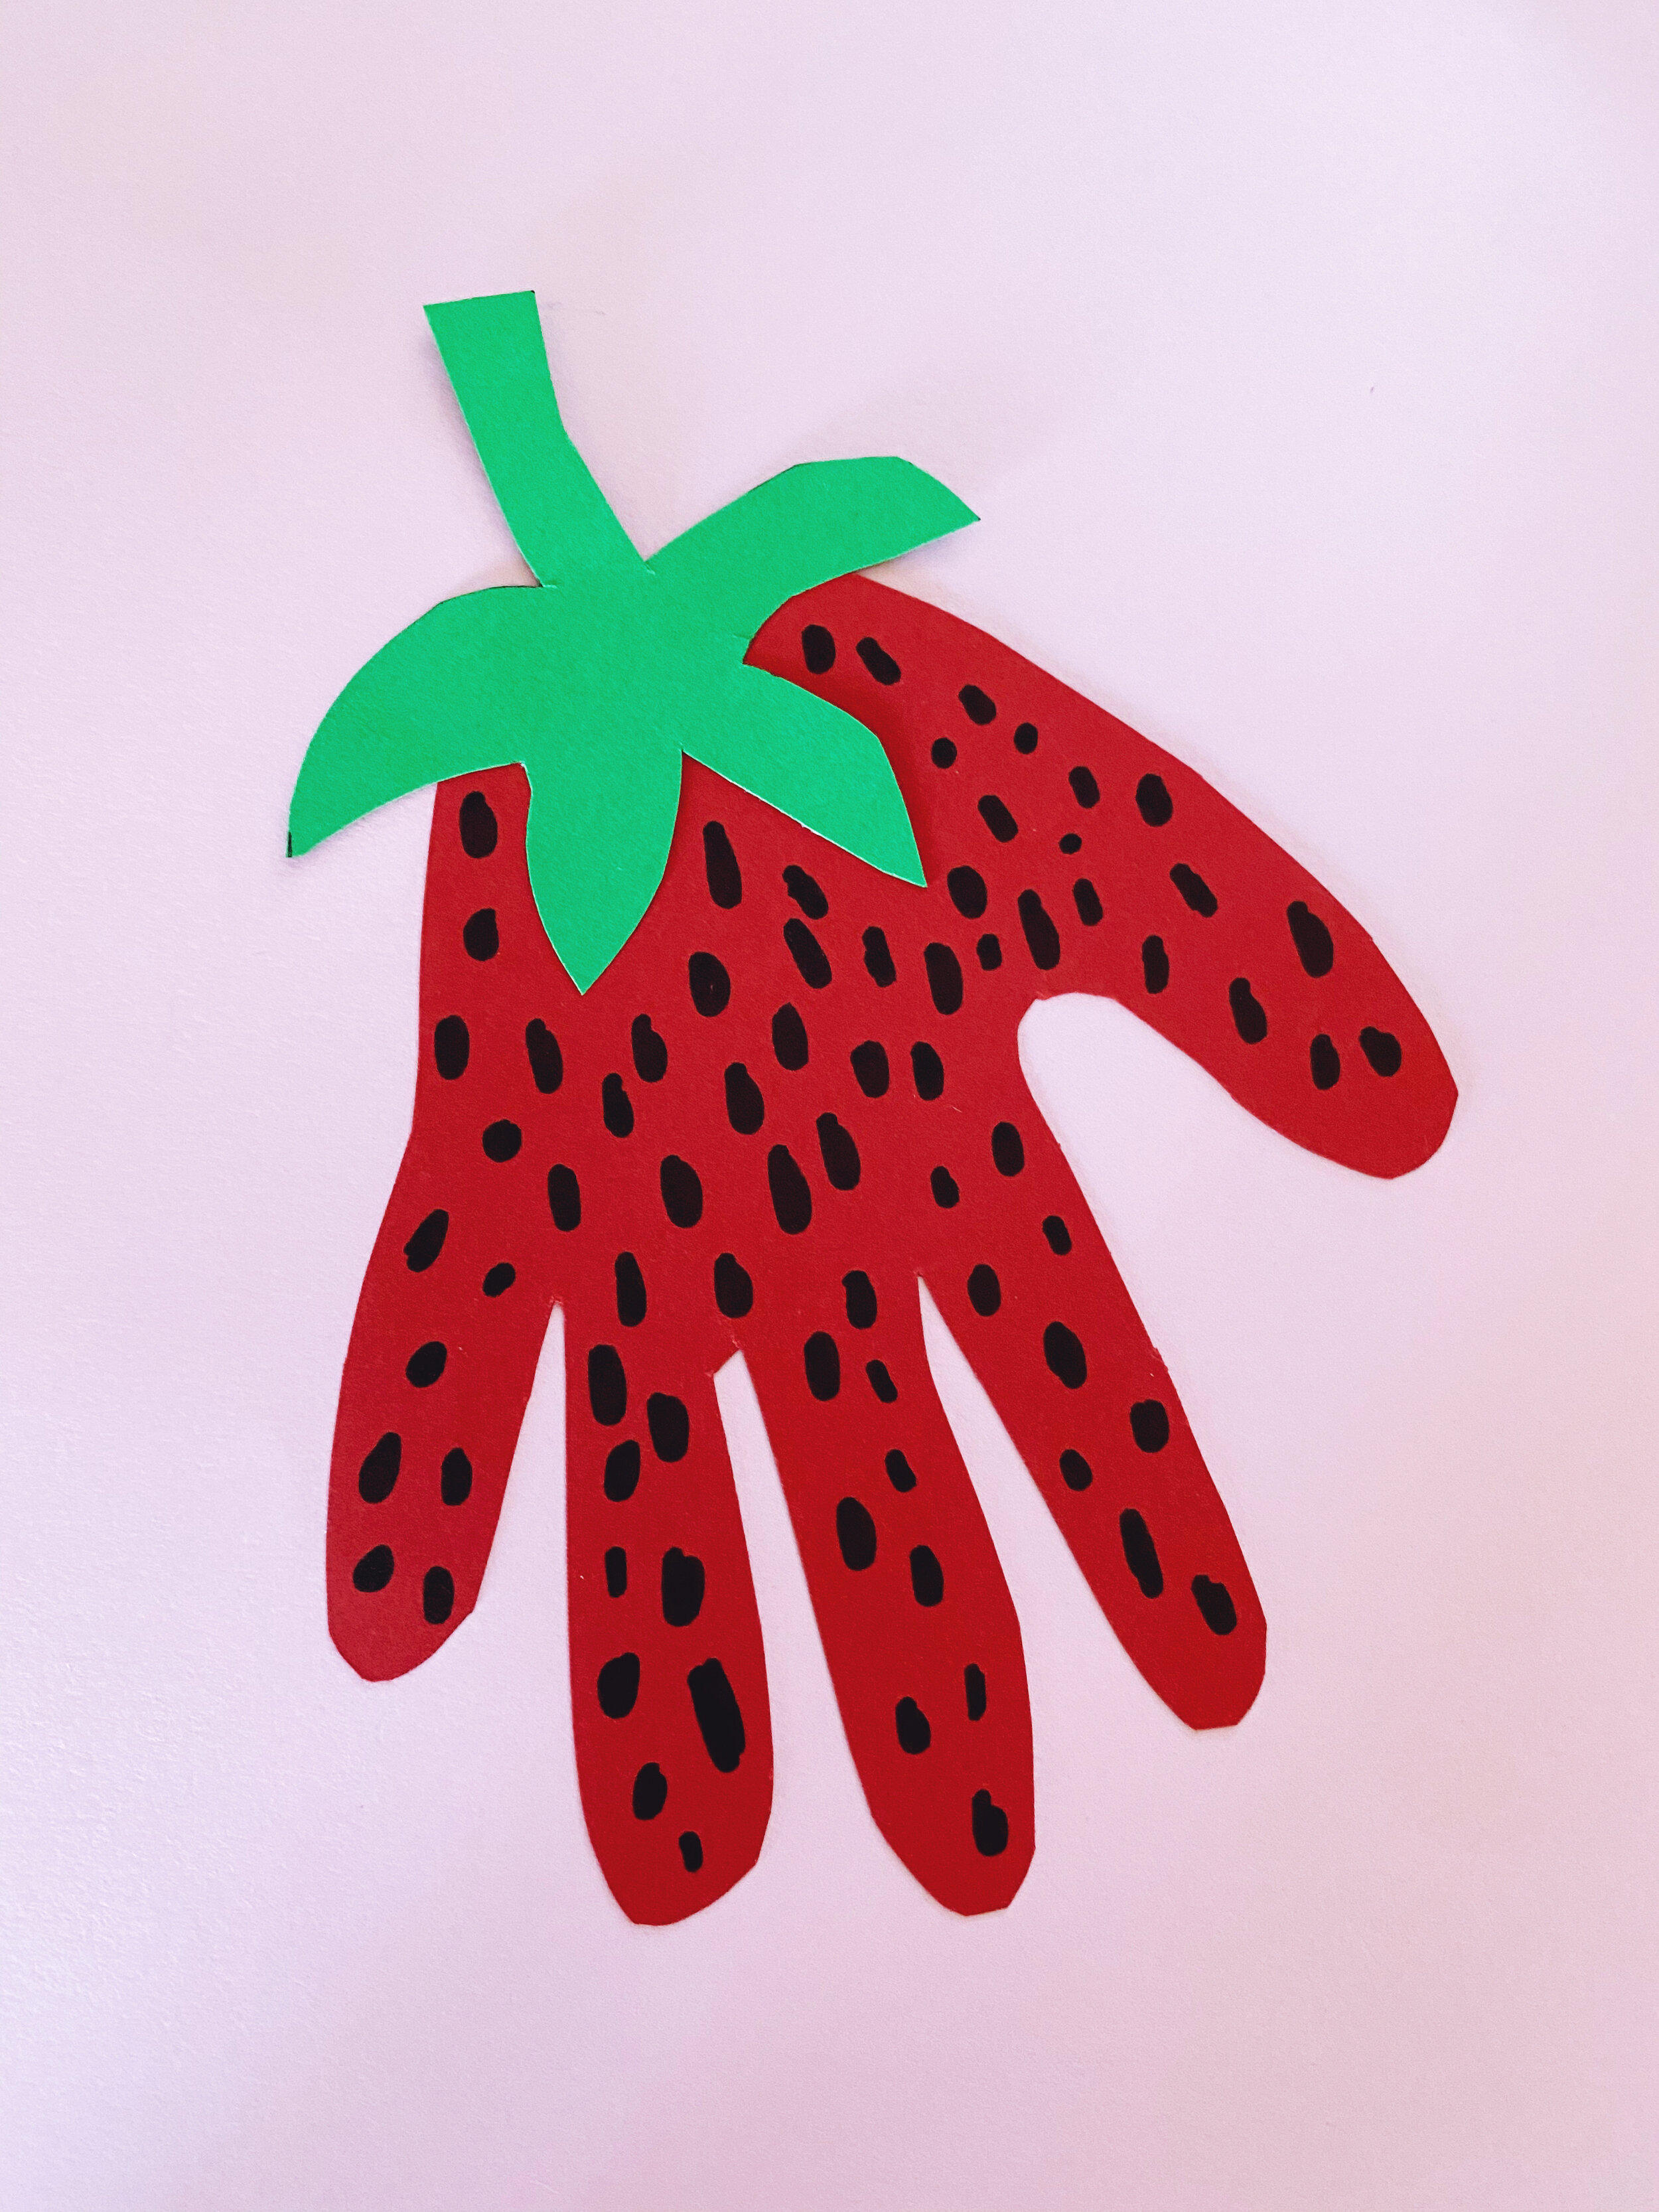
Strawberry Hand
1. Trace your child’s hand on red paper (or paper you color red).
2. Cut out hand.
3. Glue hand onto another piece of paper in the color of your choice.
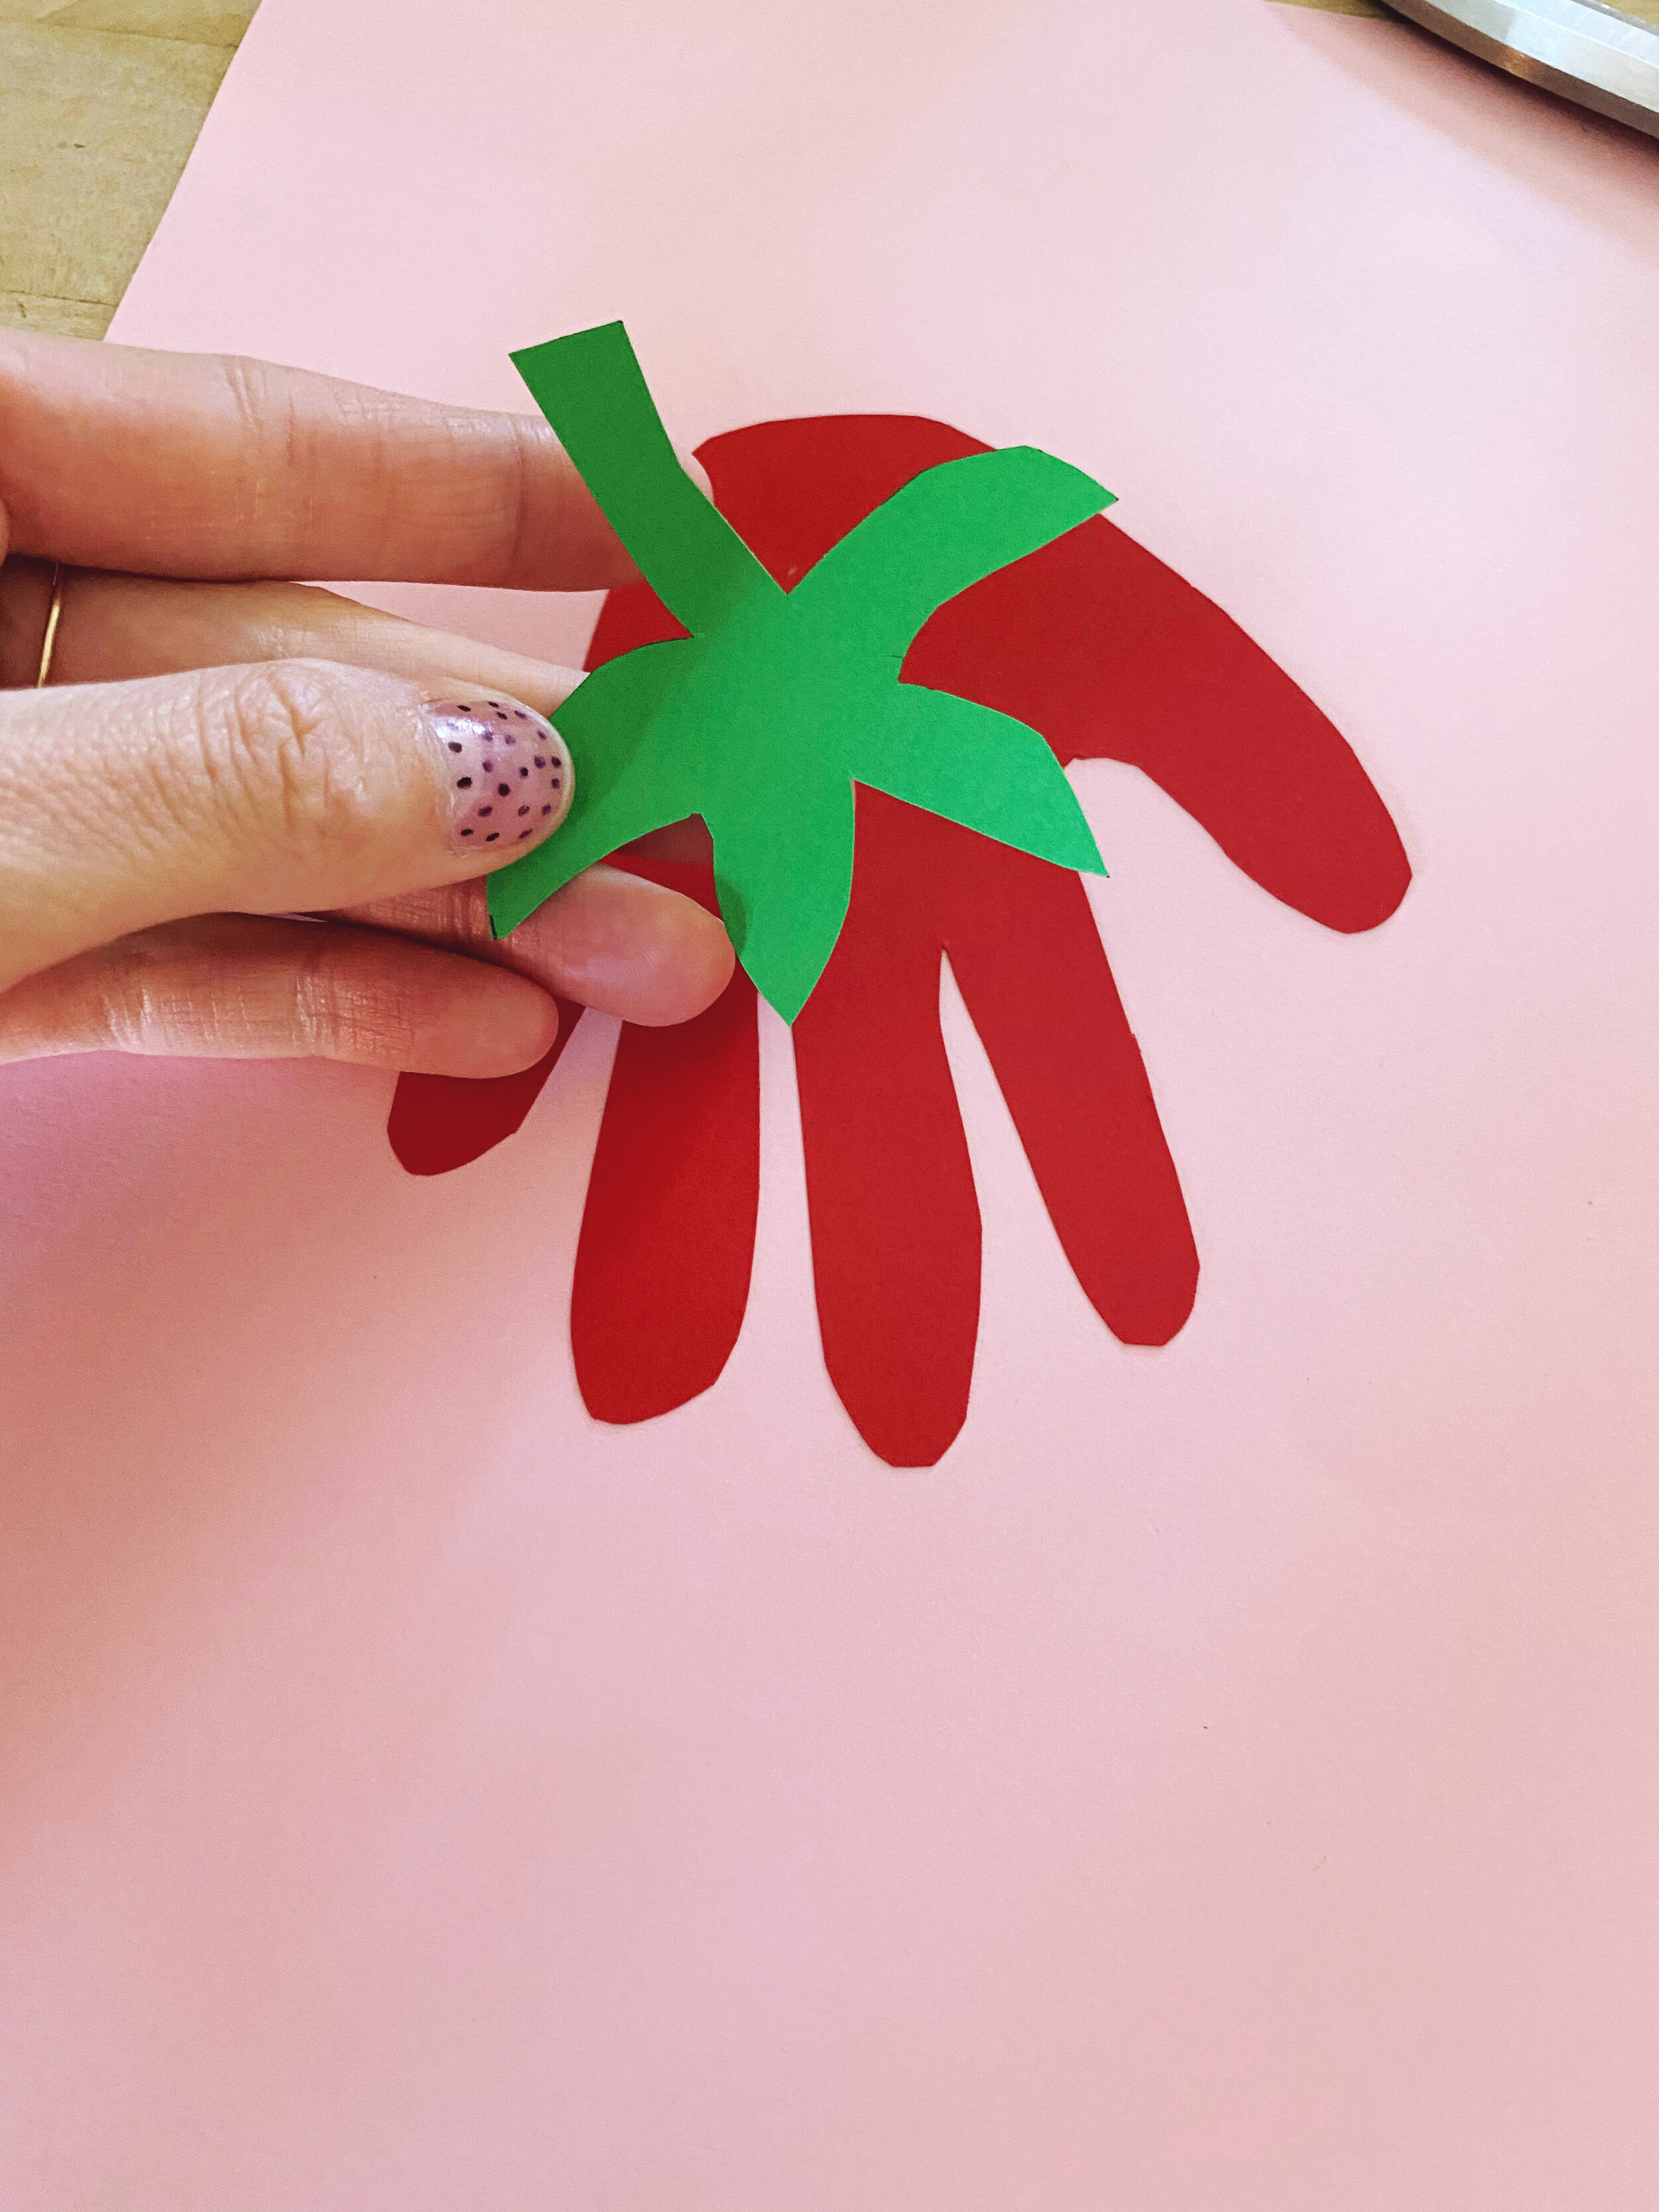
4. Draw the stem and cut it out. Glue it onto to the hand.
5. Draw little black dots/teardrops to make it look like a strawberry.
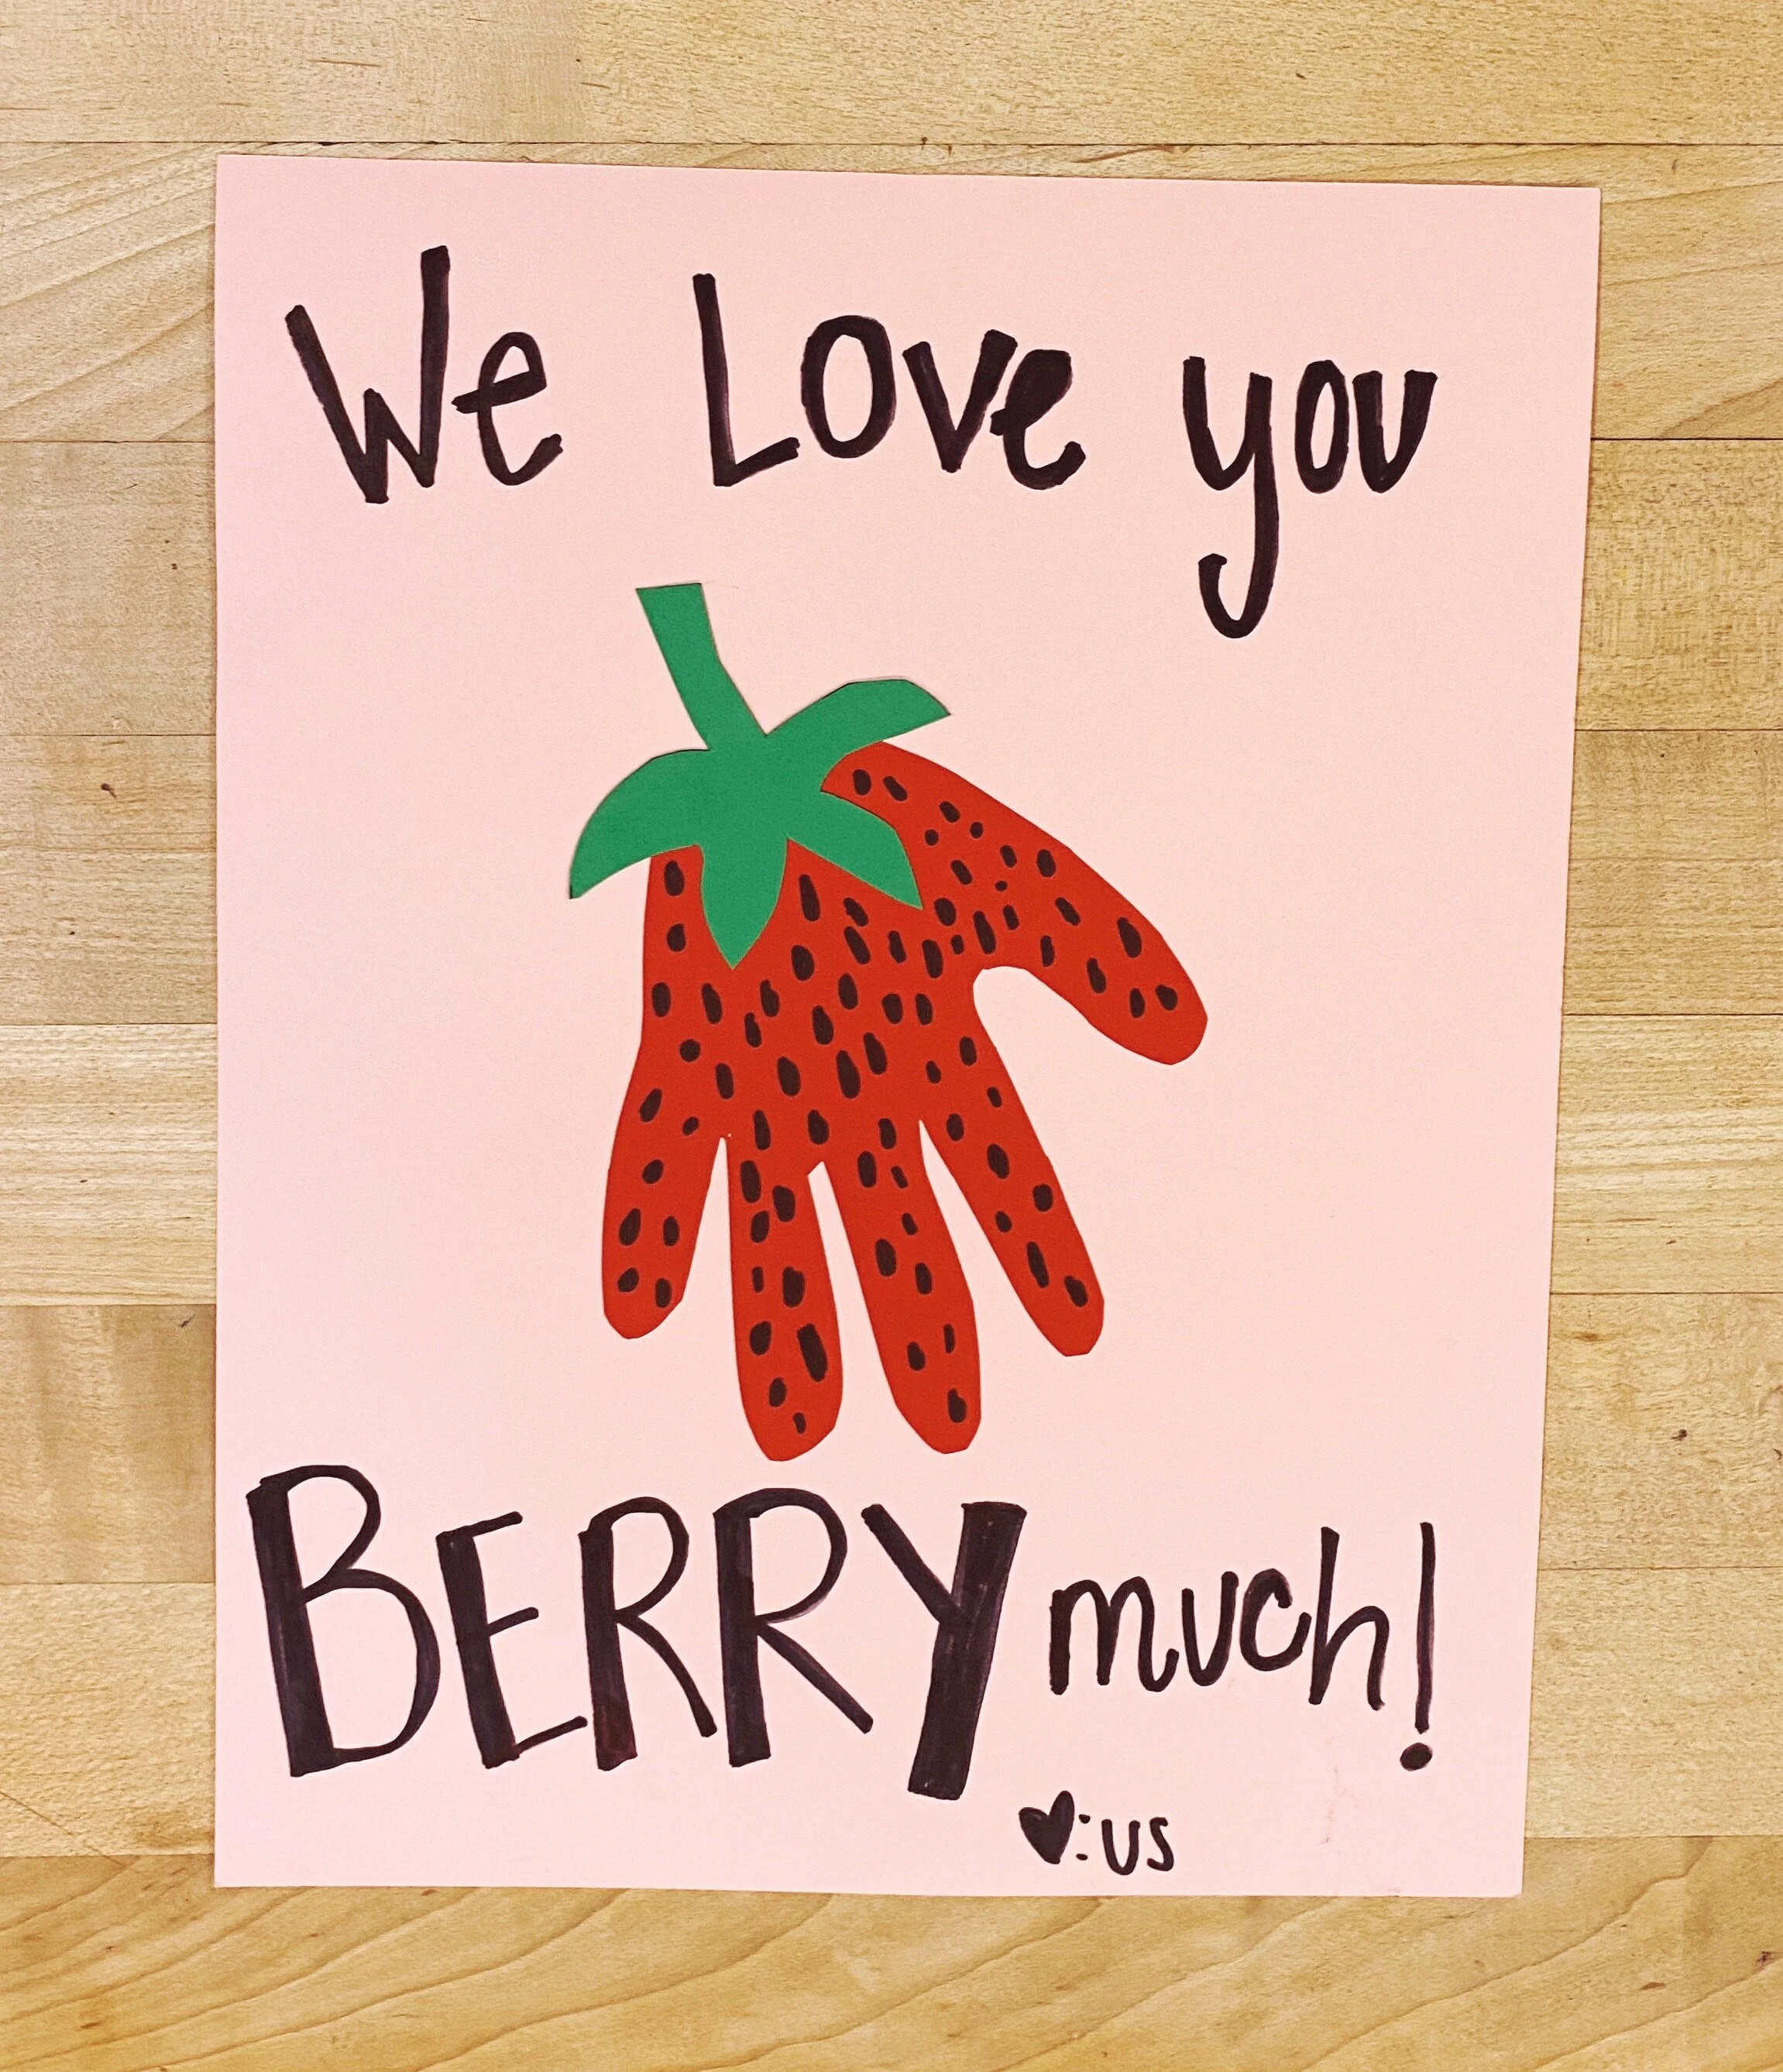
6. Write “WE LOVE YOU BERRY MUCH!”
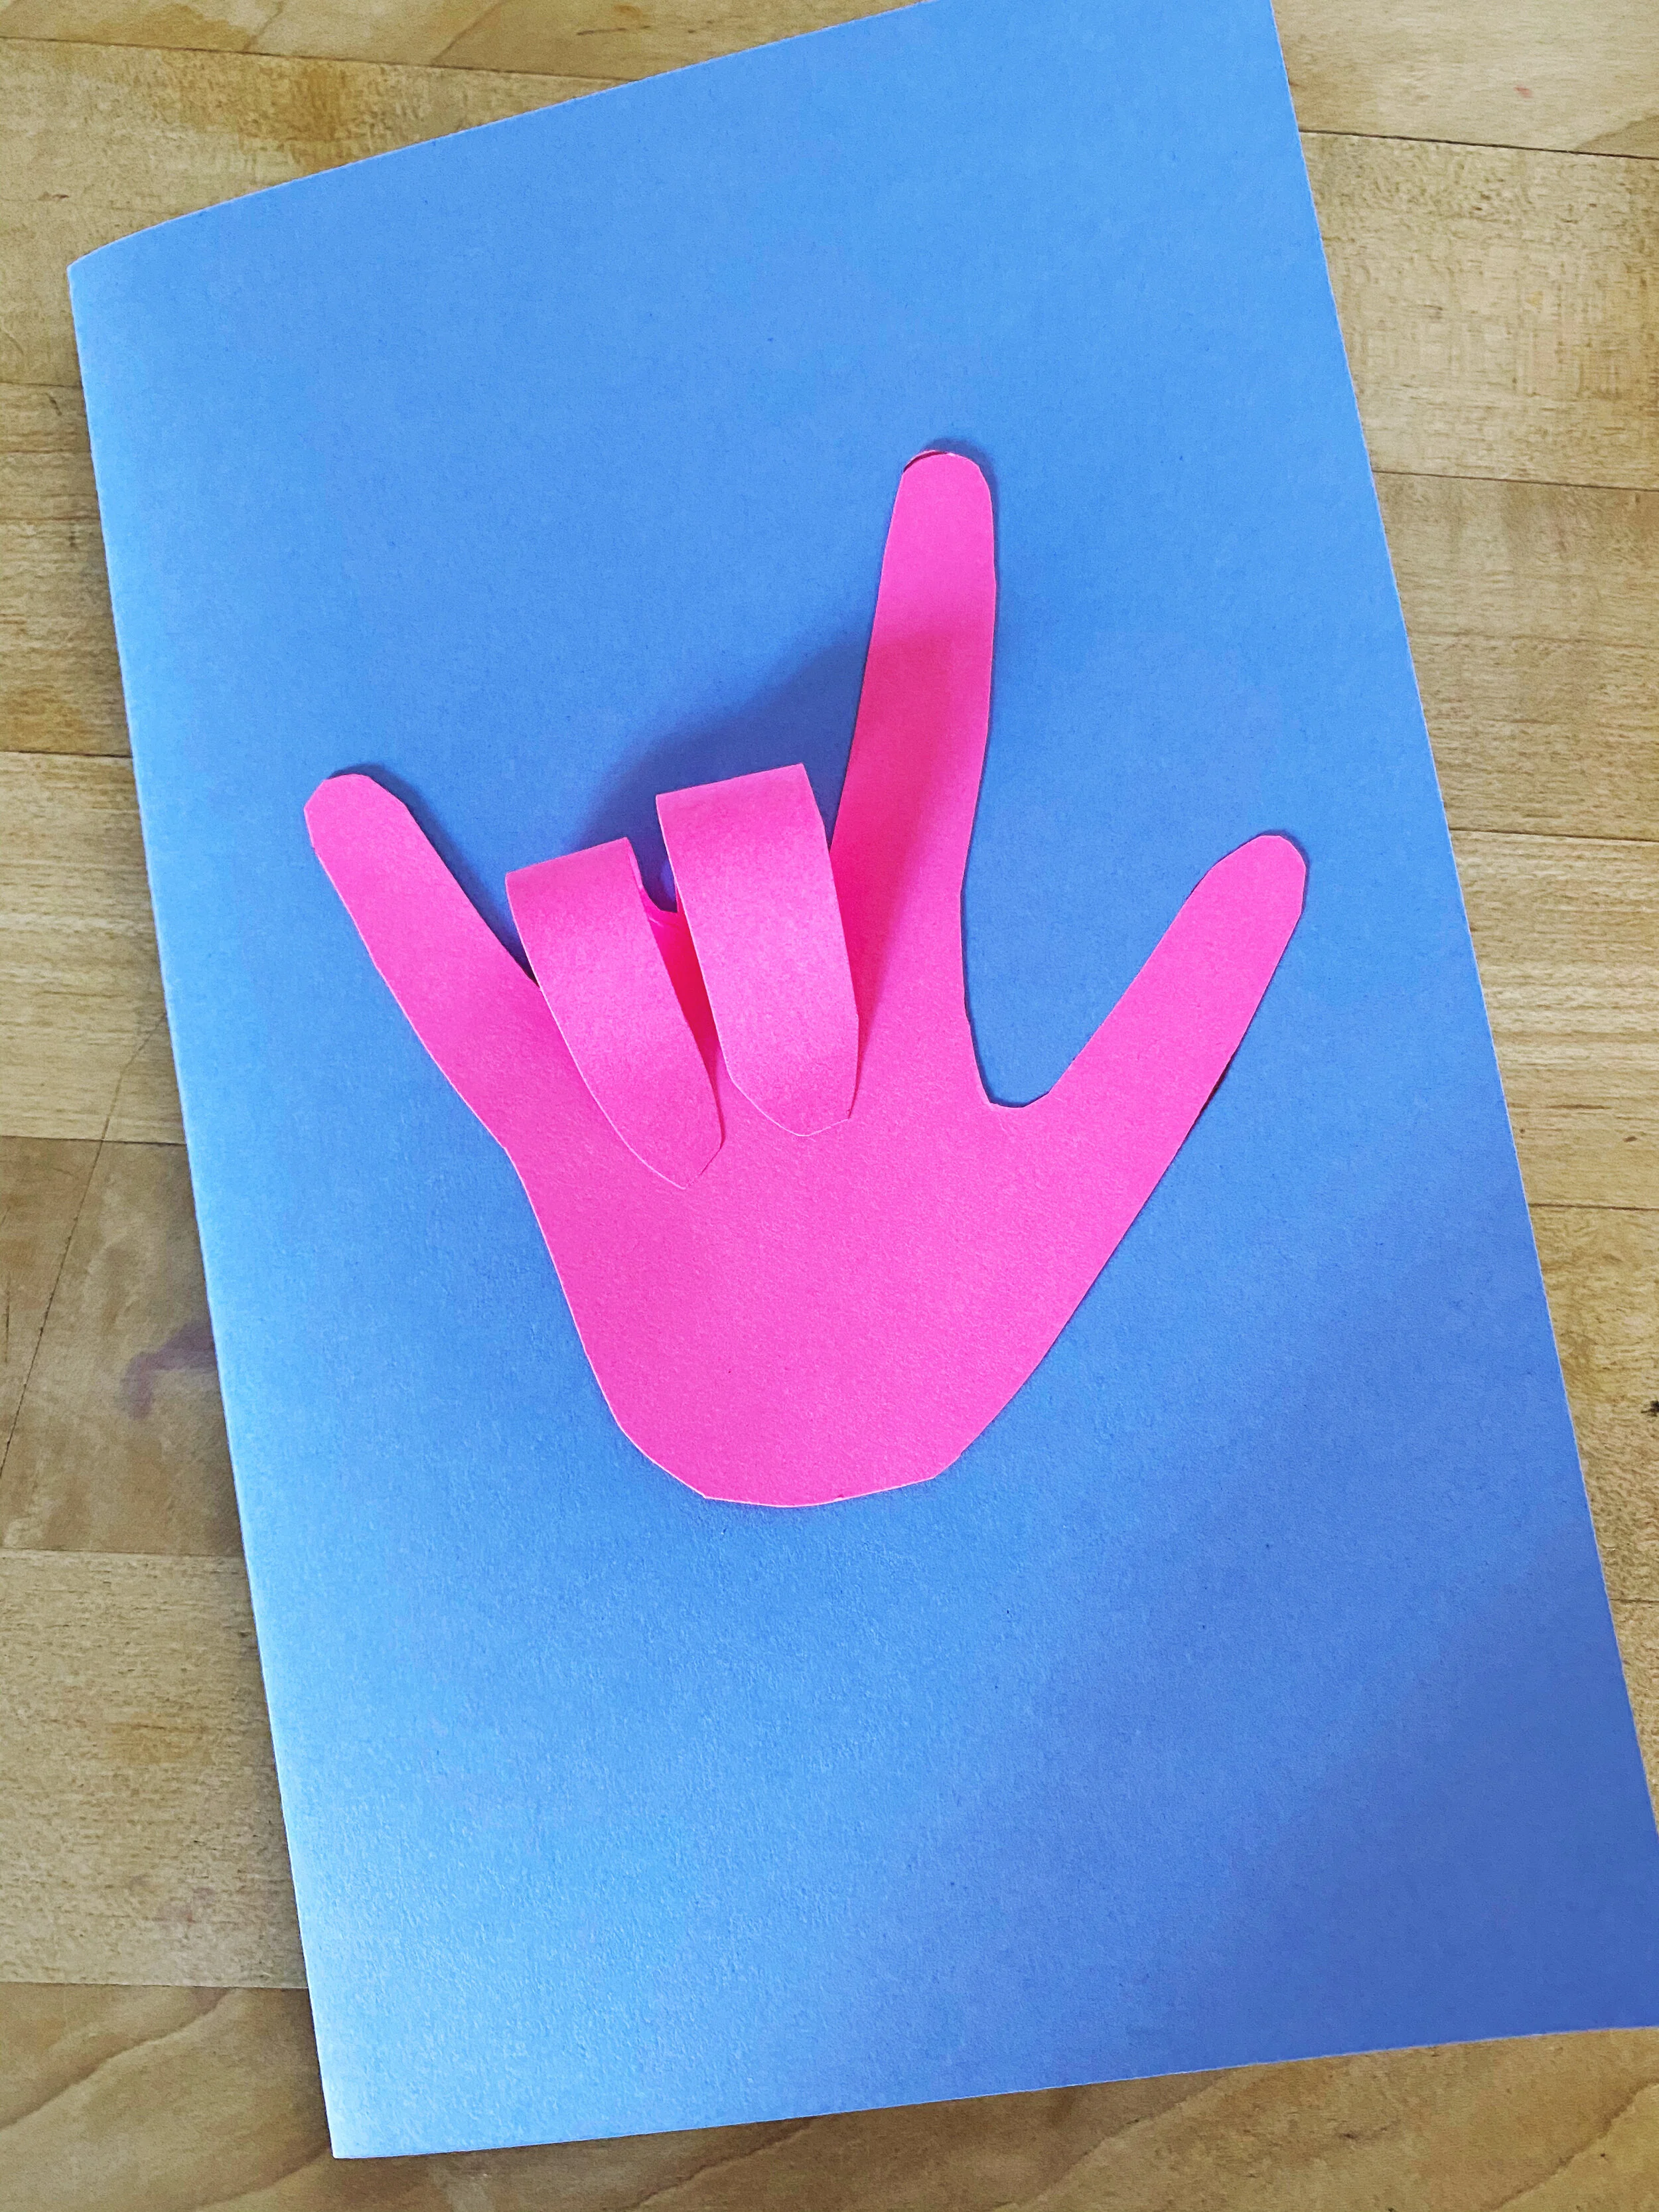
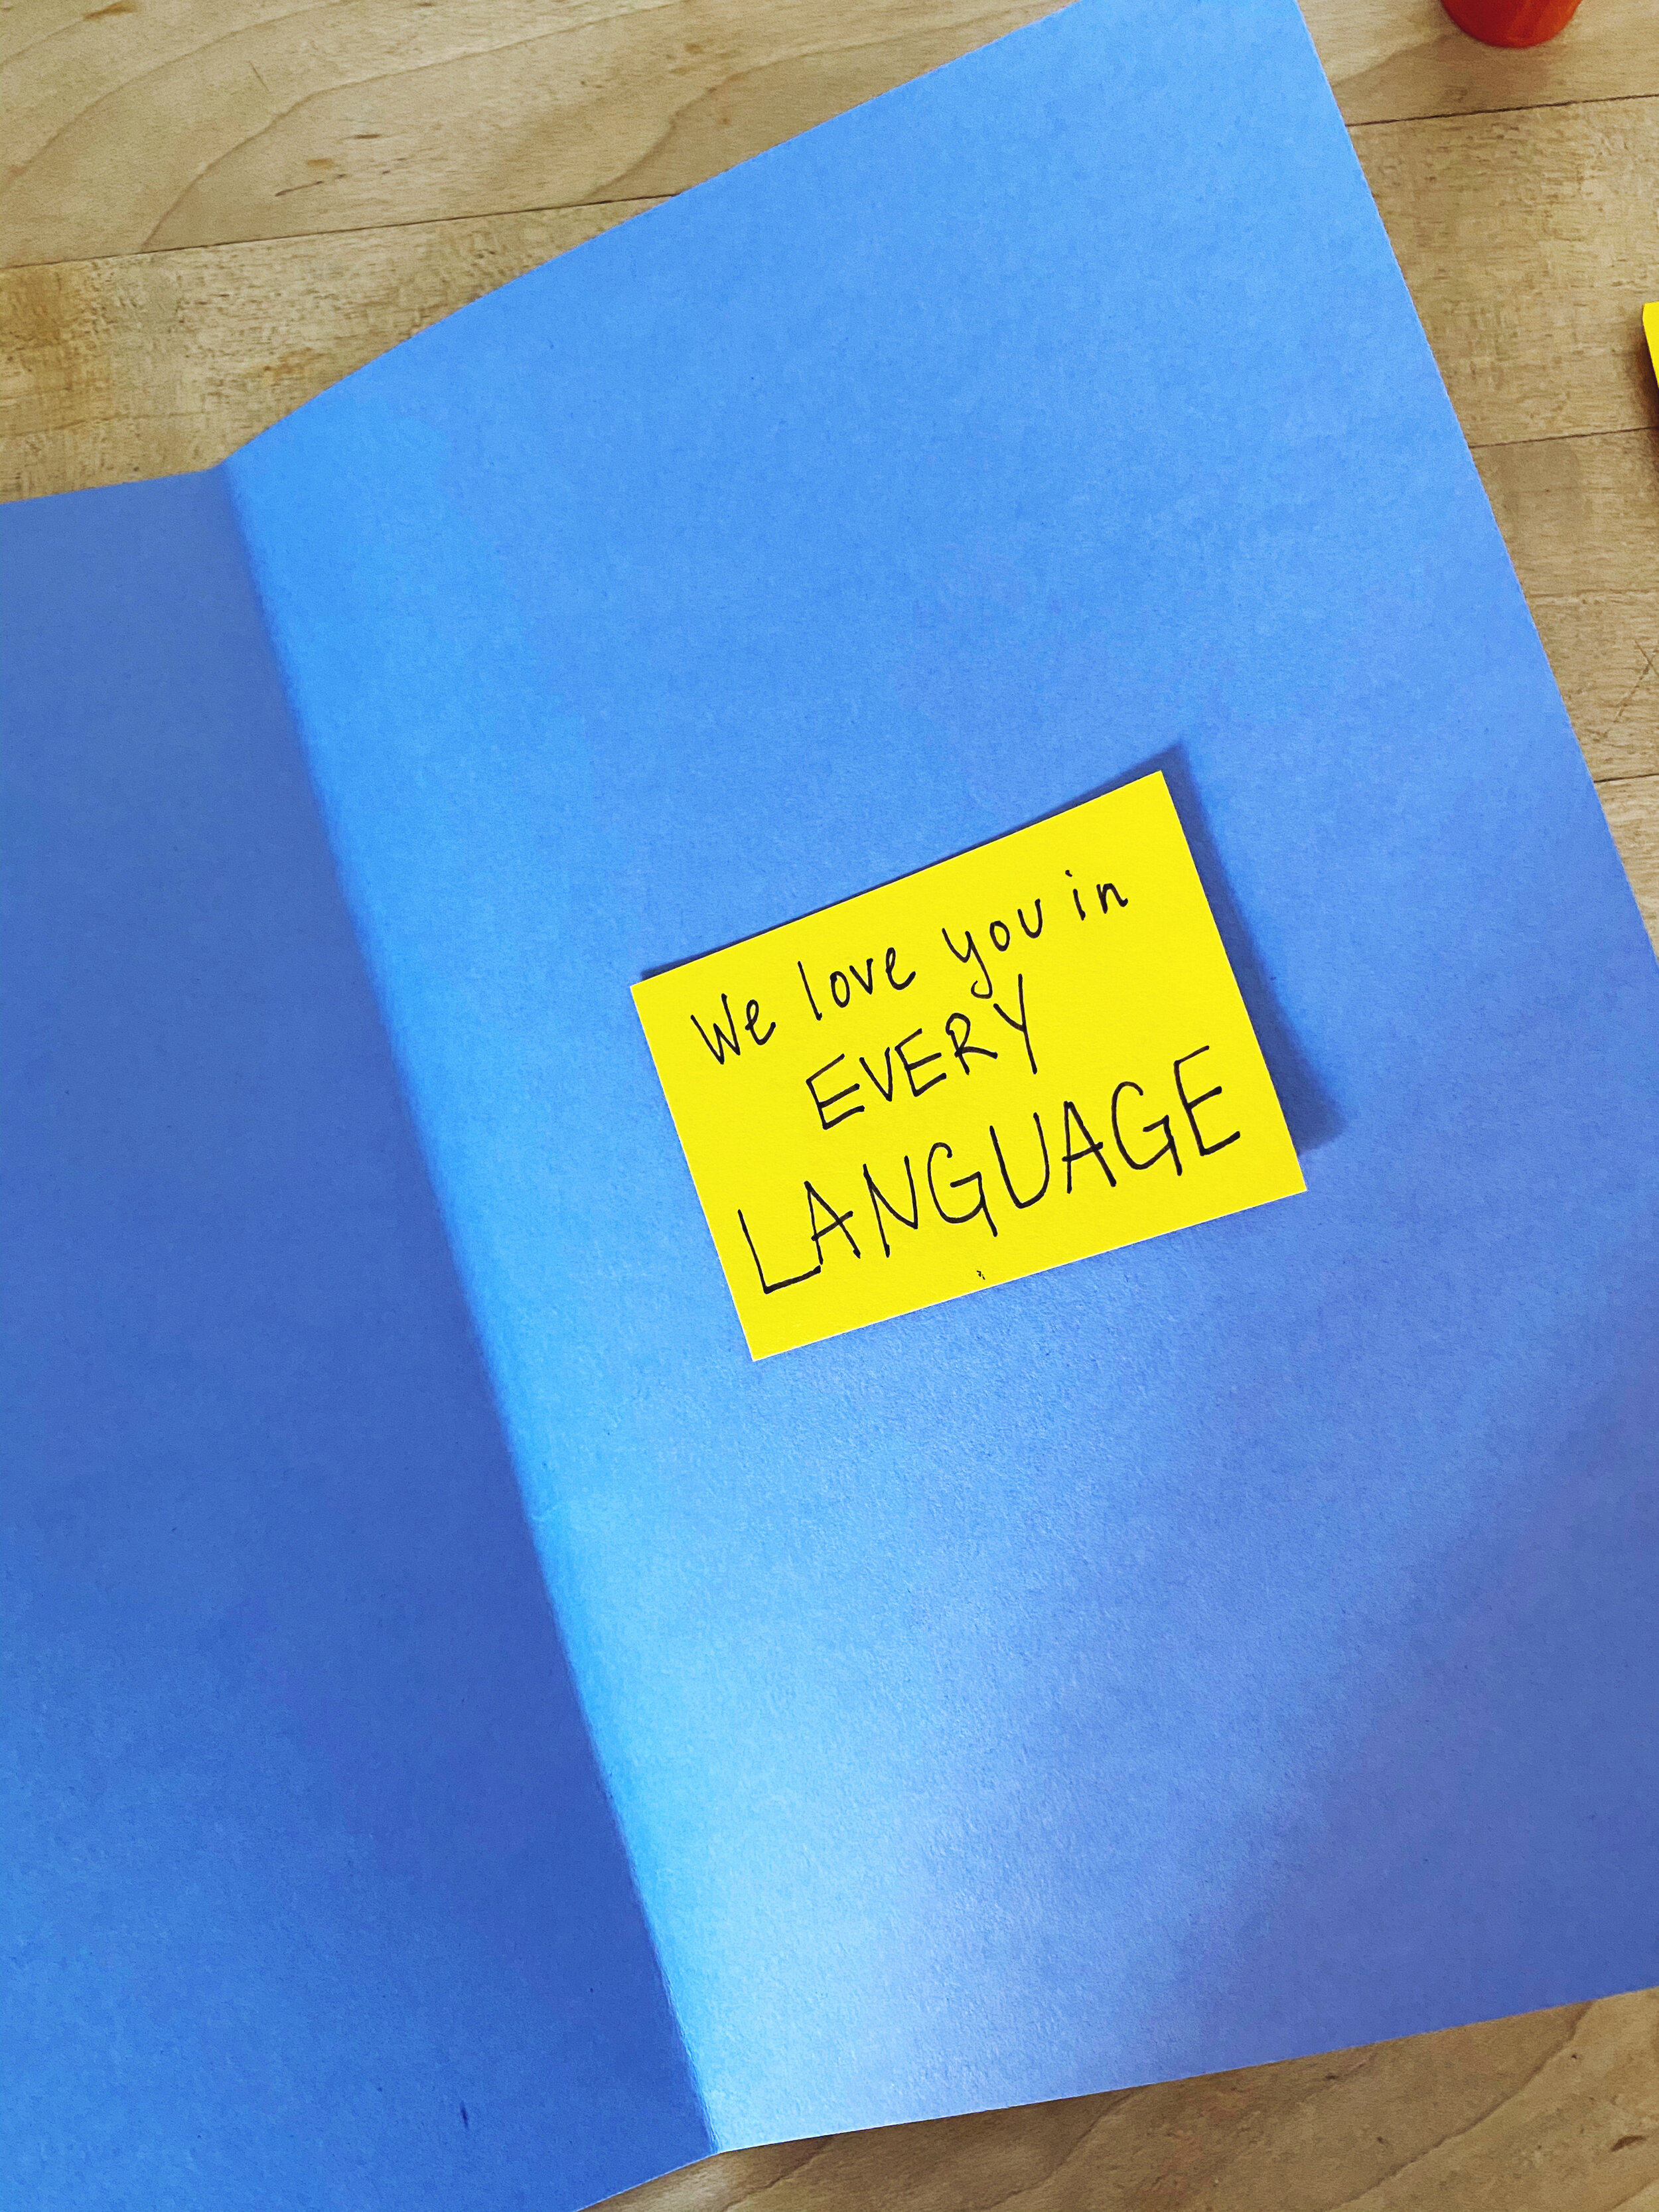
Sign Language Hand Card
1. Trace and cut hand in any color.
2. Grab another piece of paper/card stock and fold it in half to make your card.
3. Glue the hand to the front of your card, but DO NOT put glue on the ring and middle fingers!
4. Bend the middle and ring fingers forward (without creasing them) to make the “I love you” sign in sign language.
5. Glue the middle and ring fingers in place.
6. Write on the inside of the card “We love you in every language.”
This is a good one to sticker up and let your kid color on!
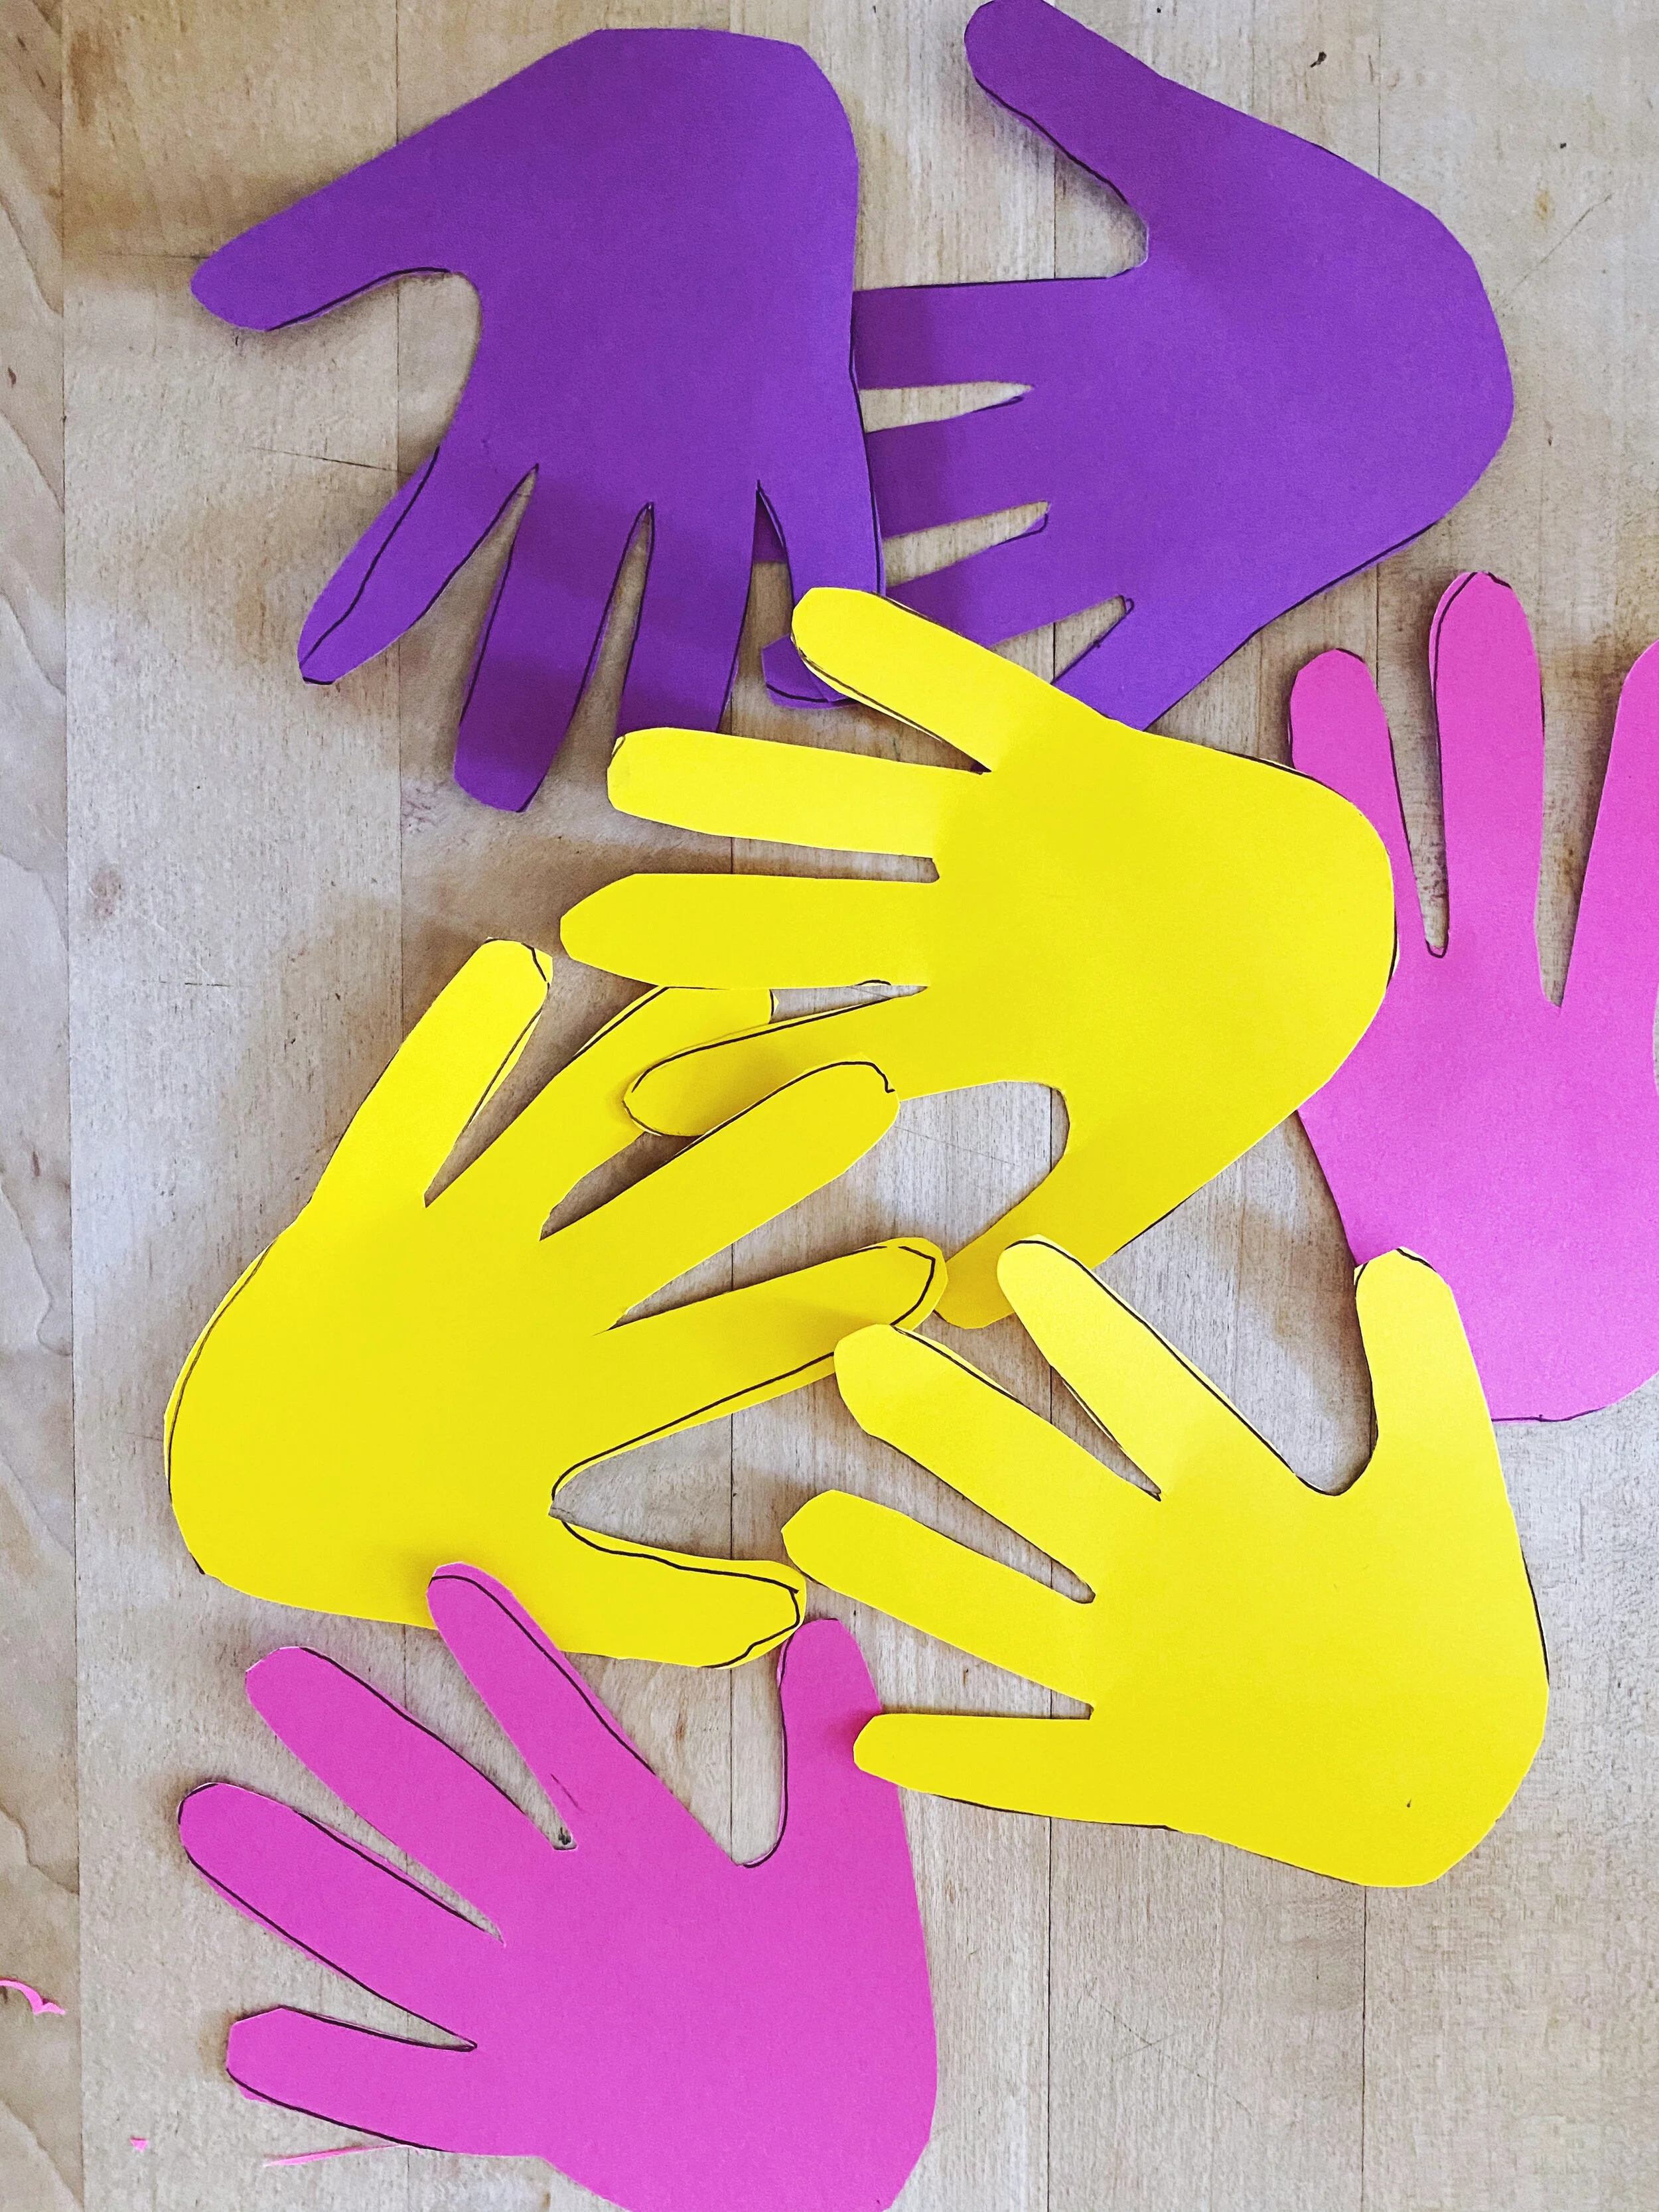
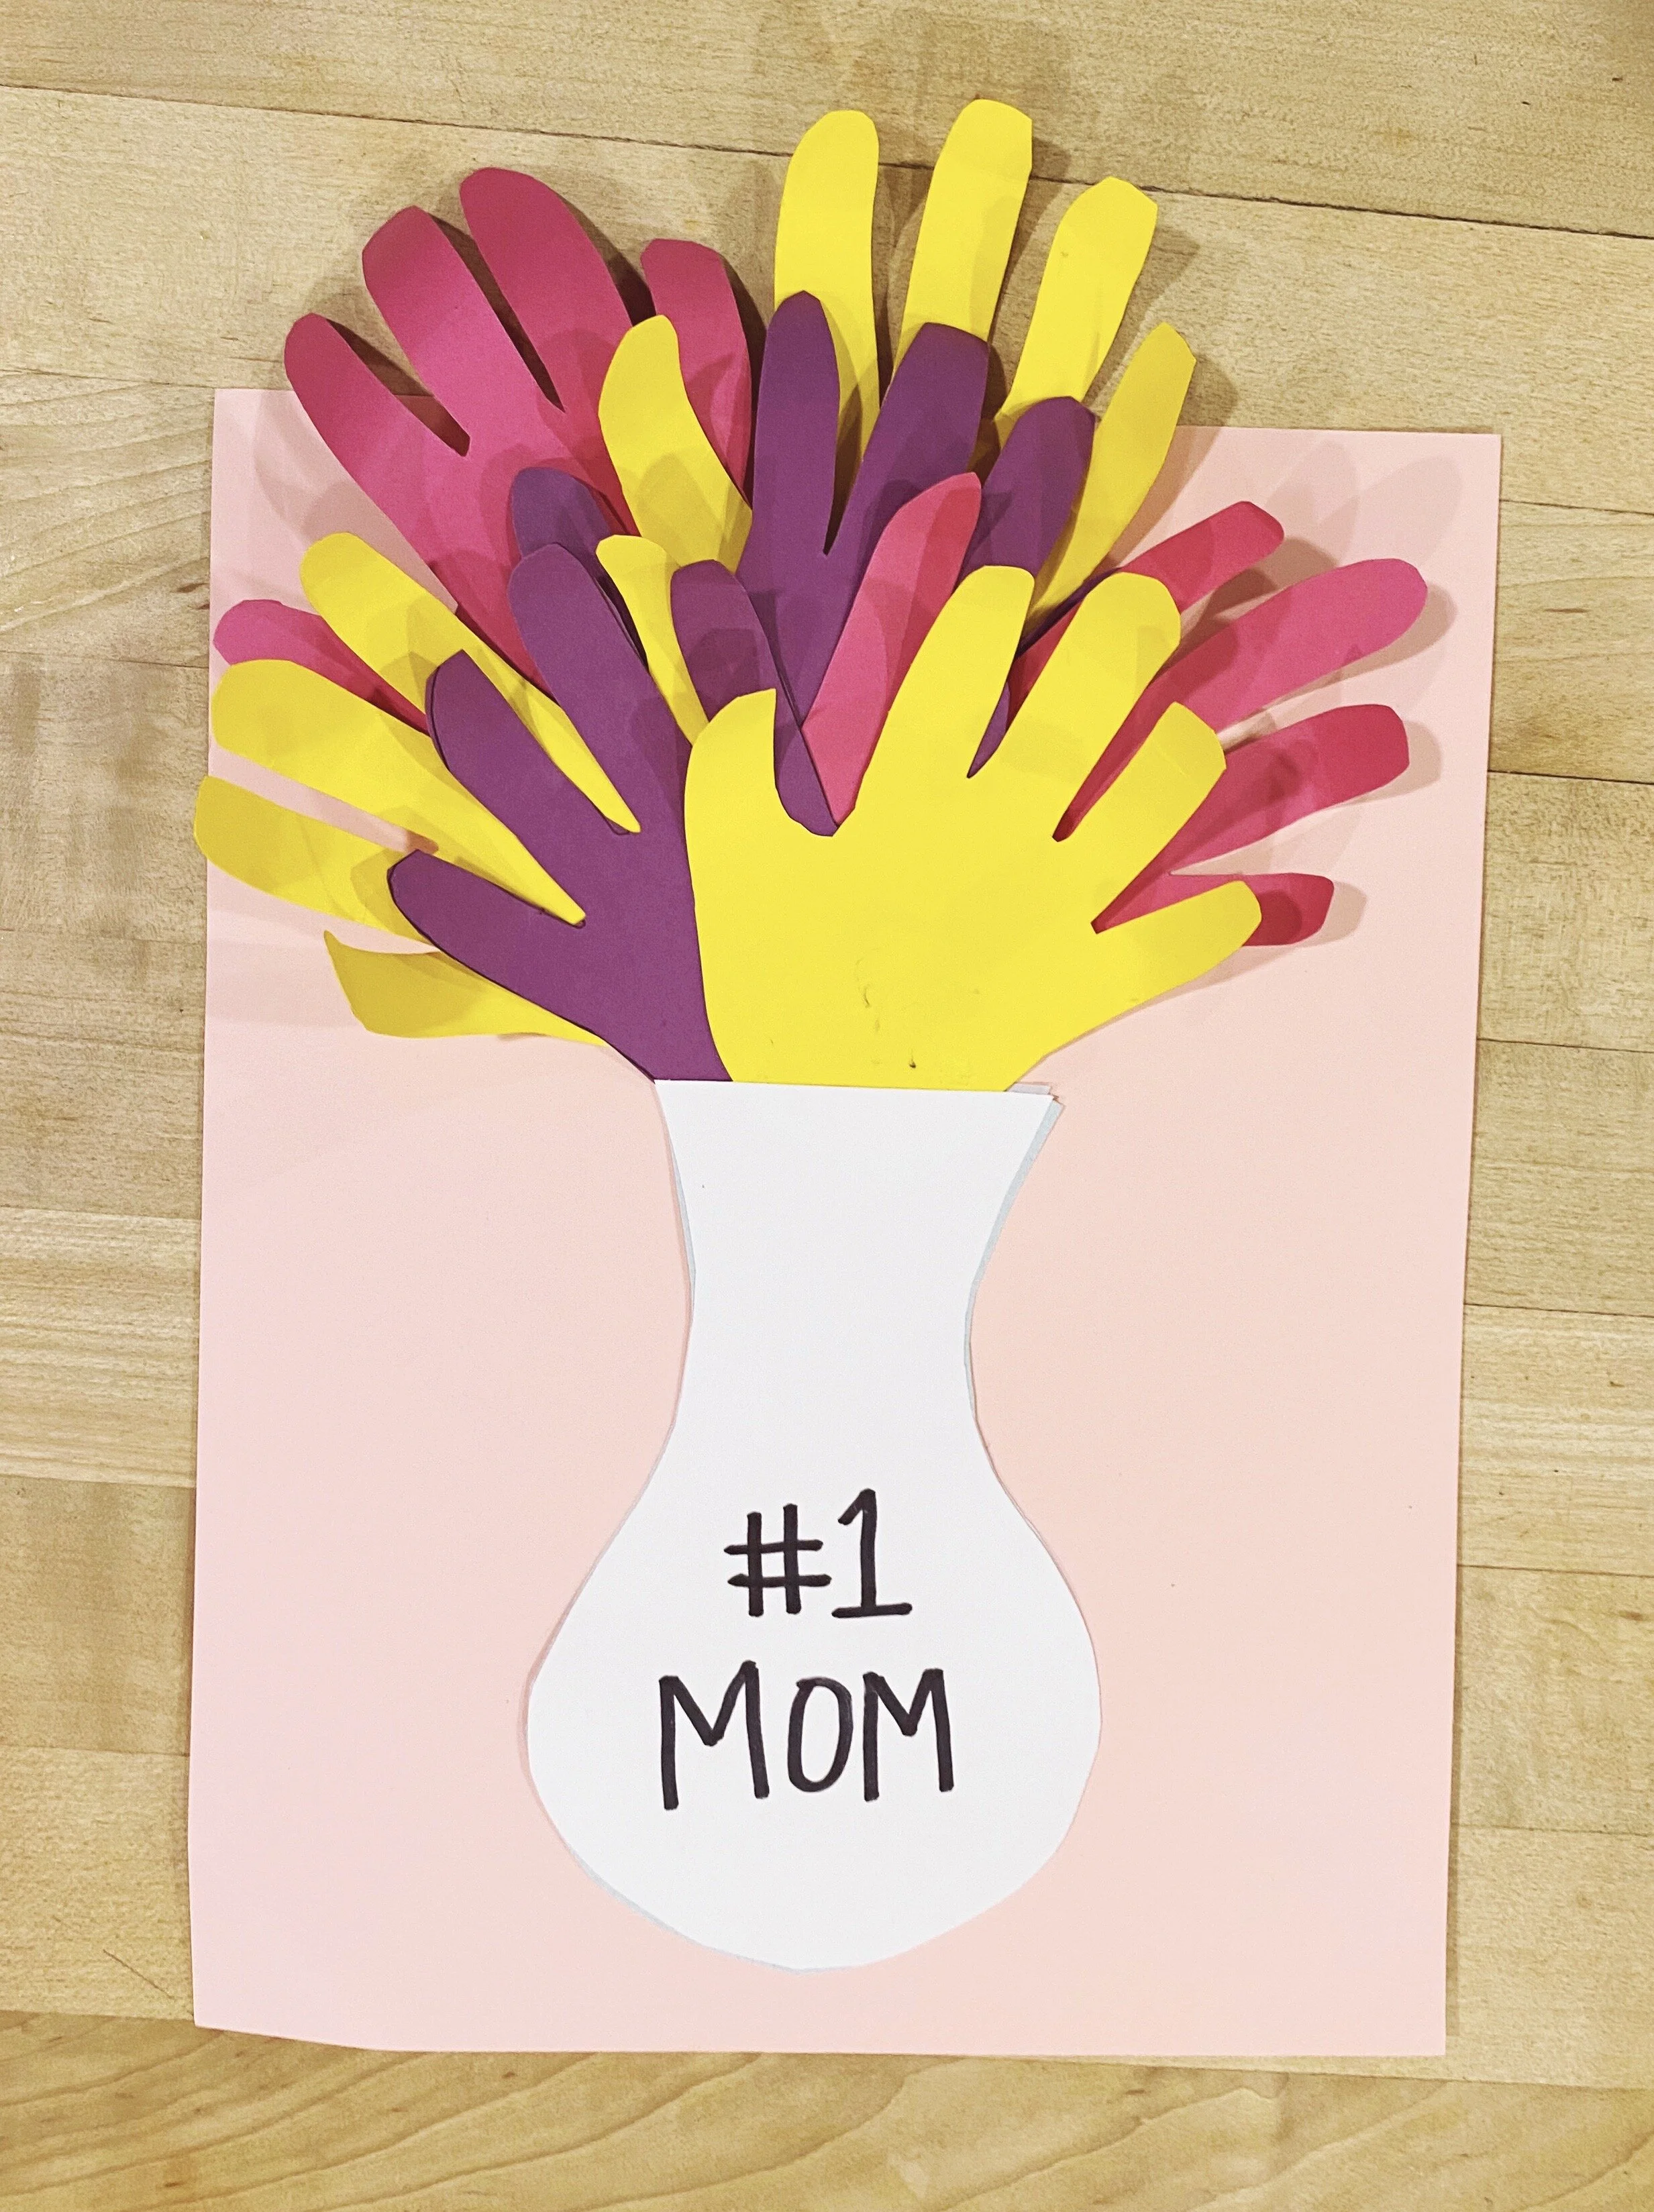
Finger Bouquet with Vase
1. Trace hand once and cut it out. Then use that cutout to trace 7 more hands on whatever color paper you want. Maybe mom’s favorite colors!
2. Curl the fingers for dimension. To do this, open scissors, place one paper finger on the sharp edge and drag your finger over the scissors with the paper to get a curling effect. You do not need to press hard at all. Do this to all paper fingers.
3. Start gluing one hand on at a time, overlapping the handprints like flowers in a bouquet.
4. Use a pen to draw a vase. Cut it out and glue it on top of the bottom of the hand bouquet.
5. You can write any message on this. Some ideas: “I’d pick you every time” “#1 Mom” or “Favorite Mom.”

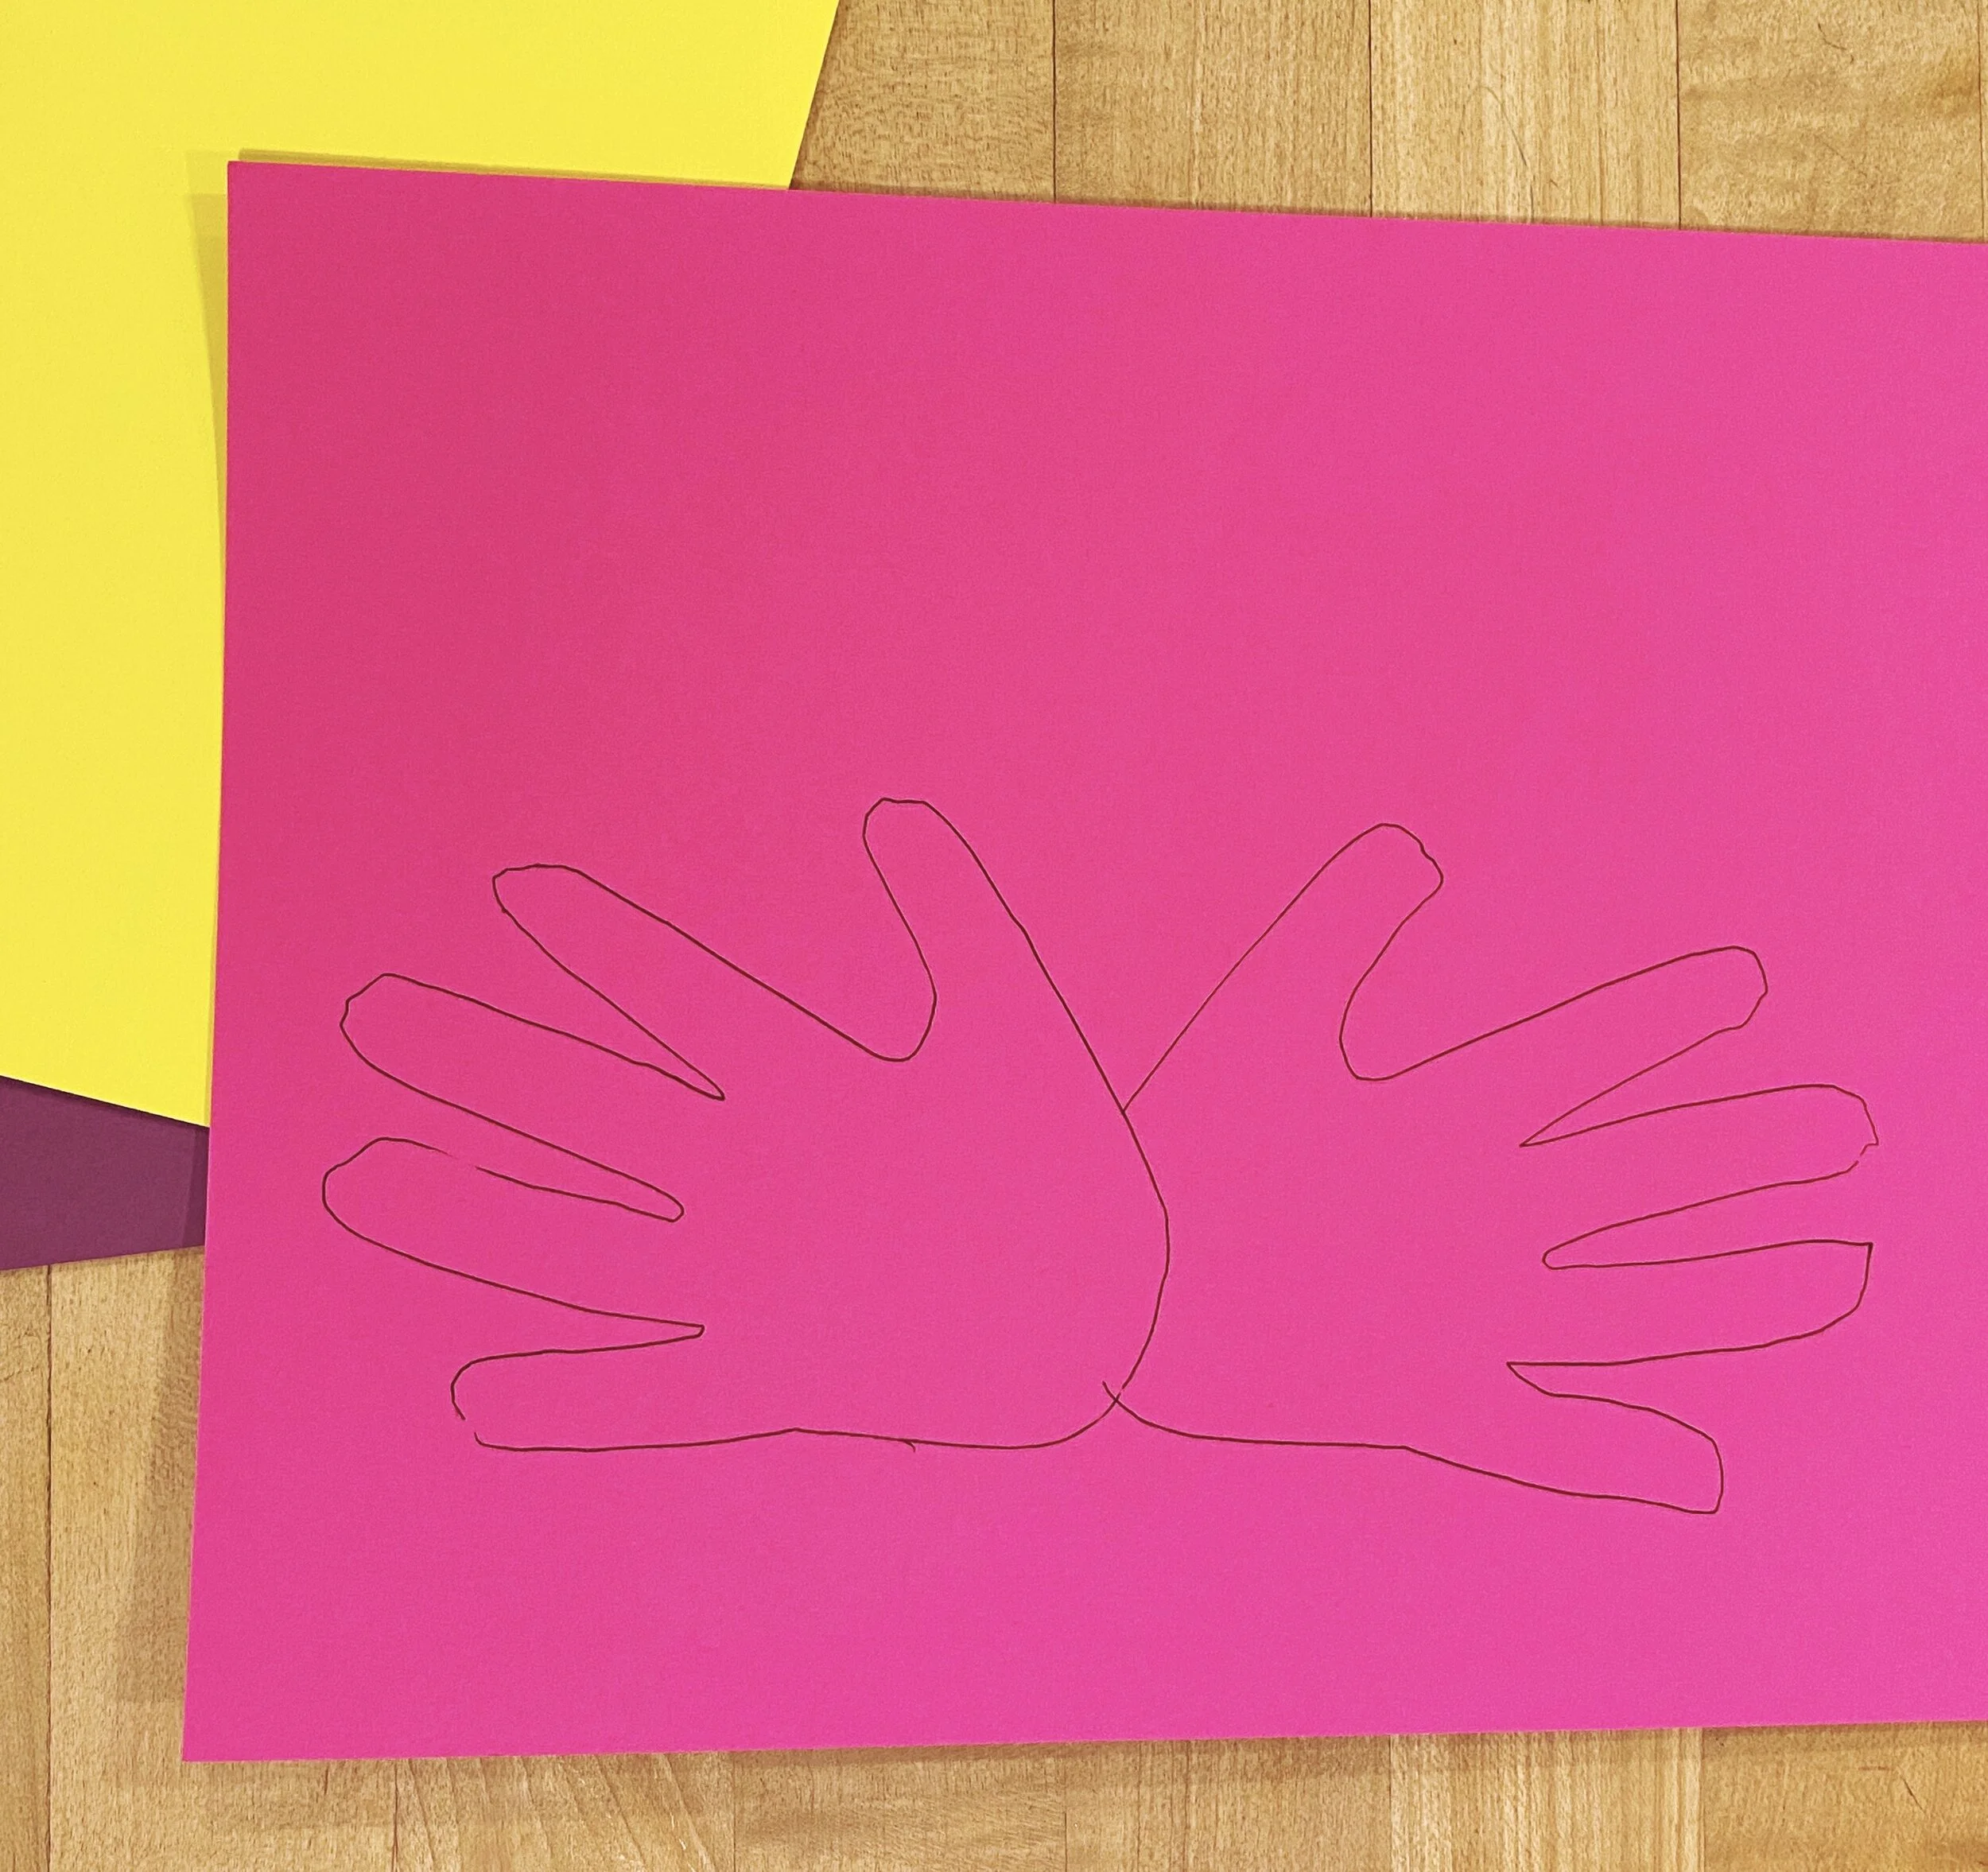
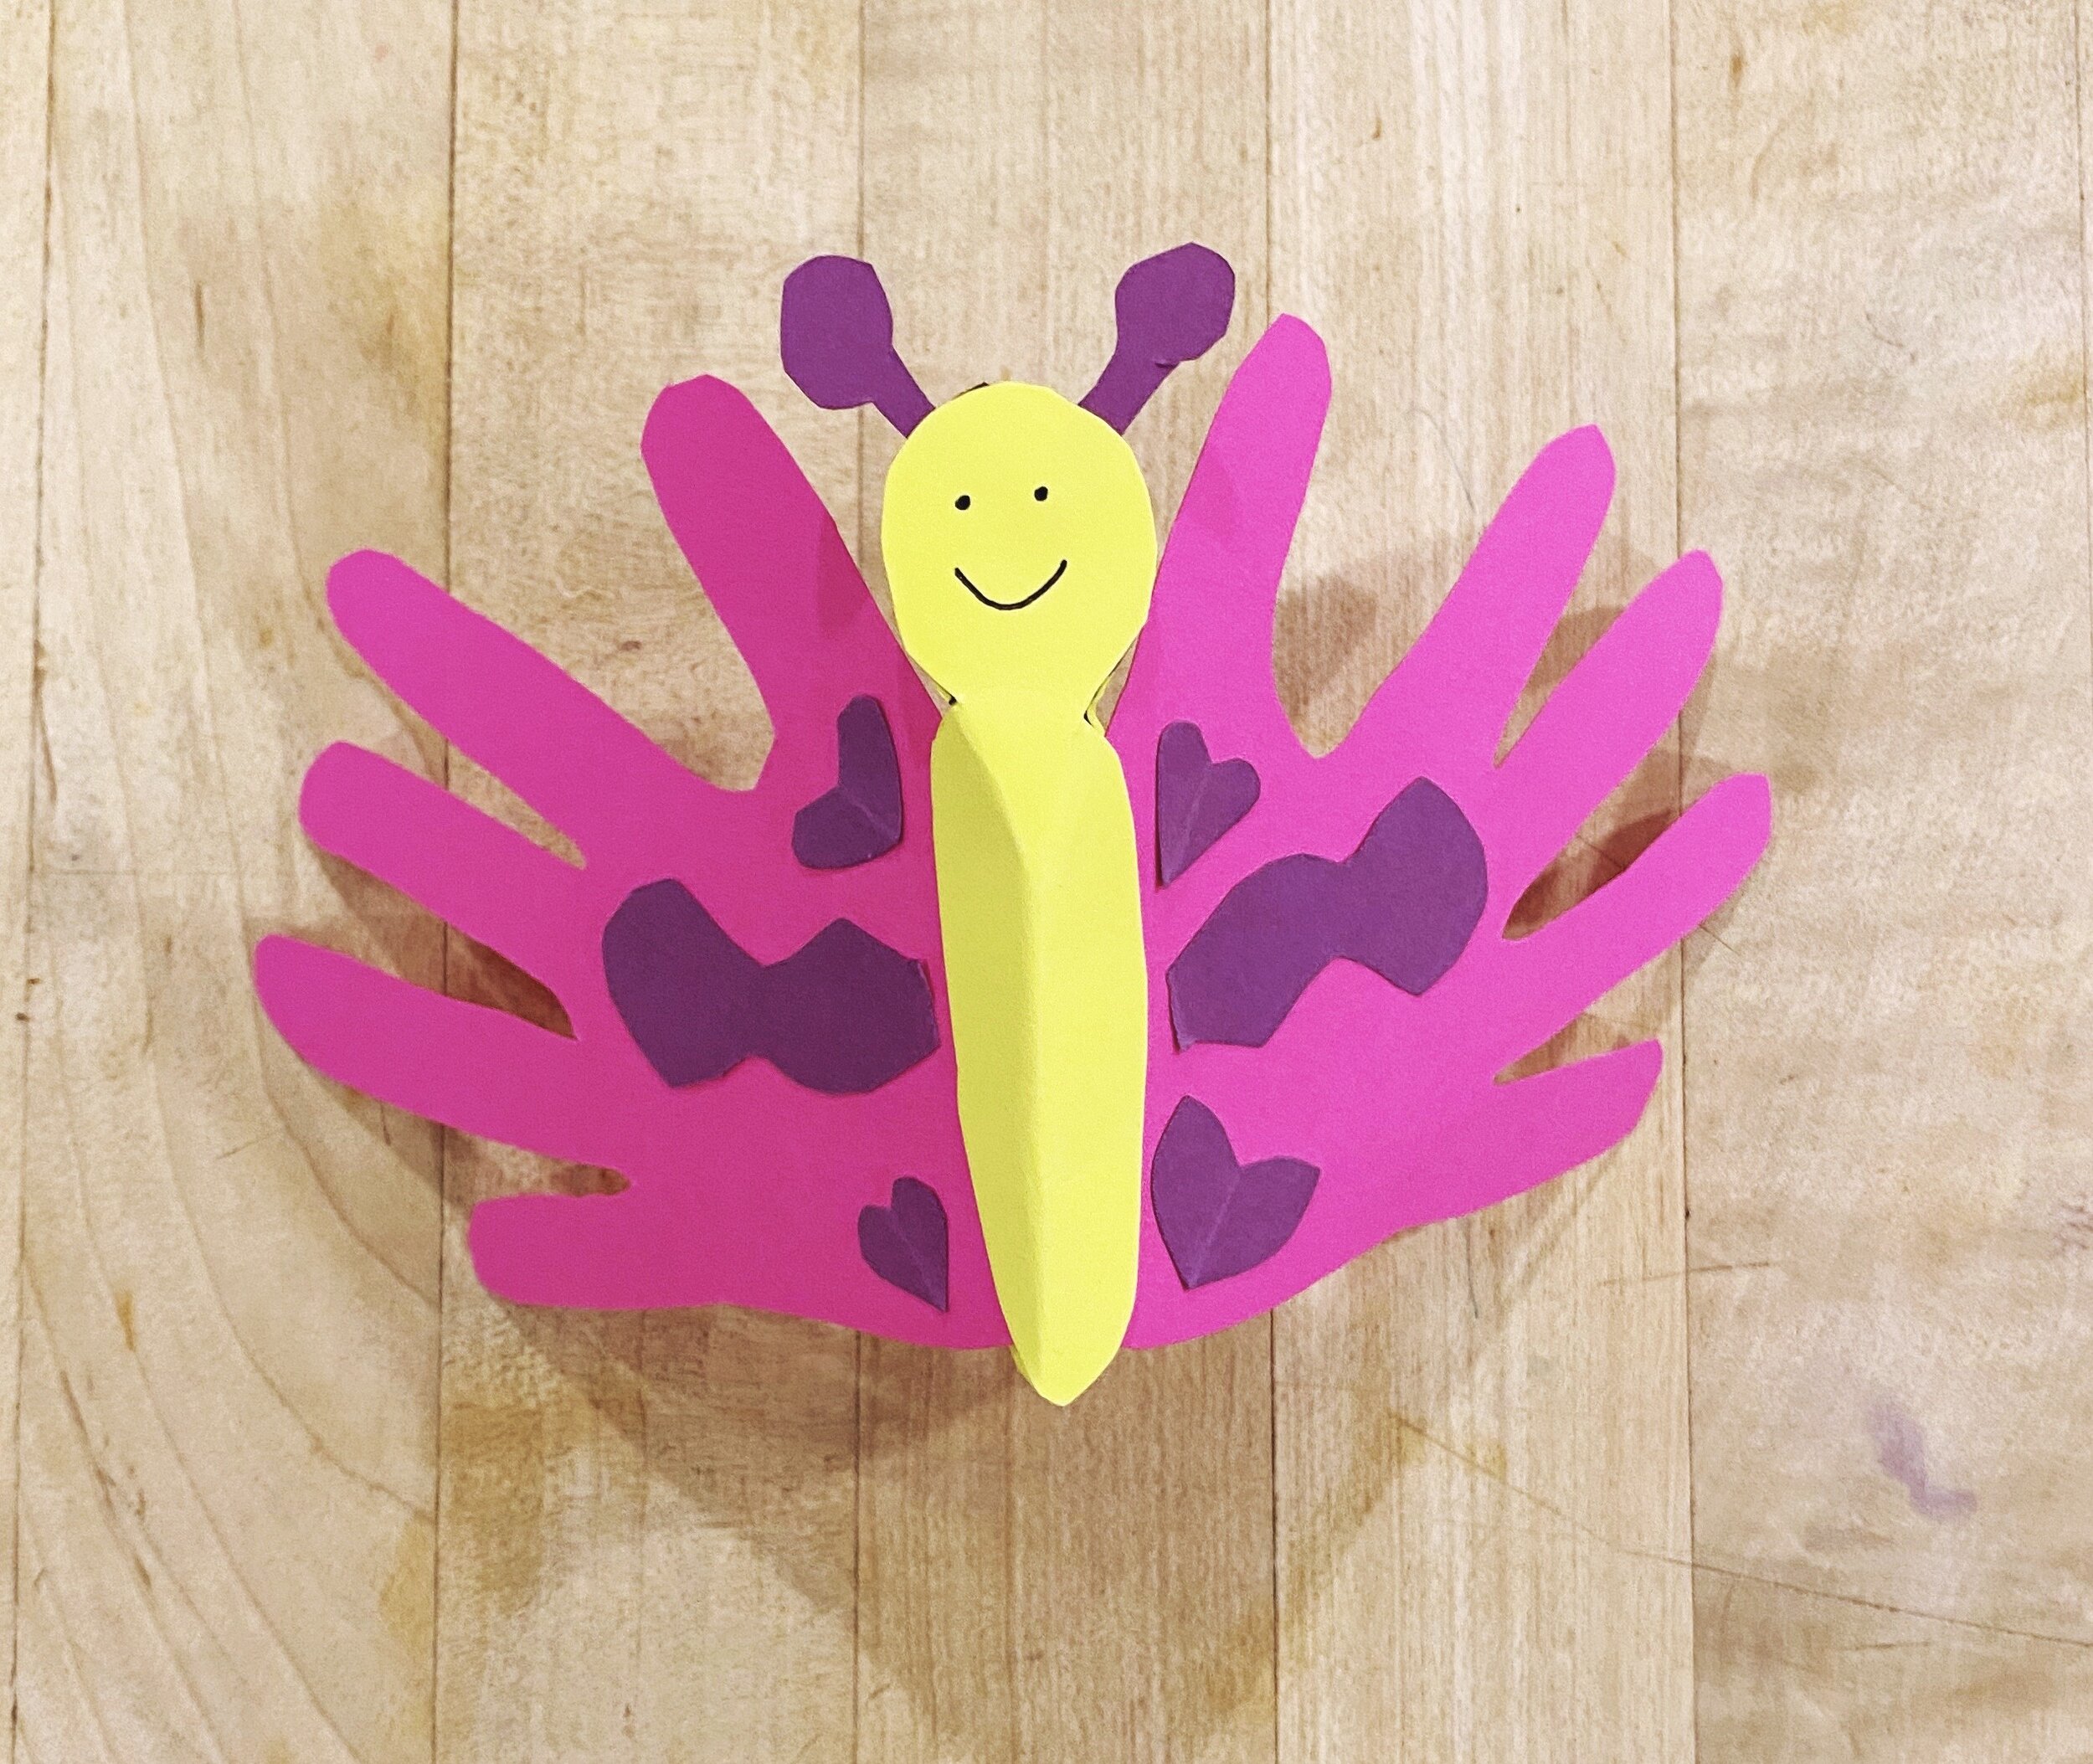
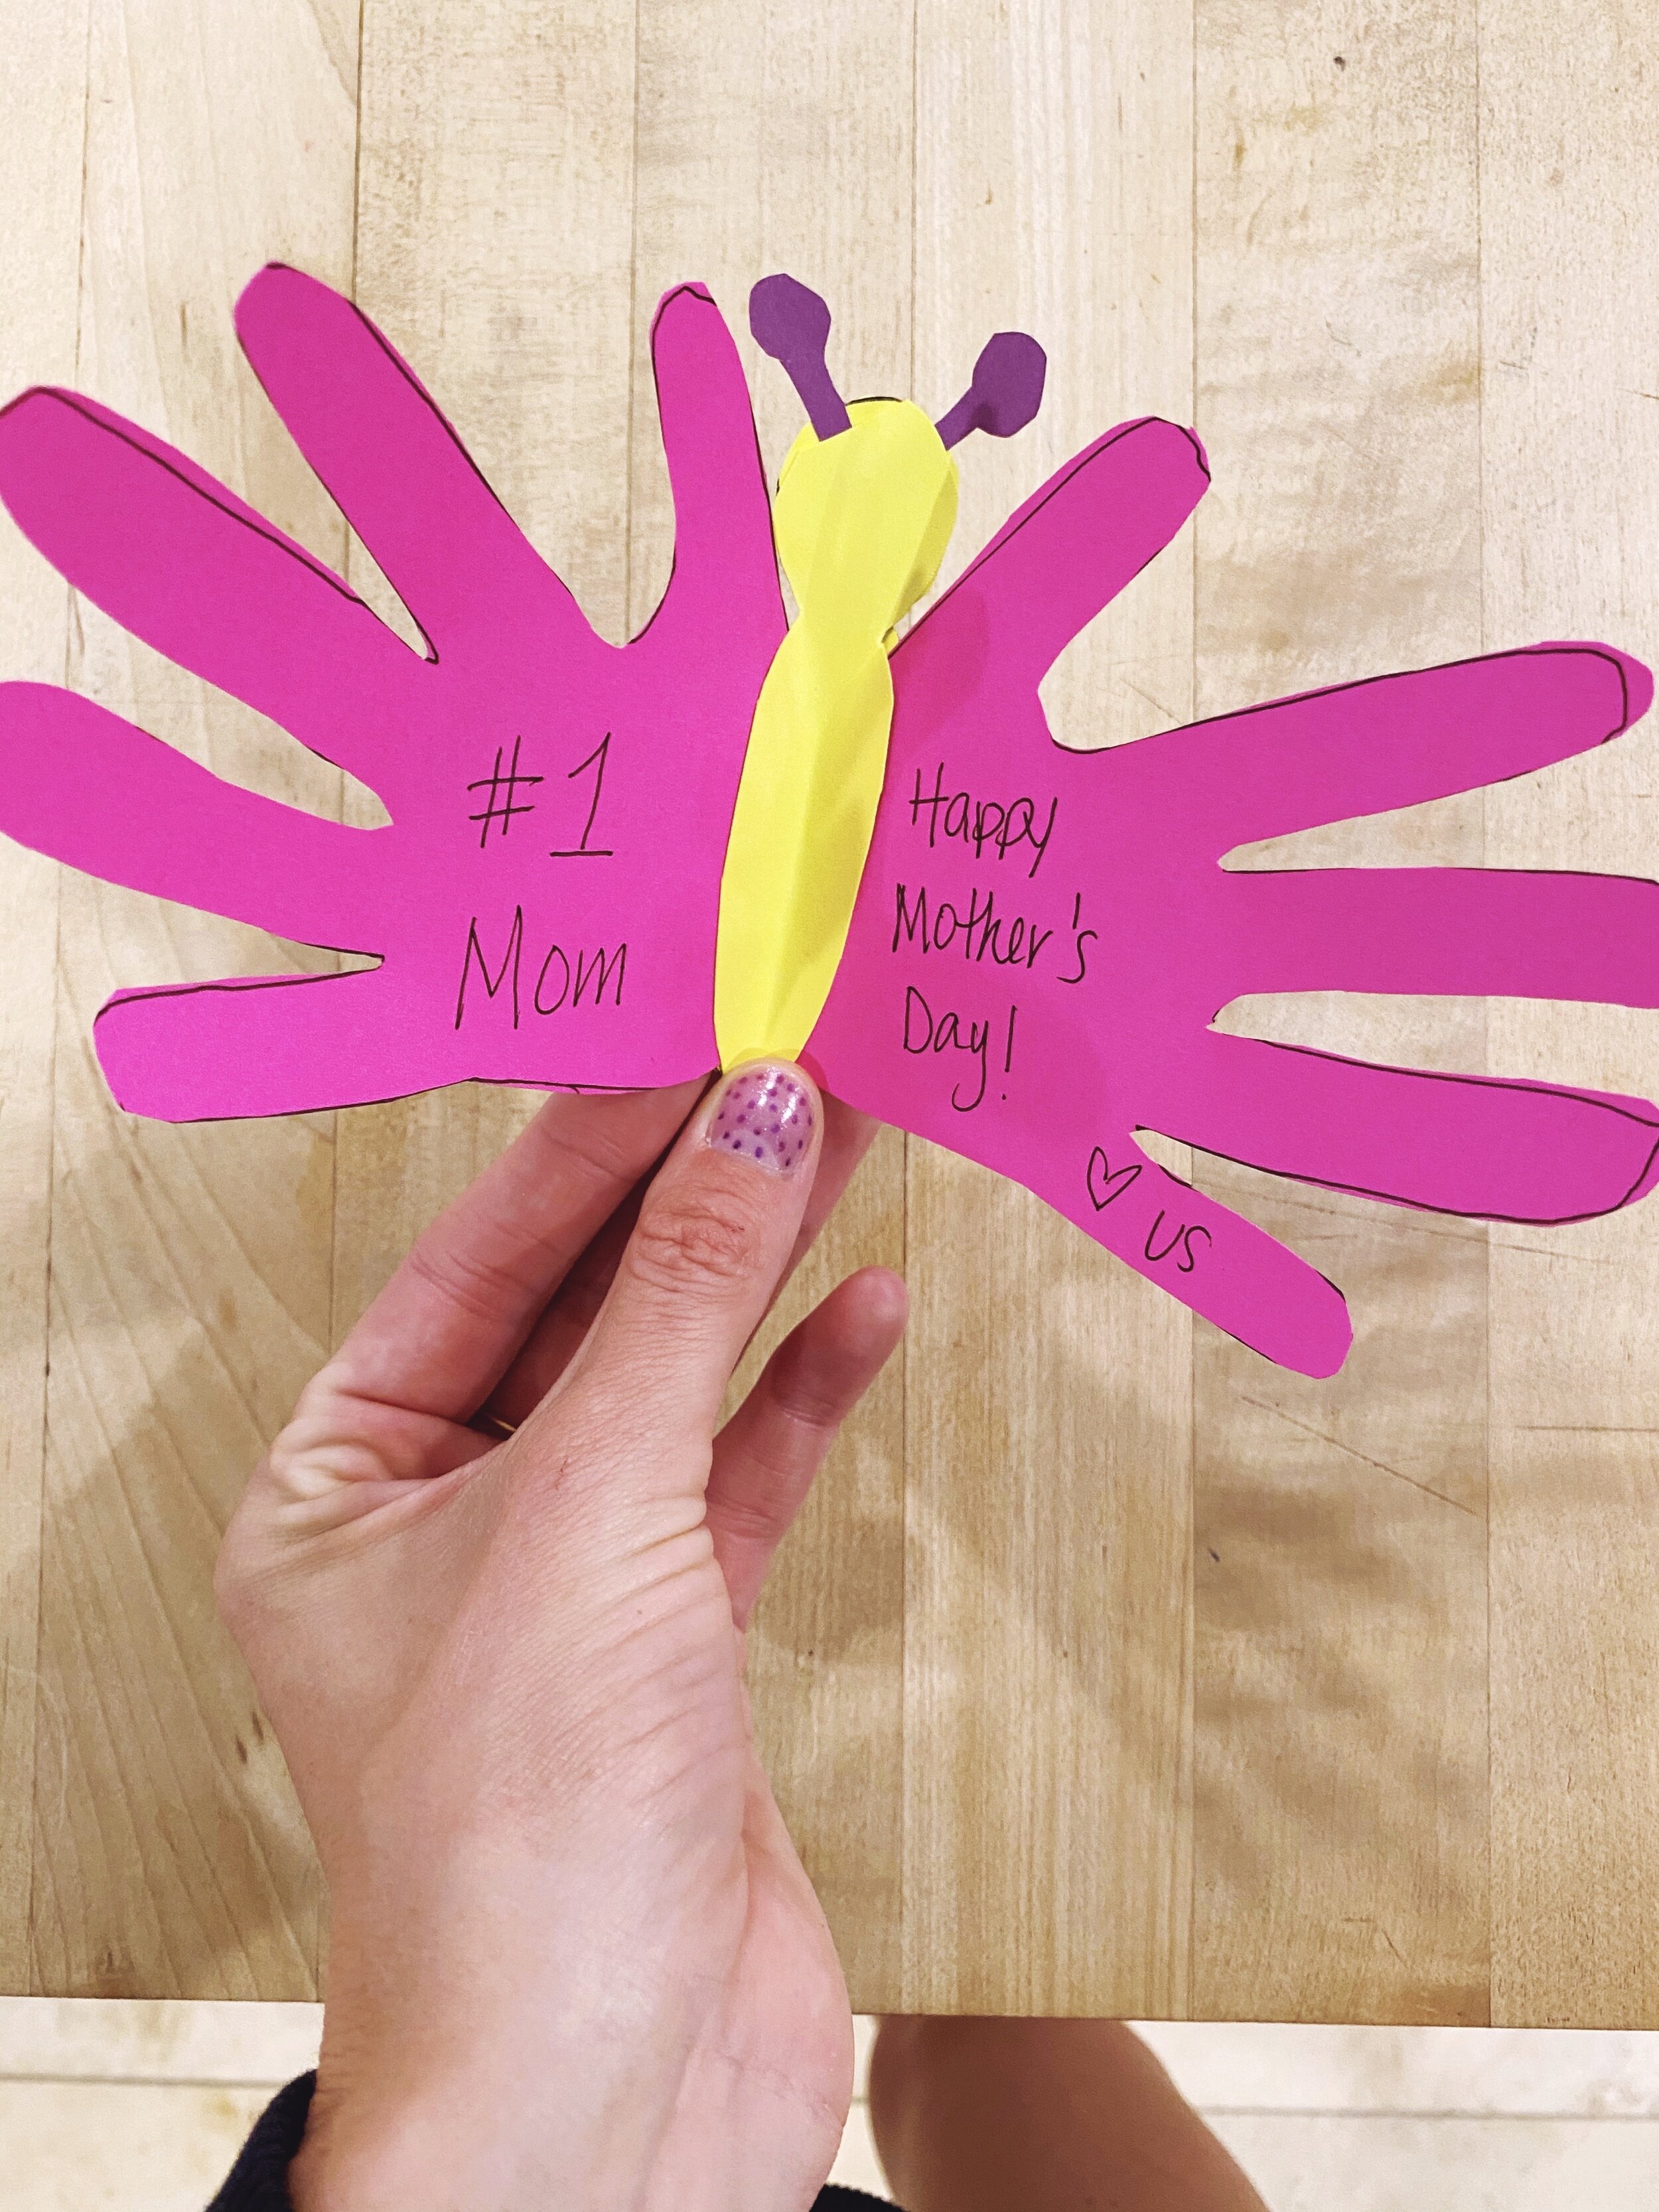
Butterfly Hands
1. Trace one hand. Then flip it over and trace another hand in the opposite direction. The palms should be slightly overlapping with the fingers sticking out. This will be your butterfly.
2. Cut out your butterfly.
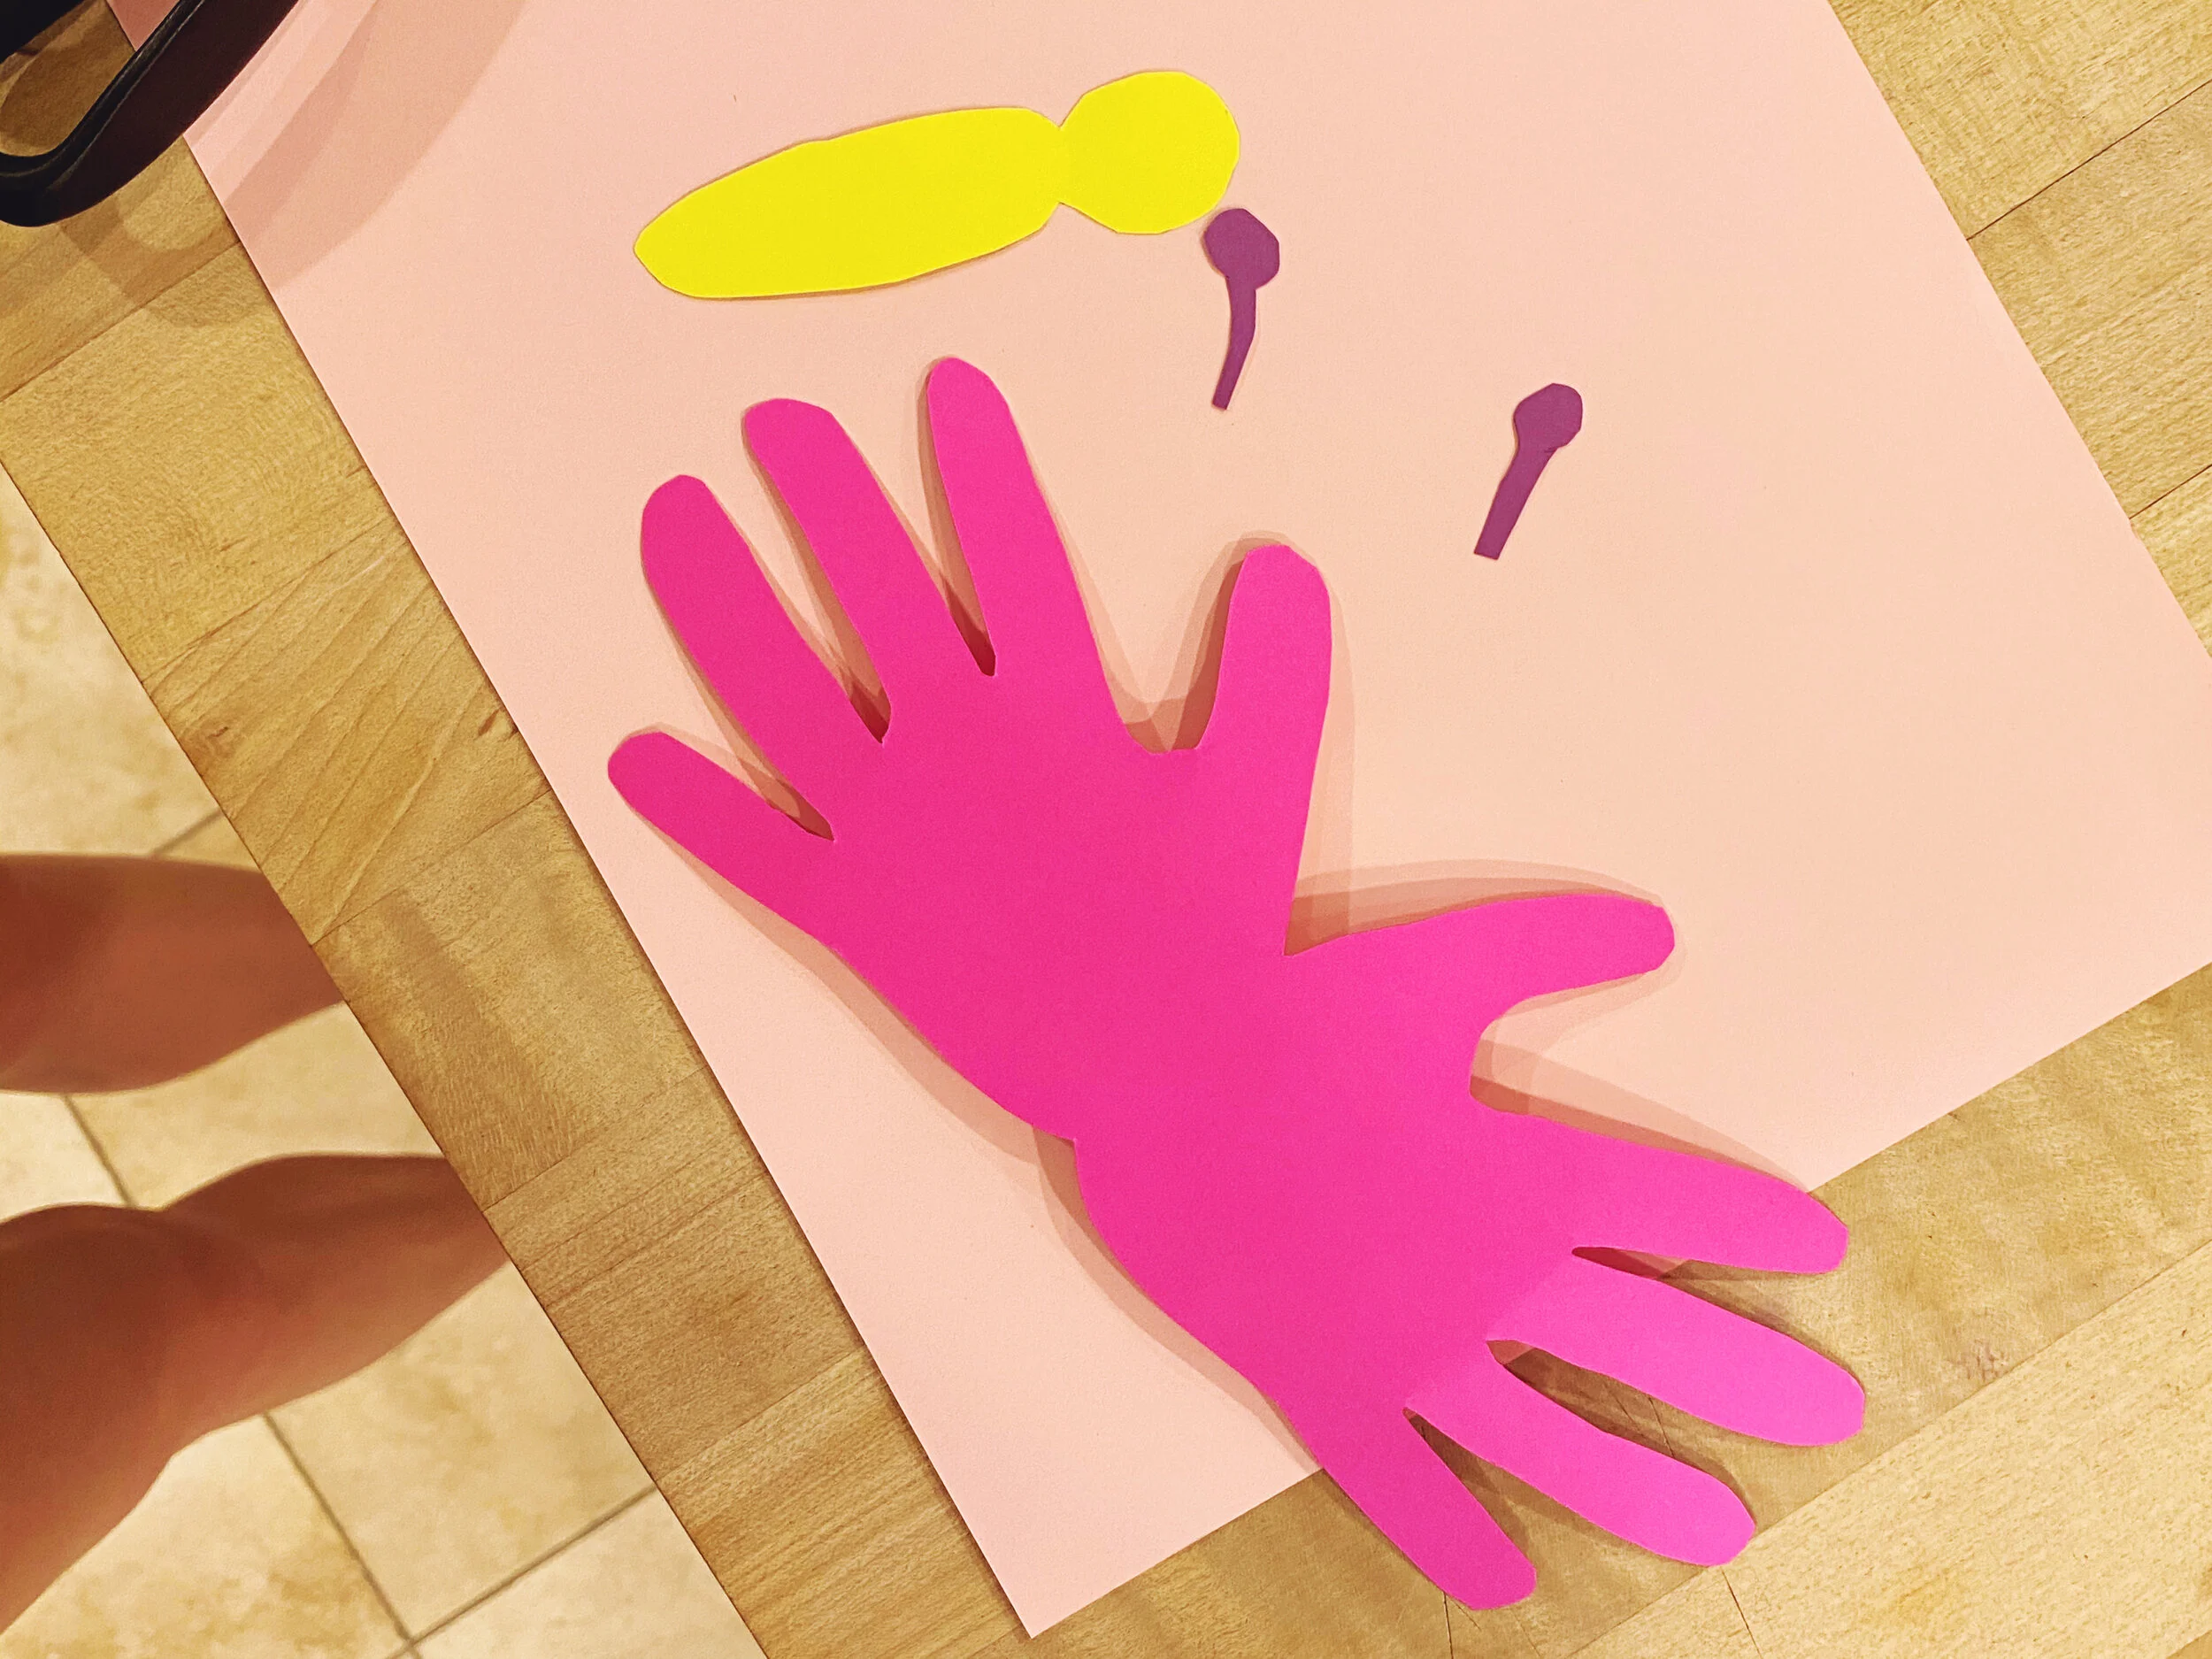
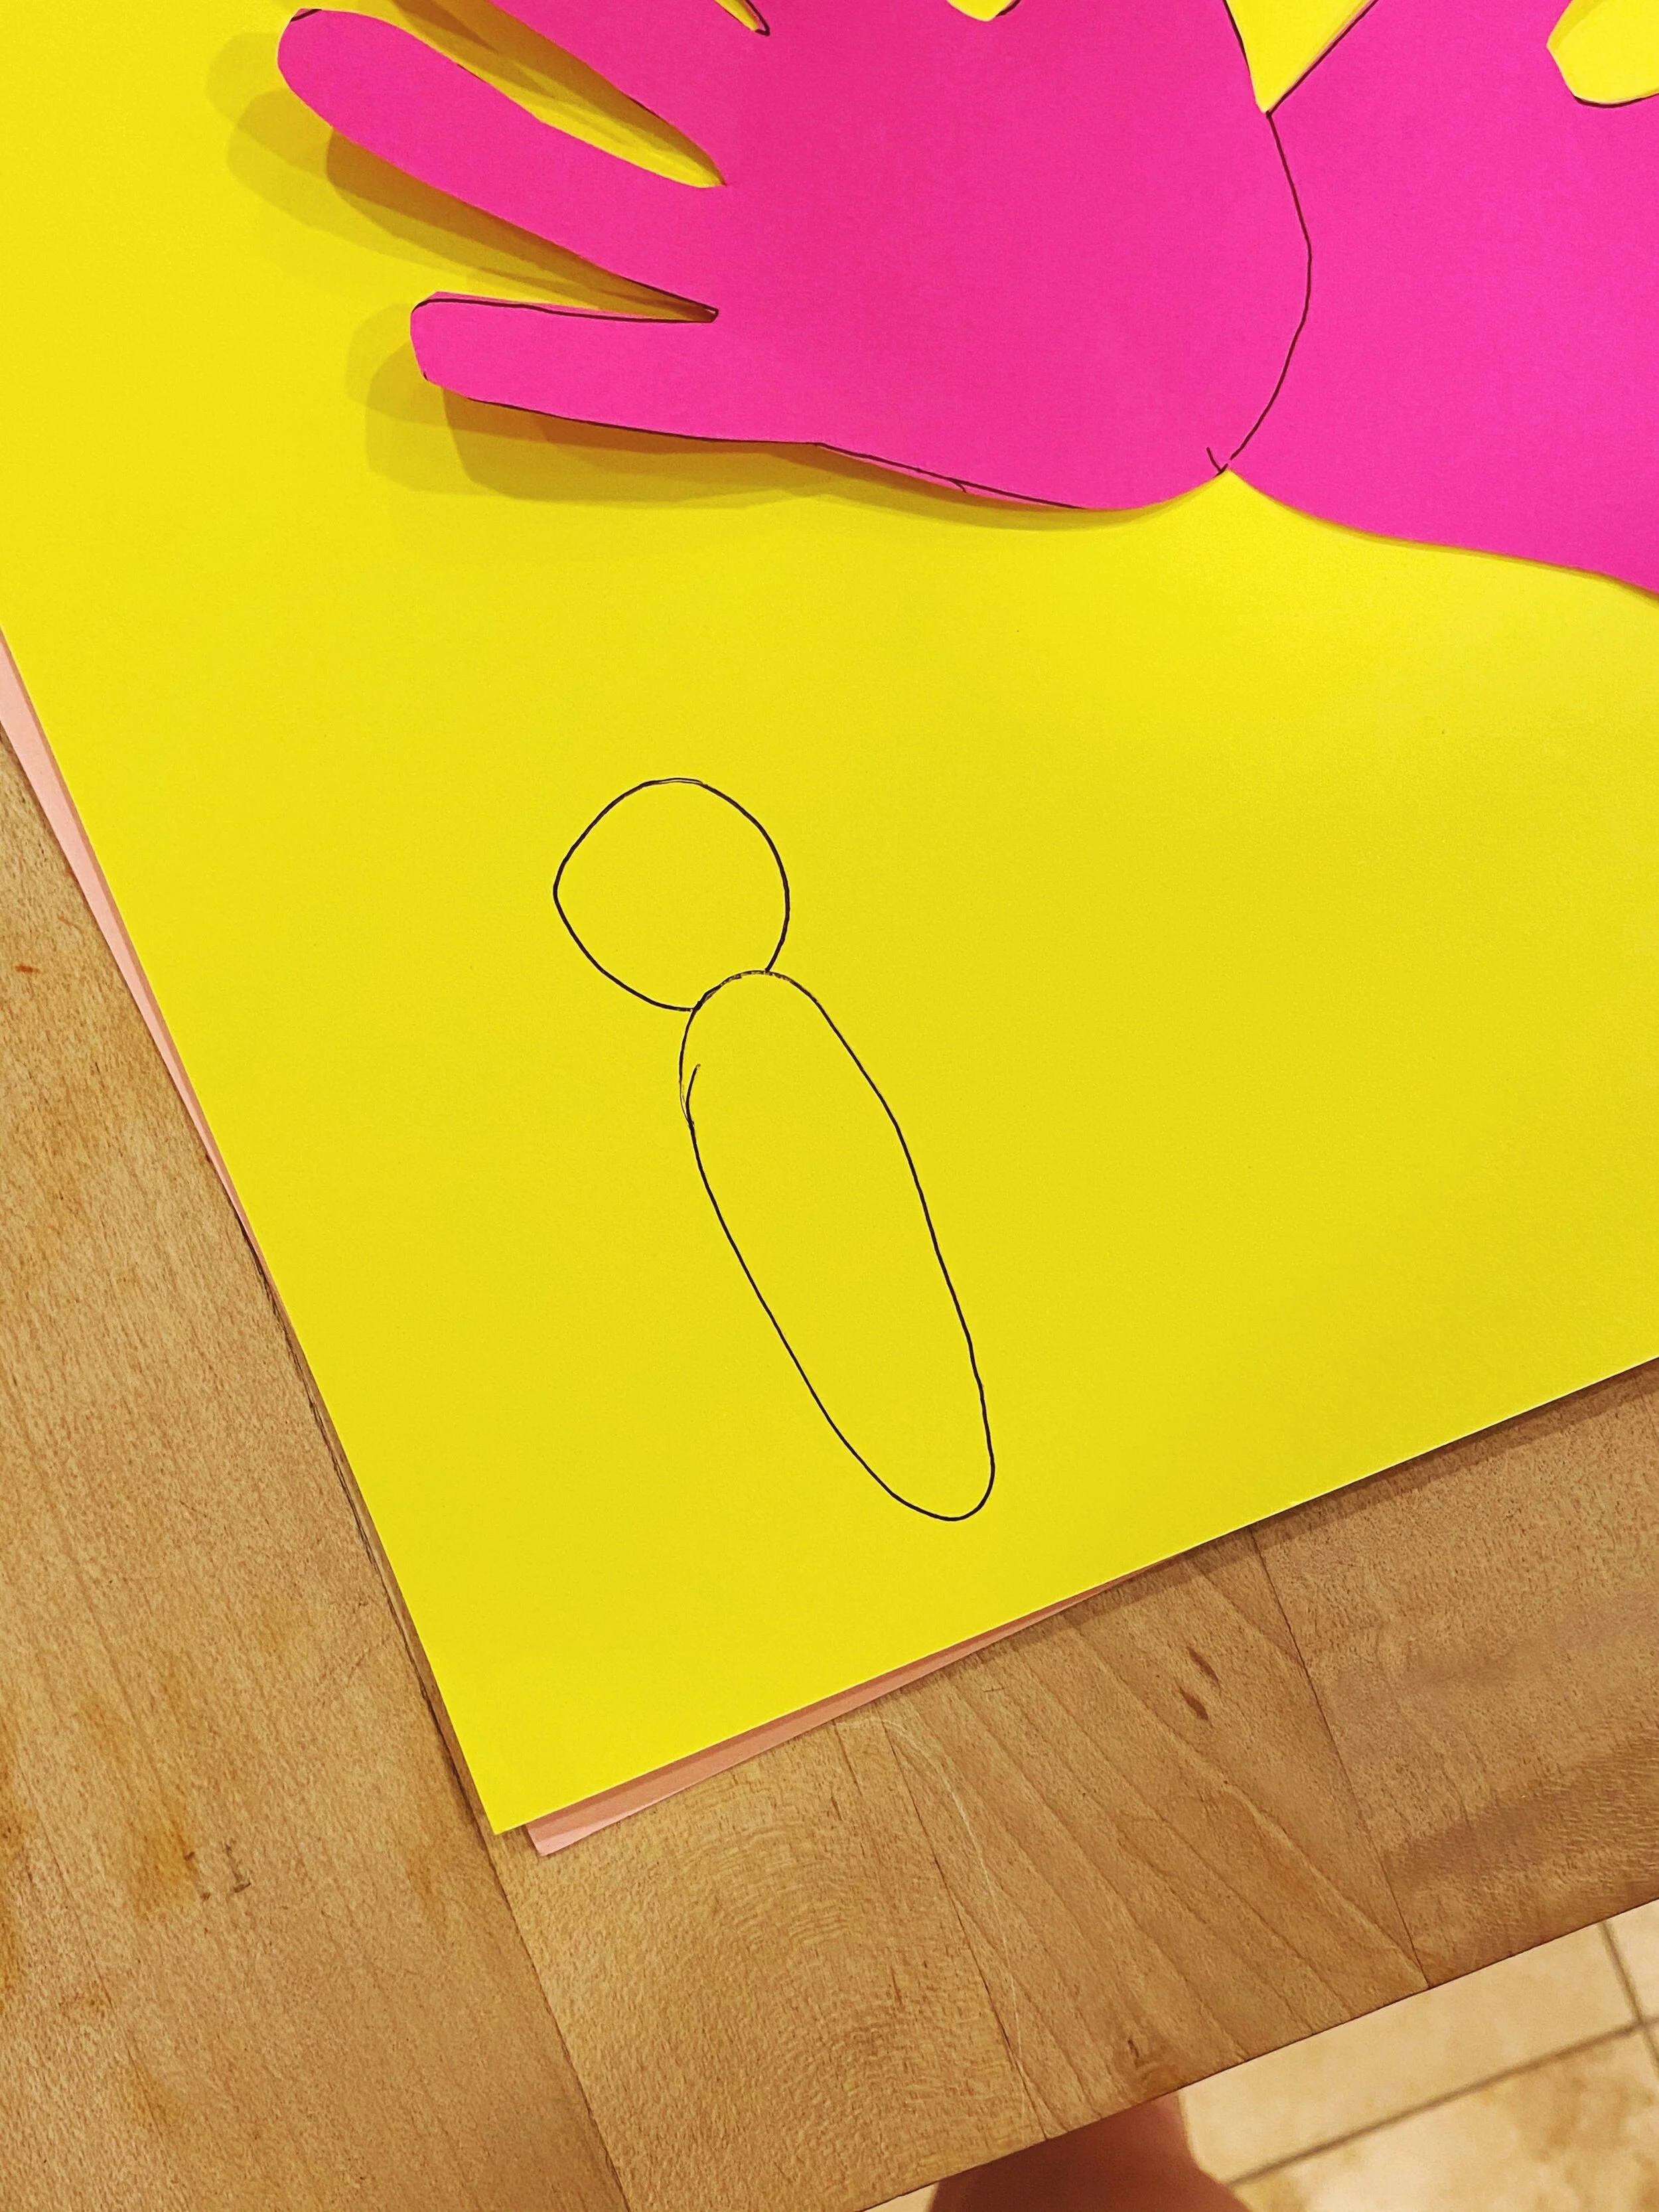
3. Using a different color of paper, draw the butterfly’s body with a round head on the top. Cut out 2 bodies.
4. Now cut out two little antennas. These will look like sticks with circles at the ends.
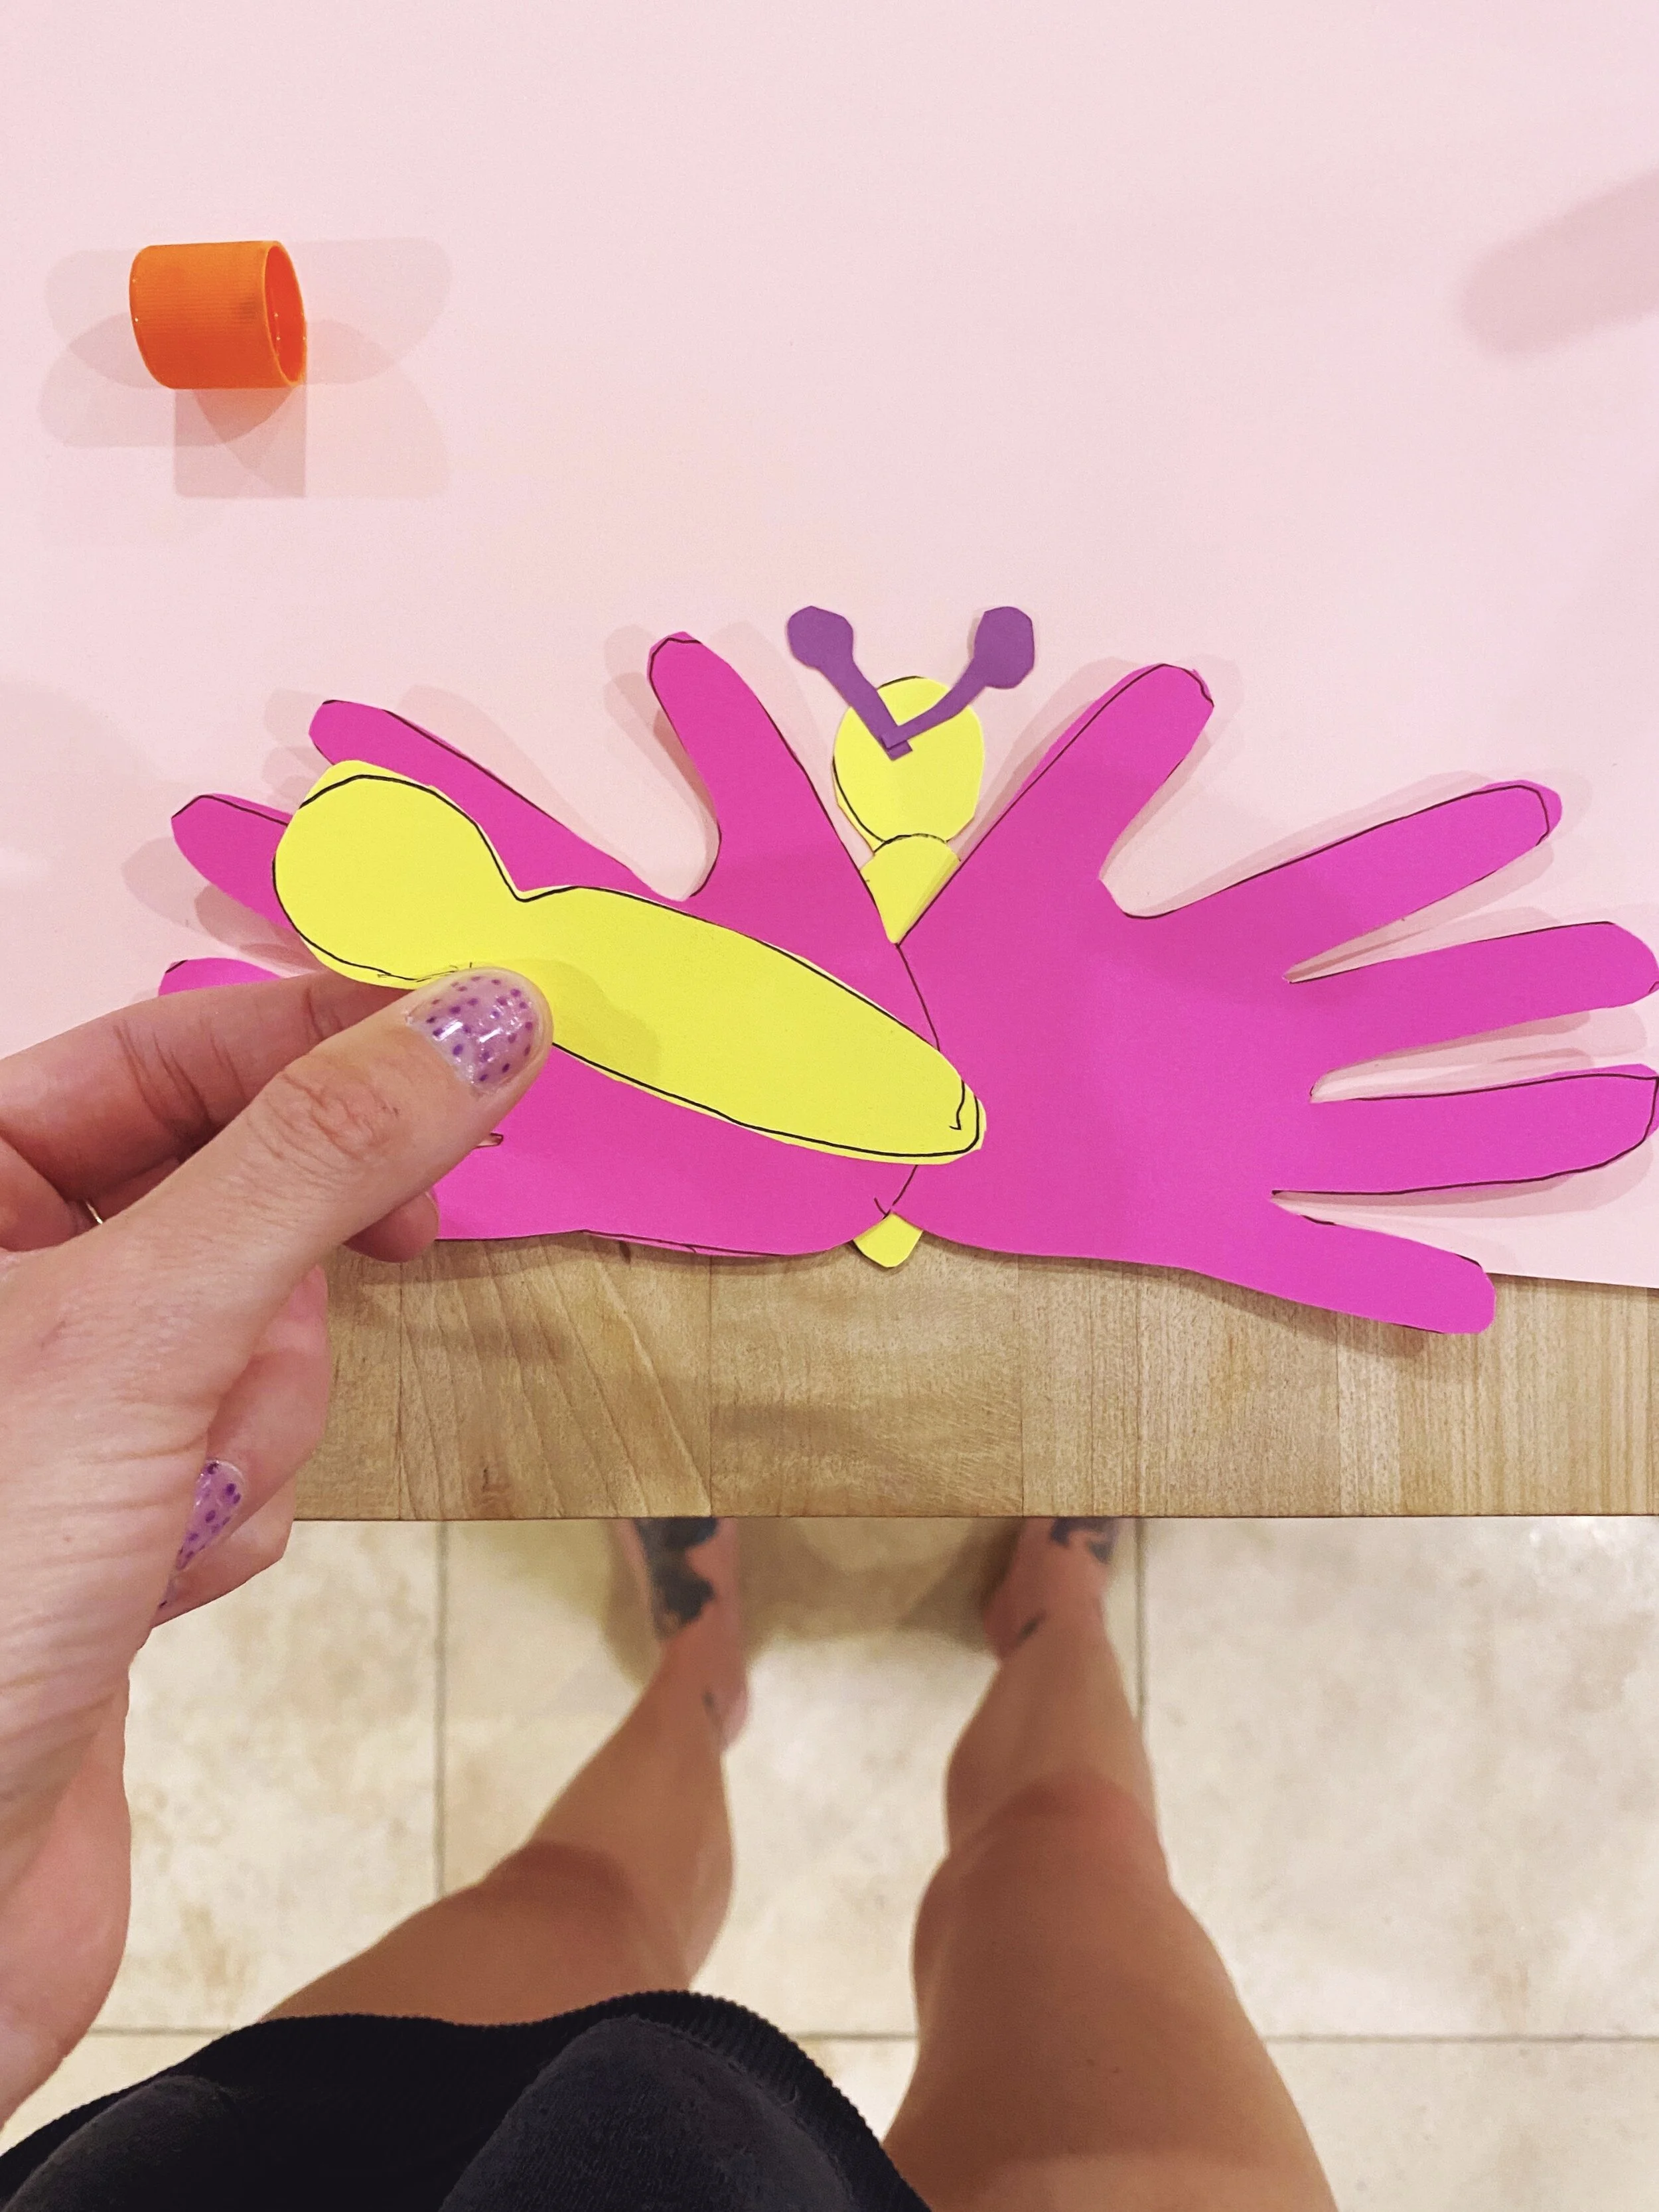
5. Glue one body on top of the hand butterfly in the middle.
6. Flip the butterfly over. Glue the antennas on so they poke out from behind the head.
7. Glue the second body on the back side.
8. Cut small shapes to glue on the fingers and make it look like a butterfly. It’s easy to fold the paper in half and then cut so you get two of the same shape – one for each side.
9. Write a sweet note on the back side.
10. Don’t forget a smiling face! Eyes and a smile are perfect.