
Bright White Salt Dough
For Q’s first Christmas, I tried doing salt dough handprints and made quite possibly the ugliest ornaments ever. They are a tan color, but not the trendy tan. More like dirty blobs on my tree. I didn’t think it mattered at the time, but now I’m like, “WOWWWW ALEEEEEEE.” Those little hands and toes will never be that small again. But it’s okay, my hoarder heart will survive…
This is a classic salt dough recipe, but I add white paint. The white really makes them pop! I have found that this recipe yields the bright white salt dough ornaments of my dreams. Let's get started!

You’ll need:
2 cups flour
1 cup salt
3/4 cup water
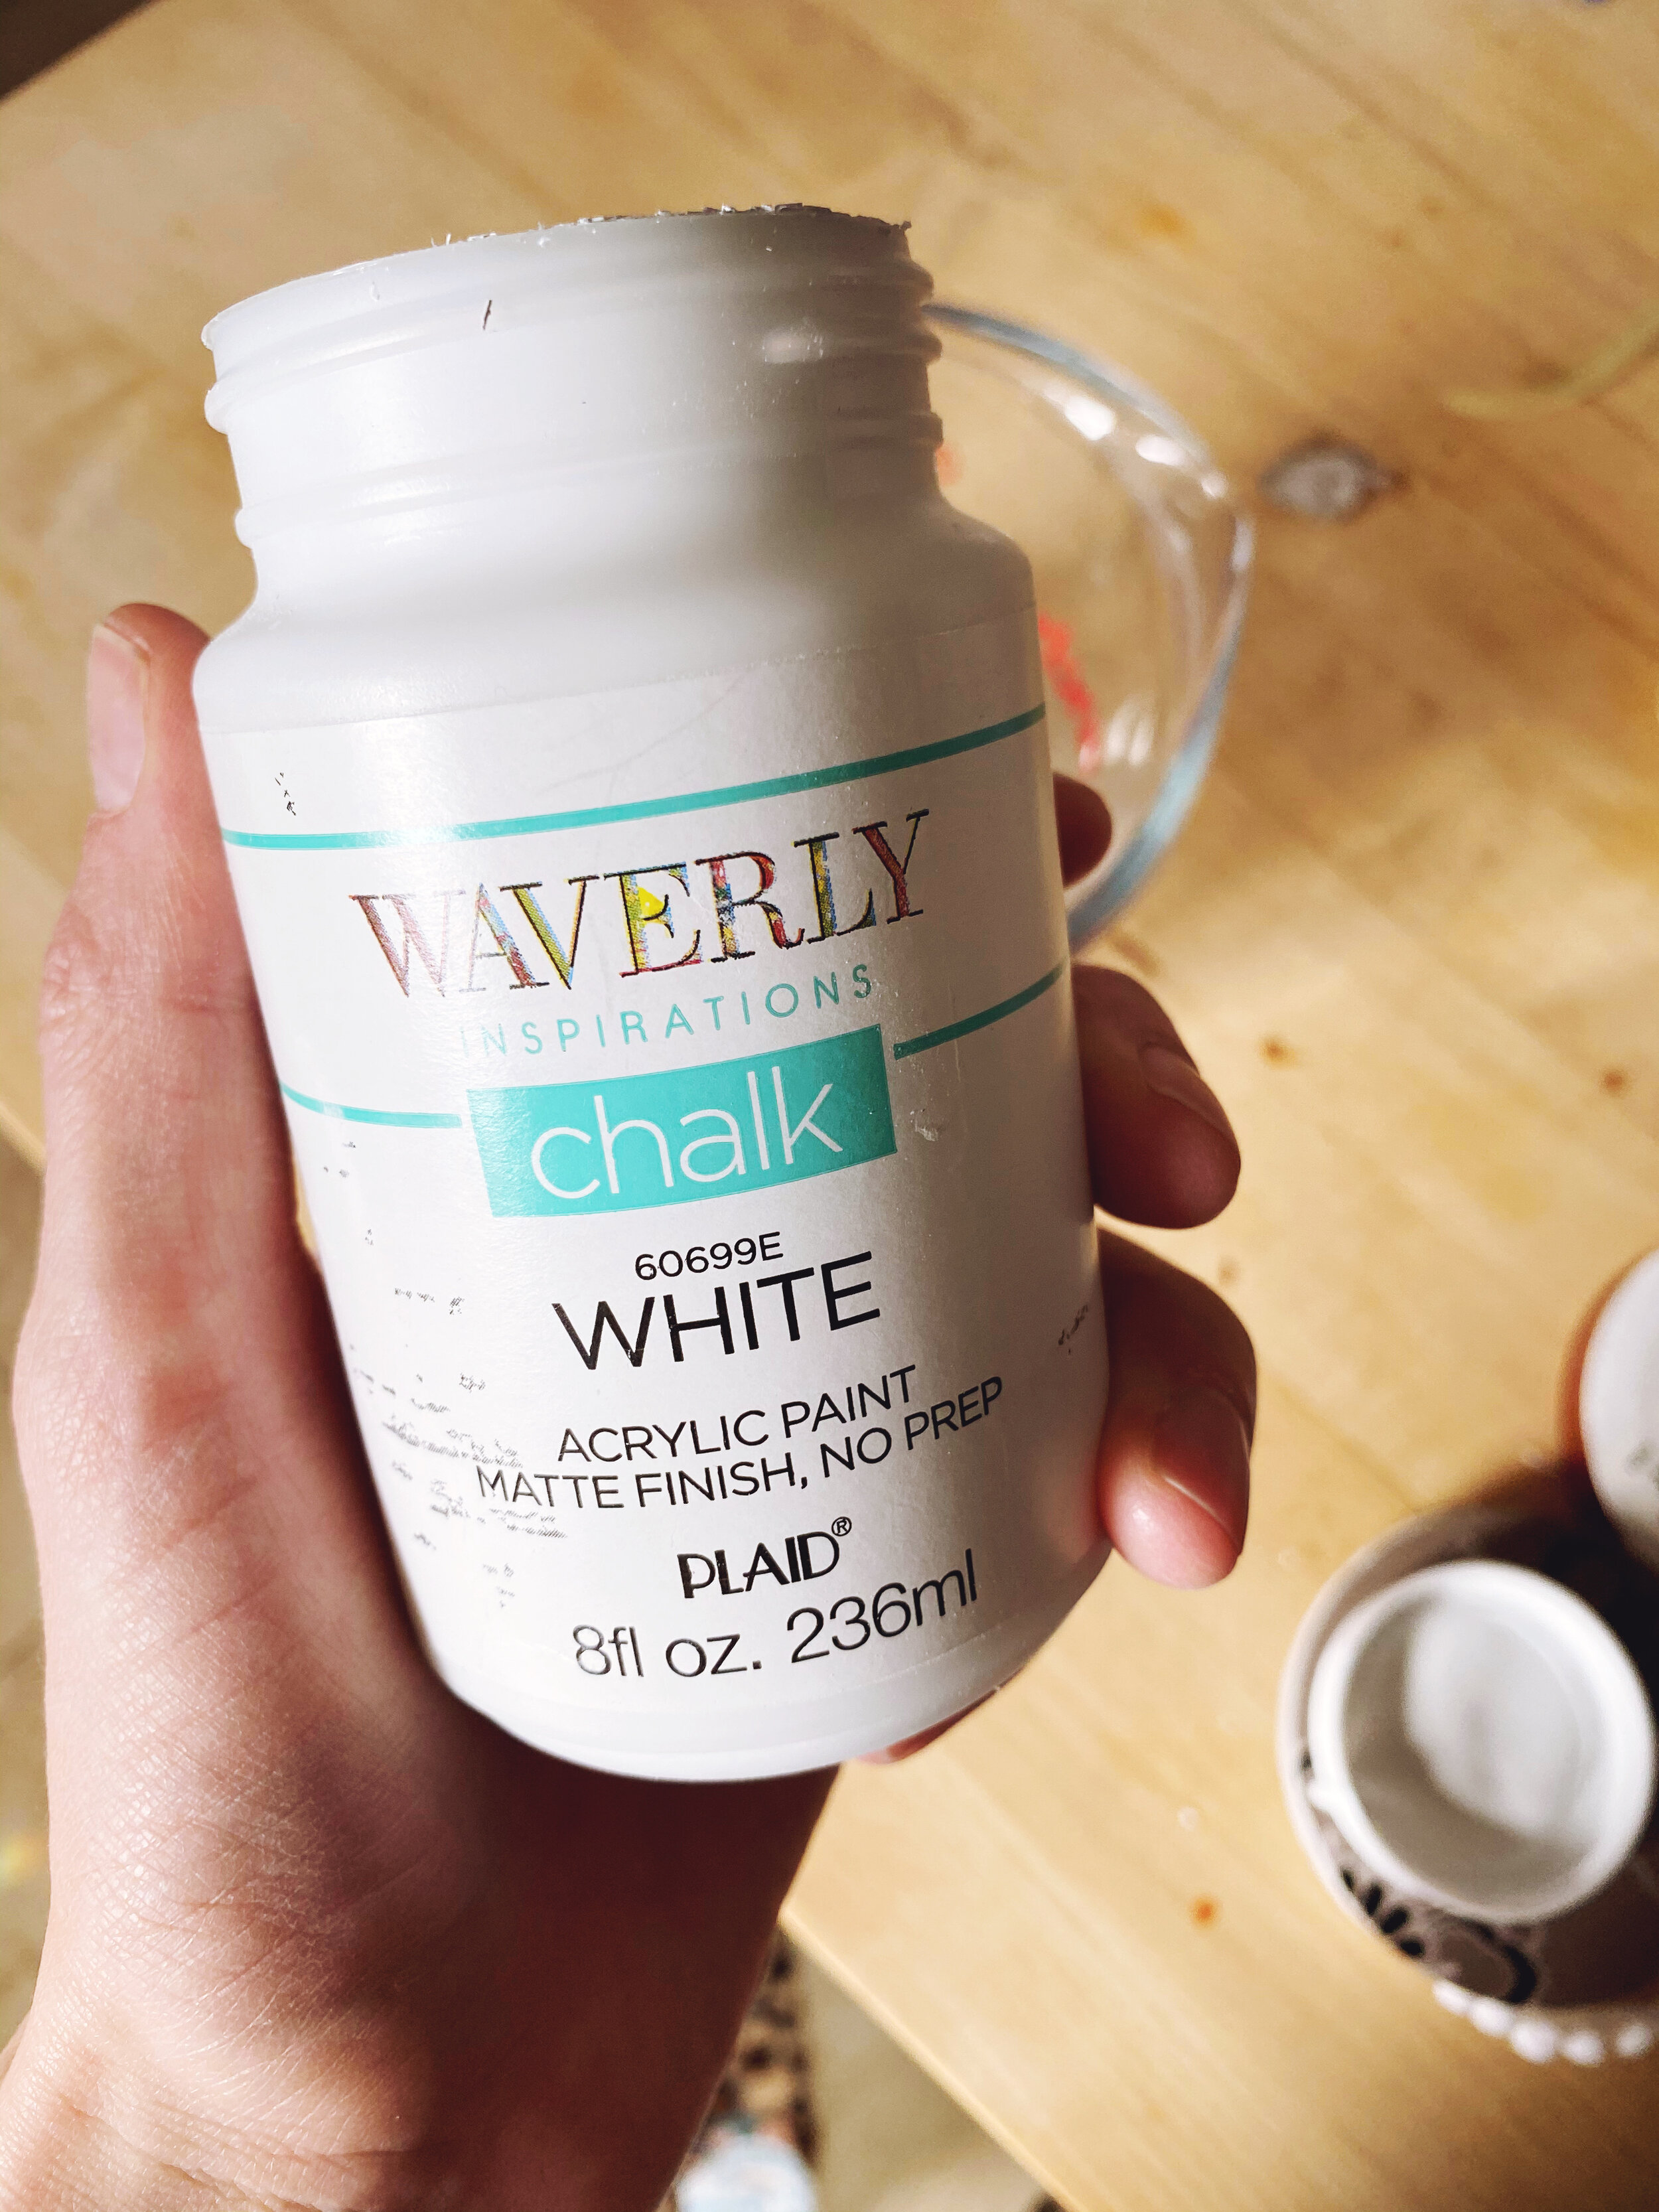
1/2 cup white paint (any paint/color will work)
Whisk
Rolling pin
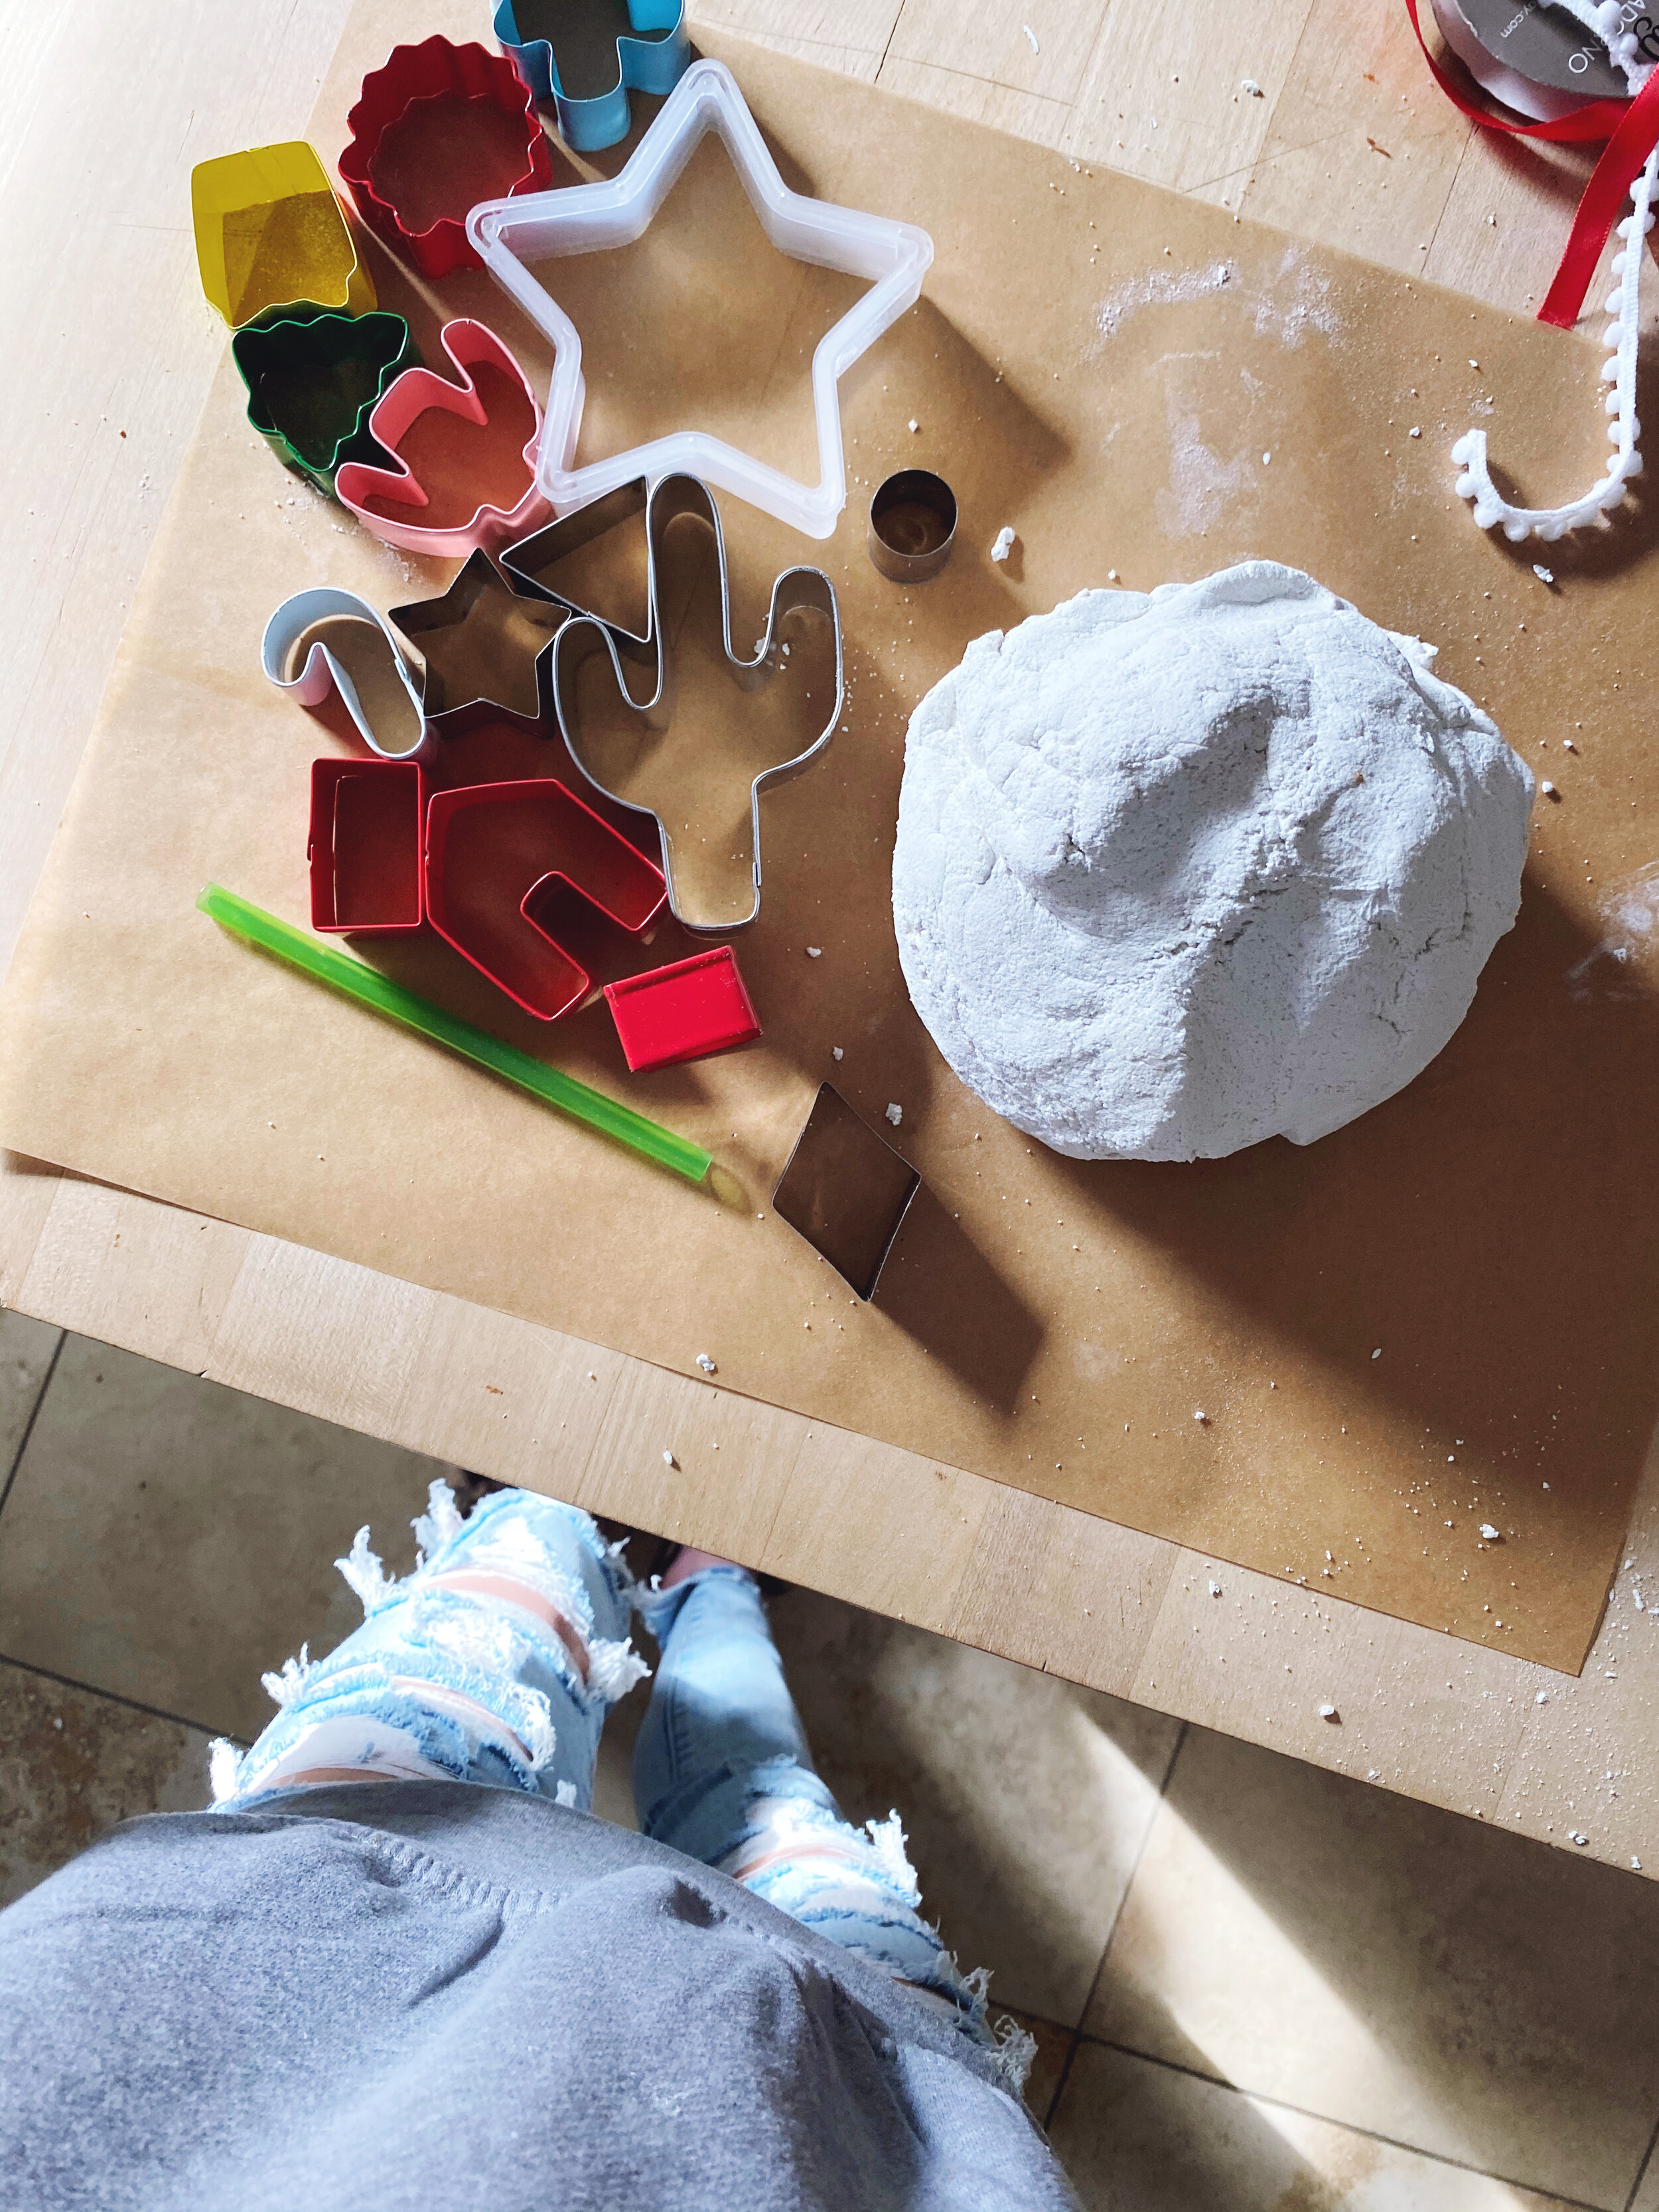
Cookie cutters
Drinking straw
Wax paper or smooth workable surface
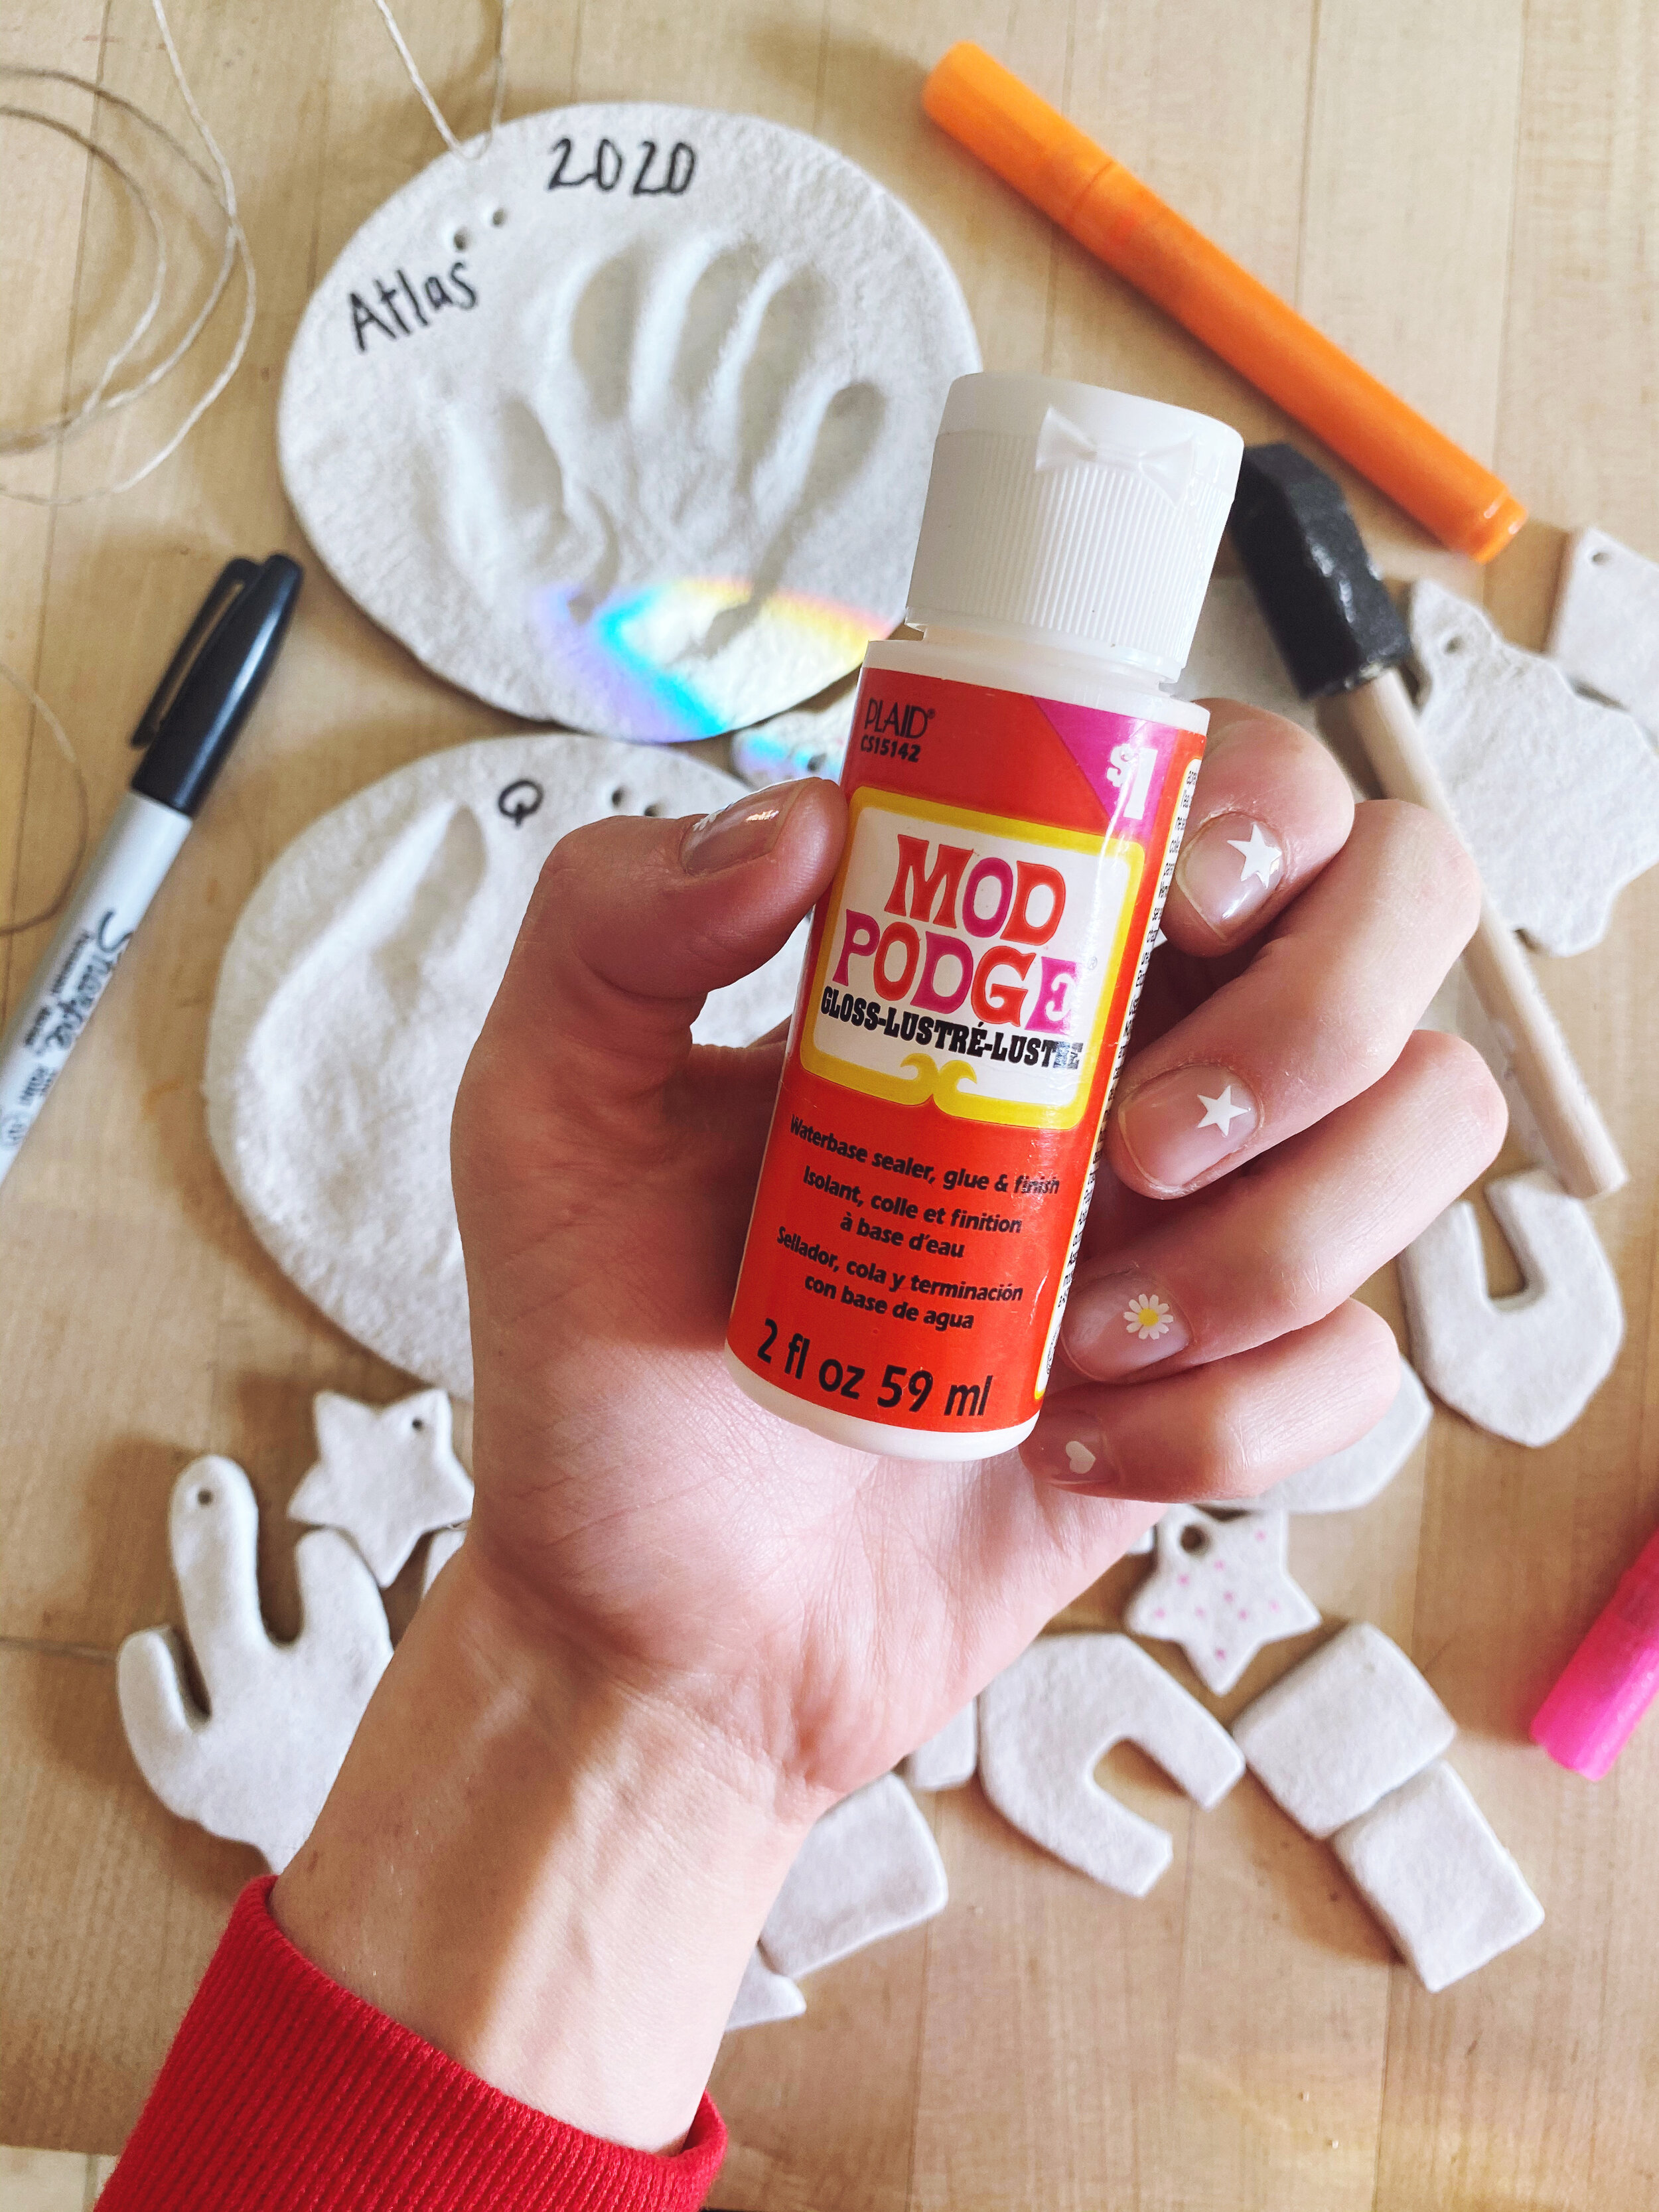
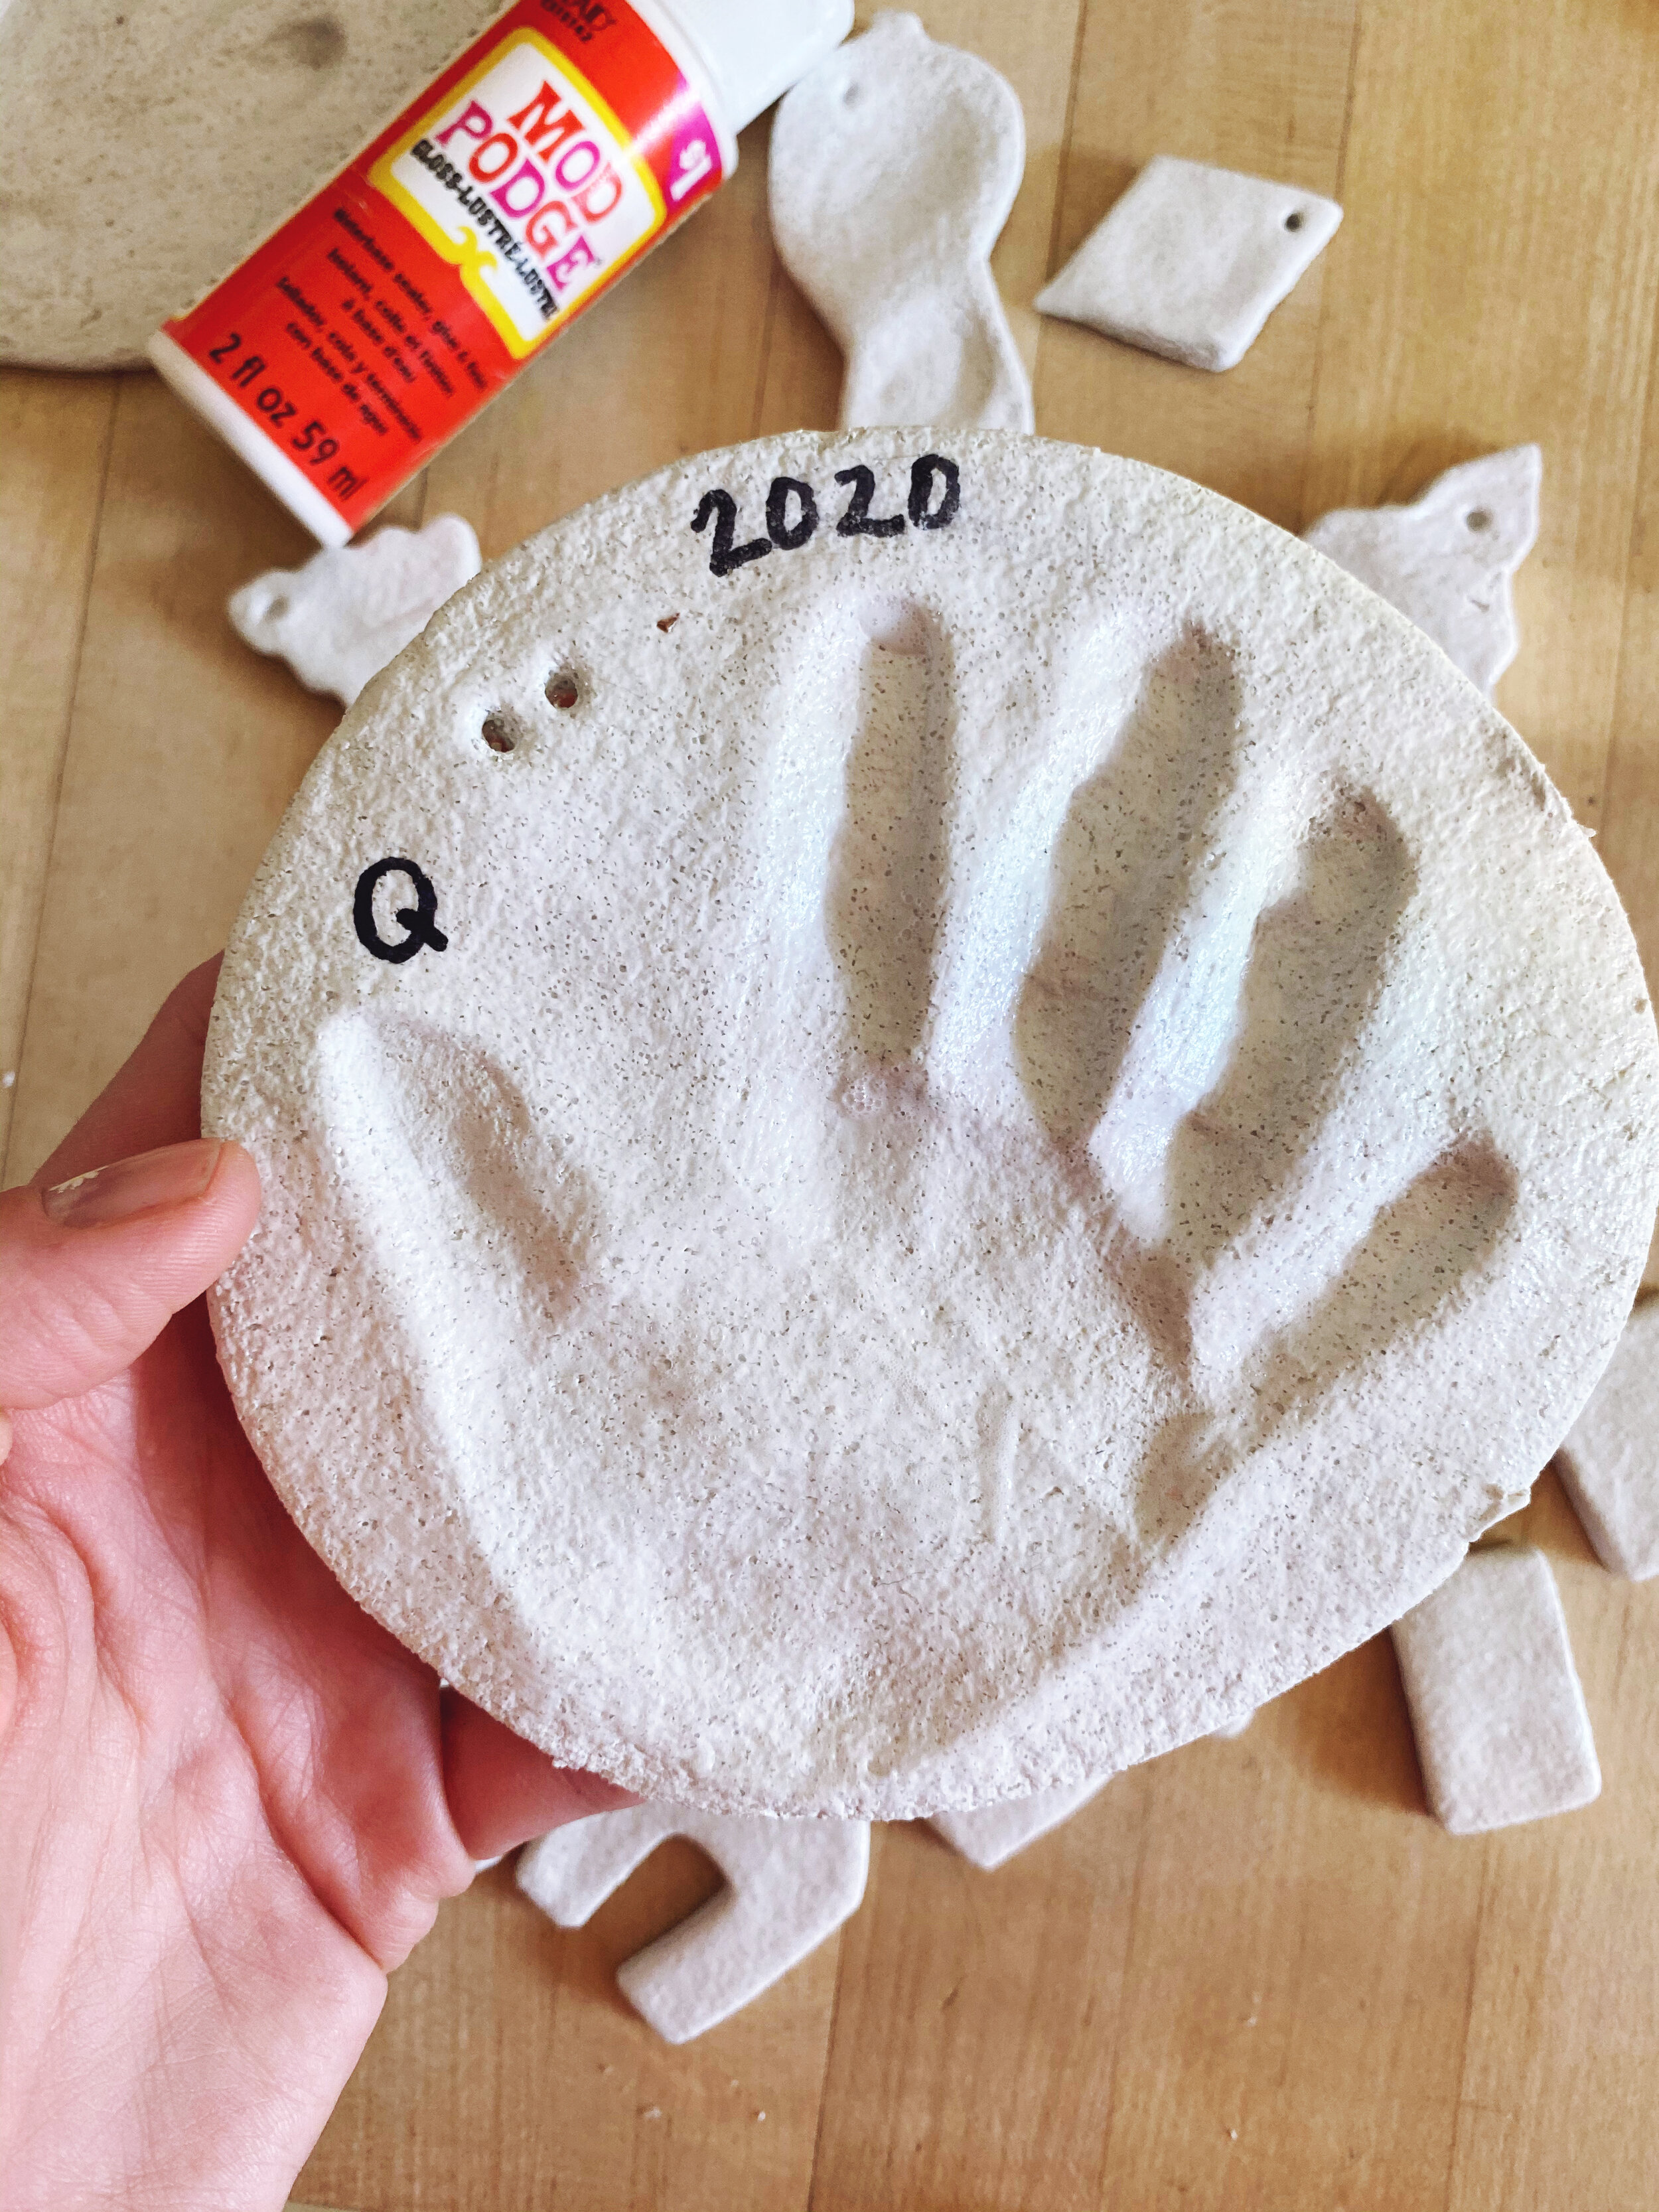
Mod Podge (if you want them to last for the next 30 years)
Step 1:
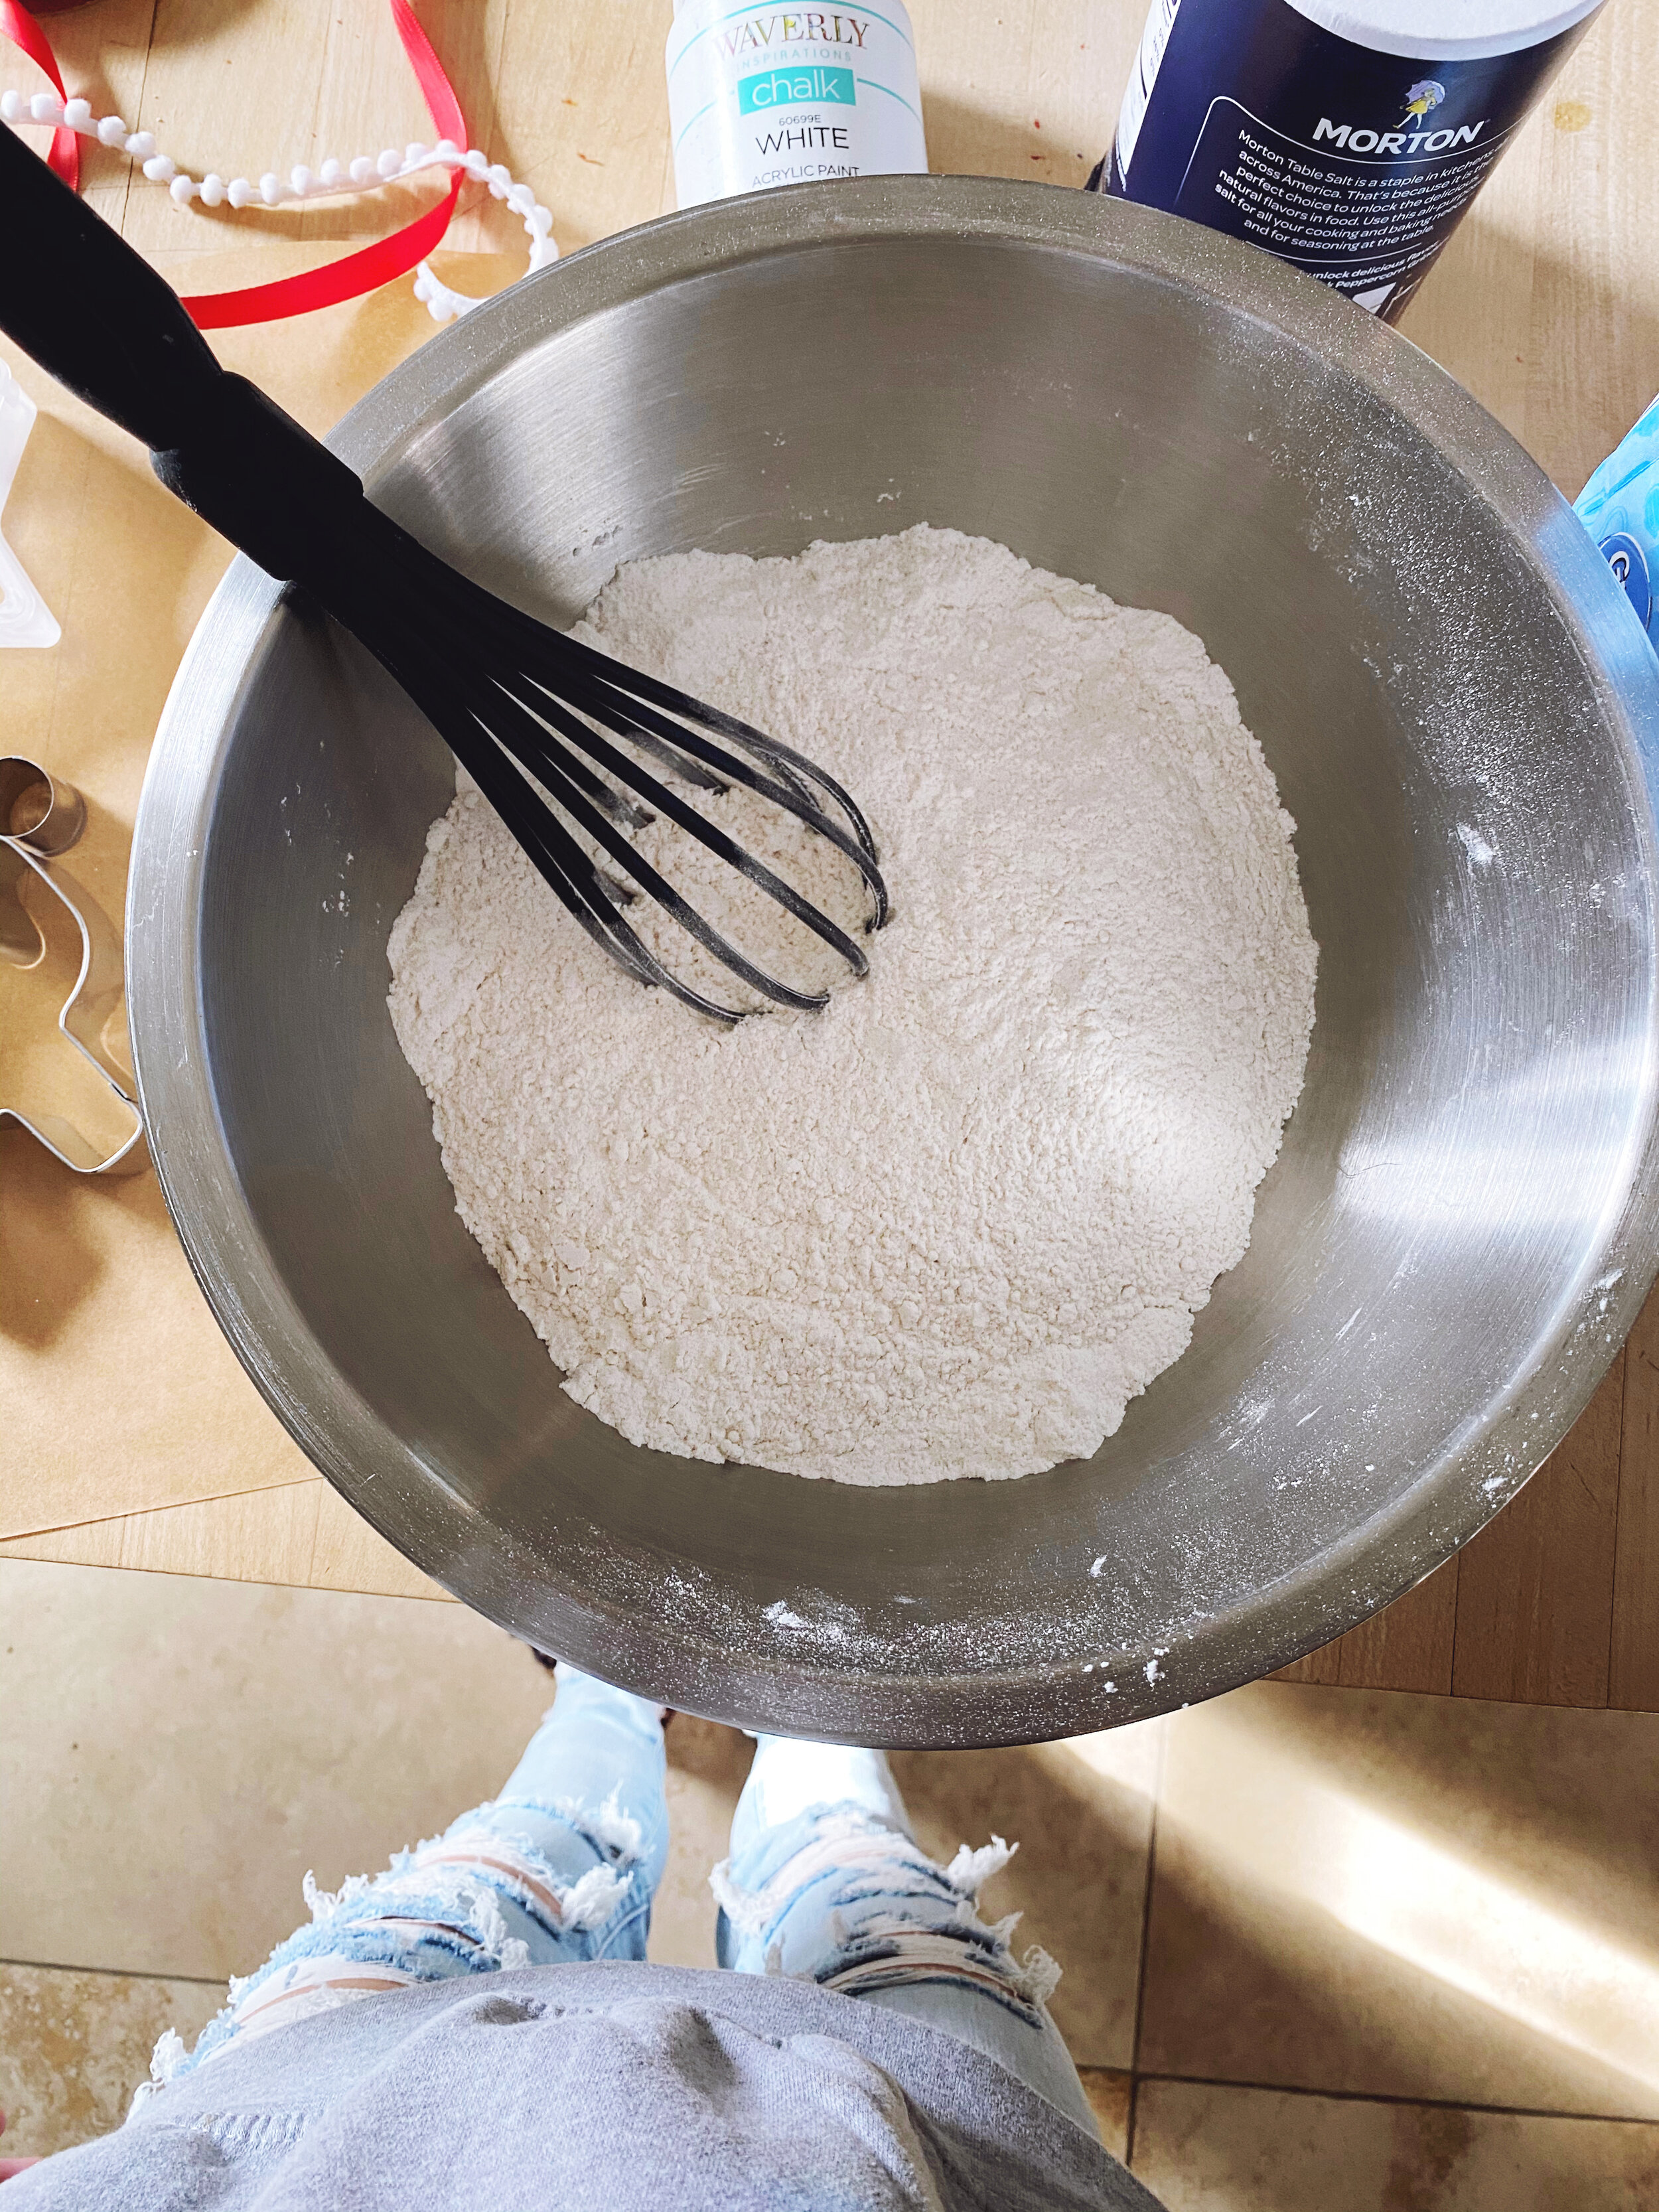
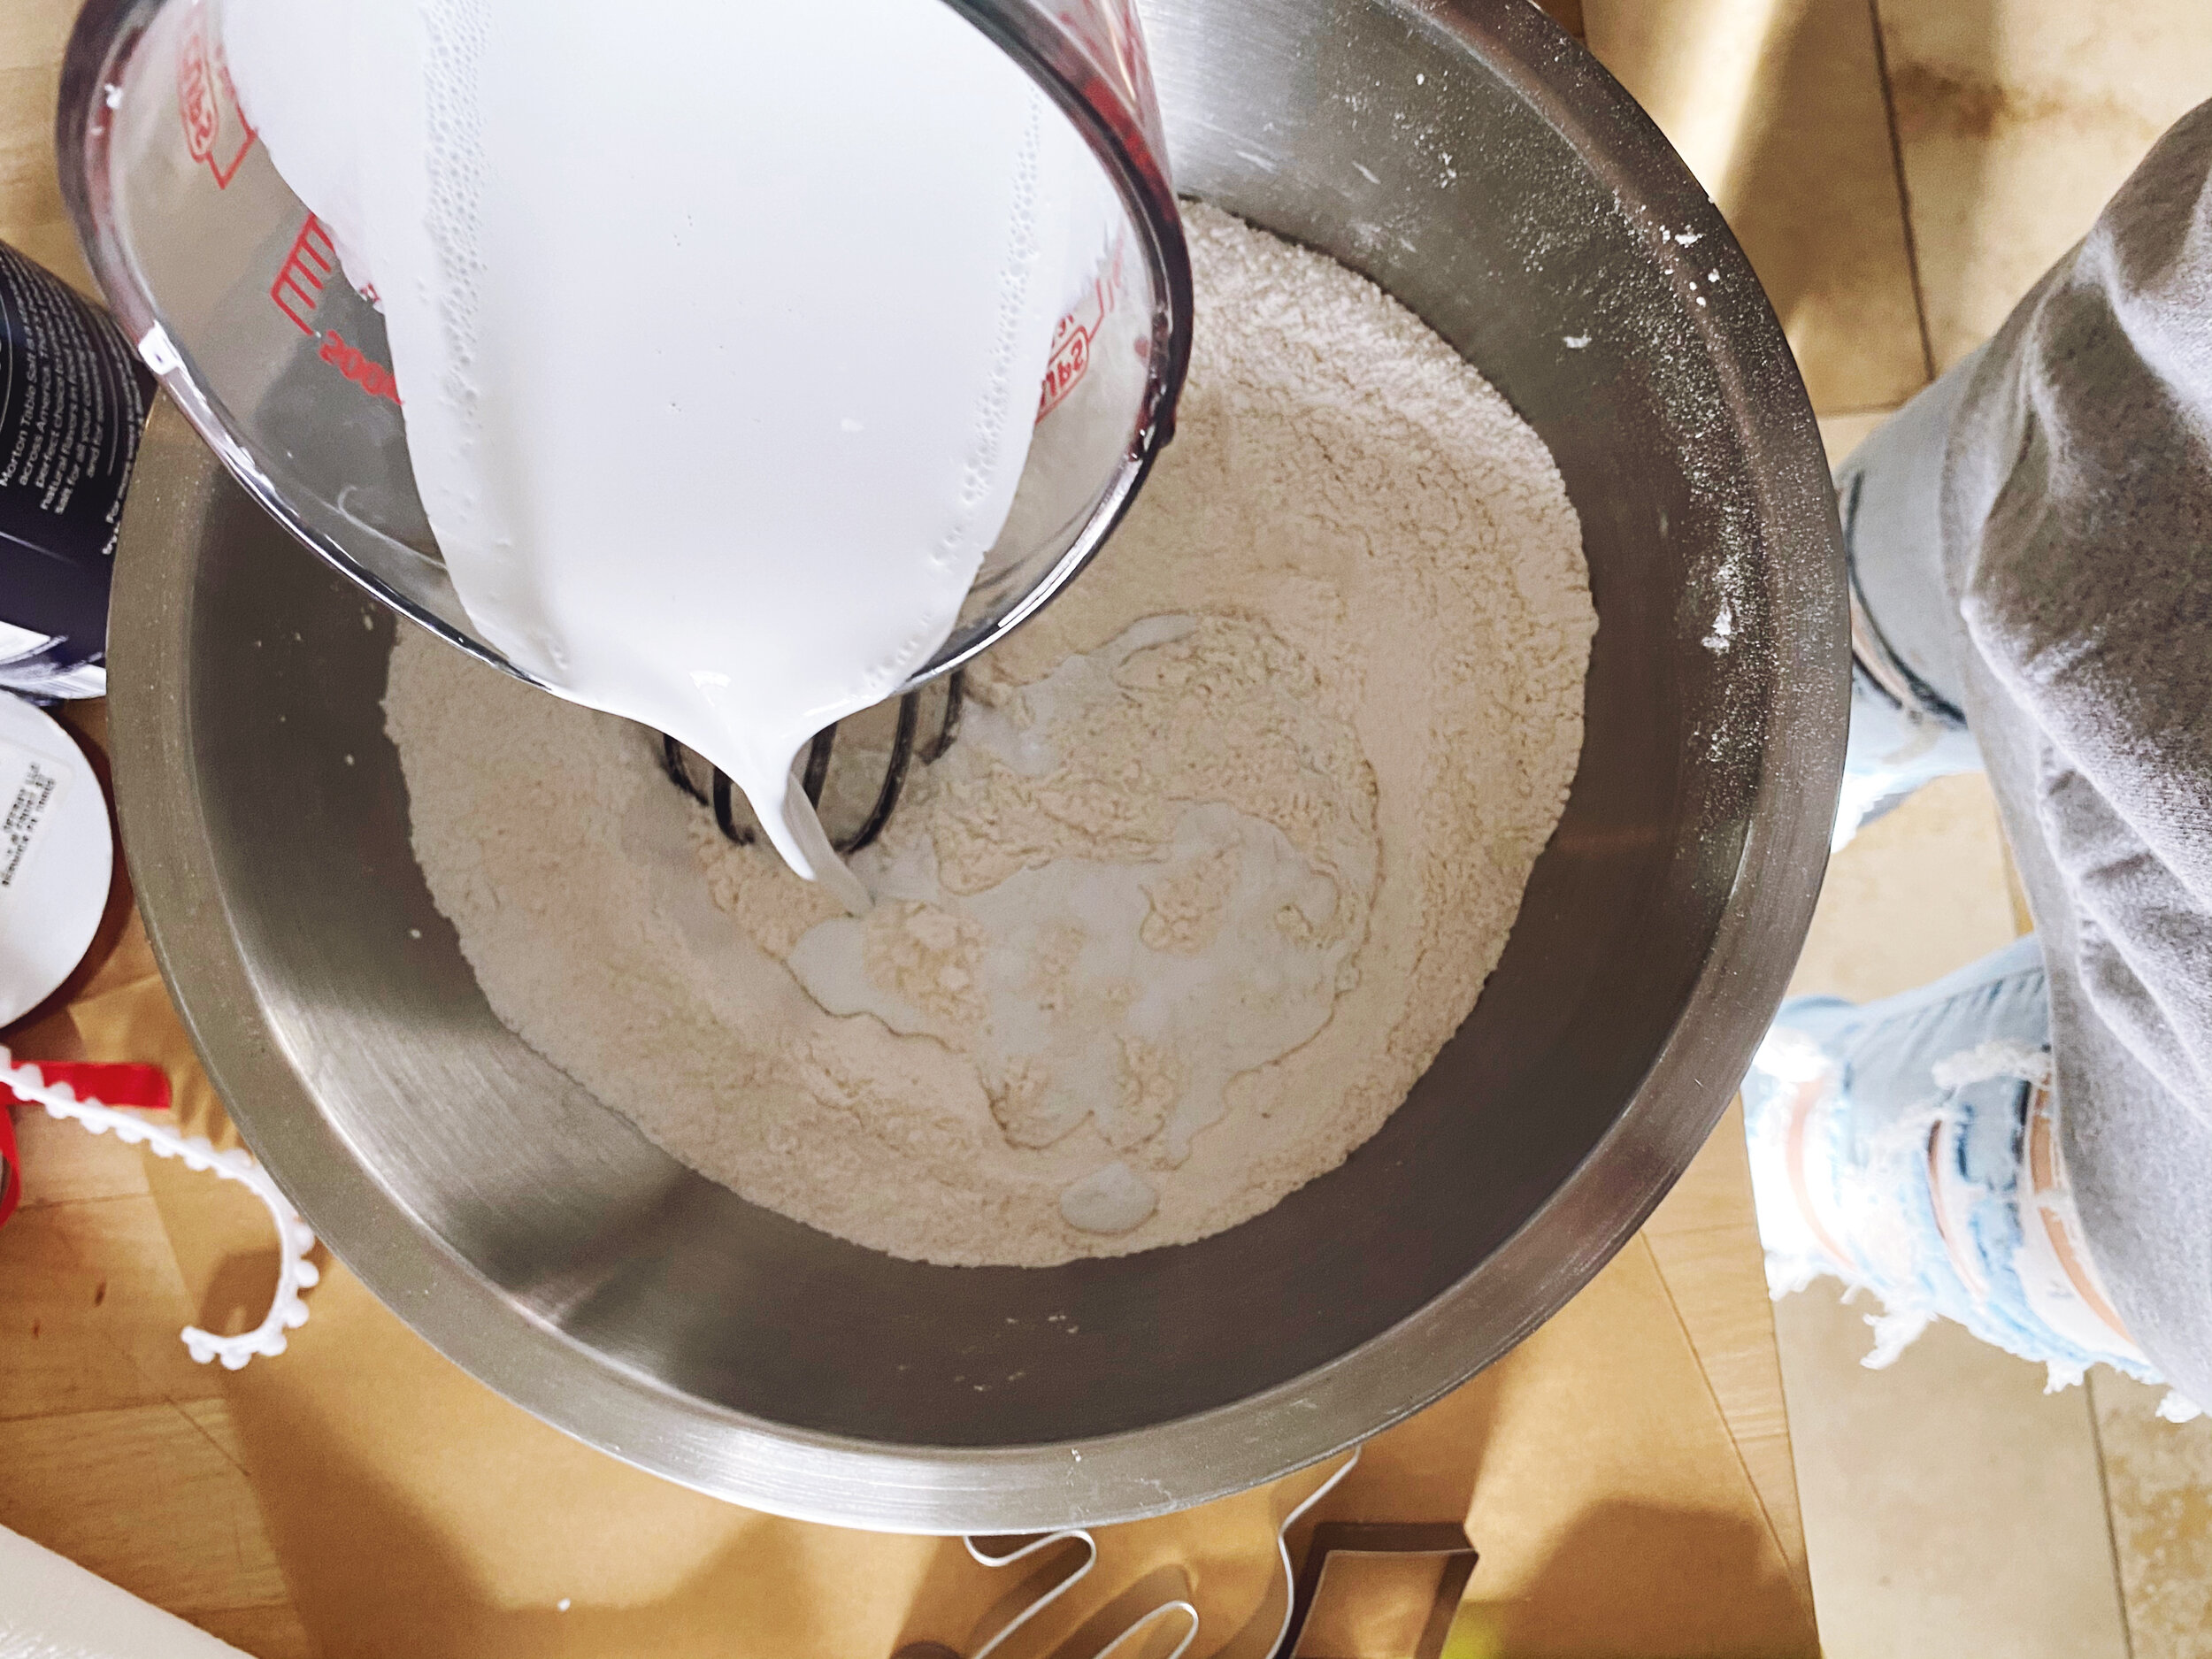
Whisk the flour and salt together until distributed evenly.
Step 2:
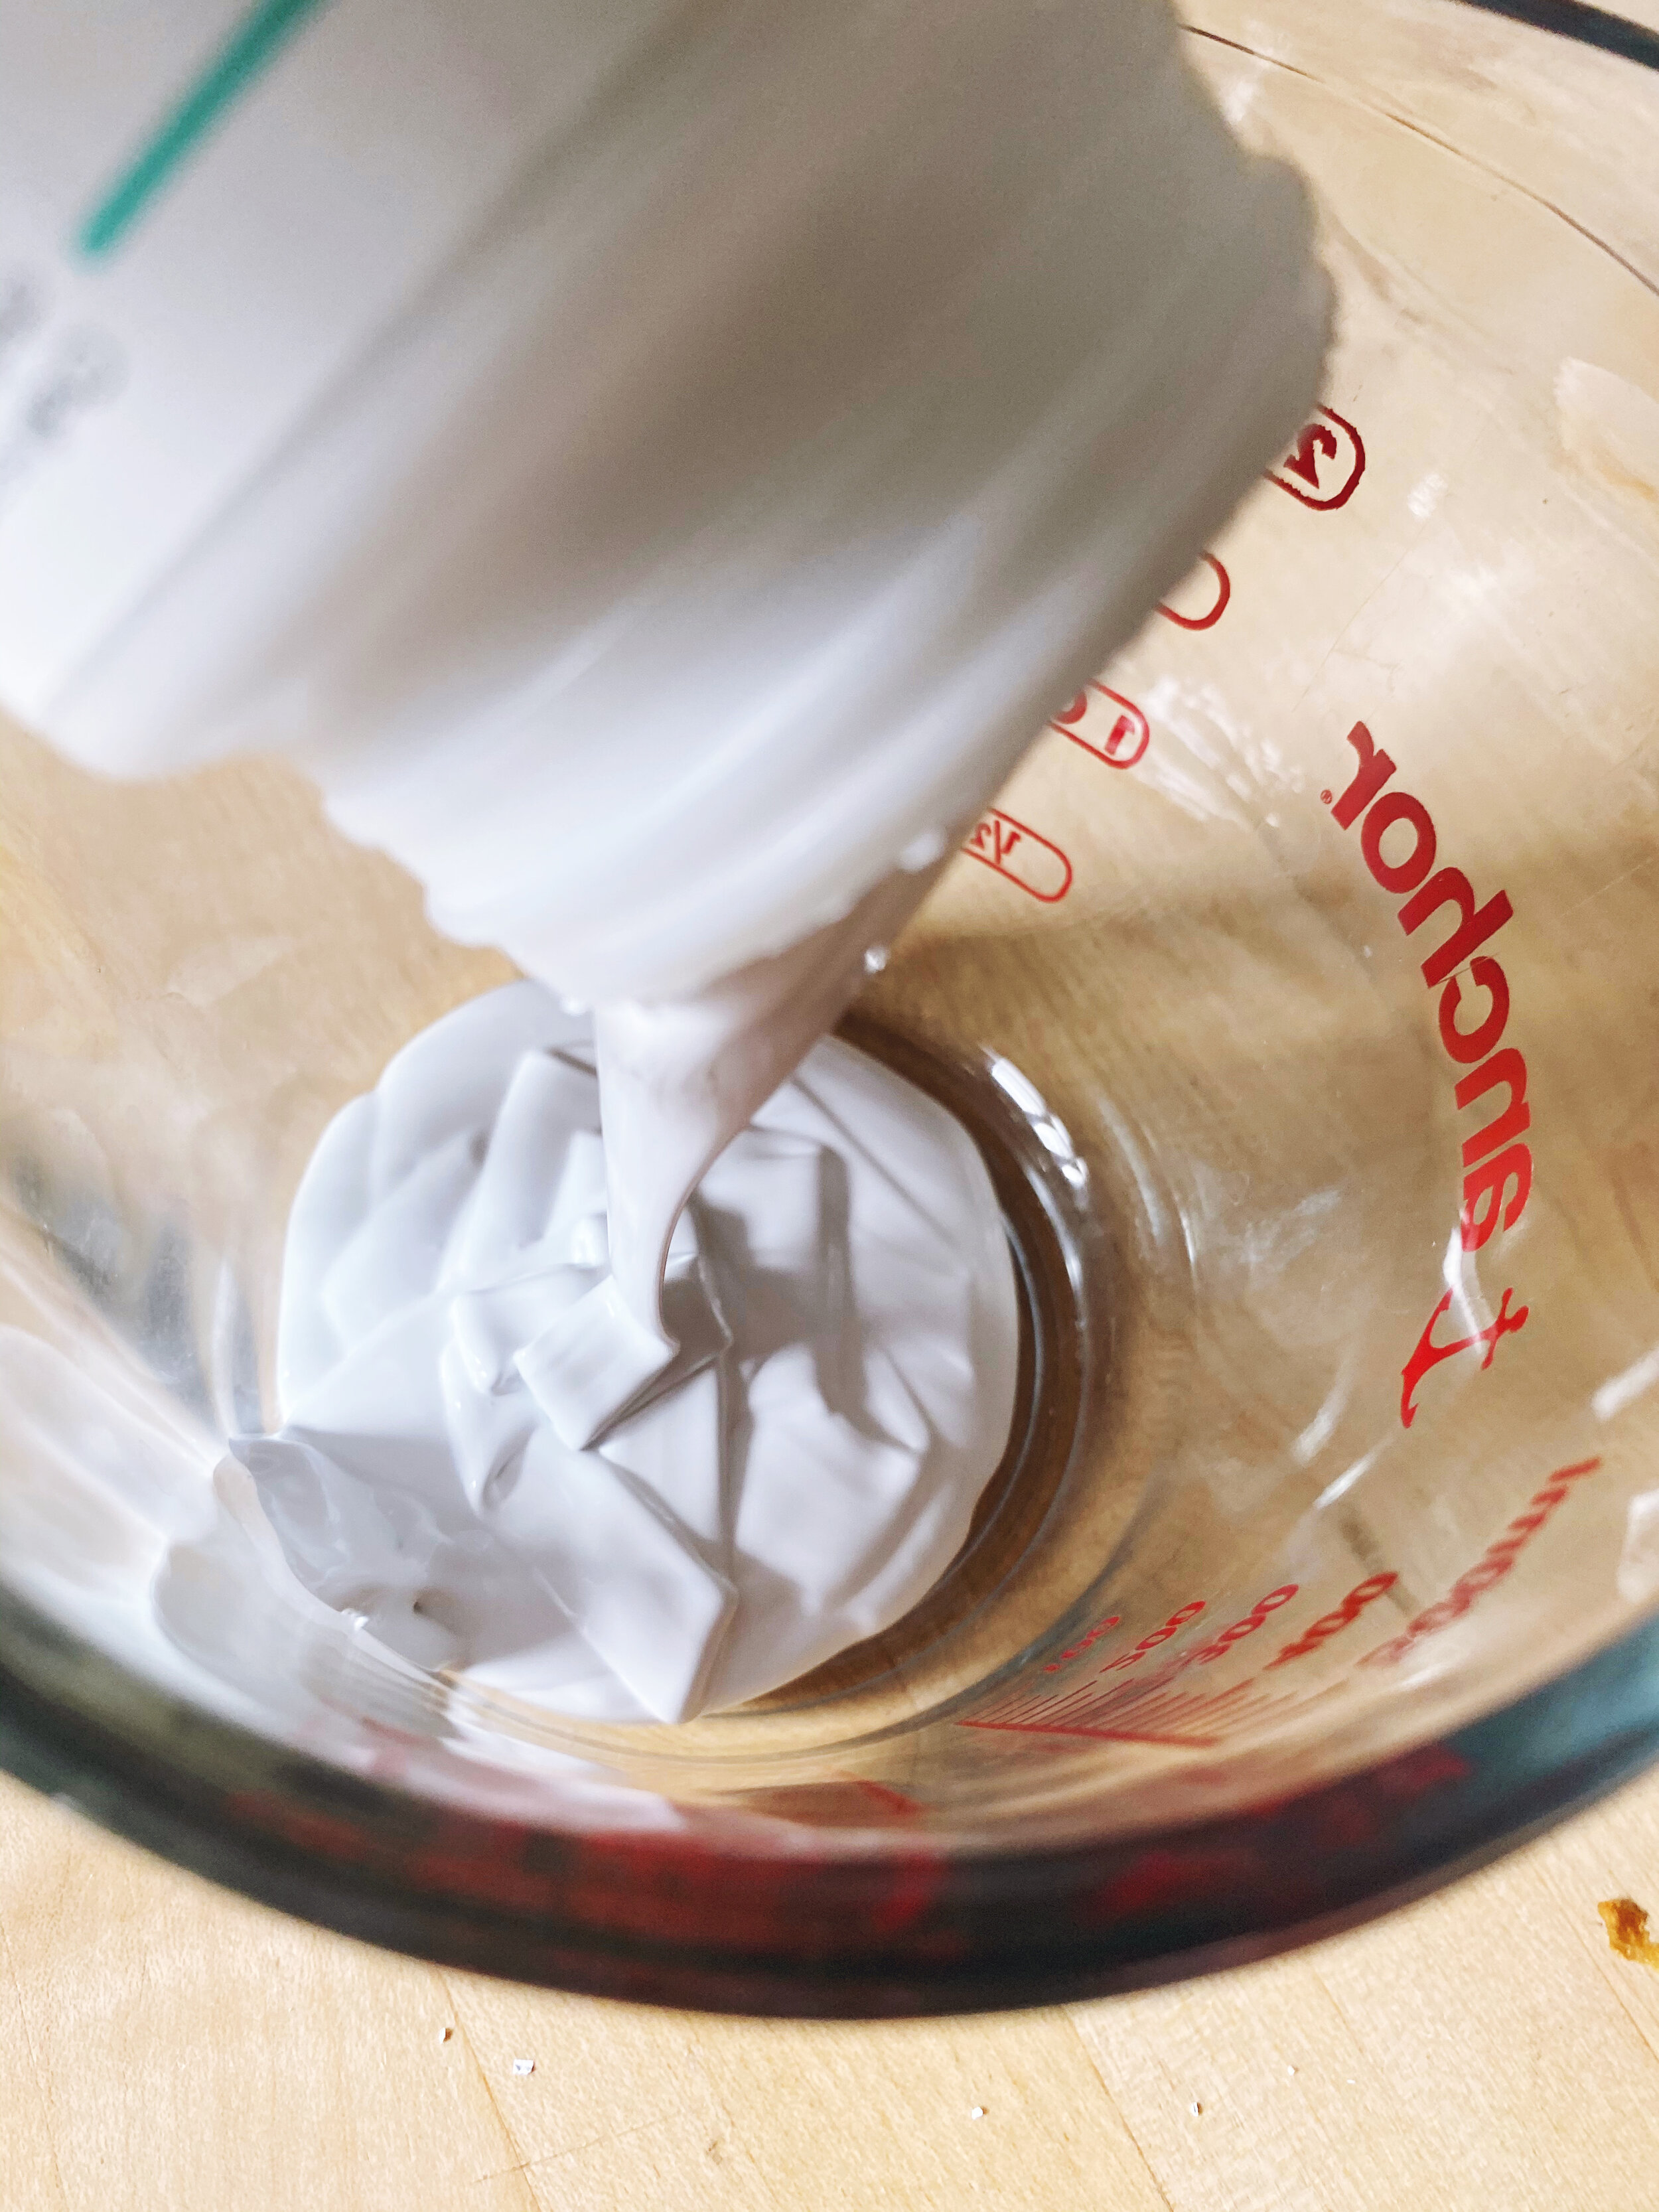
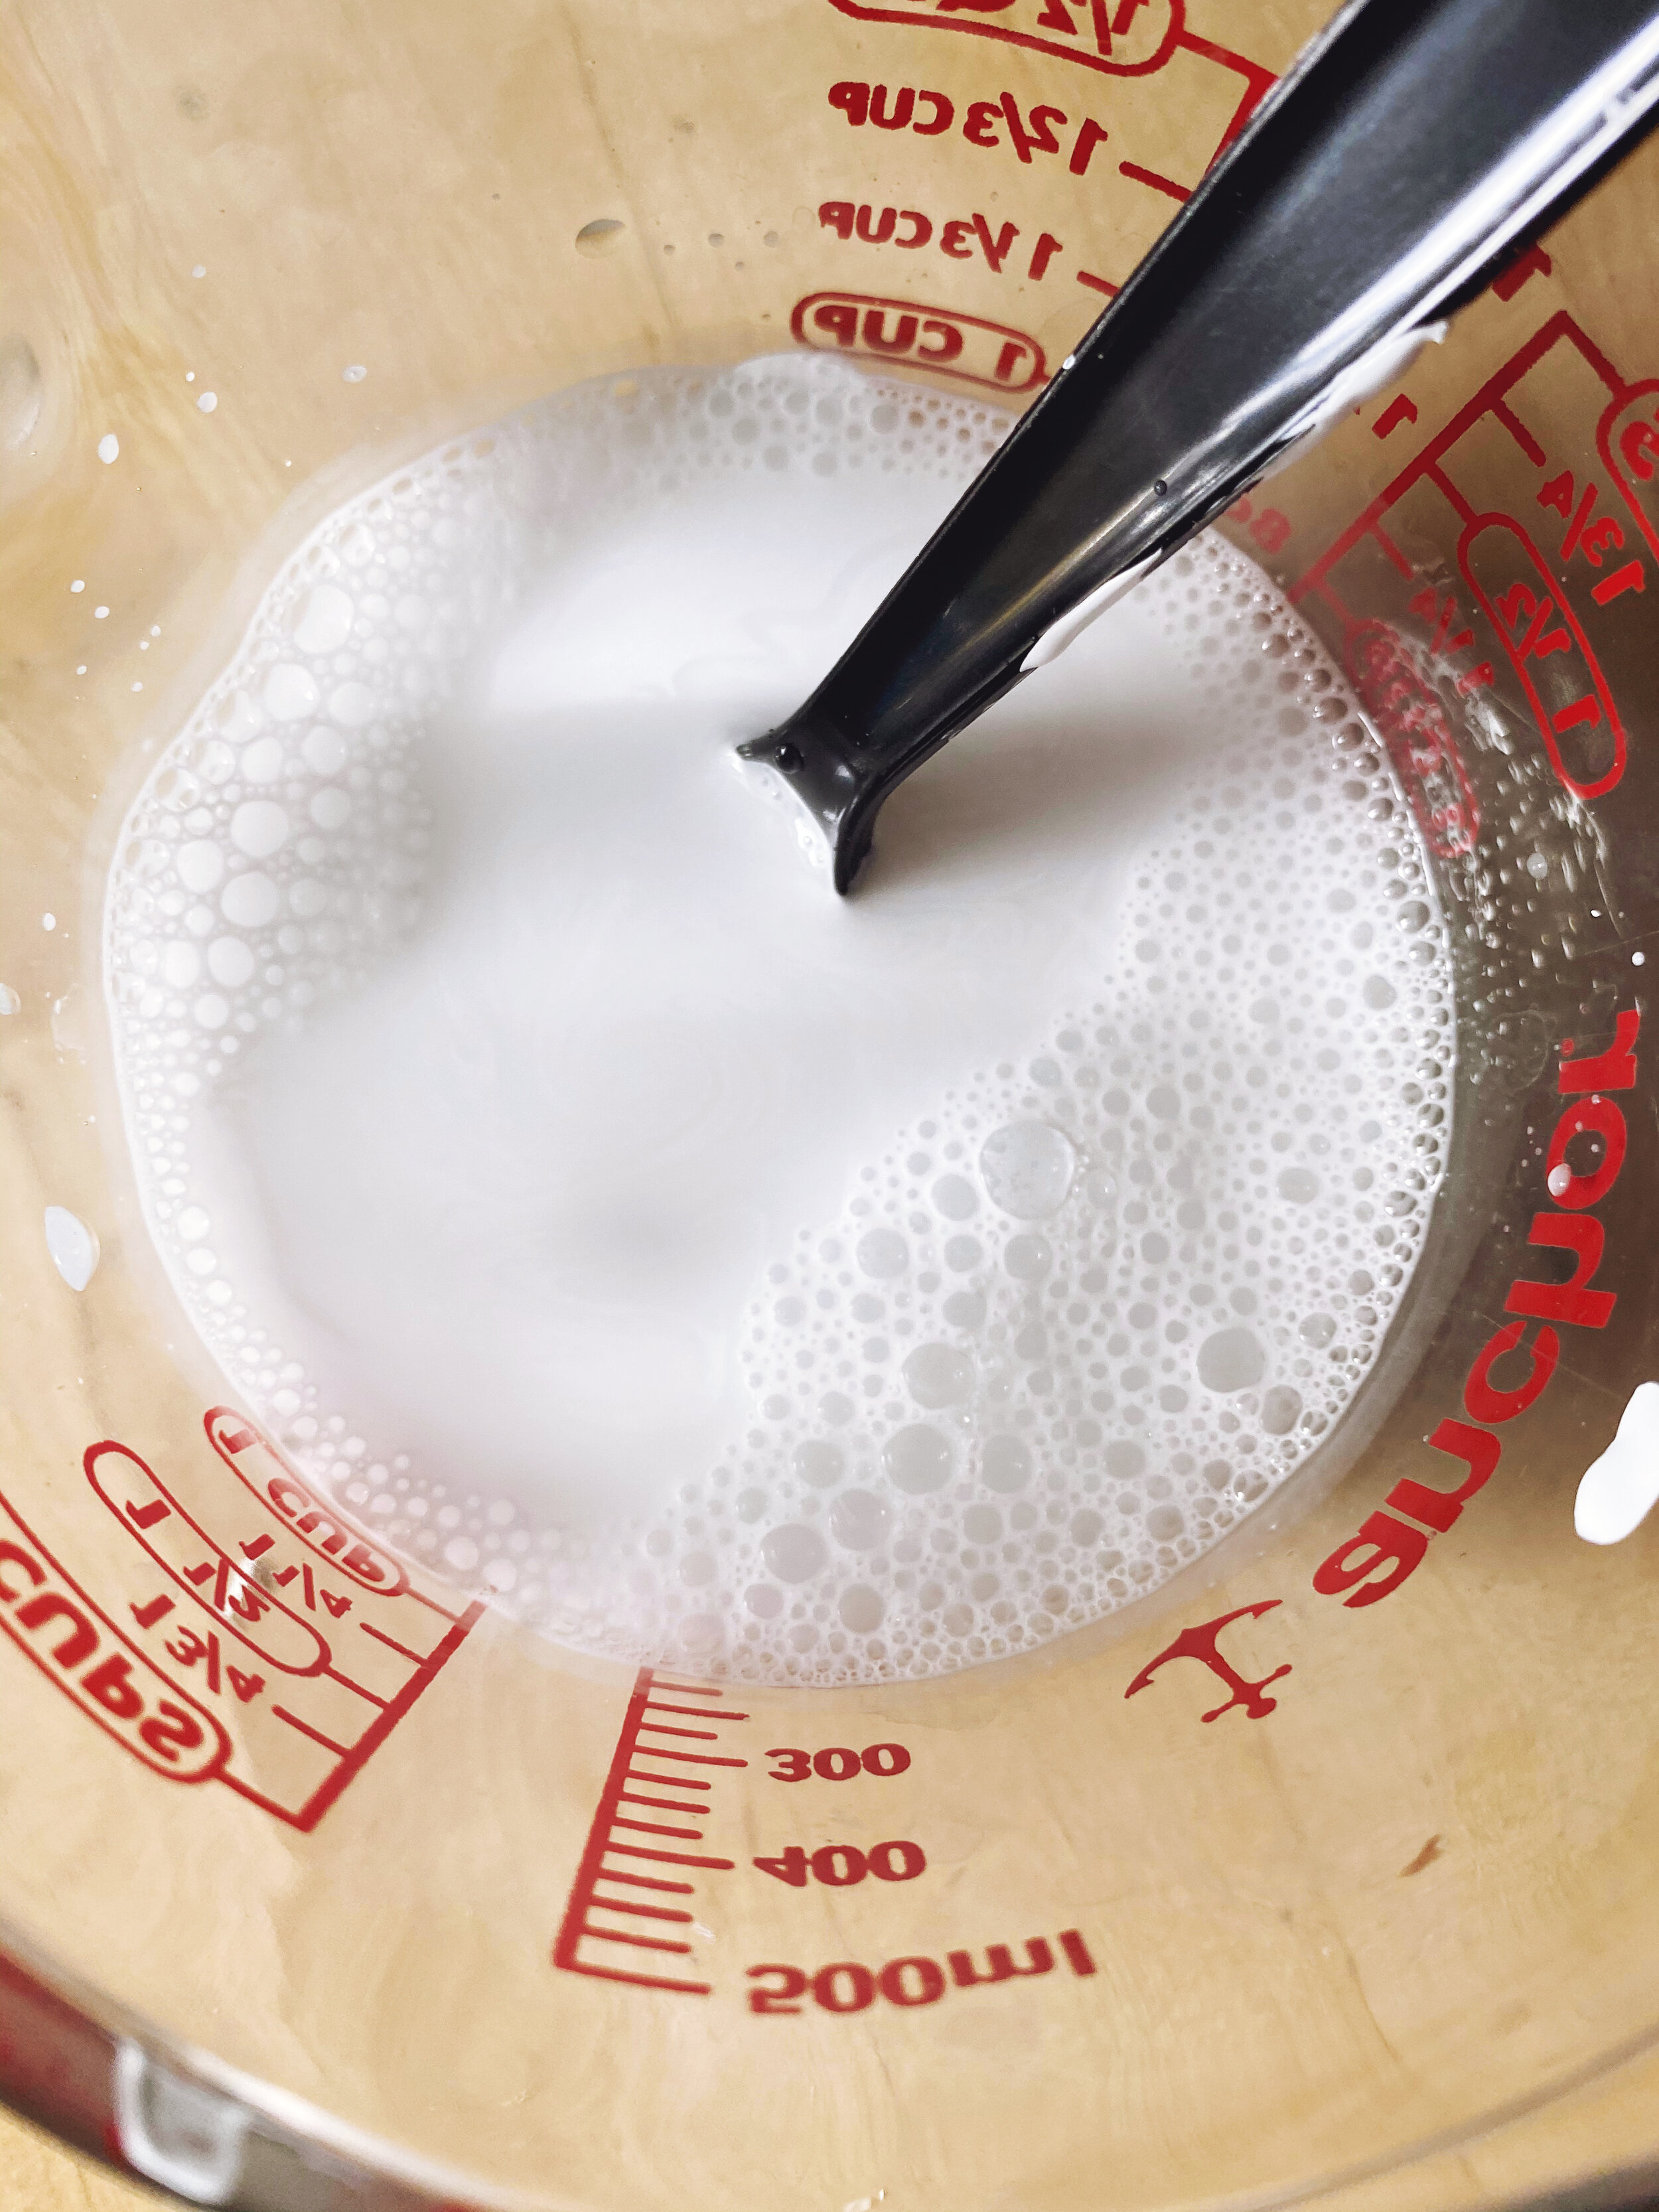
Mix the water and paint together.
Step 3:
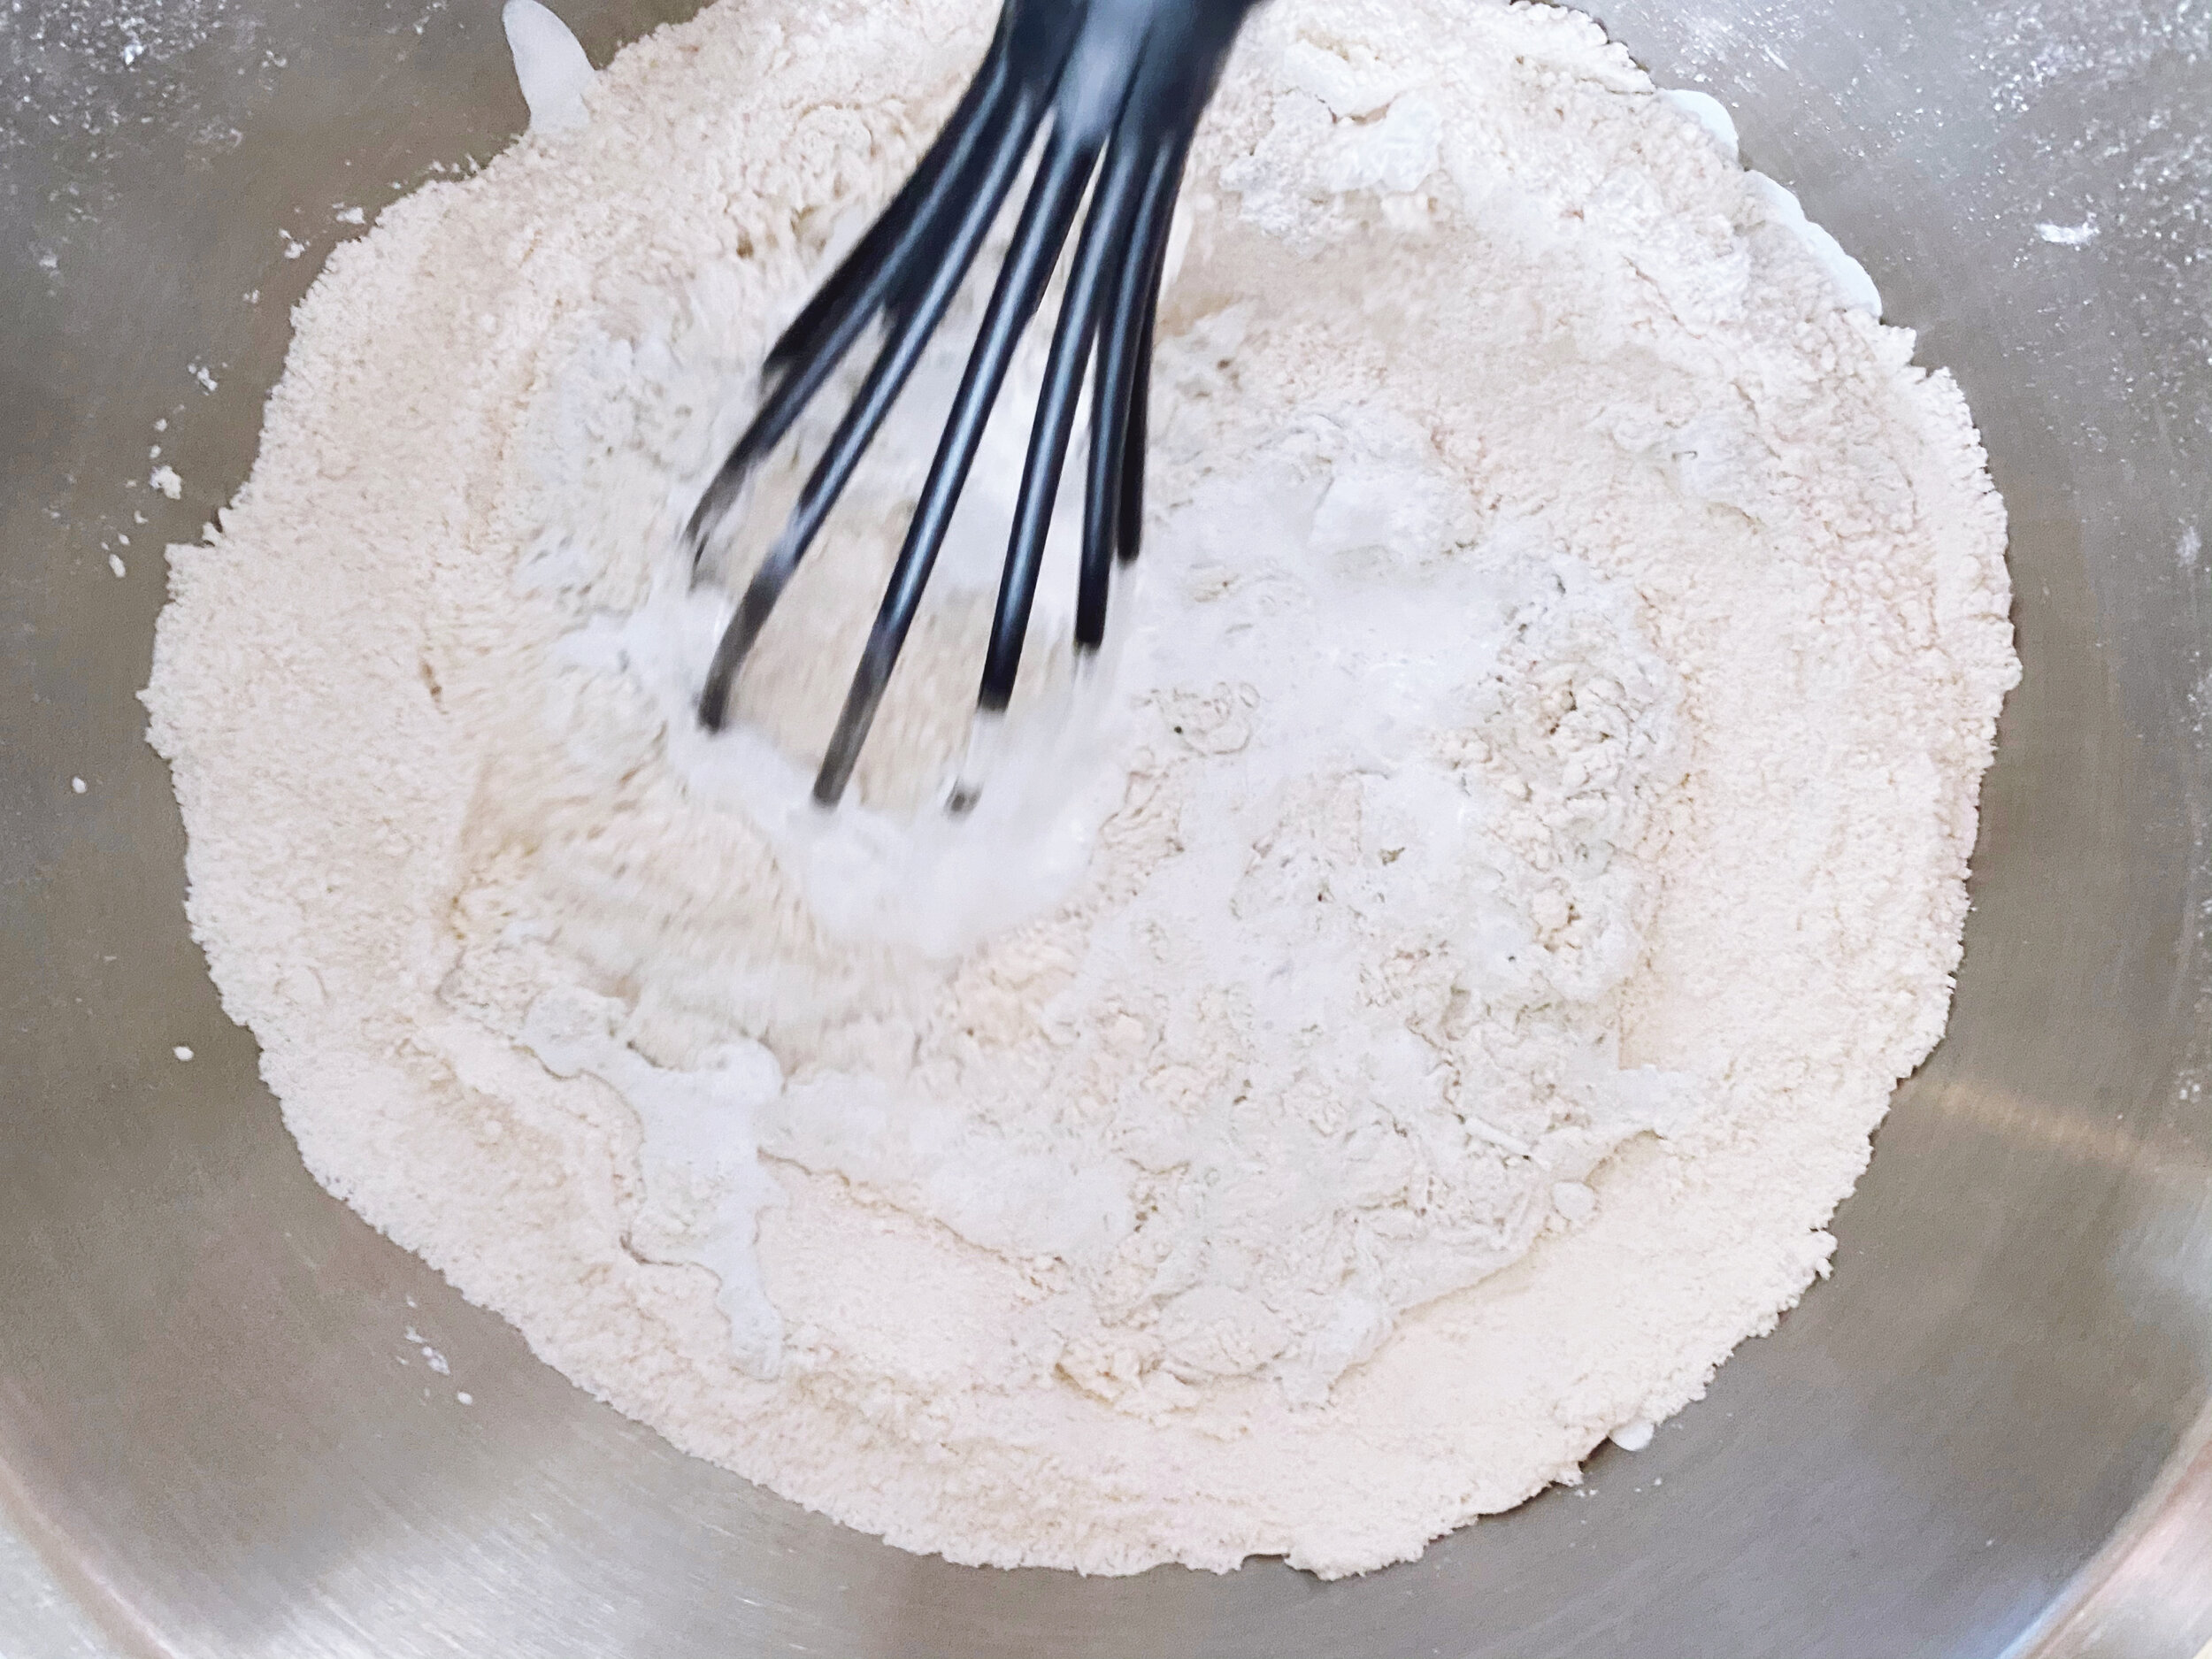
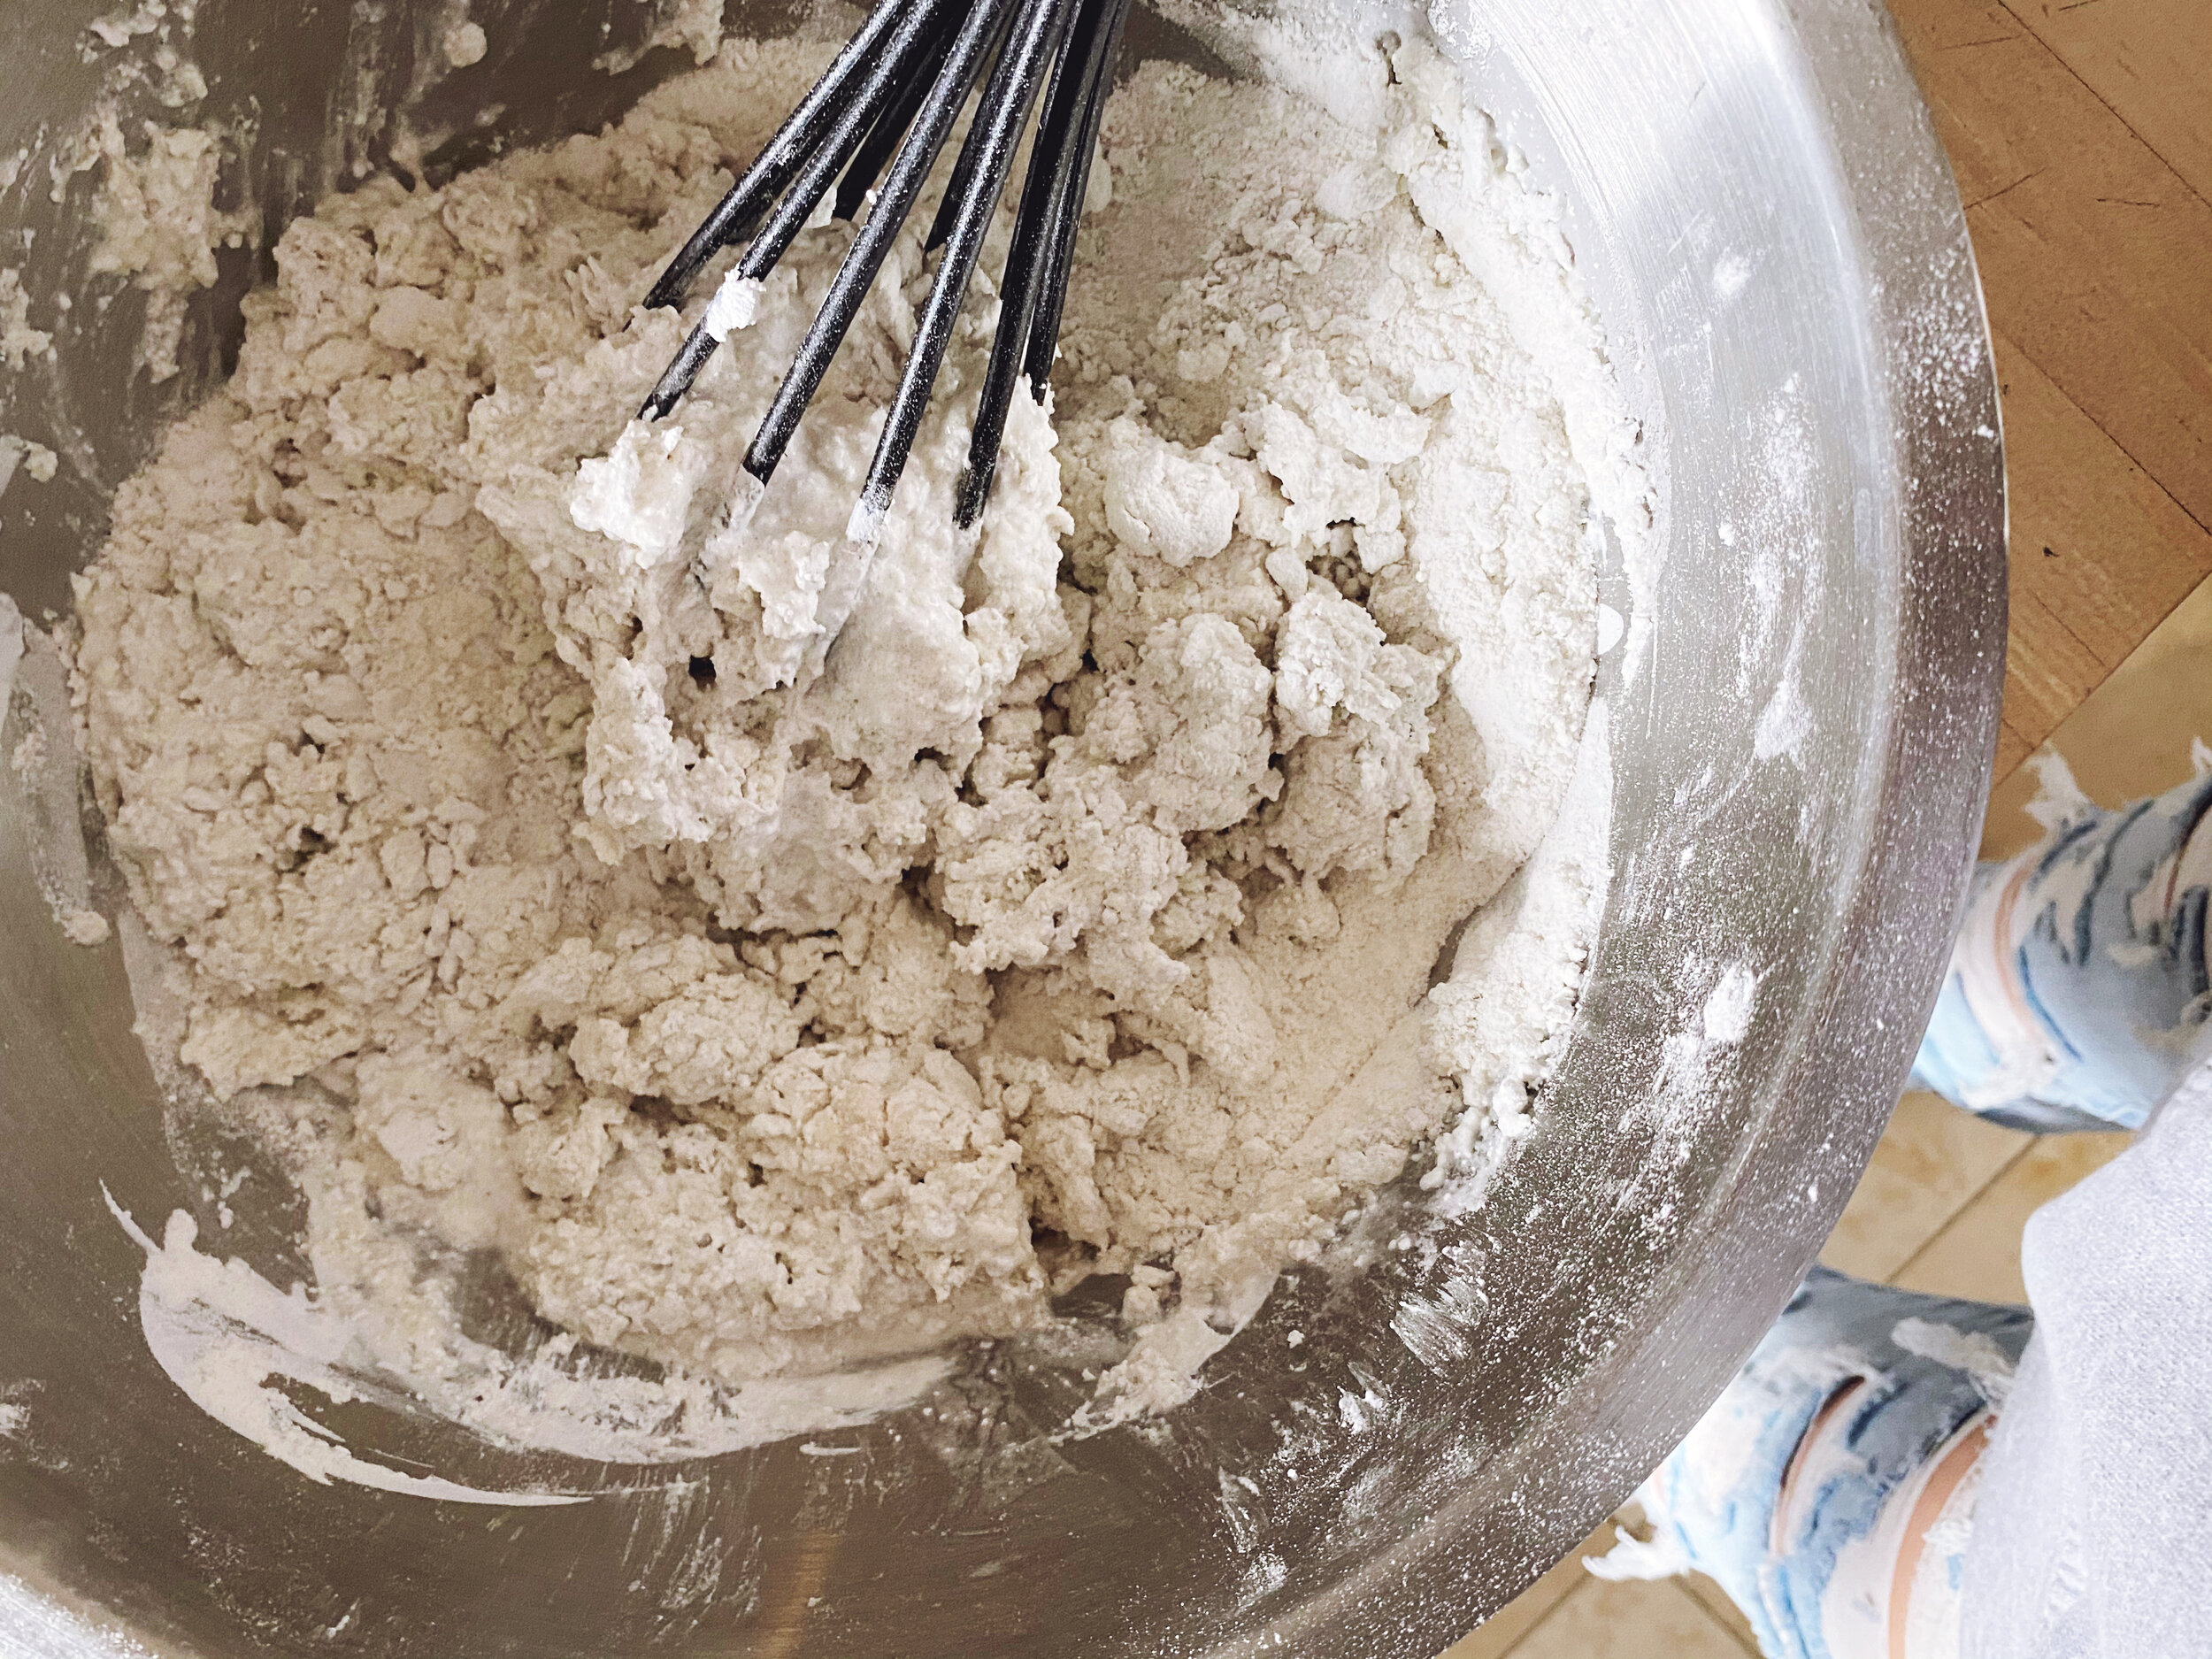
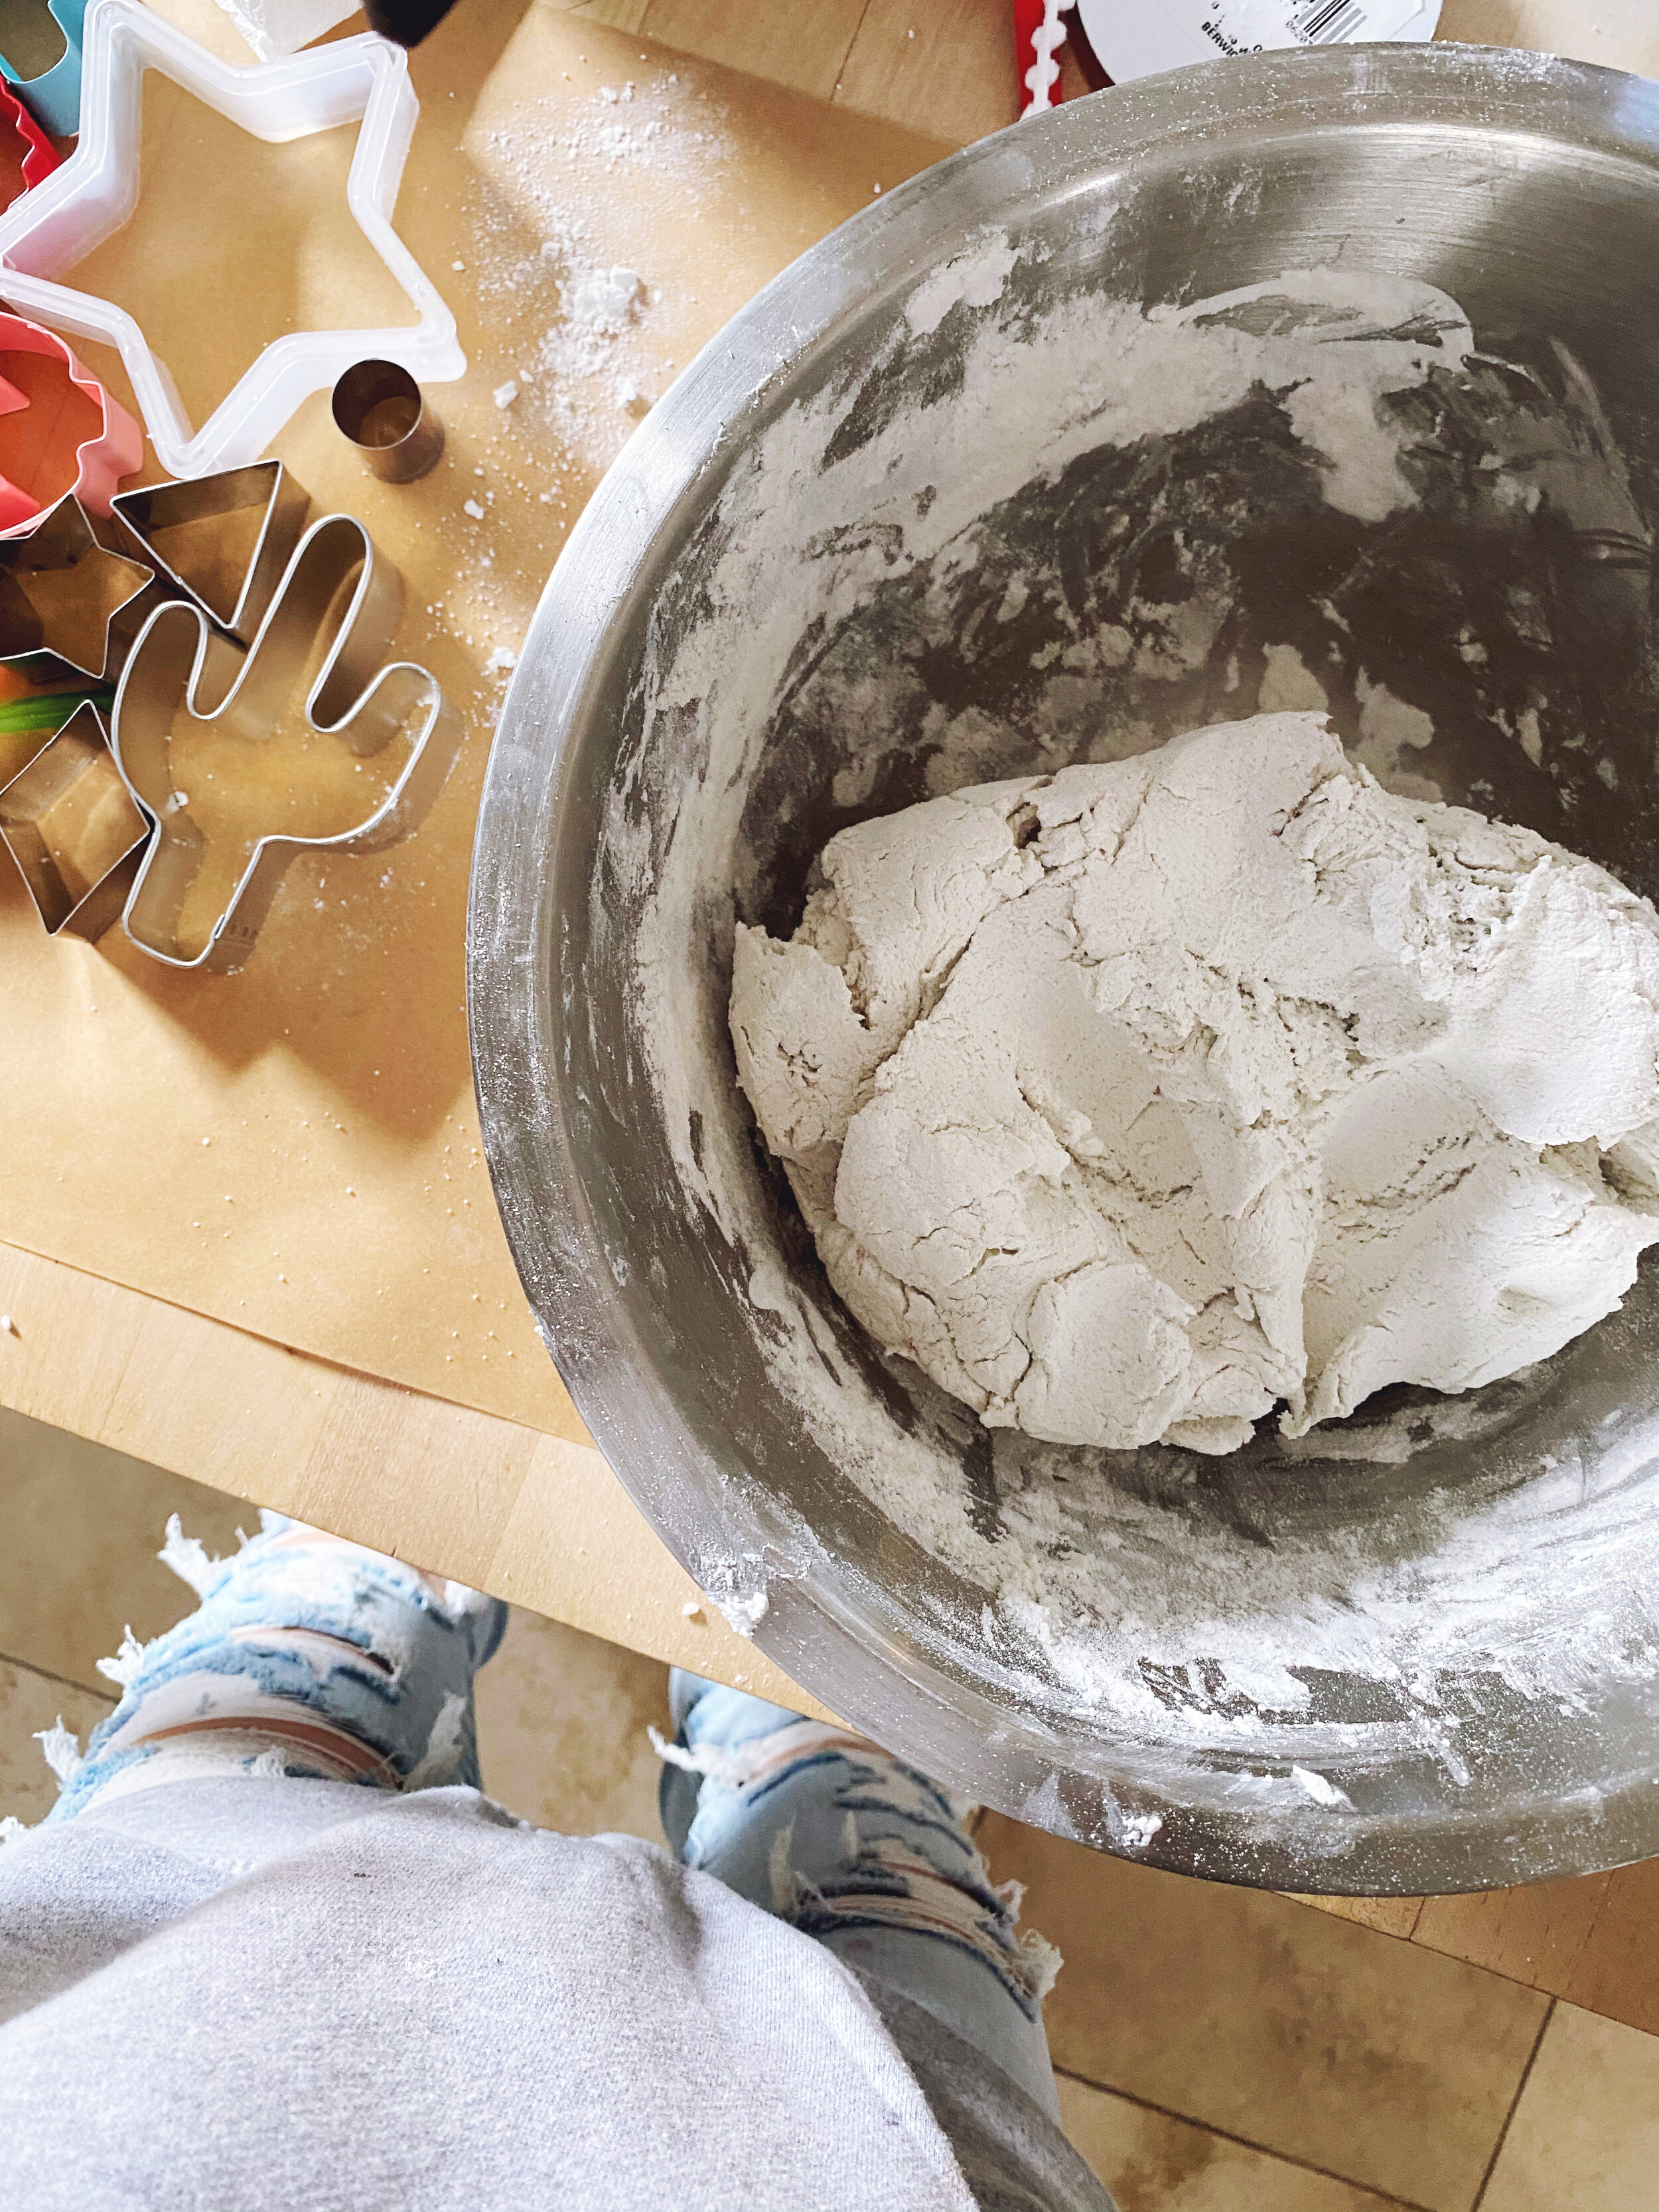
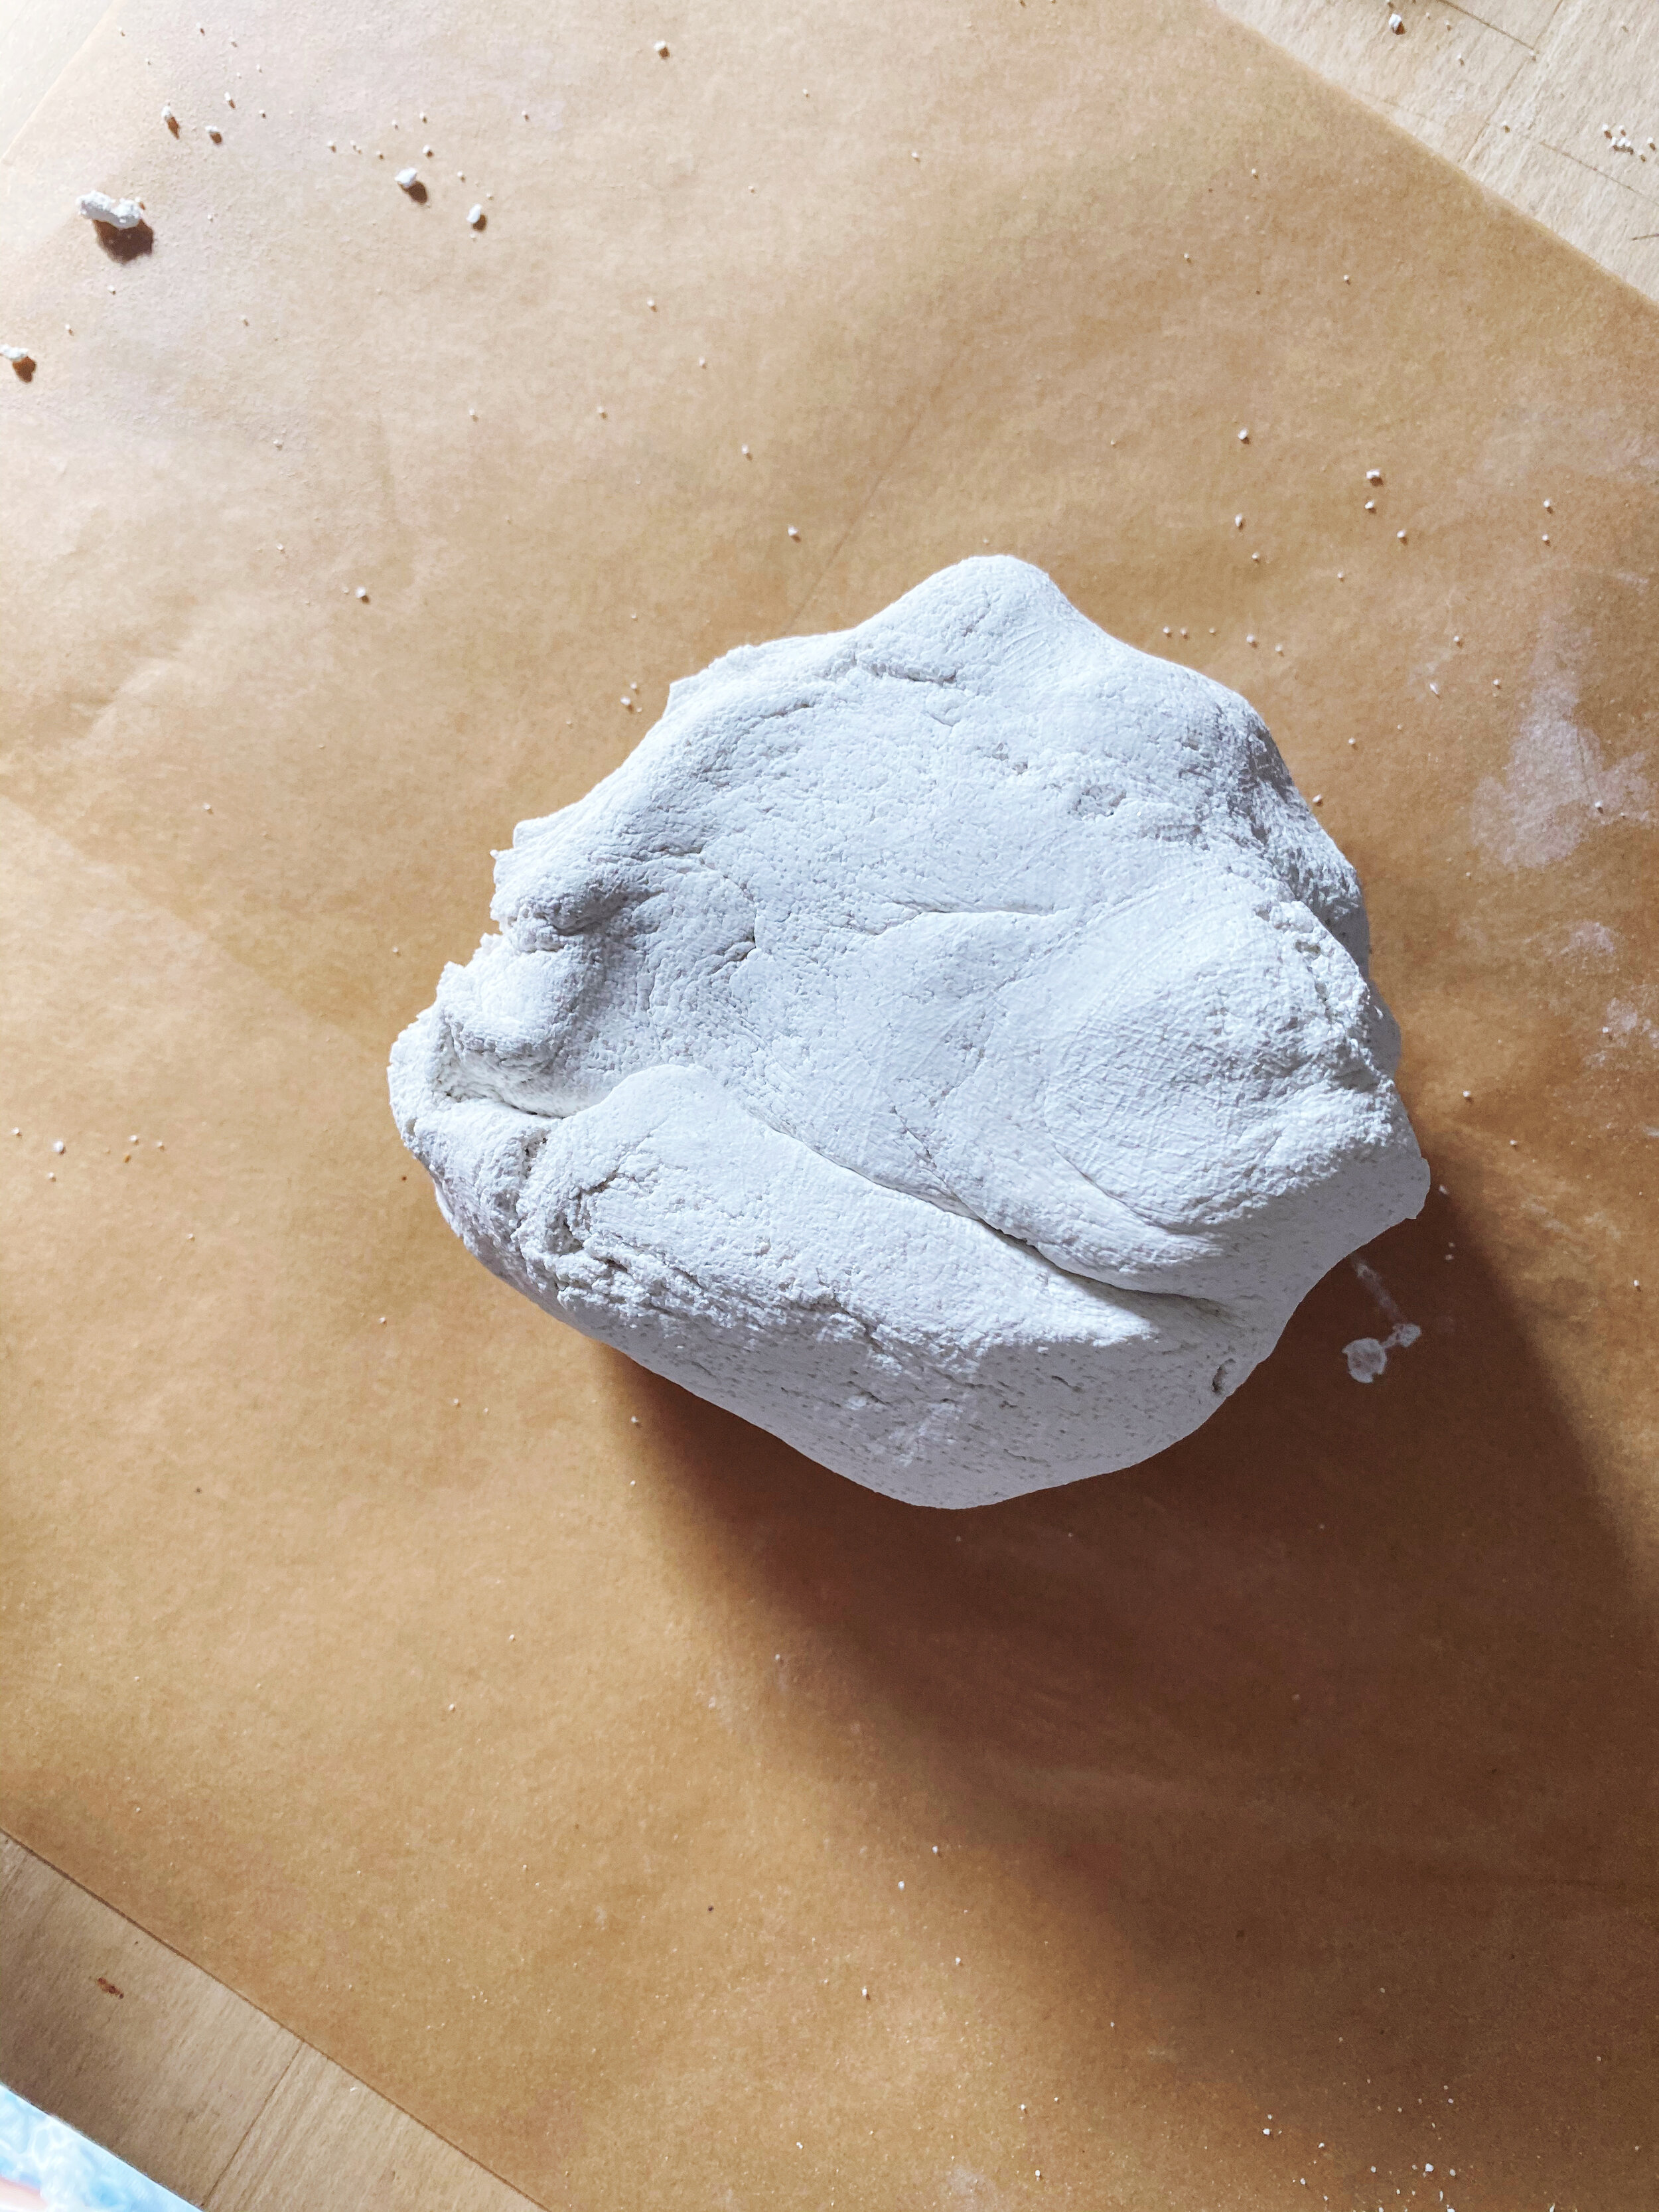
Whisk/stir everything together and knead until you have workable dough. This is the therapeutic part. Turn on your fave jolly jams (mine are NSYNC and Mariah, of course) and get to work! Your hands will get a little white from the paint, but don’t worry. The paint doesn’t transfer to your skin after this step. Just wash your hands before moving to step 4.
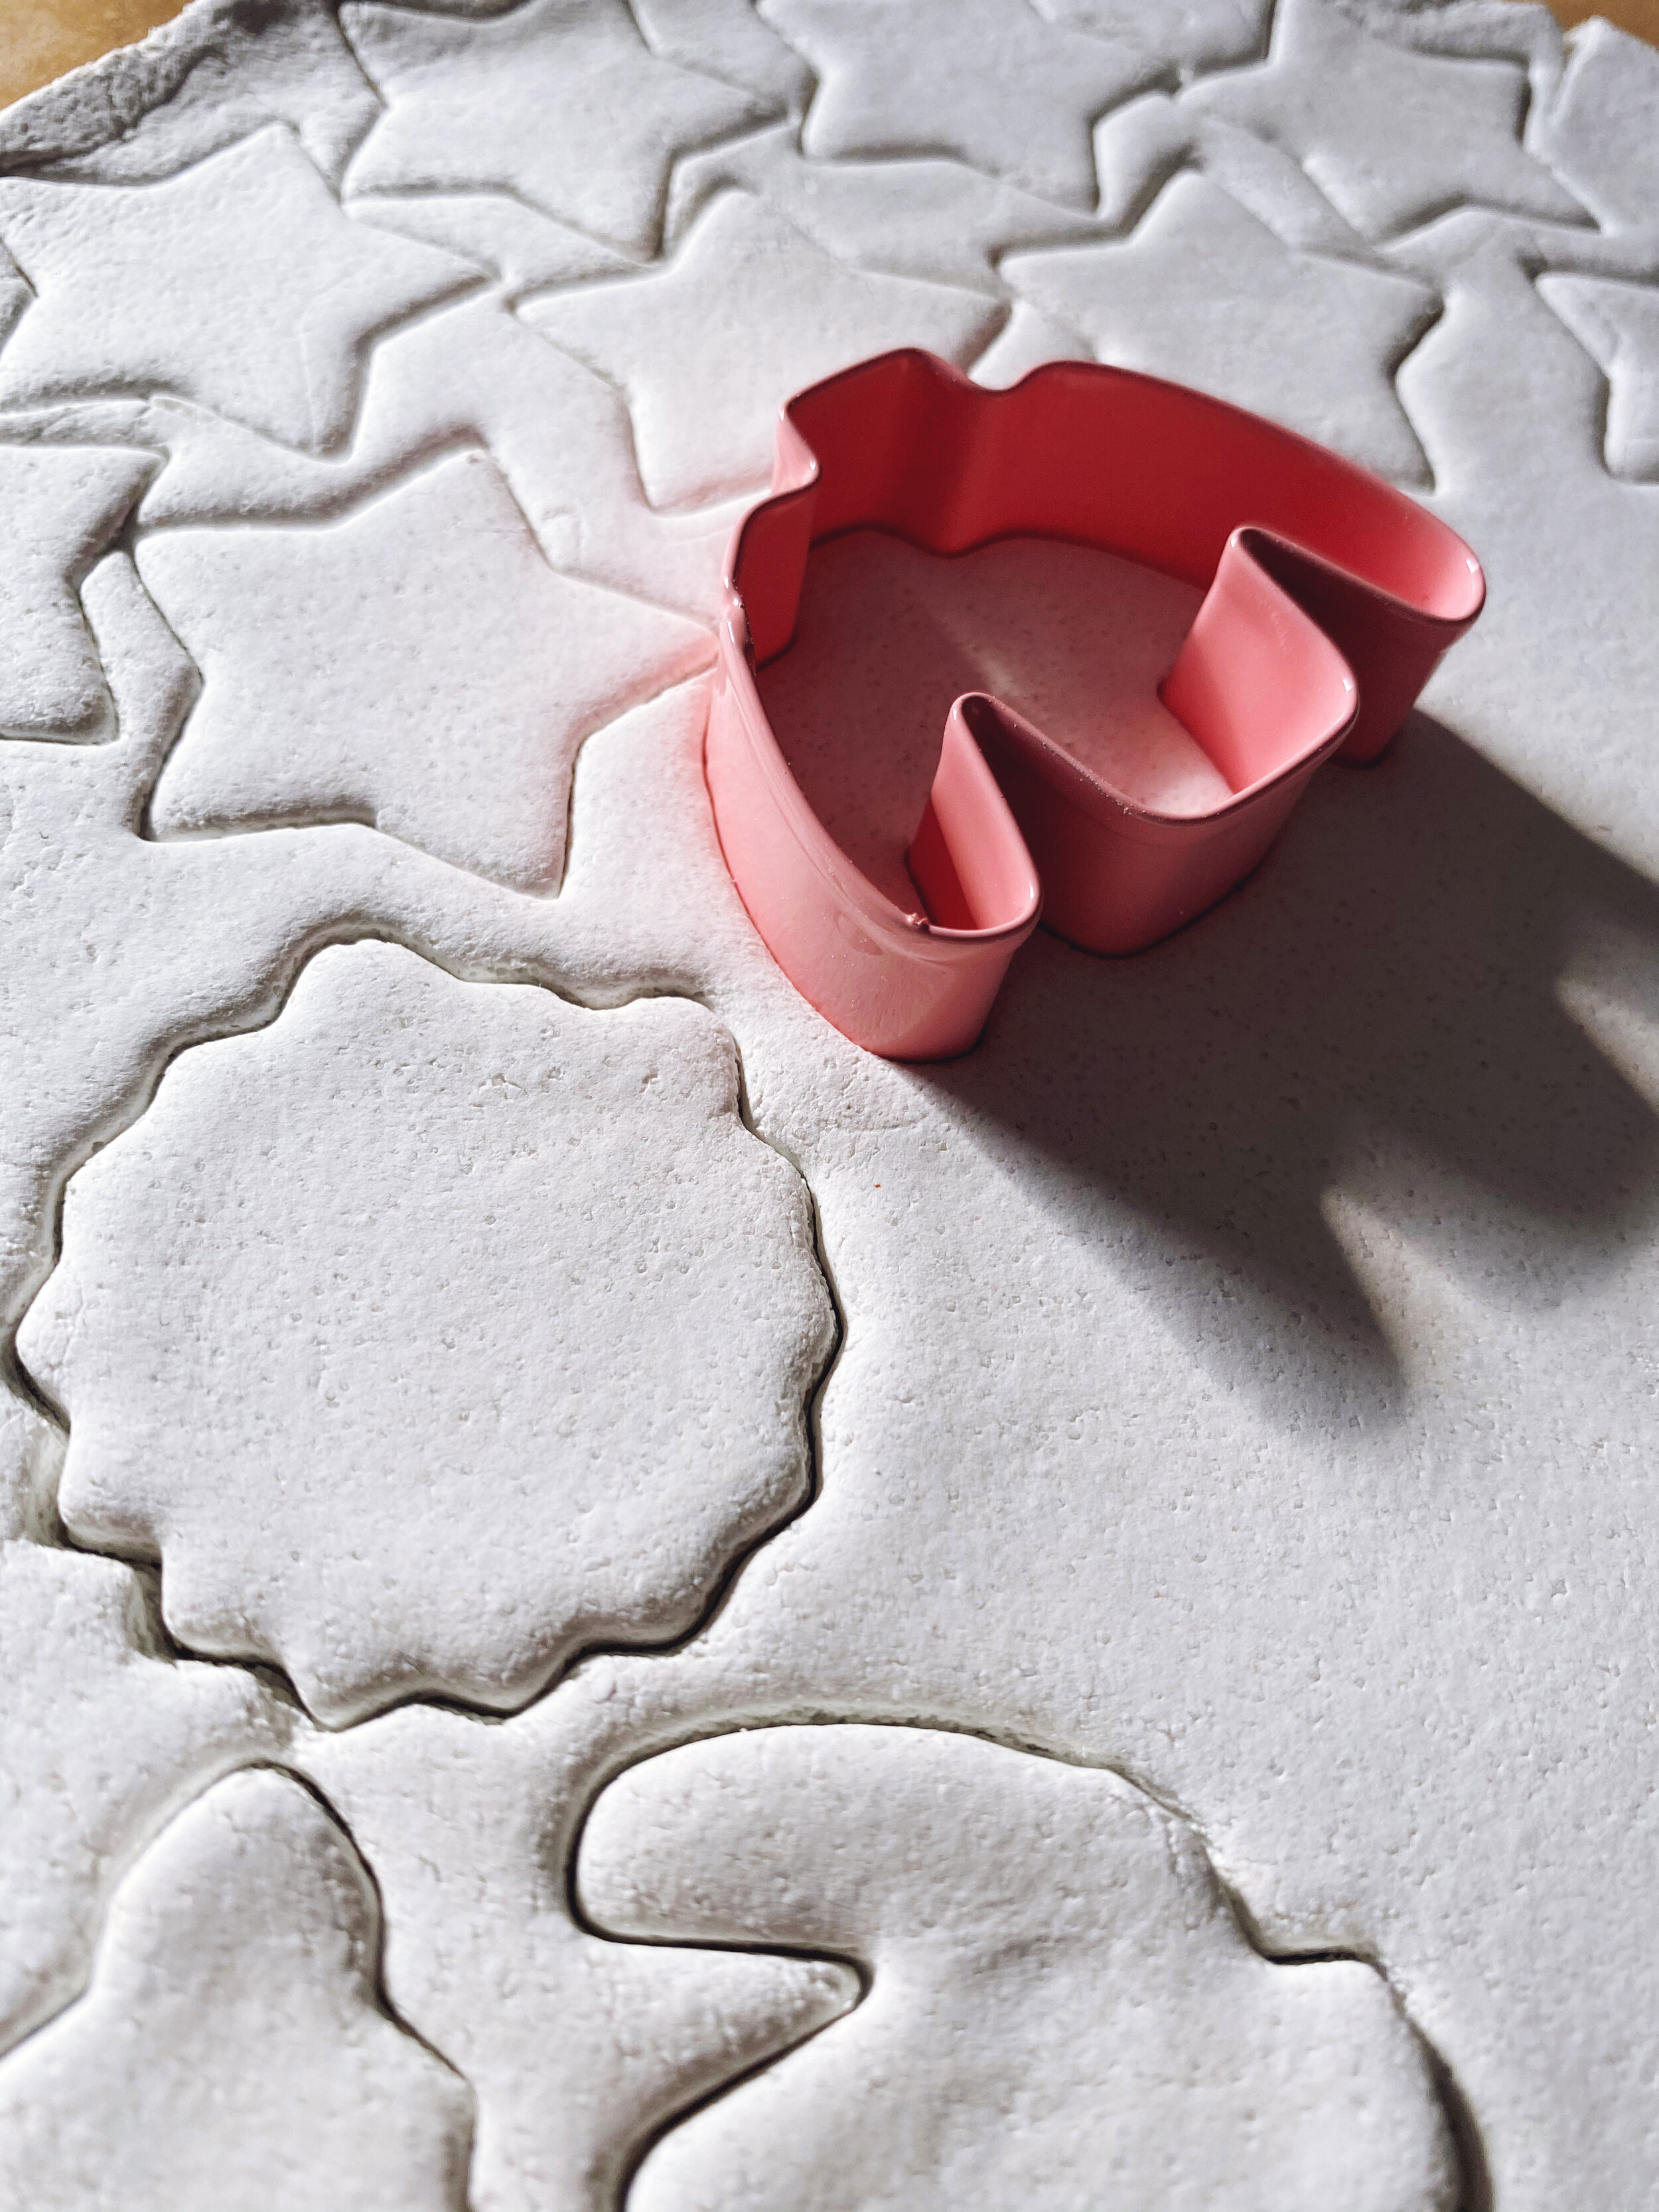
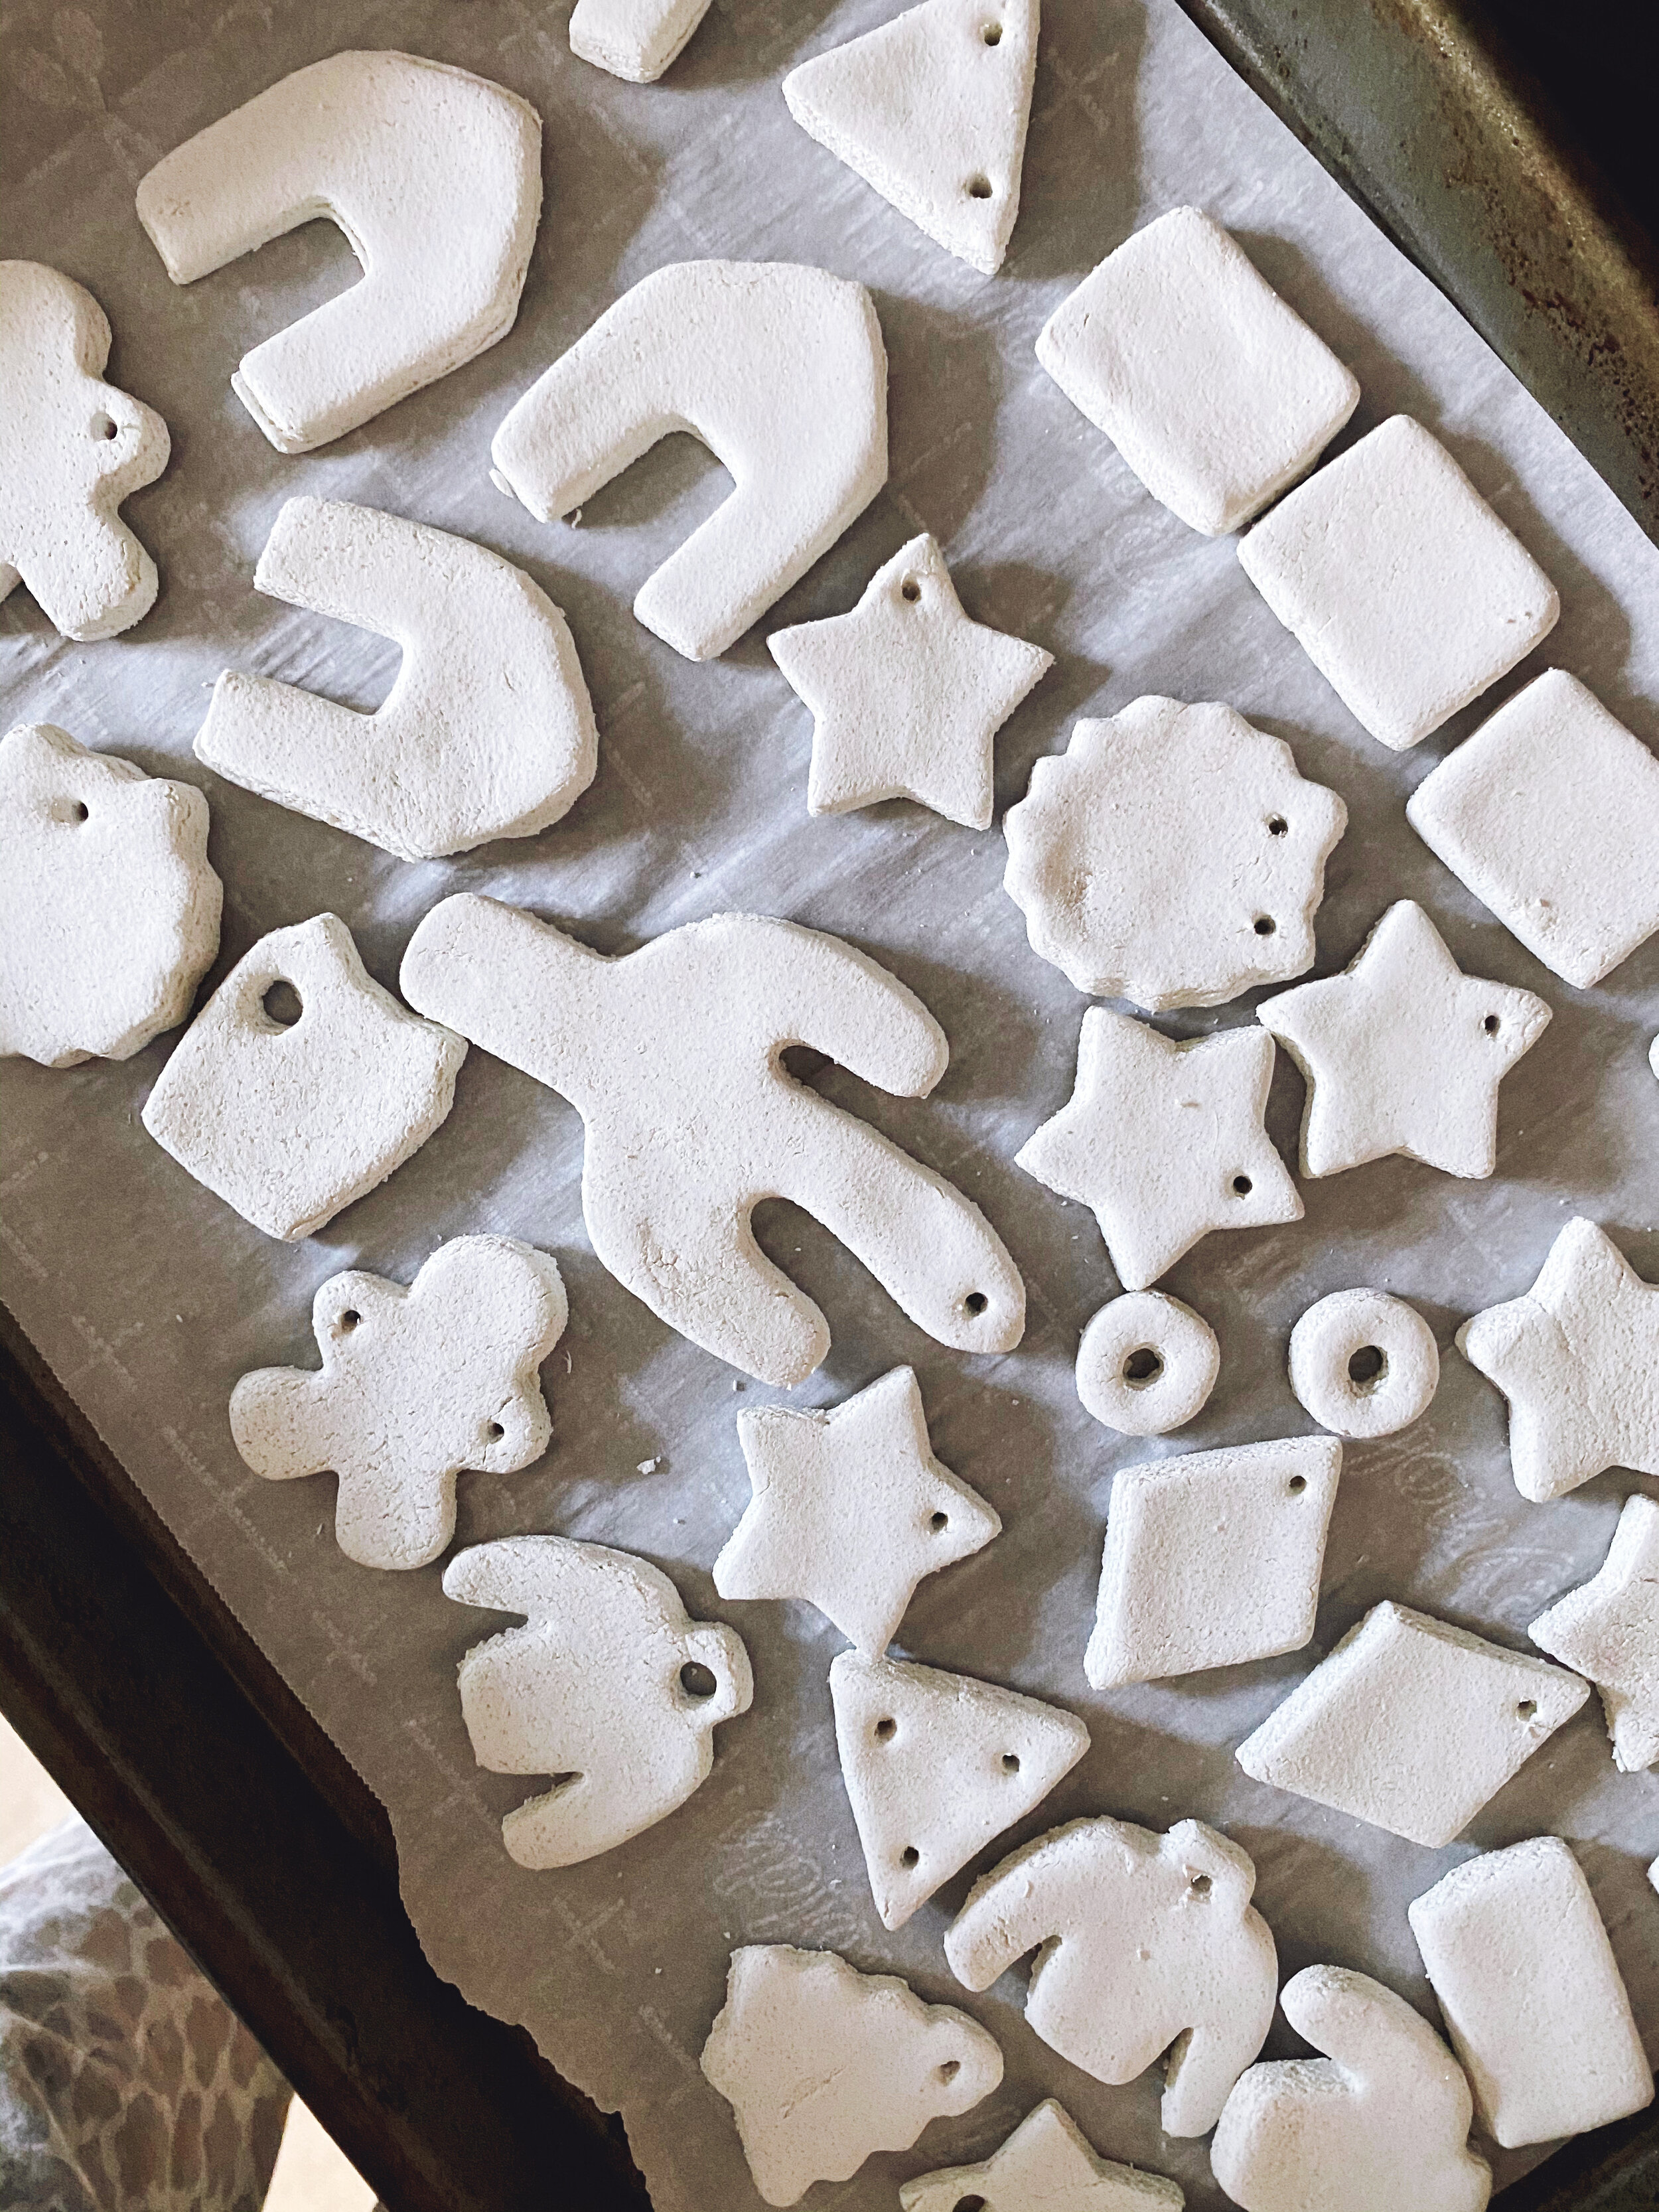
Step 4:
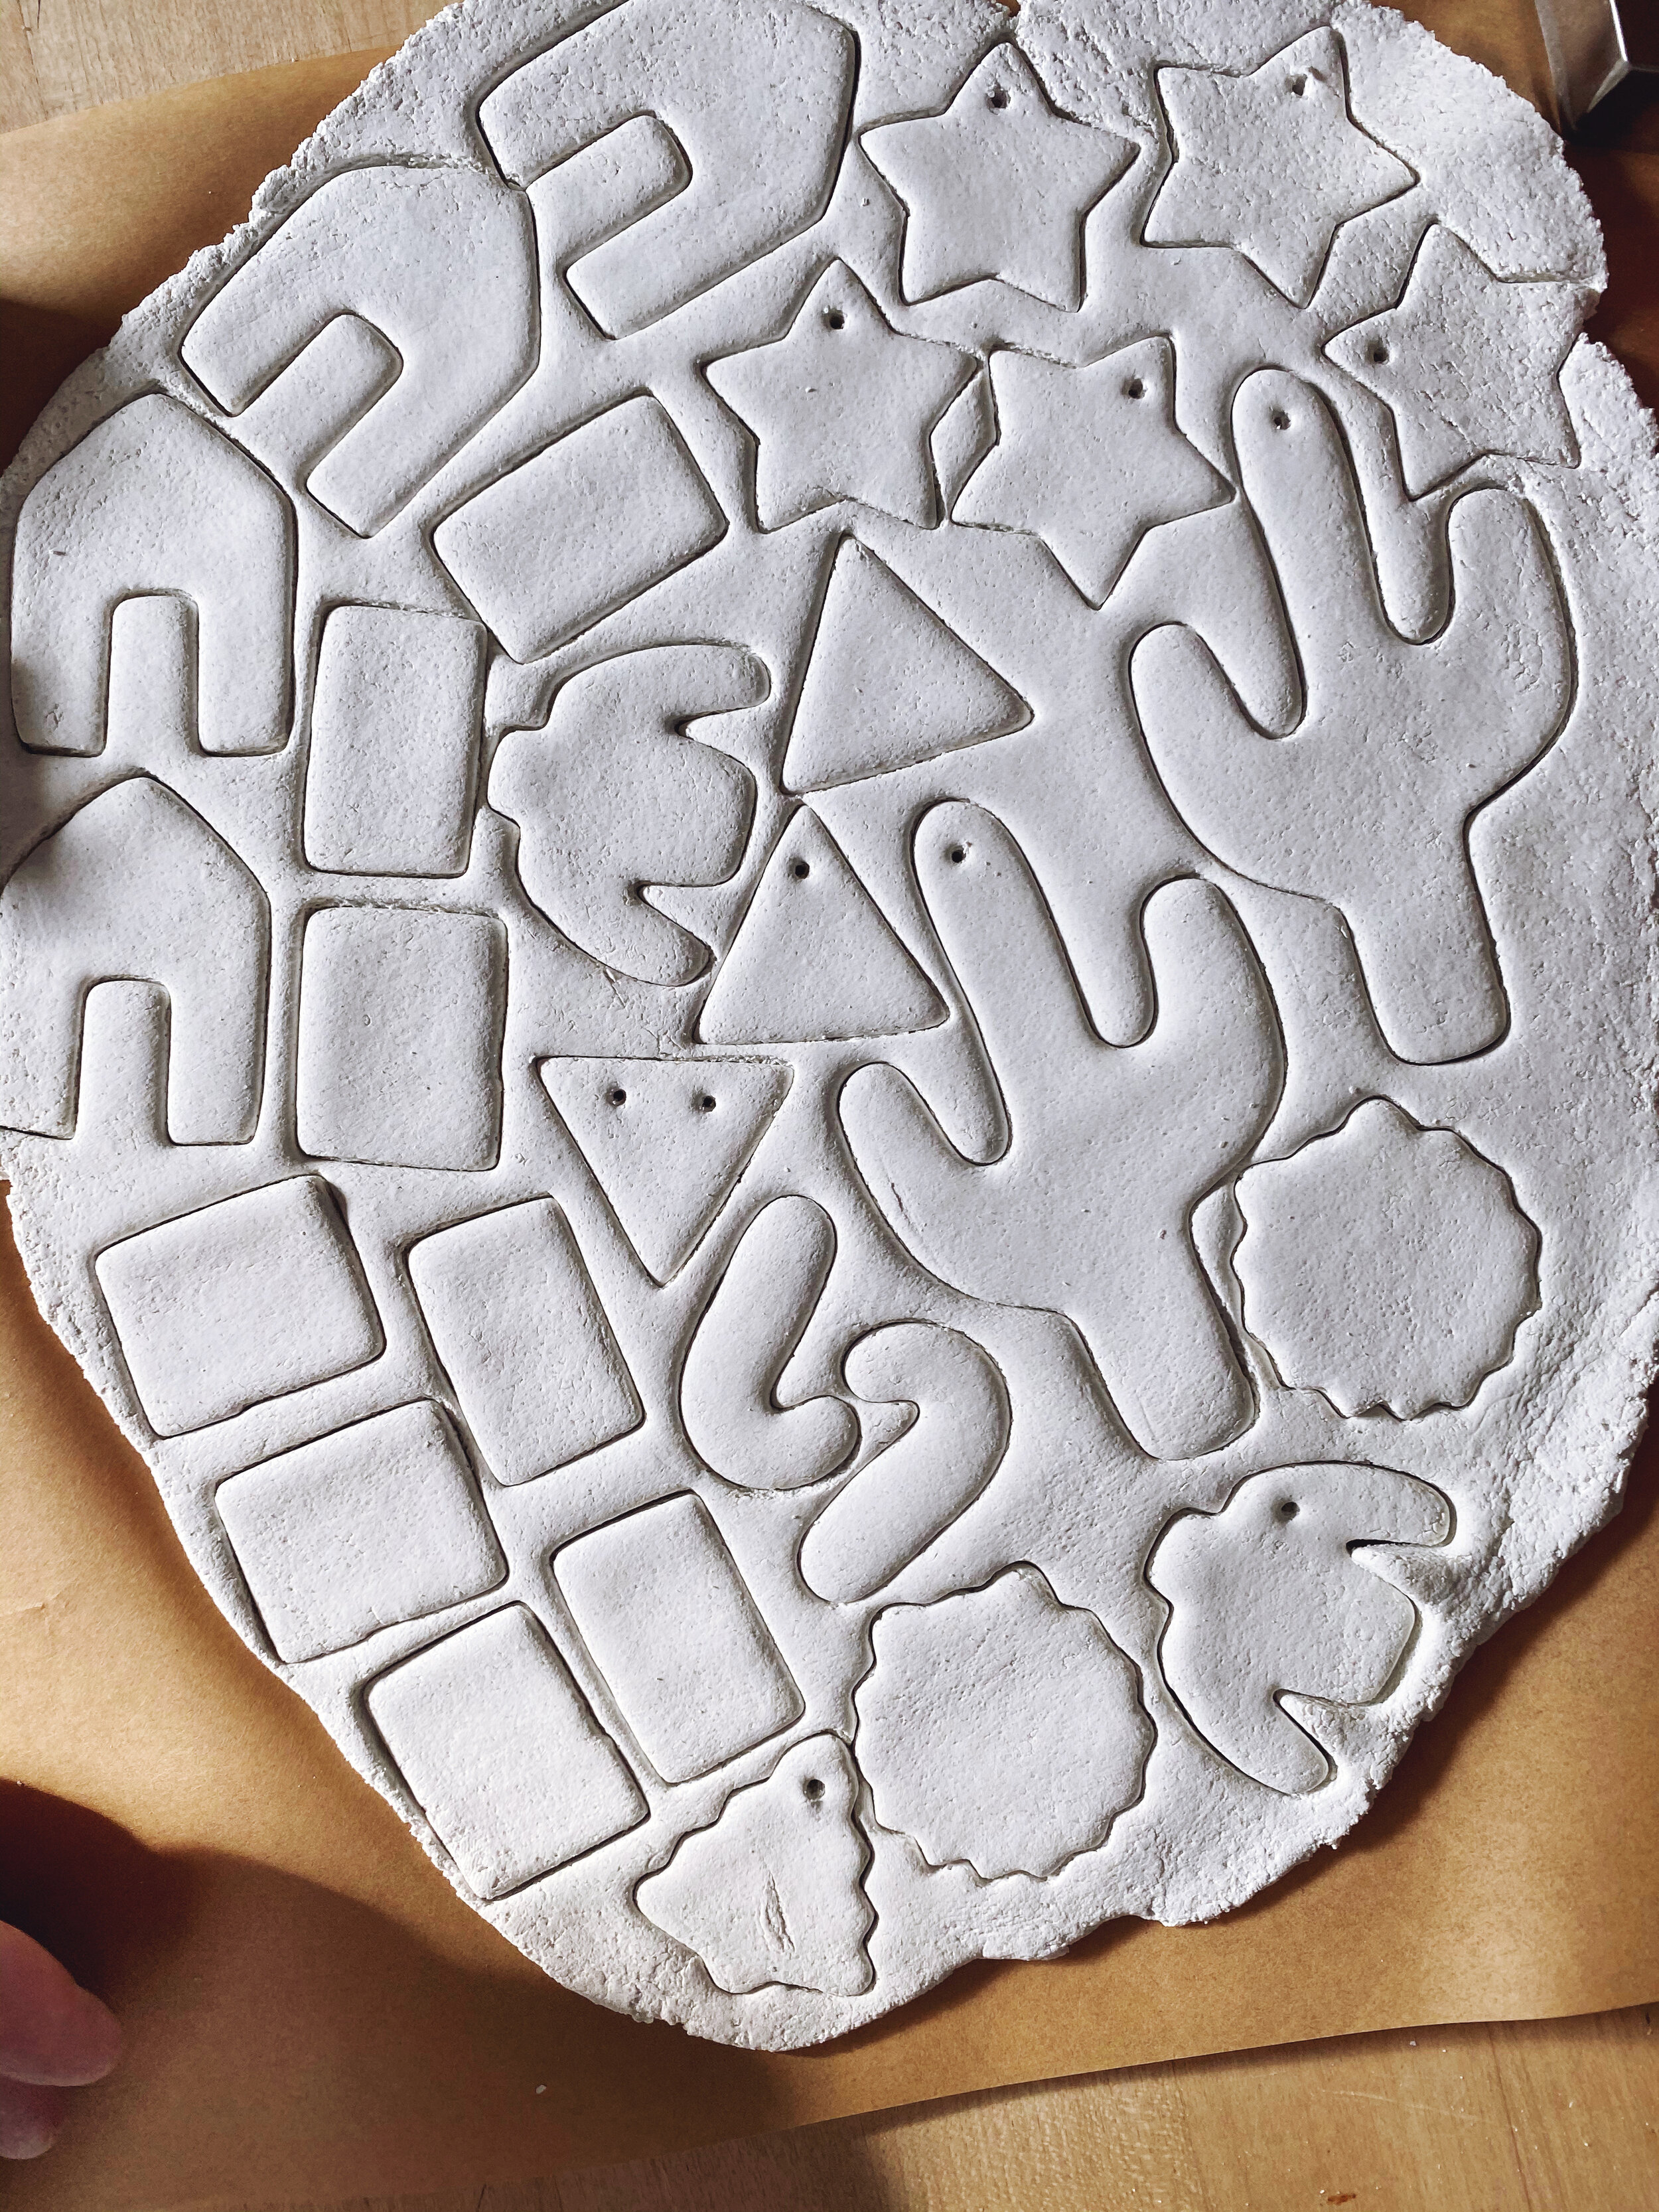
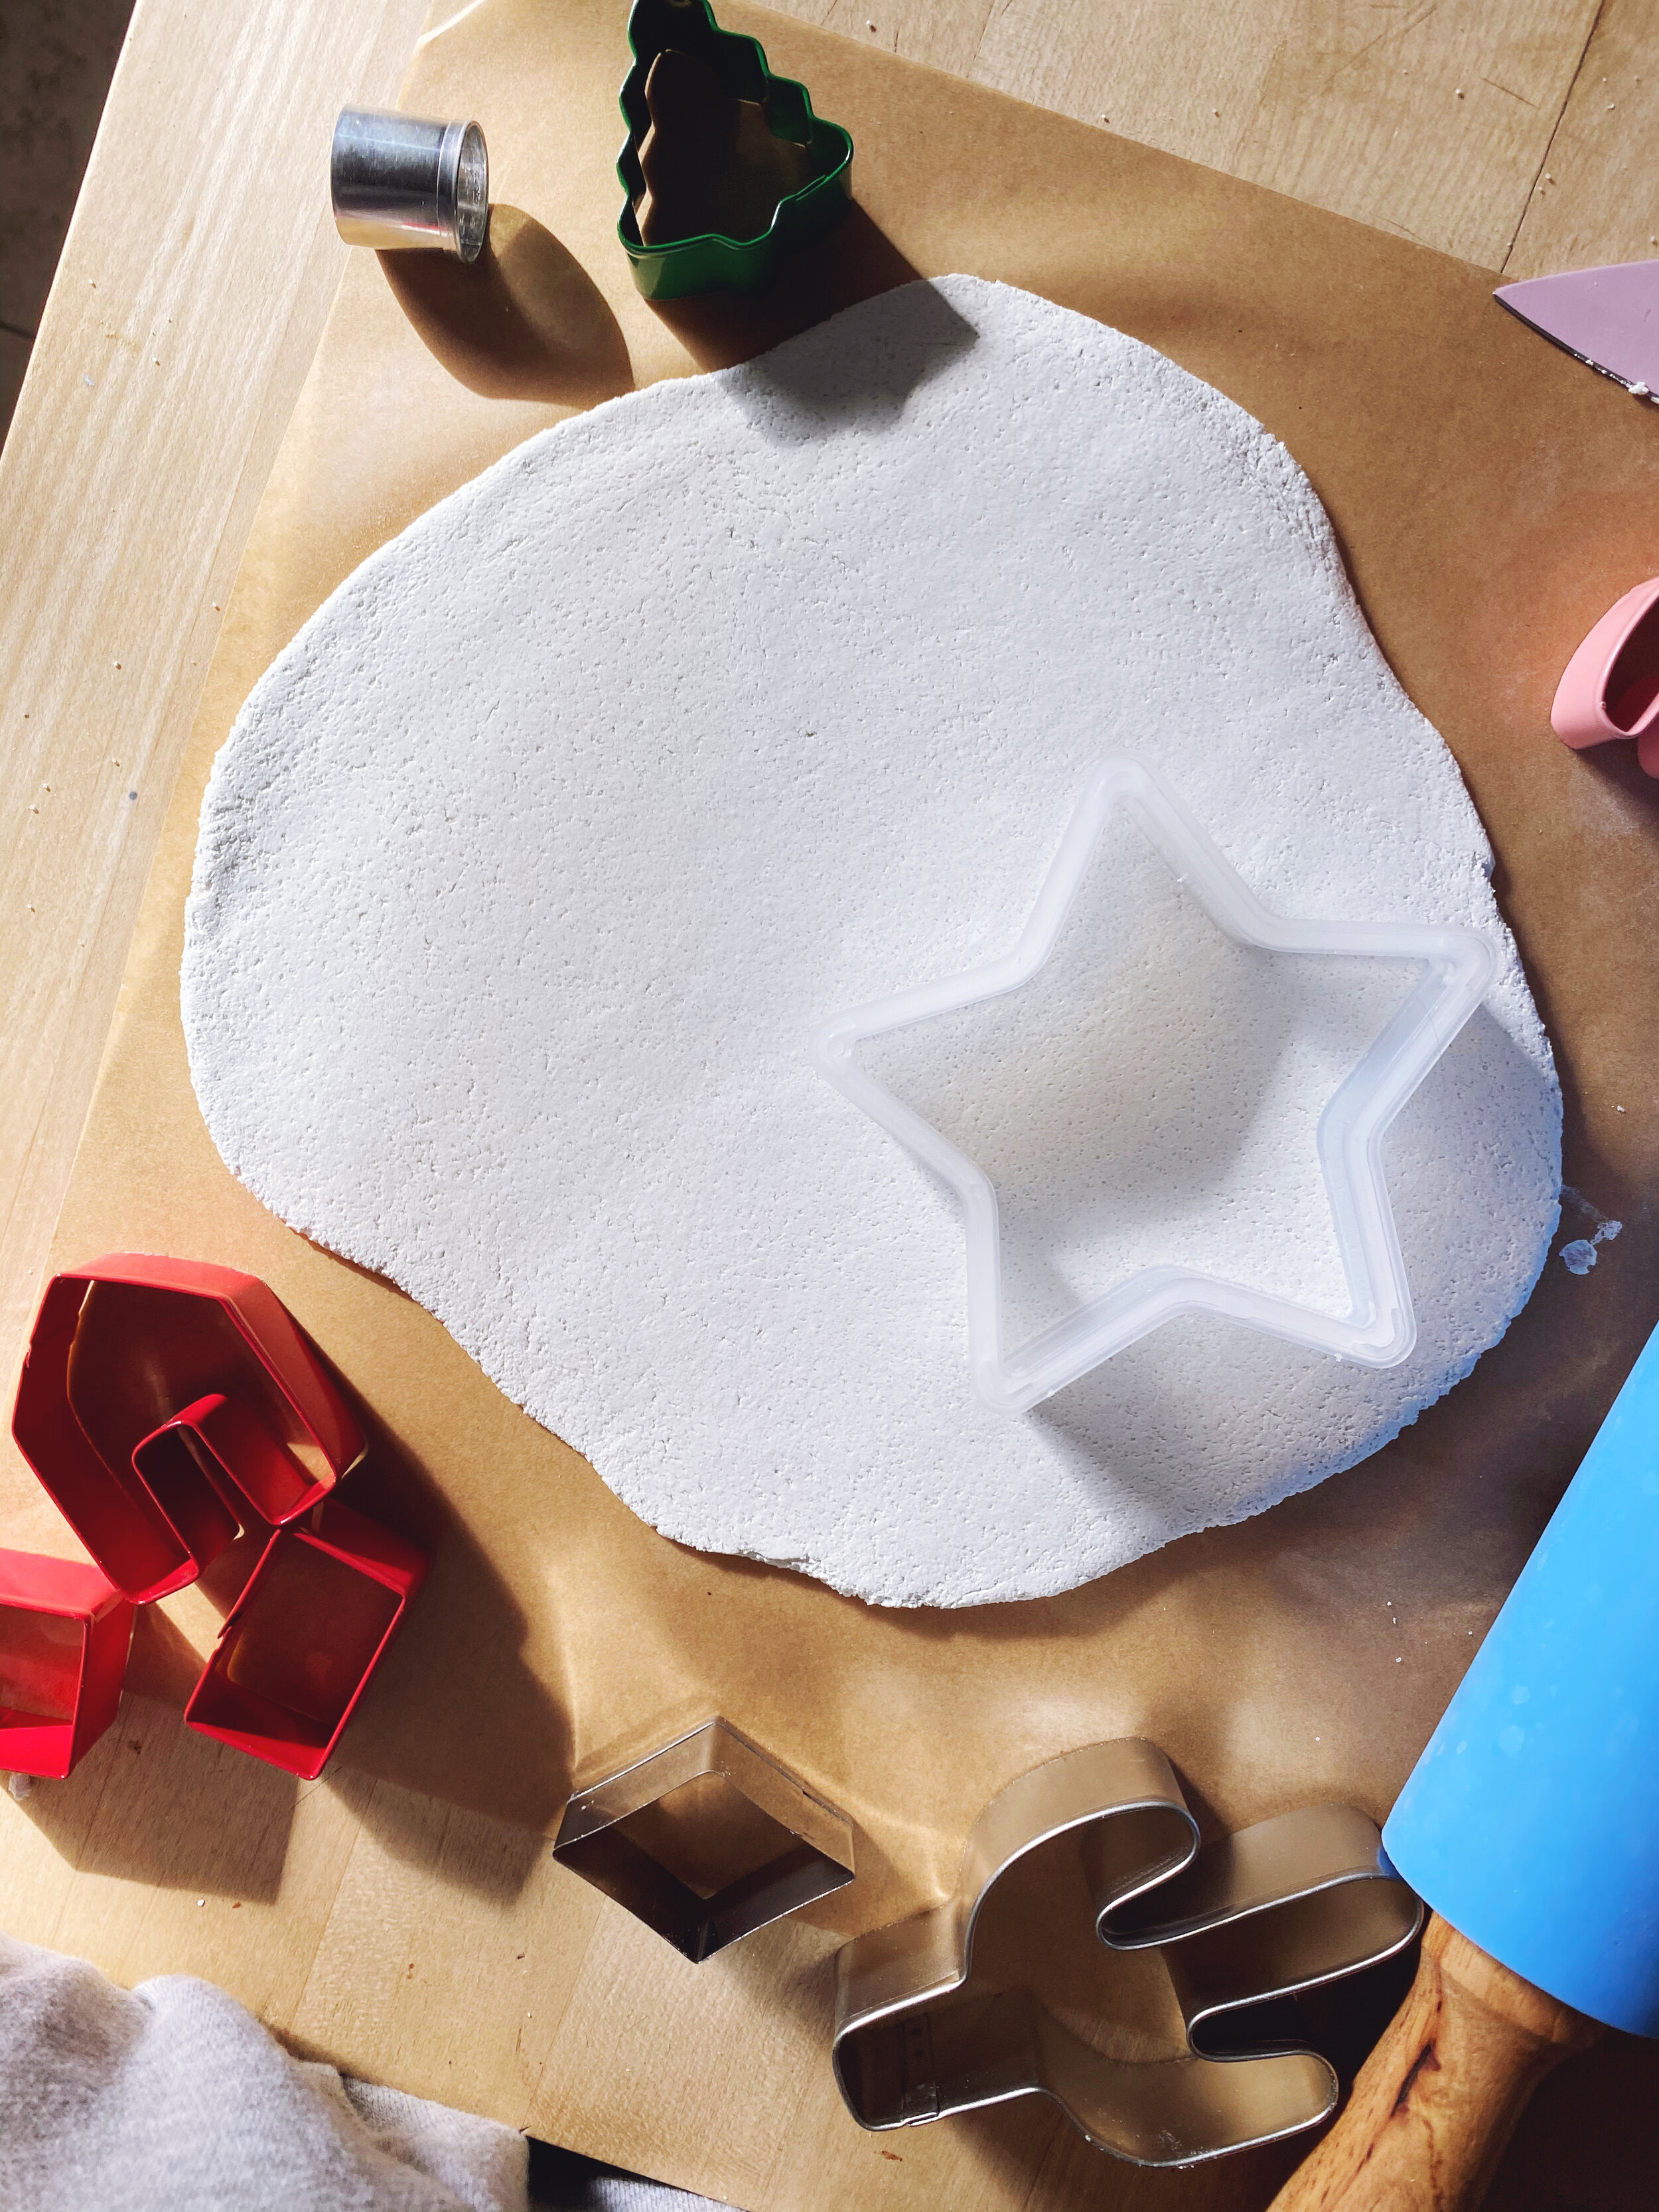
Roll out dough and prepare cookie cutters.
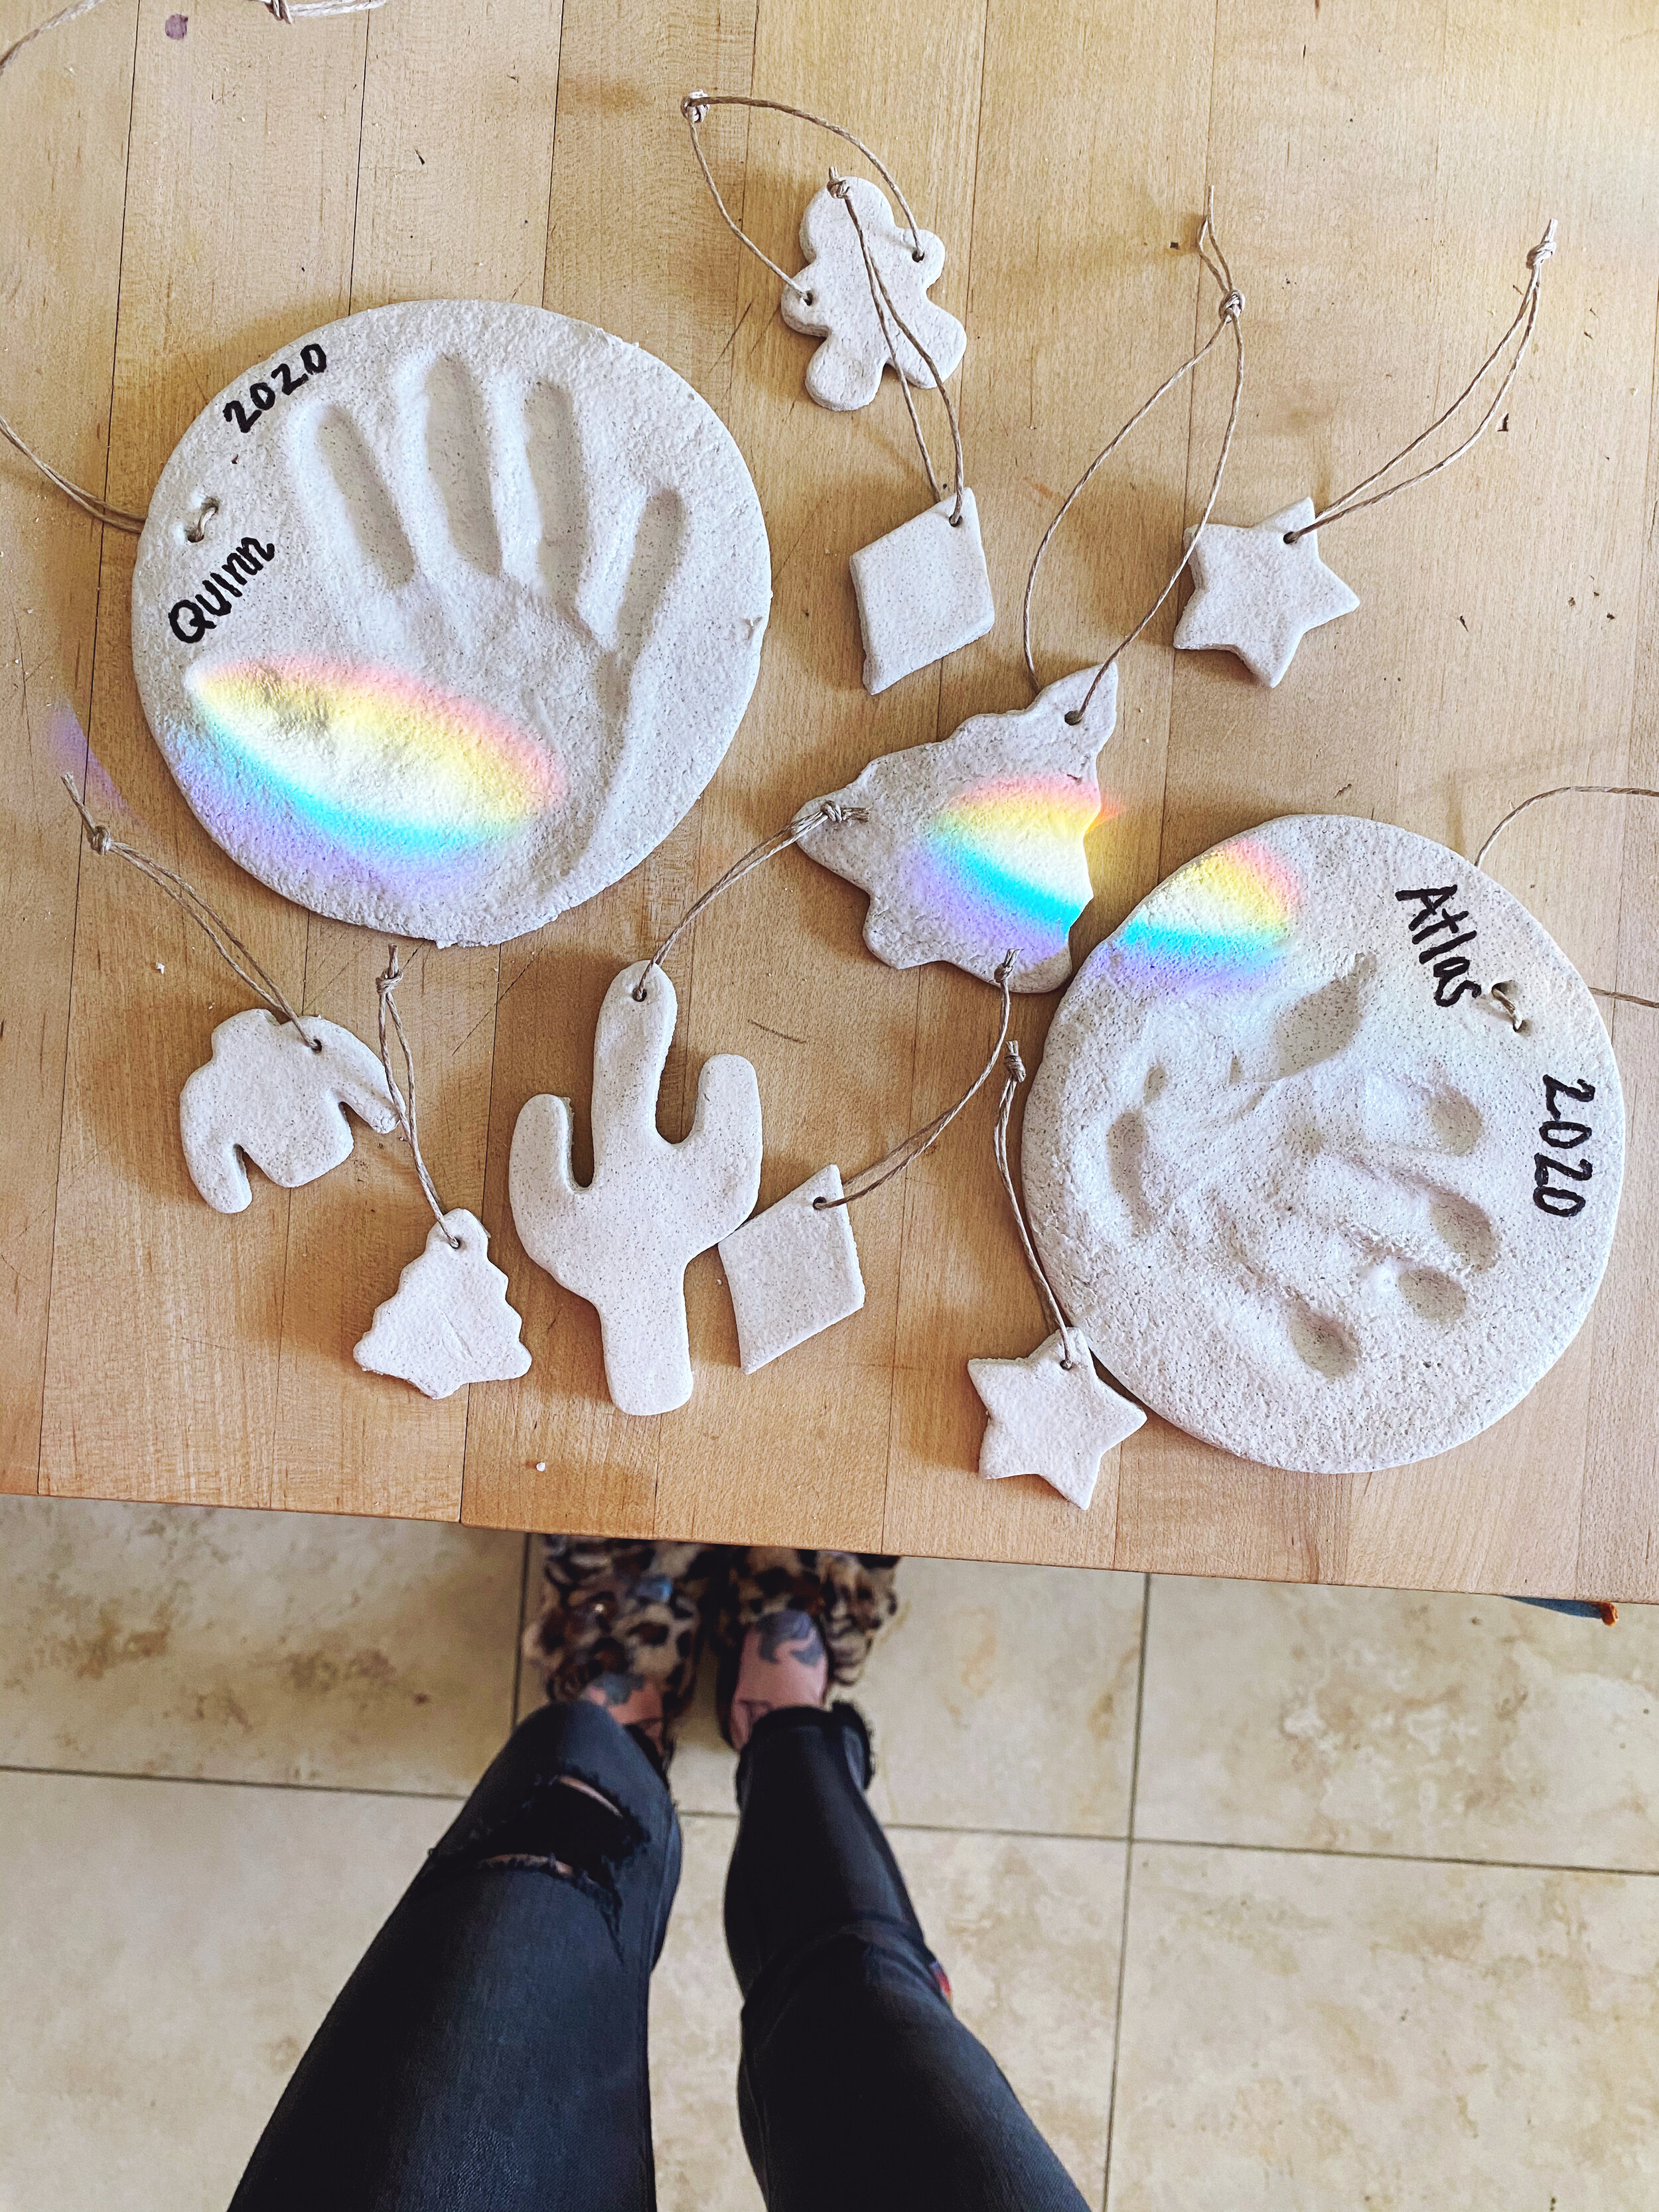
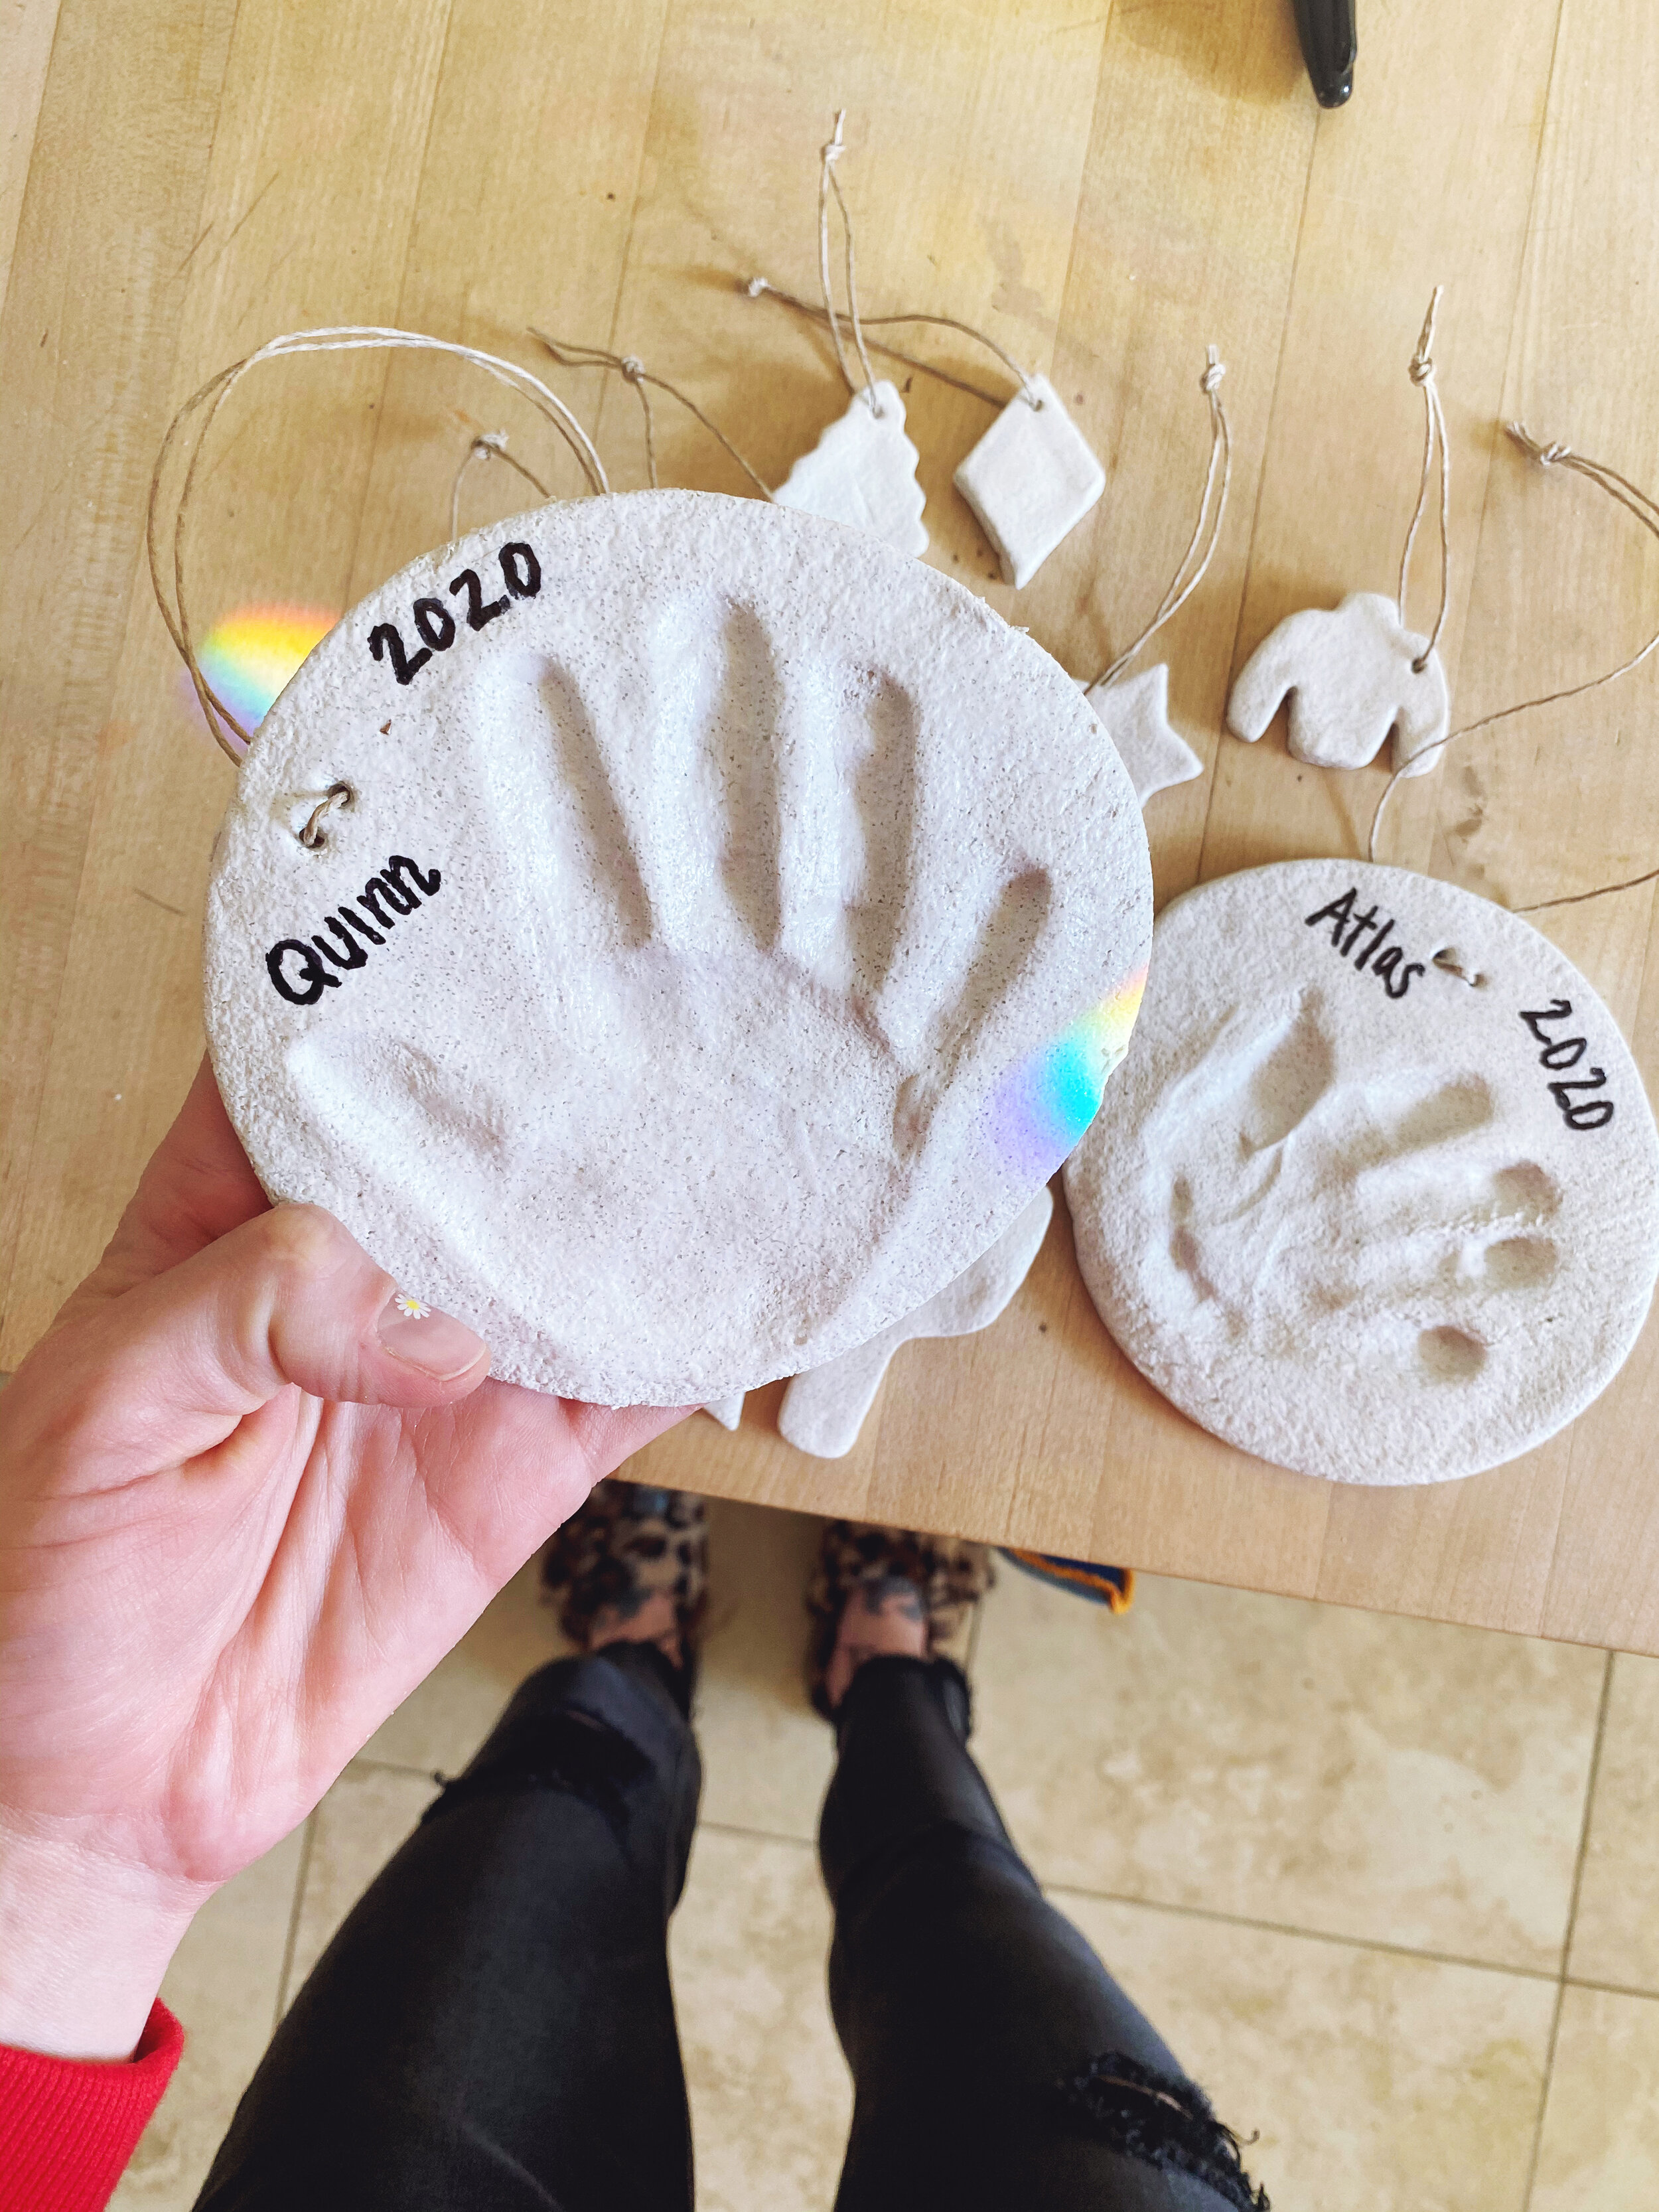
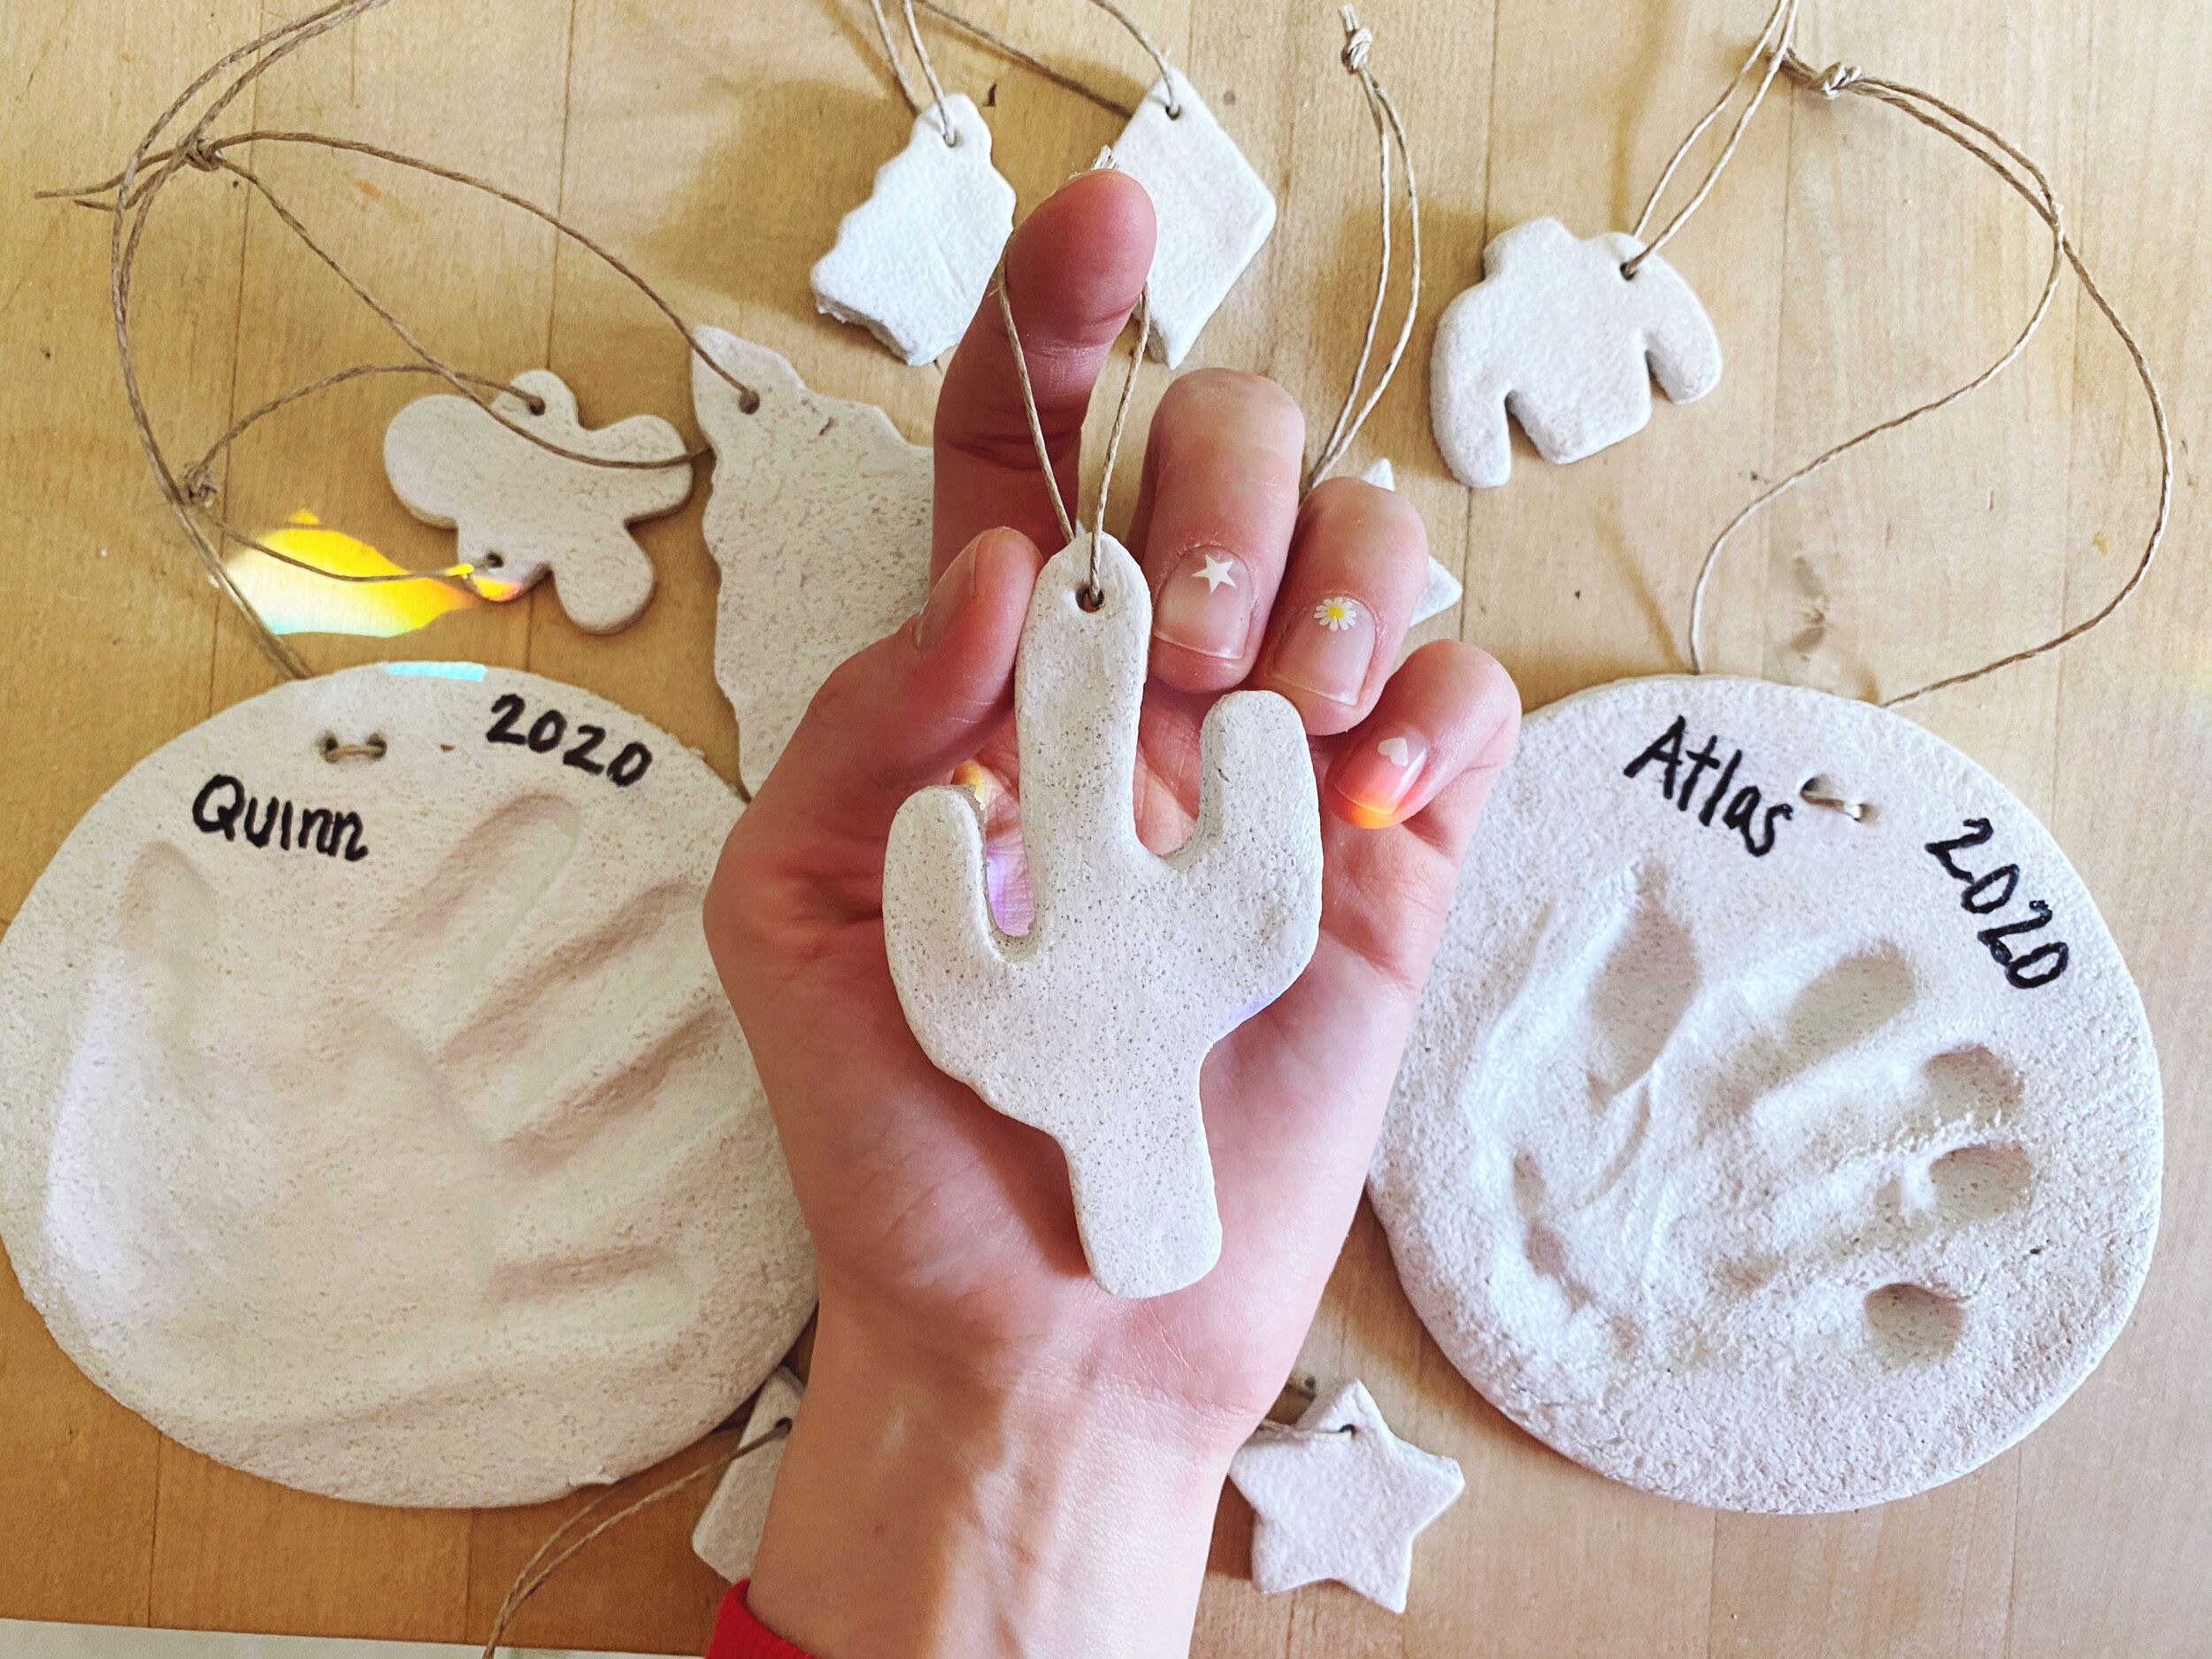
Okay, now go wild! Add baby hand and footprints, family fingerprints, pet prints...basically ANYTHING. You can hang them on your tree or add them to a special garland. Another really cute idea is to make gift tags or place cards for dinner. The possibilities are endless.
Use the drinking straw or another tool to make a hole to hang your new masterpieces.
PRO TIP: If you are trying to get a handprint or footprint from your baby, wait until they are asleep. It’s challenging to get a good print if they are awake.
I briefly mentioned this in the intro, but the ornaments from Q’s first Christmas are sh*t . The only good one I got fell off the tree and into a someone’s present on accident. I was shocked when that person opened their present and got the only good handprint ornament. They loved it so much, and I didn’t have the heart to explain what happened. My heart crumbled. Okay, now that we are all crying, onward to step 5!
Step 5:
Bake at 200 degrees for about 20 minutes. Keep an eye on them! They can burn. If they are a little undercooked, that’s okay! They can air dry.
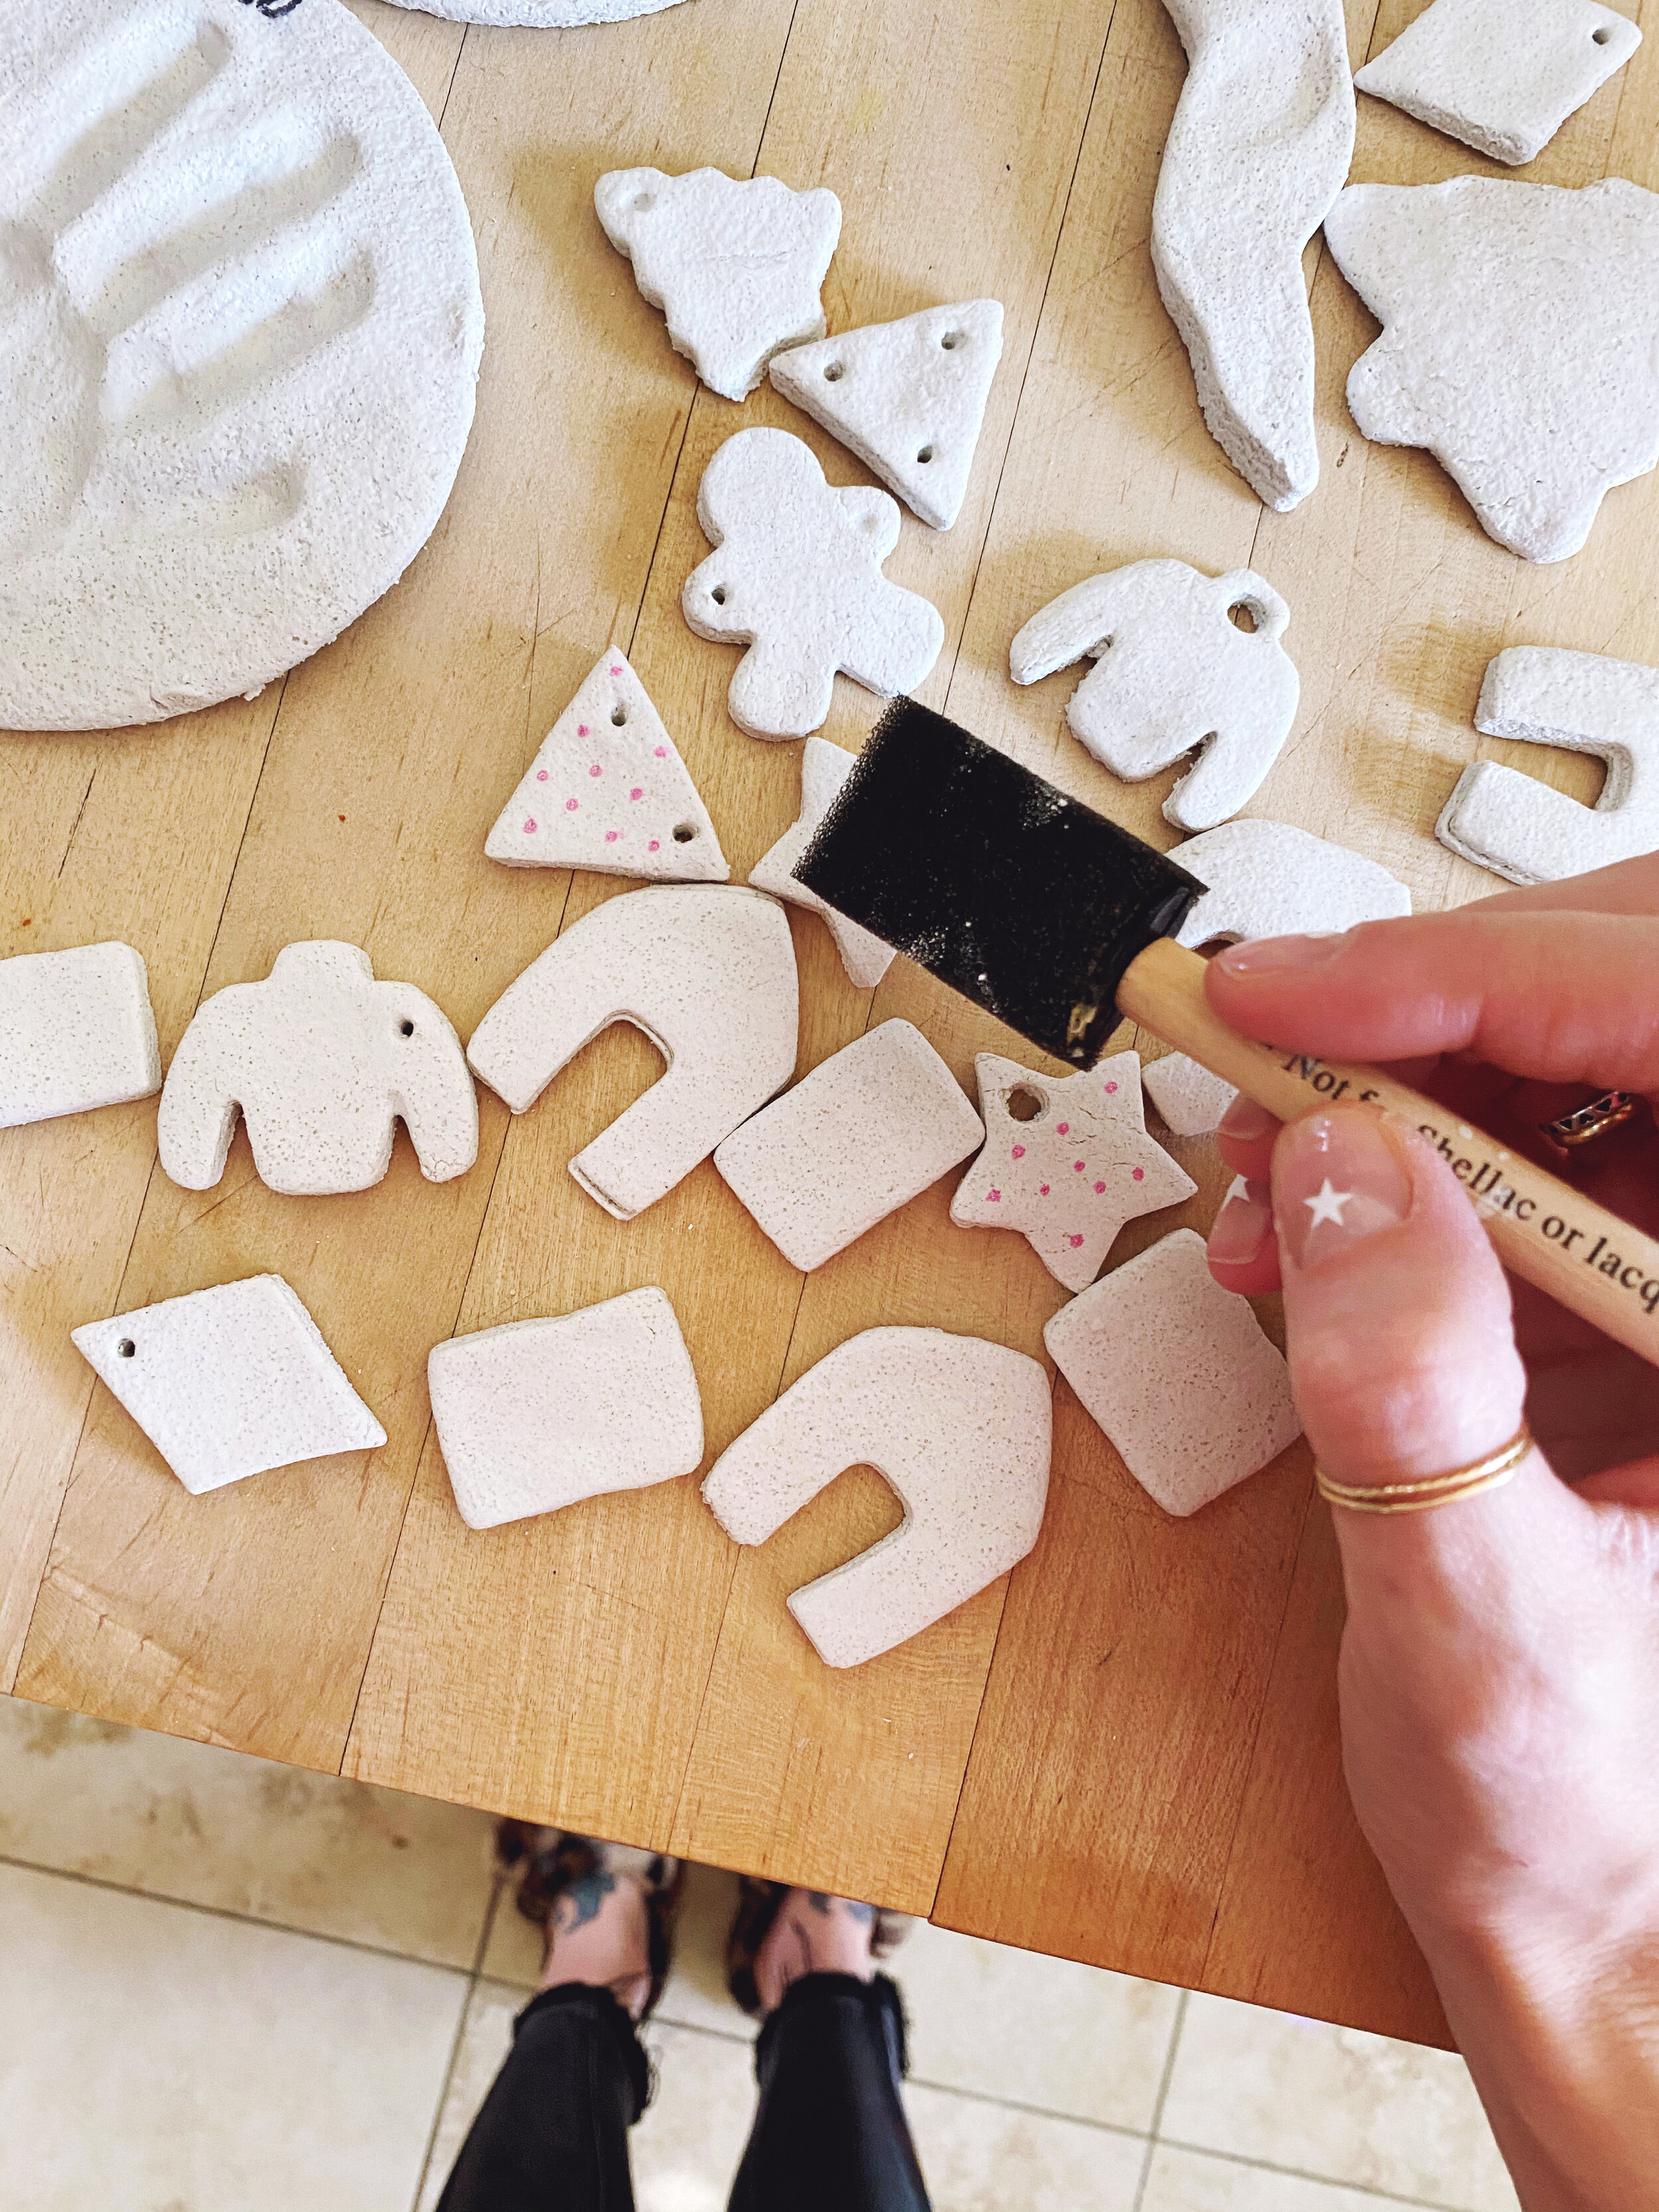
Step 6:
Once completely cooled, add a layer of Mod Podge to seal your new handmade keepsake. This should make it last longer and not crumble in your ornament box like my first set. LOL learn from my mistakes, people.
Step 7:
After the Mod Podge has dried, add ribbon/twine to hang your new cuties.


YAY, I bet your holiday decor is so CUTE! I wish I could see everyone’s. I’m the creep that loves to drive by and look at your tree through the window LOLOLOL.
I hope you enjoy making these as much as we do. I love looking at each batch and admiring how much COOLER they get every year.
Happy Holidaze friends and remember to be kind!
Always and Whatever
XO